6 DIY Home Decor Ideas That Cost Under $40 Each
DIY home decor ideas with real costs attached: a $26 thrifted gallery wall, a $28 no-sew fabric hanging, envelope pillow covers and peel-and-stick wallpaper.
This post contains affiliate links. As an Amazon Associate I earn from qualifying purchases. If you buy through our links, we may earn a commission at no extra cost to you.
Bare white walls in a living room and roughly $200 to cover a whole main floor is a common place to start. It's also a workable one, as long as the money lands on the things people look at first: the walls, the textiles, and the light.
The six projects below all have a real price attached. The most expensive is $35, the cheapest is $14, and none of them needs a contractor.
Three tools cover the whole list: a staple gun, a craft knife with fresh blades, and painter's tape. That's about $30 of kit you'll reuse on every project here, and no saw or drill beyond the odd wall anchor.
1. Paint Old Frames and Fill Them with Meaningful Prints
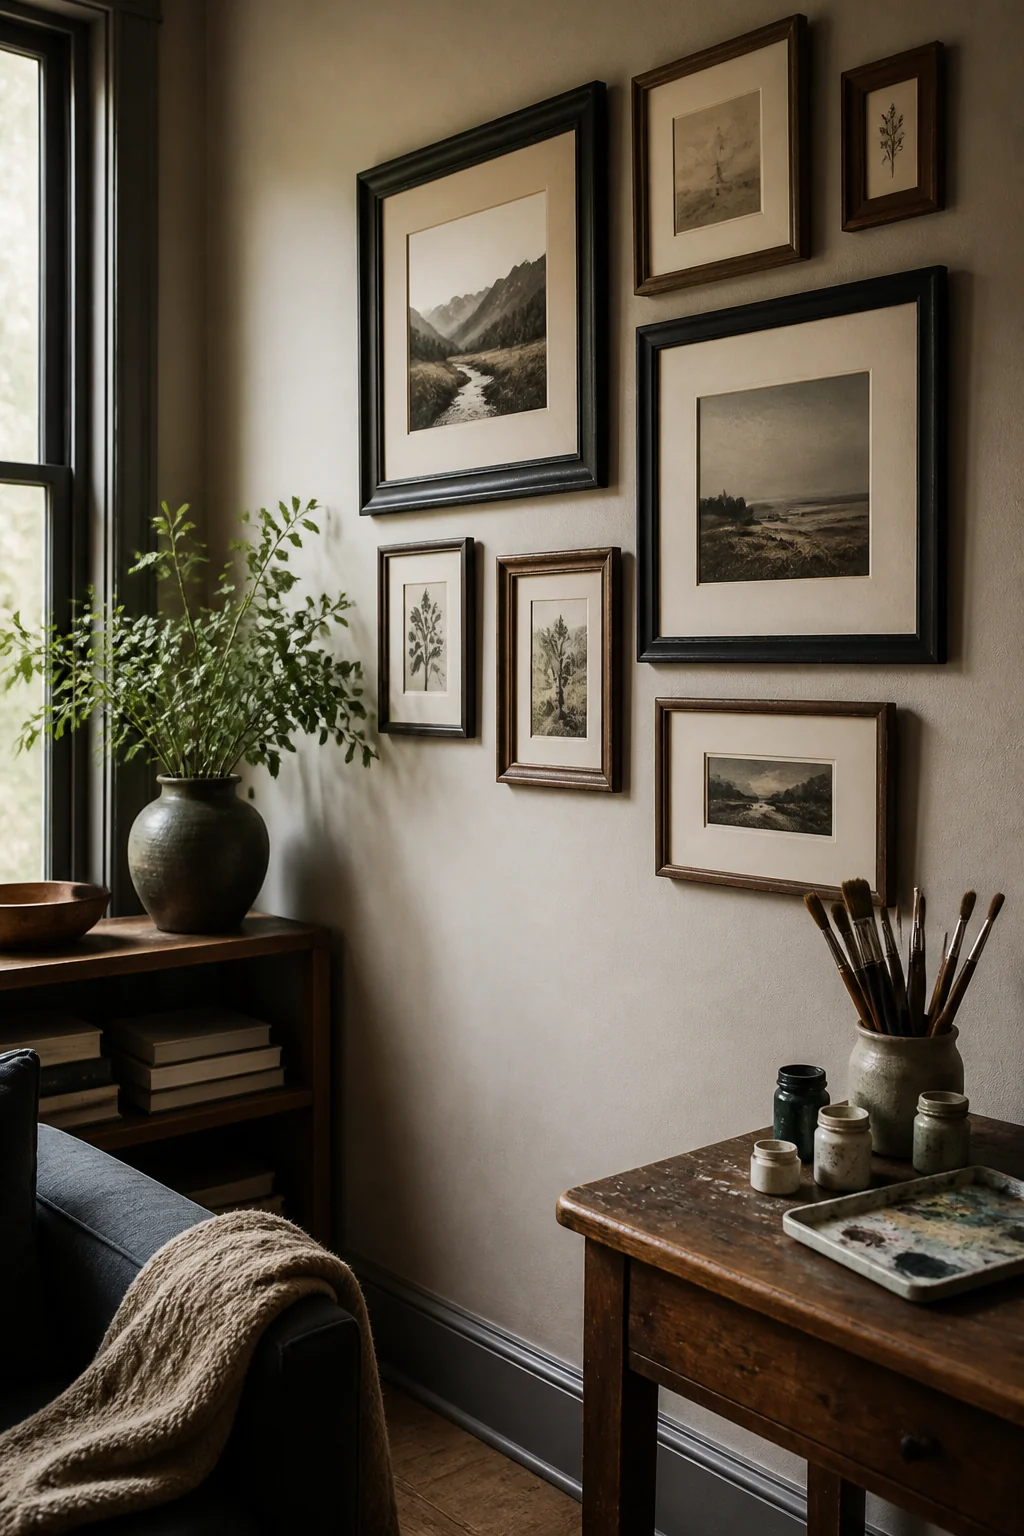
Mismatched frames stop looking mismatched the moment they share one paint color. That single step is what turns a bin of thrift-store castoffs into a wall.
Six frames run about $12 total at a resale shop: some gold, one chipped white, one in that greenish brown nobody chose on purpose. A $6 can of matte black spray paint unifies the lot. Pull the glass and backing out first, work outdoors on a drop cloth, and lay down two light coats about 15 minutes apart. One heavy coat is what causes the drips that pool in frame corners. Give them a full 24 hours before handling, or your fingerprints set into the finish.
Fill them with free printables: typography, botanical plates, vintage maps. A print run at a copy shop is around $8. Cut to size with a craft knife against a metal ruler, since scissors wander and a crooked edge shows through the mat opening.
Before a single nail goes in, cut paper rectangles the size of each frame and tape them up. Live with the layout for a day, keeping 2 to 3 inches of gap so the group reads as one shape rather than scattered pieces. Total: about $26, spread over roughly three hours across two days.
2. DIY Fabric Wall Hanging (No Sewing Required)
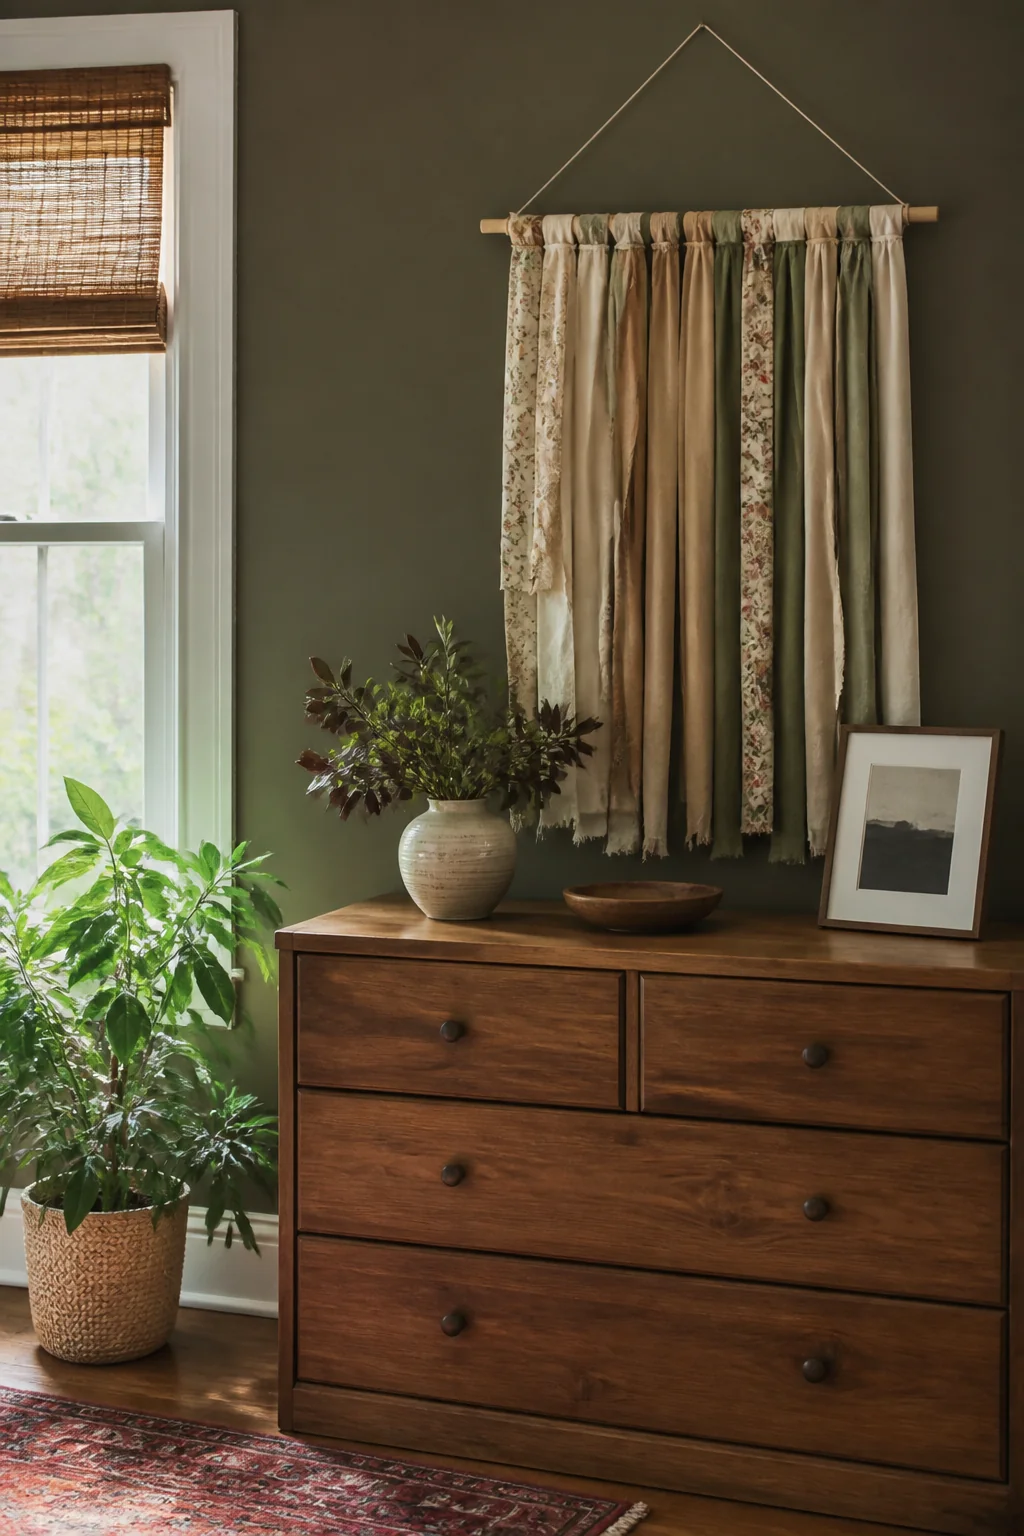
Large-scale art is expensive because it's large, not because it's difficult. A staple gun and a wooden frame get you around that in about ten minutes, and no sewing machine is involved at any point.
A 24 by 36 inch stretched canvas from a craft store runs $15 to $20, and a couple of yards of quilting cotton or linen covers it for $10 to $12. Buy the fabric at least 4 inches larger than the frame on every side, because you need something to grip while you pull. With hanging hardware, the finished piece lands near $28.
Lay the fabric face down, iron out the fold creases from the bolt, and set the frame on top. Staple once in the middle of one long side. Pull firmly and staple the middle of the opposite side. Repeat on the two short sides, then work outward from each center staple, alternating sides, spacing staples about 2 inches apart. Fold the corners like wrapping paper and staple them flat.
The failure mode is stapling all the way down one side before you touch the others. The fabric skews, and any printed stripe, grid or check runs visibly diagonal across the front. Solids and loose florals hide that; geometrics do not.
3. Thrifted Treasures with Fresh Paint
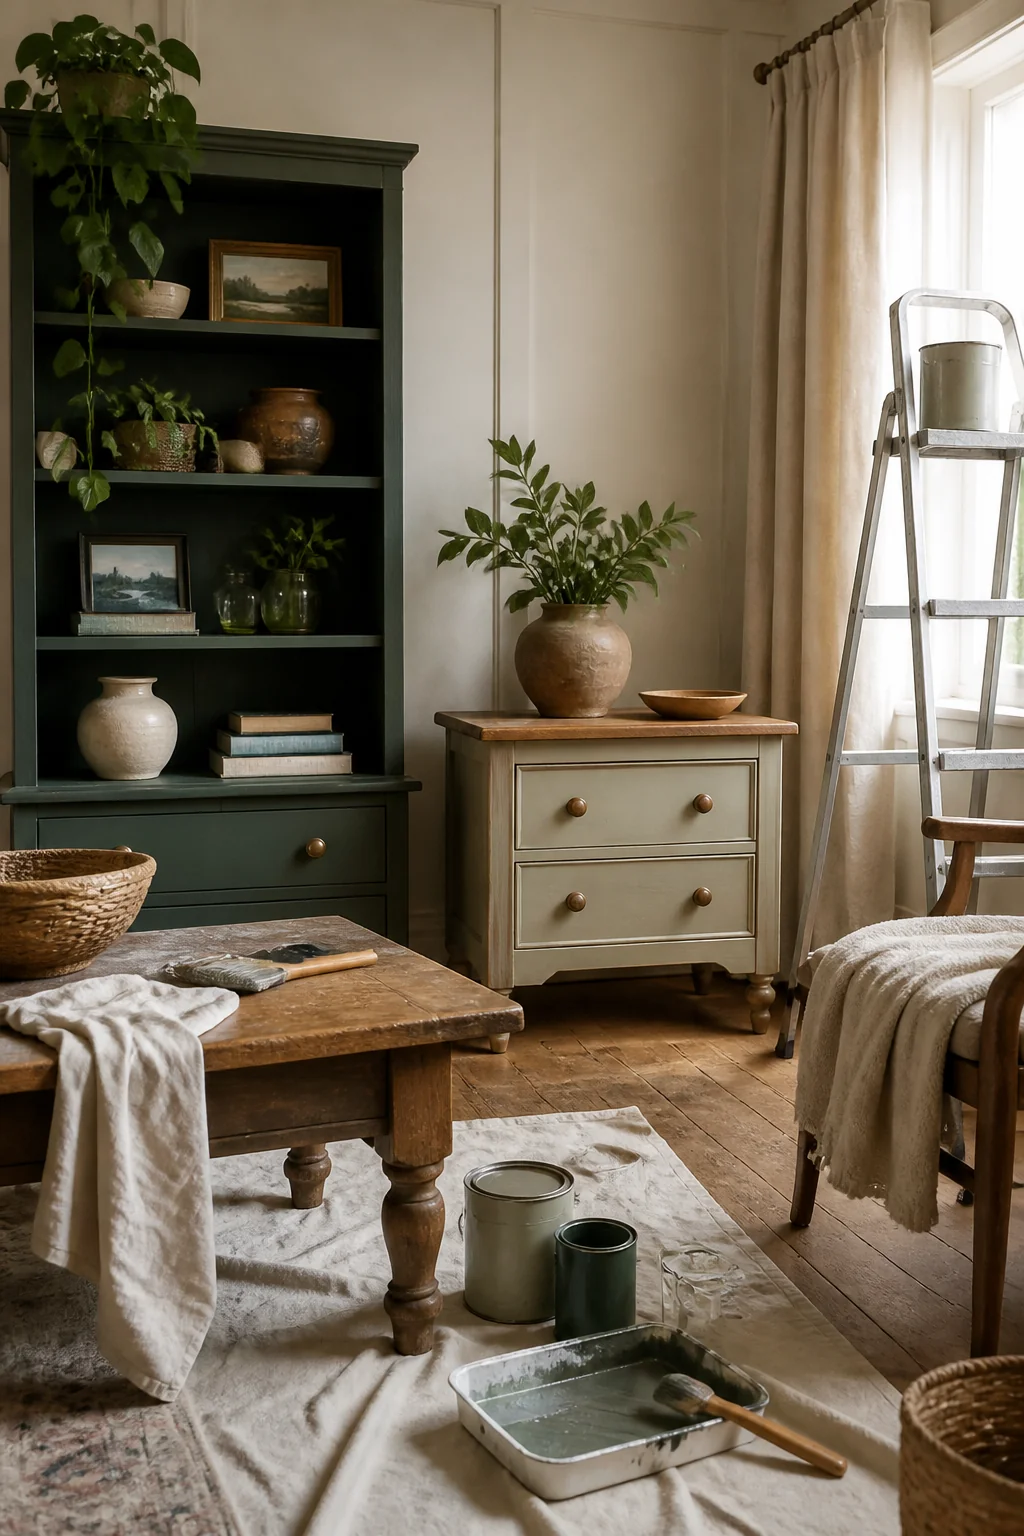
Most of what's in a thrift store deserves to be there. The bookshelf that smells like a wet basement, the nightstand with drawer pulls hanging on by one stripped screw. Buy for structure instead of looks: solid wood, and joints that don't wobble when you push the piece sideways with your hip.
Once the bones are right, only the surface needs work. A small wooden side table for an entryway is often $8 at a resale shop, and one $6 can of cream chalk paint covers it. A $5 wooden ladder, sanded smooth and wiped with $4 walnut stain, becomes a blanket rack that leans against the bedroom wall.
The procedure is short. Scuff the whole surface with 220-grit paper for about 20 minutes so the paint has something to bite (if a painted piece could date from before 1978, check it with a lead test swab first and skip the sanding if it's positive), wipe the dust off with a damp cloth, and let it dry completely. Two thin coats, four hours apart, beat one thick coat every time. Chalk paint has no built-in protection, so seal it with wax or a matte polycrylic topcoat or a coffee cup will leave a ring within the week.
Where this fails: laminate and veneer. Paint sits on the plastic film rather than soaking in, and it chips off every edge your hands touch.
4. Peel-and-Stick Wallpaper on a Feature Wall
Peel-and-stick feels temporary, and that's the whole argument for it. It's the cheapest way to find out whether you can live with a bold pattern before you commit to paste and a scraper.
A 28-square-foot botanical roll costs around $35, which covers a powder room accent wall or the stretch behind an entryway console. Those are the right places to test a print. A master bedroom is four walls of regret if the pattern turns out to be busier than you remembered from a two-inch sample.
Application decides how it looks, so go in this order. Wash the wall with a degreaser and let it dry an hour. Draw a true vertical with a level rather than following the corner, because corners in most houses lean and the pattern will drift with them. Peel back only the top 12 inches of backing, align the top edge, press it down, then pull the backing away gradually while smoothing outward from the center with a squeegee or a credit card wrapped in a cloth. Trim at the baseboard with a fresh blade.
Two walls it won't hold to: anything textured, and paint newer than about four weeks, which hasn't finished curing and peels away with the paper.
5. Throw Pillows and Textile Layering
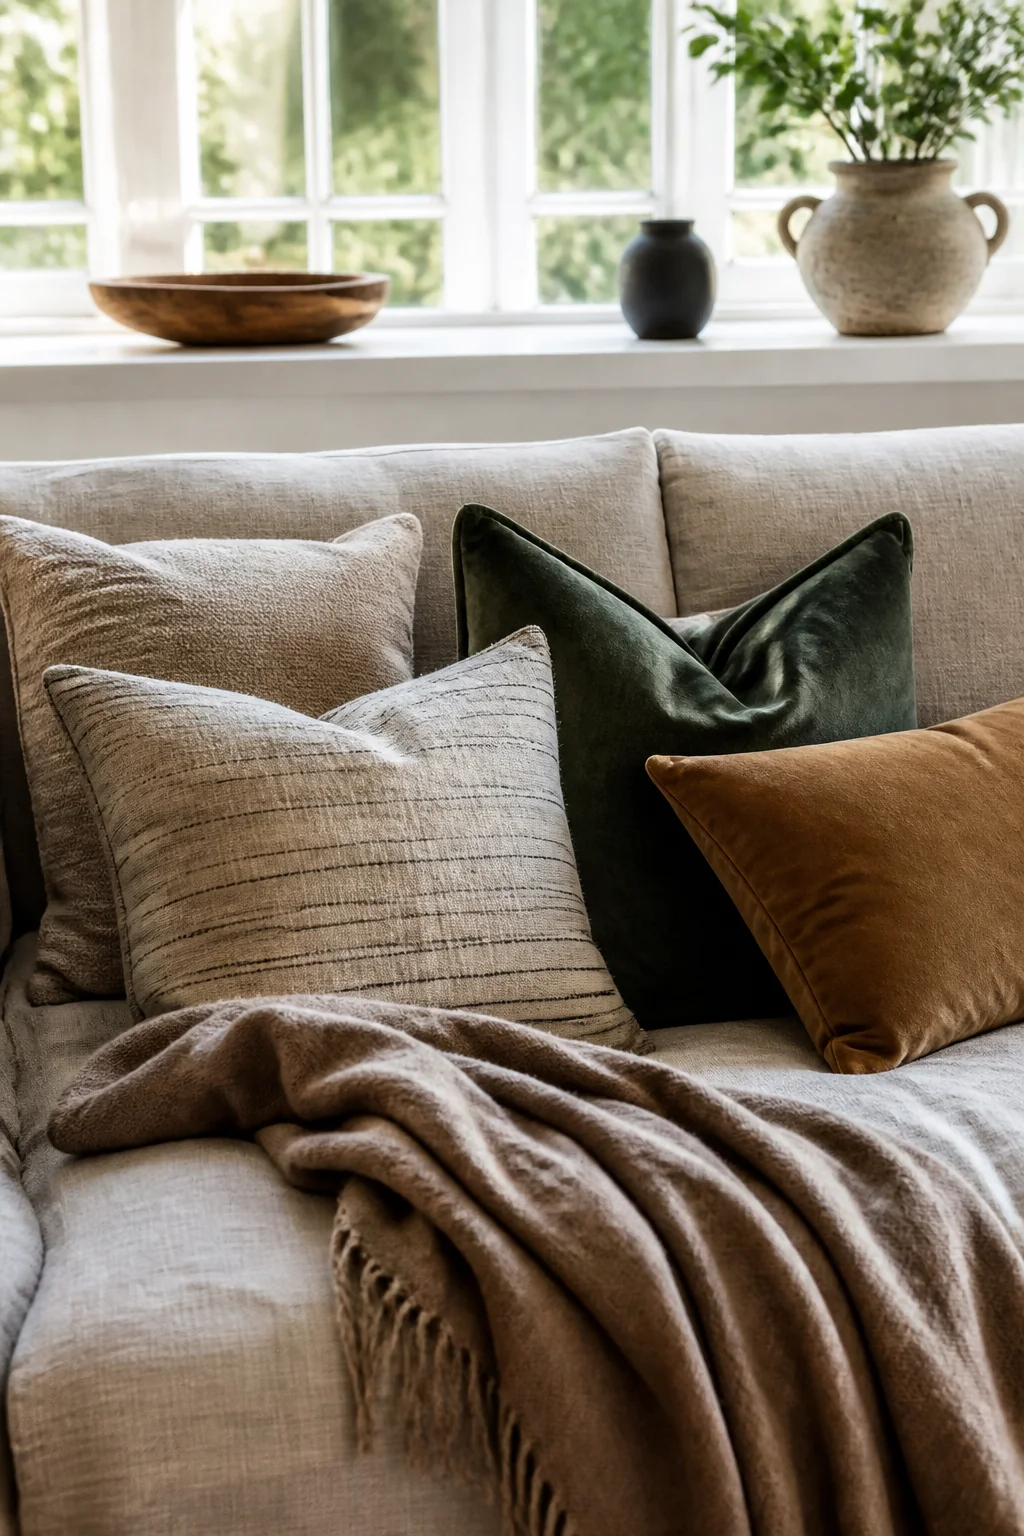
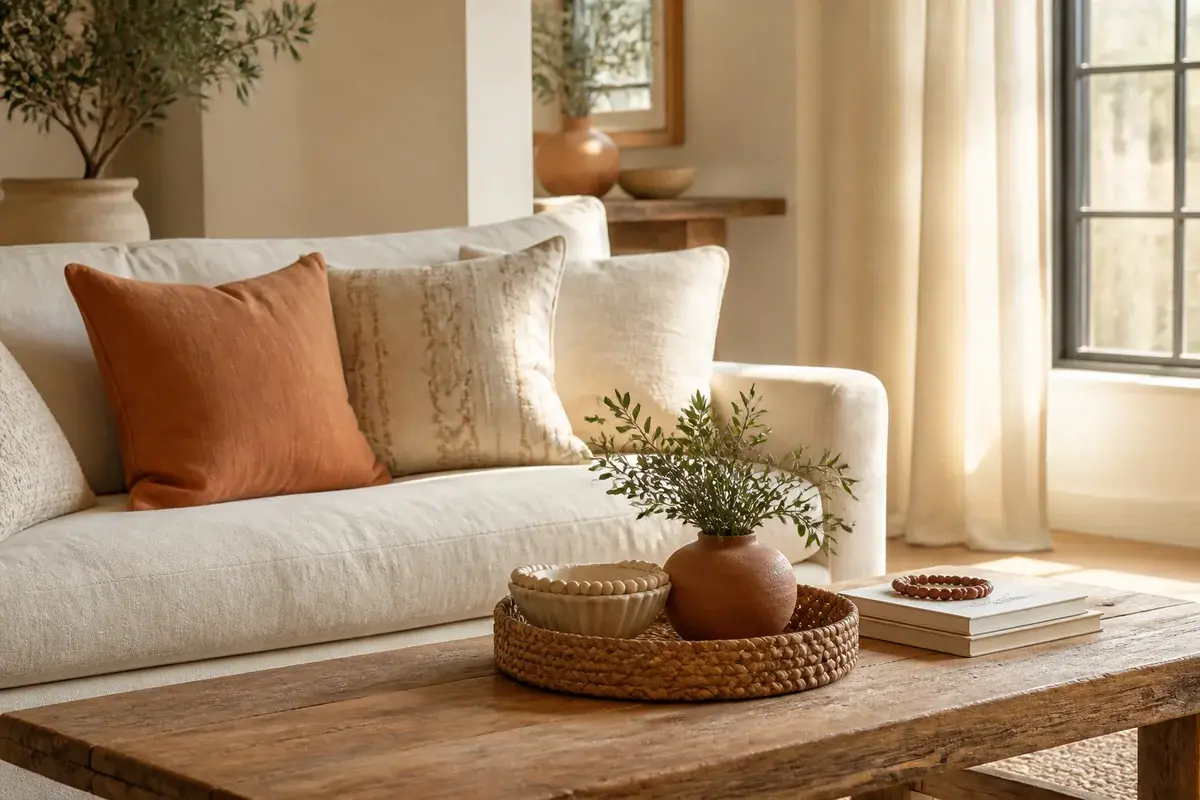
The inserts aren't DIY. The covers are, and covers are where the money goes anyway: a plain insert is about $6, while a finished designer pillow is $60.
Linen runs roughly $12 a yard. For an 18-inch pillow, cut a piece 19 by 44 inches, fold it around the insert envelope style with the two ends overlapping about 5 inches at the back, pin the sides, and close them with a ladder stitch. That's around 45 minutes per cover by hand, and three come in under $35 with inserts included.
One rule matters more than your stitching: buy the insert one size up. A 20-inch insert inside an 18-inch cover is what makes a pillow look full instead of limp and karate-chopped at the corners.
Layering is the part that stops a sofa reading like a showroom floor. Vary size first, with a 20-inch pair at the outer corners, an 18-inch in front of each, and one lumbar in the middle. Then vary texture: linen beside cotton beside a bit of velvet, since each one catches light differently. Keep pattern to one or two pillows out of five, and pull one color from something else in the room so the group doesn't float on its own.
6. Create Statement Lighting with Simple Upgrades
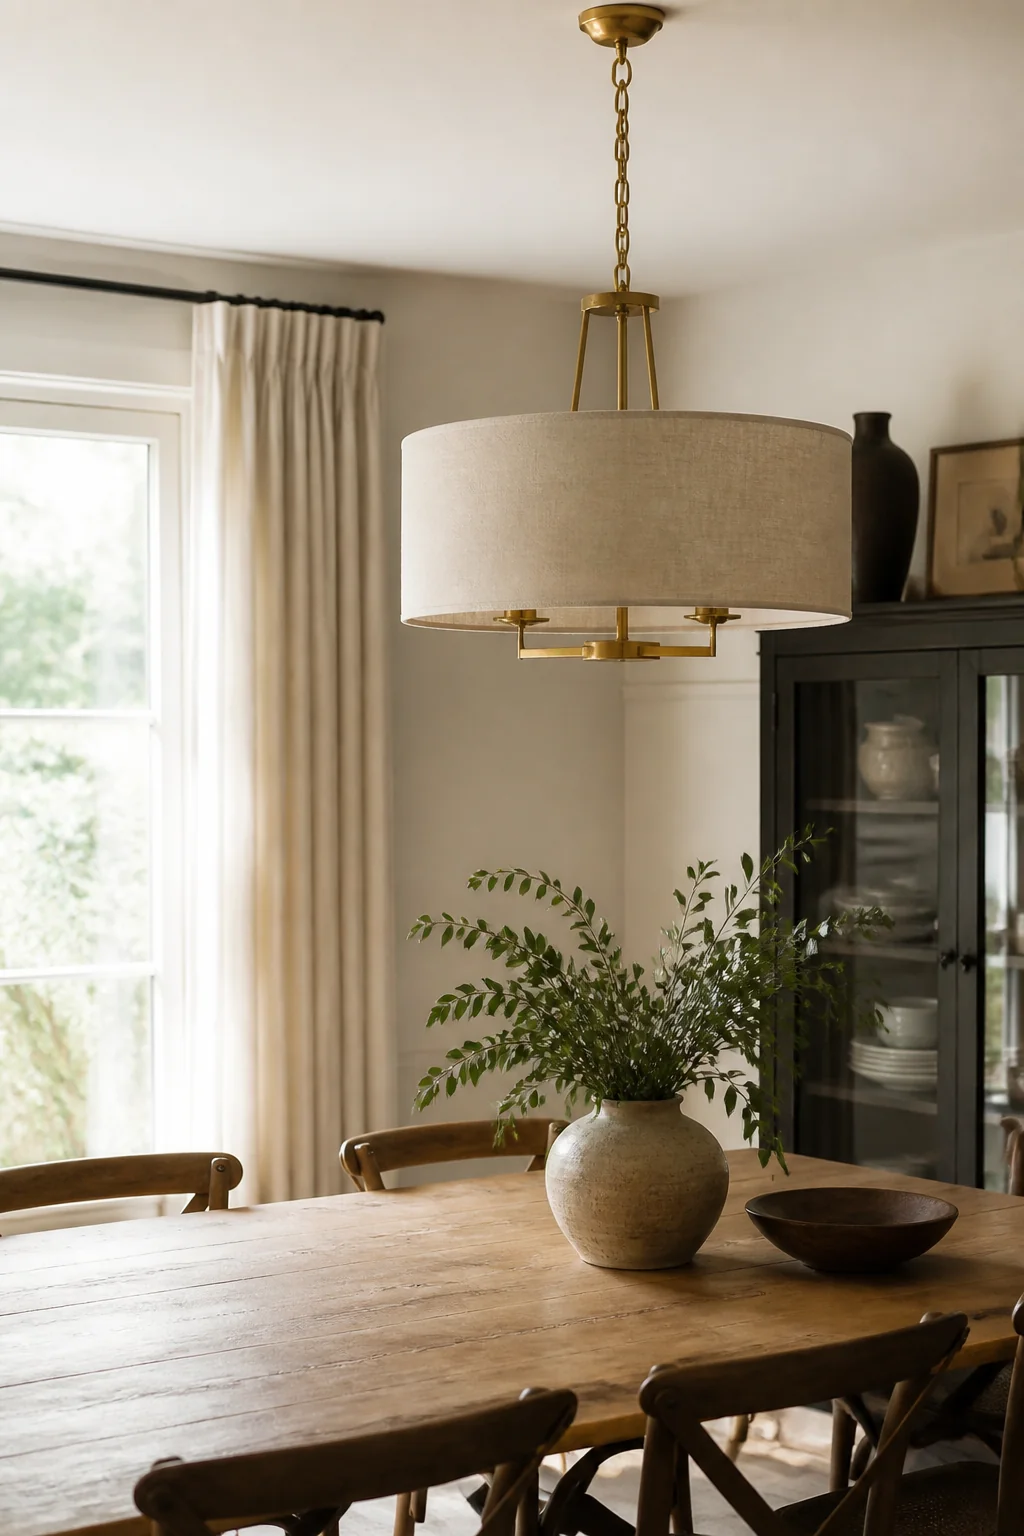
Fixtures are cheaper than most people assume. A simple brass pendant is around $45. The install is the expensive half: an electrician typically charges $100 to $200 to swap one out, and hardwiring into an old junction box is not a first project.
So skip the wiring and do the shade, which is the part of the fixture you look at. A bare wire lampshade frame costs about $12. Cut linen or a heavy cotton to the frame's circumference plus one inch for overlap, run a thin bead of fabric glue along the top and bottom rings, and press the fabric on in sections, keeping it taut as you work around. Use fabric glue rather than hot glue: hot glue sets in seconds and leaves ridges that show as bumps once the bulb is on.
The same $12 rescues a thrifted lamp with a stained shade. Two details matter more than the fabric you pick. Stay at or below the wattage printed on the frame, since a hot bulb will scorch linen from the inside. And if the fixture hangs over a dining table, set the bottom of the shade 30 to 36 inches above the tabletop. Higher than that and the bulb glares straight into everyone's eyes.
Every project here stays cheap for the same reason: it's surface work. Paint, fabric, staples, stain, a roll of paper that peels back off. Nothing touches a wire, a pipe or a stud, which is why a $26 wall stays $26 and why a version that goes wrong costs you an afternoon and the price of a thrift-store frame.
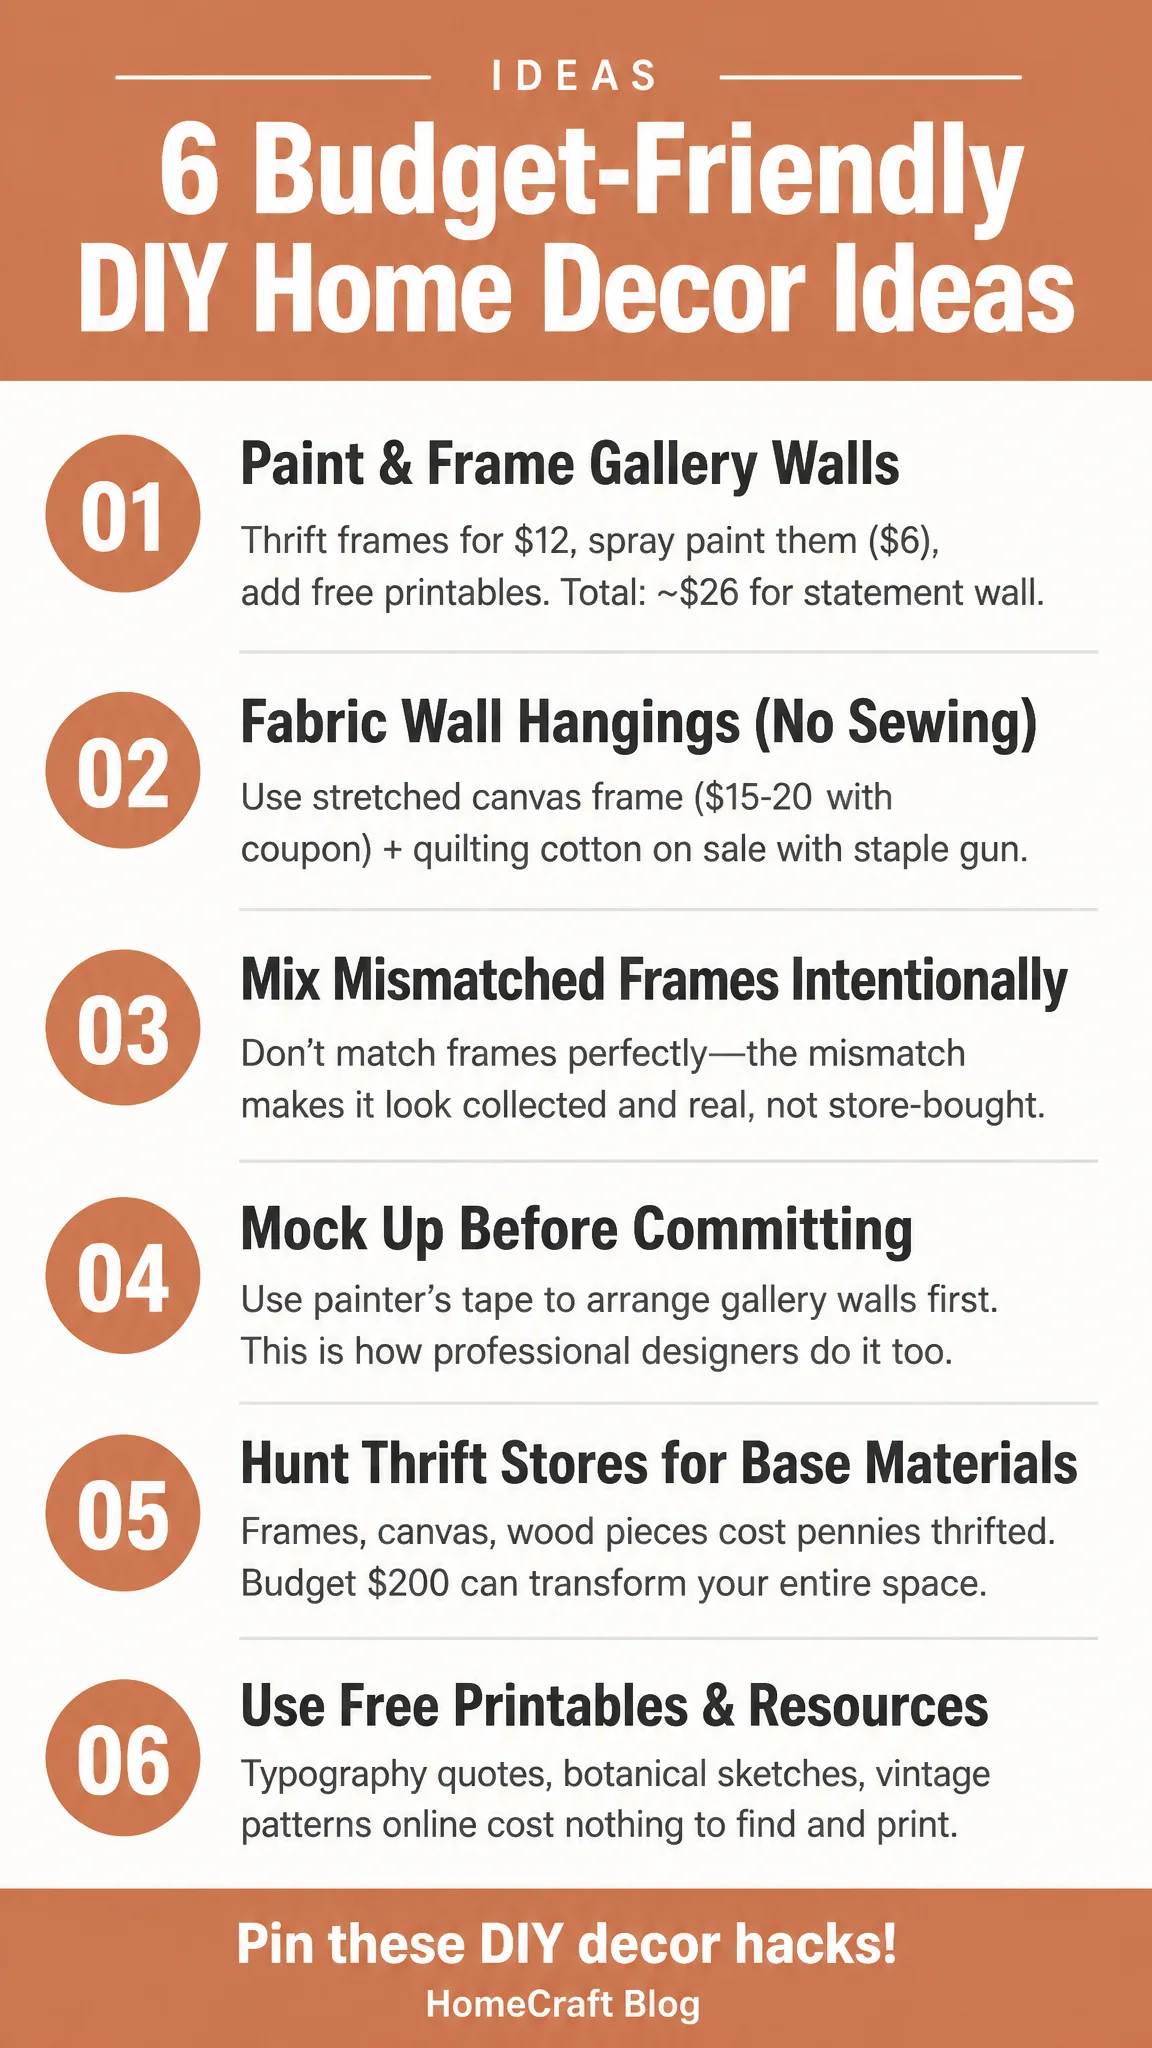
Keep this guide handy
That's also the line to watch. The moment an idea crosses into rewiring, plumbing or drywall, add a professional's day rate to the math before you decide you want it. The pendant in the last section is the clearest example: $45 for the fixture, and up to $200 to put it on the ceiling.