15 Mediterranean Kitchen Ideas for Backsplashes, Islands and Open Shelves
Your backsplash, island, or open shelves look flat? Browse 15 mediterranean kitchen ideas with warm tile options, island layouts, and shelf styling tips.
The backsplash goes wrong first. You pick a tile that looks warm in the store, then it lands beside a white quartz counter and the whole wall turns gray and flat. Or the island arrives with a stool on one side and not enough room on the other, so every trip to the sink means squeezing past someone's elbow. Open shelves fill up with mismatched mugs and a bread box nobody uses, and the kitchen starts to look like a storage unit with a stove. Mediterranean kitchens work because they lean on warm clay, honest materials and a few well-chosen objects. The ideas below show the look, why it works, and how to get it in an ordinary kitchen.
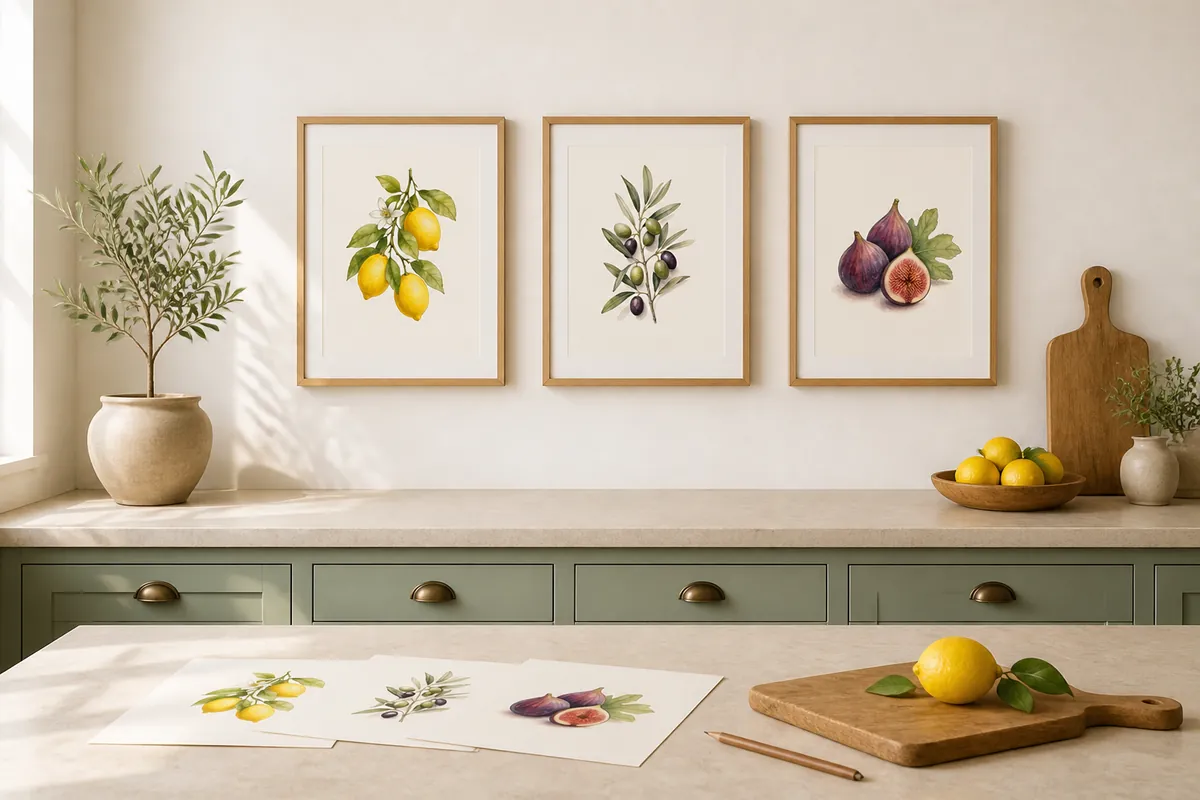 13-page PDF
Free printable kit
Bare kitchen and bath walls? Fixed this weekend.
Six watercolor prints and two layouts measured for the counter and the tub. Free and ready to print.
- 6 watercolors: 3 kitchen, 3 bath
- Measured layouts: counter and tub
- Hanging tips for steamy rooms
Free. Arrives by email in a minute or two, plus our ideas and occasional shop offers. Unsubscribe anytime. Privacy
1. Handmade zellige tile in cream or sea blue
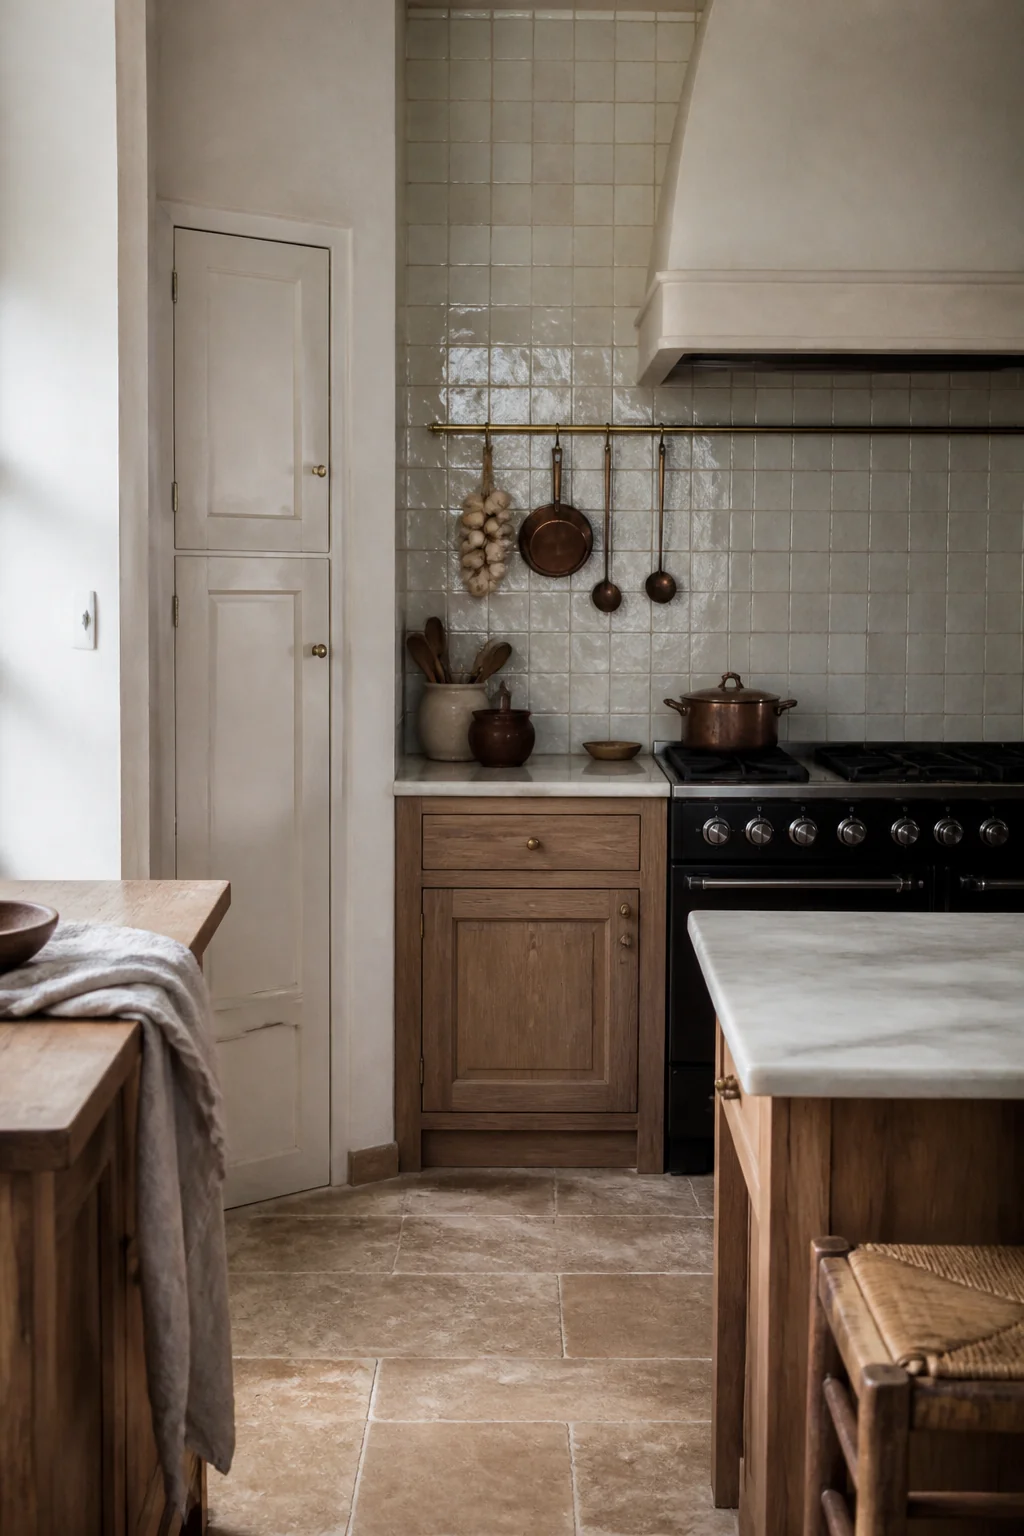
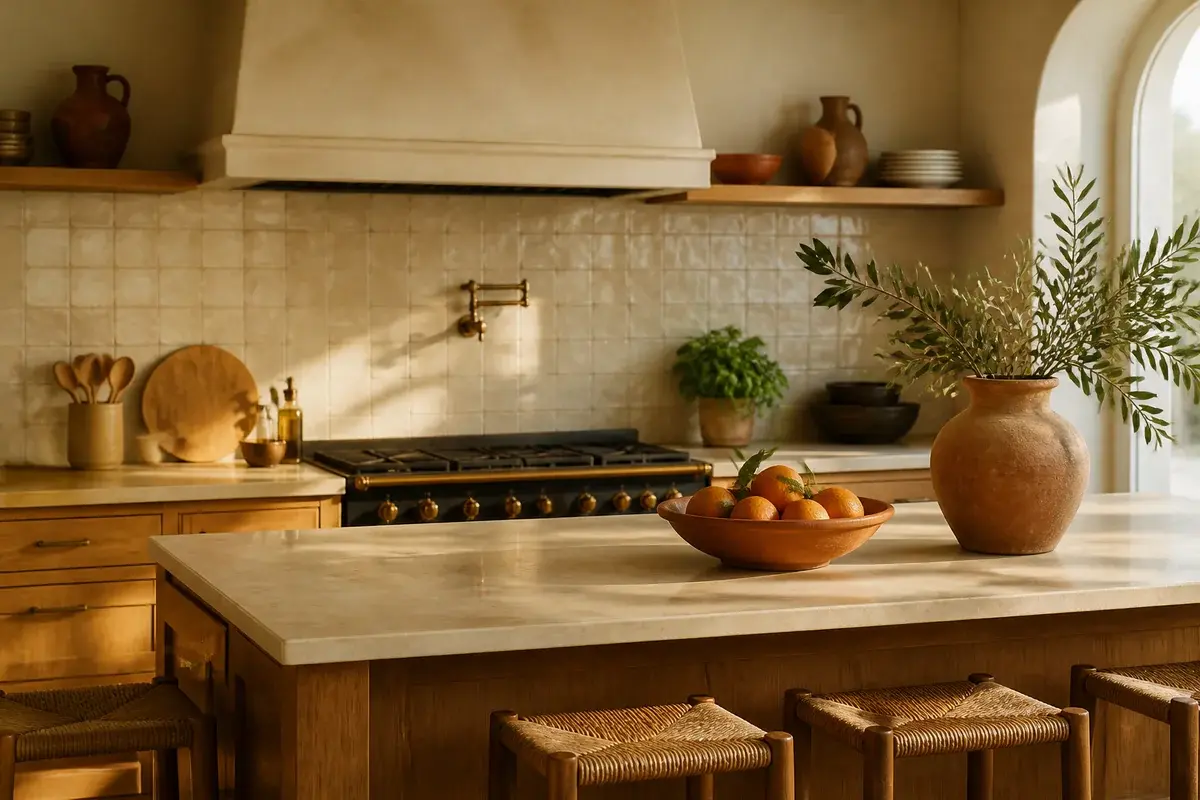
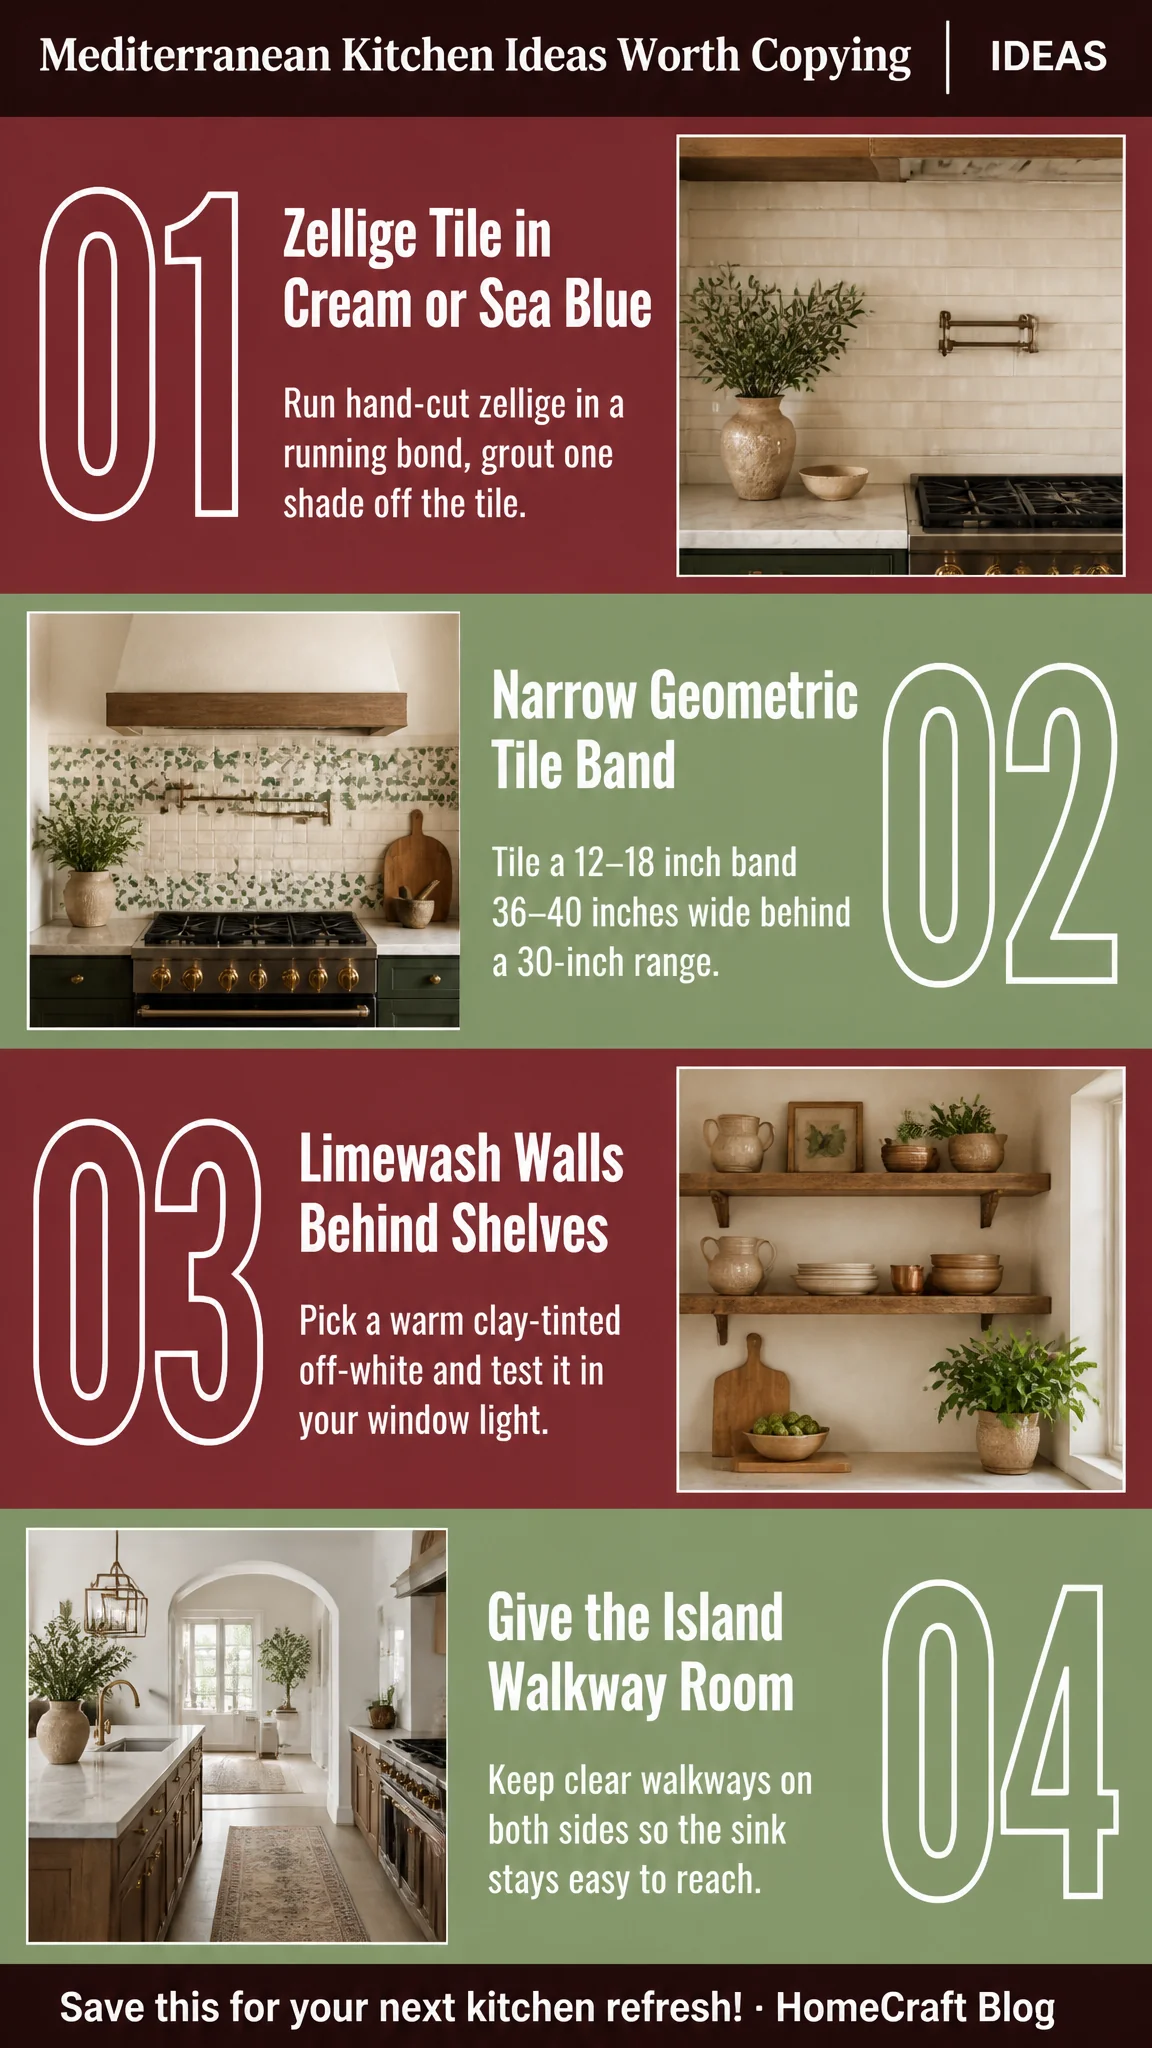
Picture a backsplash of zellige, the thin, hand-cut Moroccan tile with a glaze that pools a little at the edges. Lay it in a soft cream or pale sea blue, in a running bond, from the counter up to the bottom of the upper cabinets. Each piece catches light a little differently, so the wall looks alive without any pattern at all. That variation breaks up the flat plane, which keeps a small kitchen from reading like a white box. Choose a grout one shade off the tile, not stark white, because a dark grout turns the wall into a grid. Order a few extra boxes for cuts and breakage. (Zellige usually costs more per square foot than basic subway tile, so plan the budget around the wall, not the whole room.)
2. A narrow geometric tile band behind the range
Run a strip of patterned tile about 12 to 18 inches tall across the wall behind the range and nowhere else. A hand-painted geometric motif in terracotta, ochre and cream works well, and the rest of the wall stays plain white paint or plain tile. The pattern sits where your eye lands while you cook, so it reads as a deliberate feature. A strip has a clear edge, which is what stops the pattern from looking like a mess. For a 30-inch range, a band 36 to 40 inches wide centers it with a little overhang on each side. Measure twice before you order, because awkward cut tiles at the ends look fussy.
3. Limewash walls behind open shelves
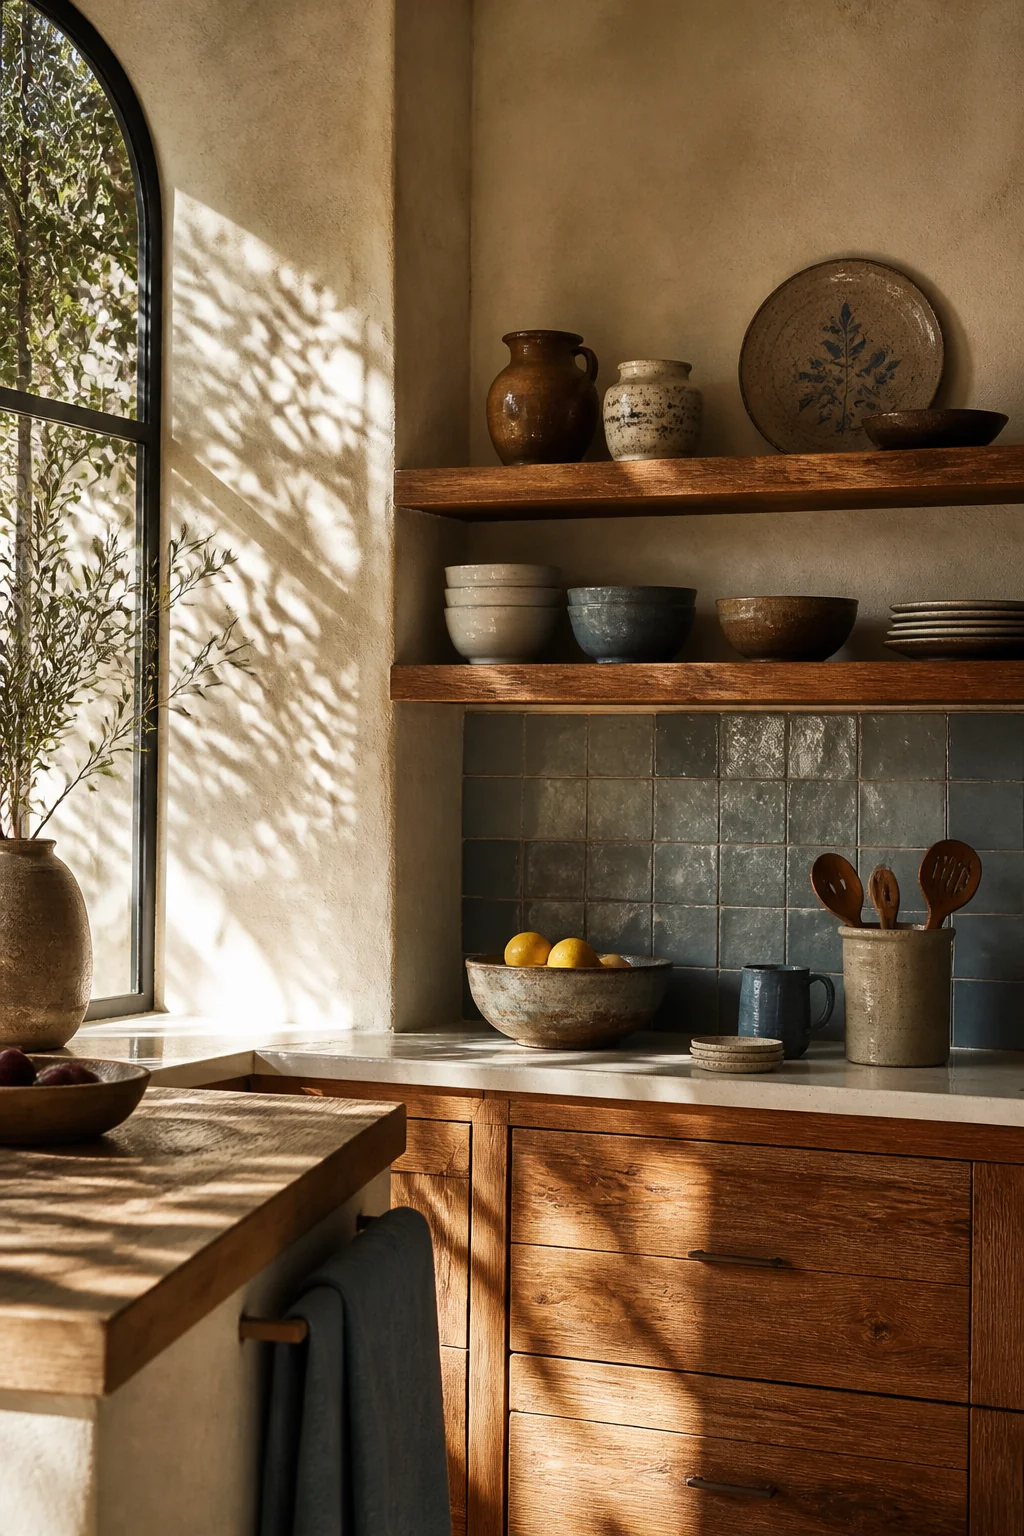
Skip the tile on the wall behind your shelves and use limewash, a mineral paint that goes on in soft, uneven layers. The color to look for is a warm off-white with a hint of clay, the kind that looks like old plaster in late afternoon light. The wall gets depth and movement, so everything you set in front of it looks like it belongs to a house rather than a showroom. Test a sample patch on the actual wall, because limewash shifts with window light. Anchor the shelf brackets into studs or into anchors rated above the weight of what you'll load, not into drywall alone.
4. An arched niche lined with the backsplash tile
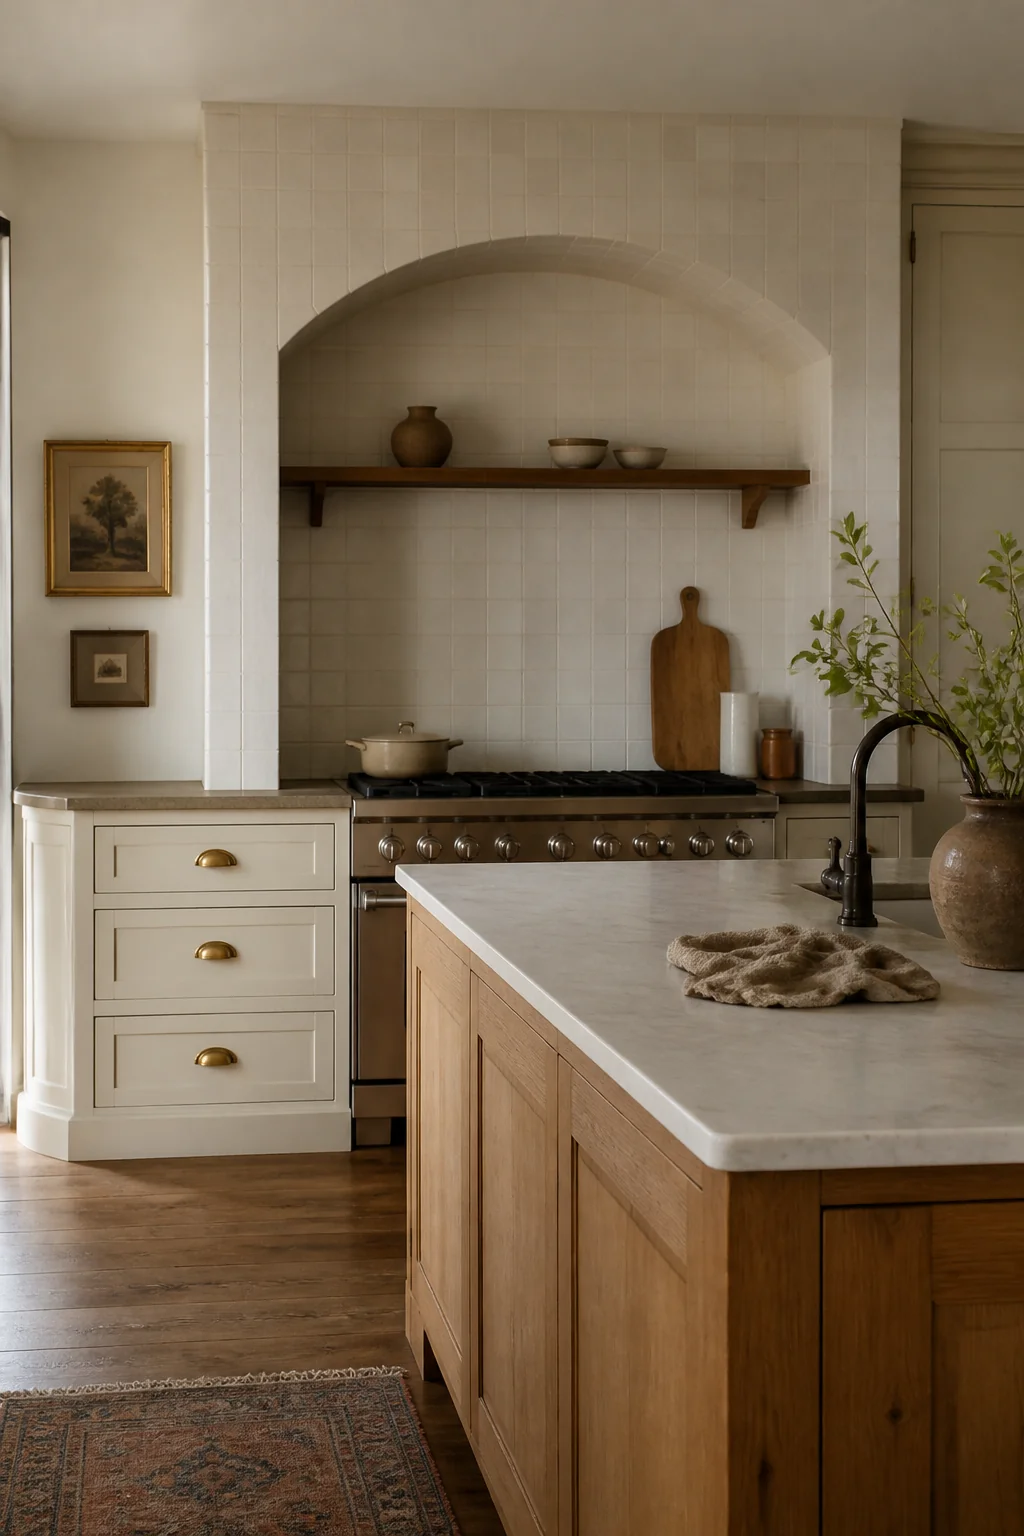
Cut a shallow arched niche, roughly 4 to 6 inches deep, into the wall beside the range or sink, and line it with the same tile as the backsplash. Inside, group olive oil bottles, a pair of clay pitchers and a bowl of lemons. The arch frames those objects so they read as one composition instead of clutter. It repeats the curve of an arched doorway in a room full of straight lines. Before you cut, have a licensed electrician or plumber confirm what runs inside that wall. Cutting into a wall with the breaker on is how people hit wiring they didn't know was there.
5. A honed stone island top over a painted base
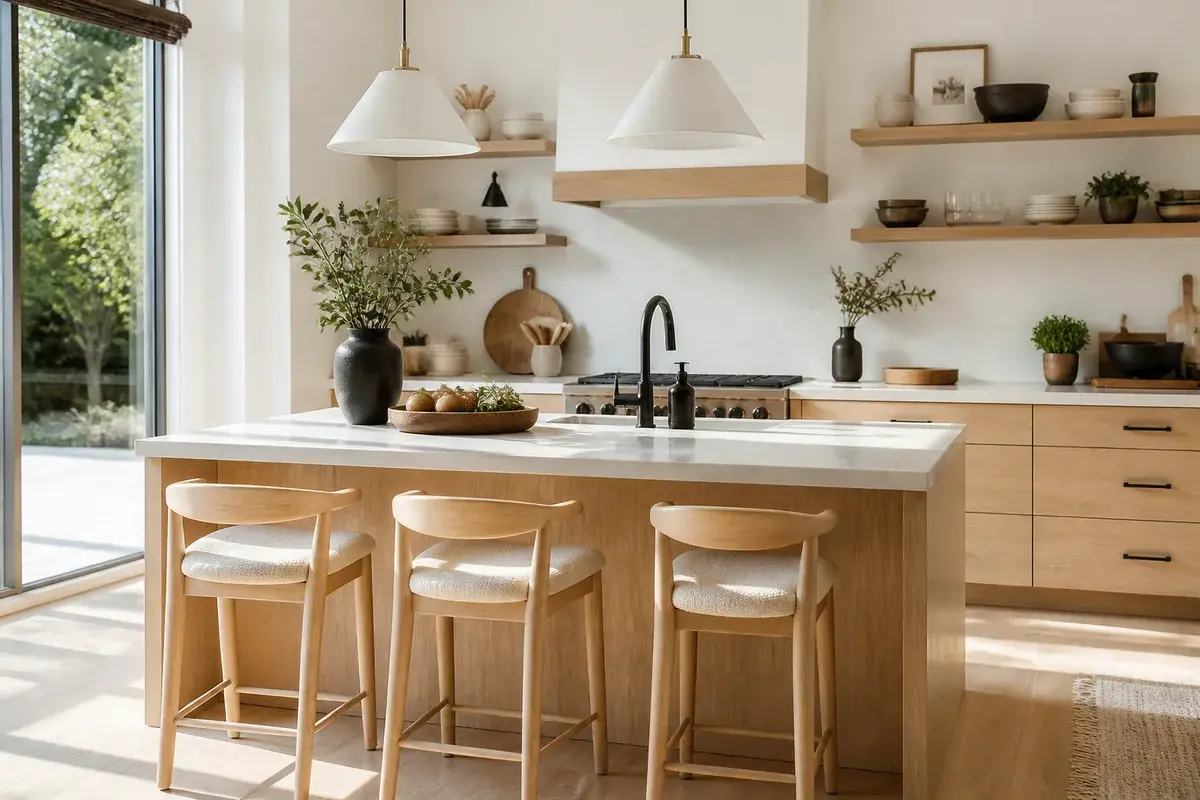
Keep the island base in a warm, muted color and top it with honed limestone or honed marble that has a soft, matte finish. Polished stone throws glare and shows every fingerprint, while honed stone looks chalky and calm against warm walls. The contrast between a painted base and a stone top makes the island read as furniture rather than a block of cabinets. A common mistake is choosing a porous marble for a kitchen where people cook with oil and lemon. Seal it on a schedule, and pick a 1.5-inch-thick top with a 12-inch overhang on the seating side so knees fit underneath.
6. A built-in bench on one side of the island
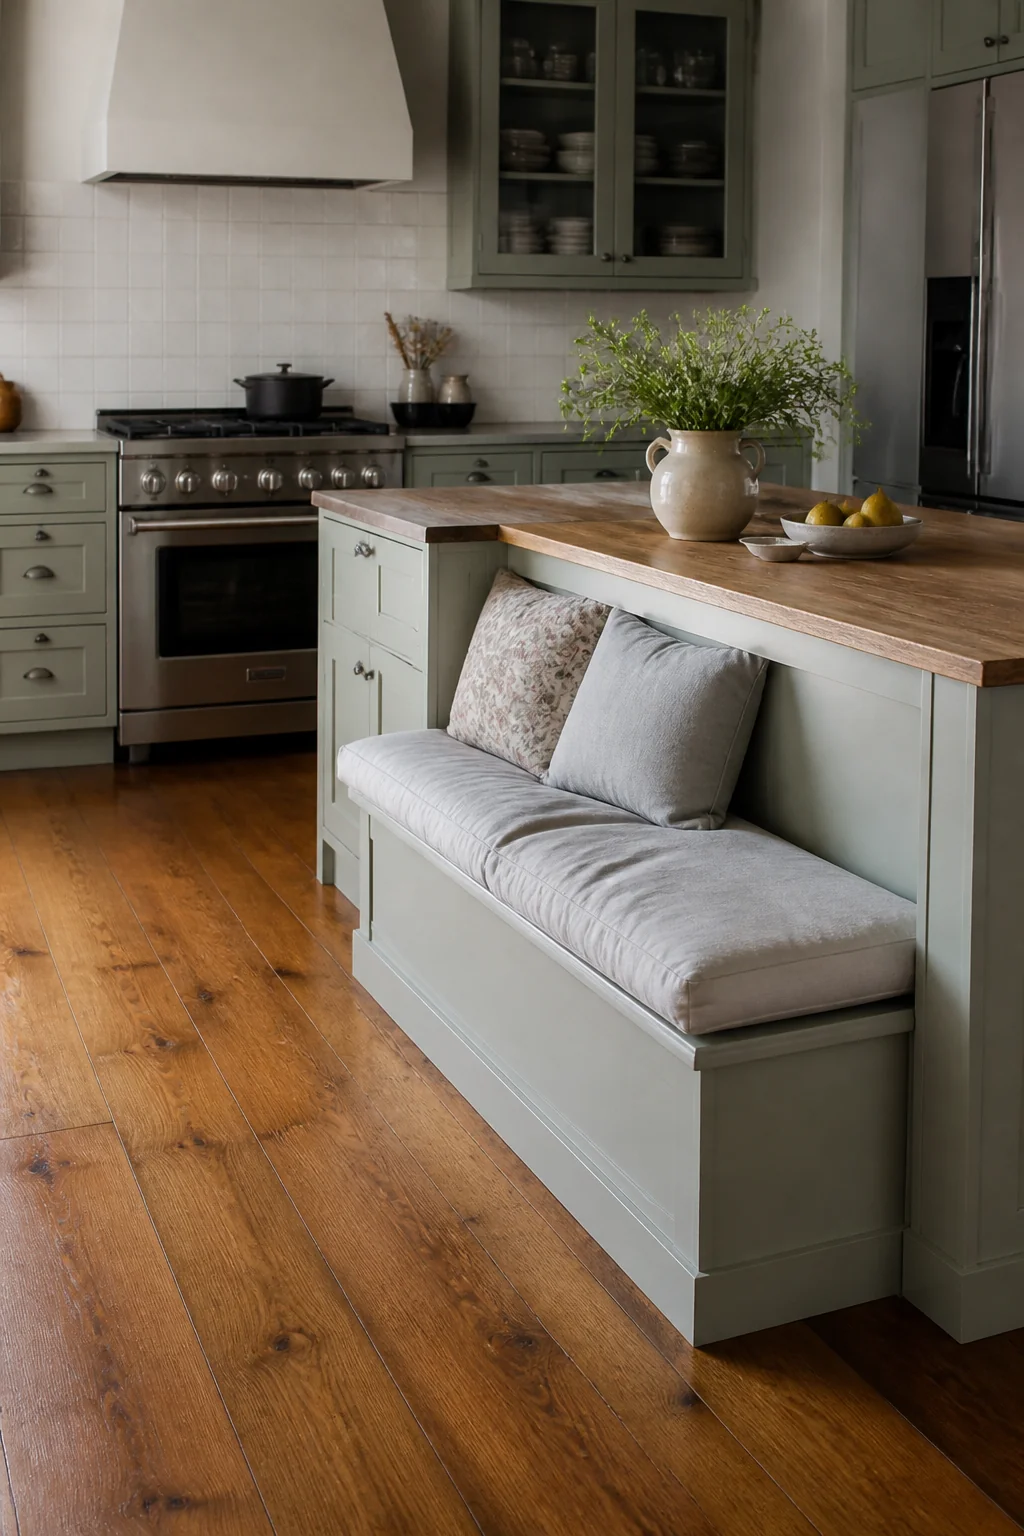
Put a long built-in bench along one side of the island and leave the other sides open to the cabinets. Give it a seat cushion in faded terracotta or a rush-woven top, and skip the backrest if the room is tight. A bench feels softer than a row of stools, so the island becomes a table people gather around rather than a bar they pass. Leave at least 36 inches between the bench and the opposite counter, and closer to 42 inches if people need to walk behind someone who's seated. Check that the bench doesn't block a dishwasher or drawer that needs to open.
7. A curved plaster-look range hood
Finish the range hood in smooth plaster, or paint it to look like plaster, with a gentle curve or a plain arch at the bottom. It becomes the one sculptural element on a wall of flat tile and cabinet fronts. Keep the lower edge about 30 inches above the cooktop, then check the manufacturer's spec for your range type. A common mistake is leaving a stainless box over a warm kitchen, which pulls the room cold. If the hood is hardwired, the wiring is electrical work, so turn off the breaker or bring in a licensed electrician.
8. Thick white oak shelves kept shallow
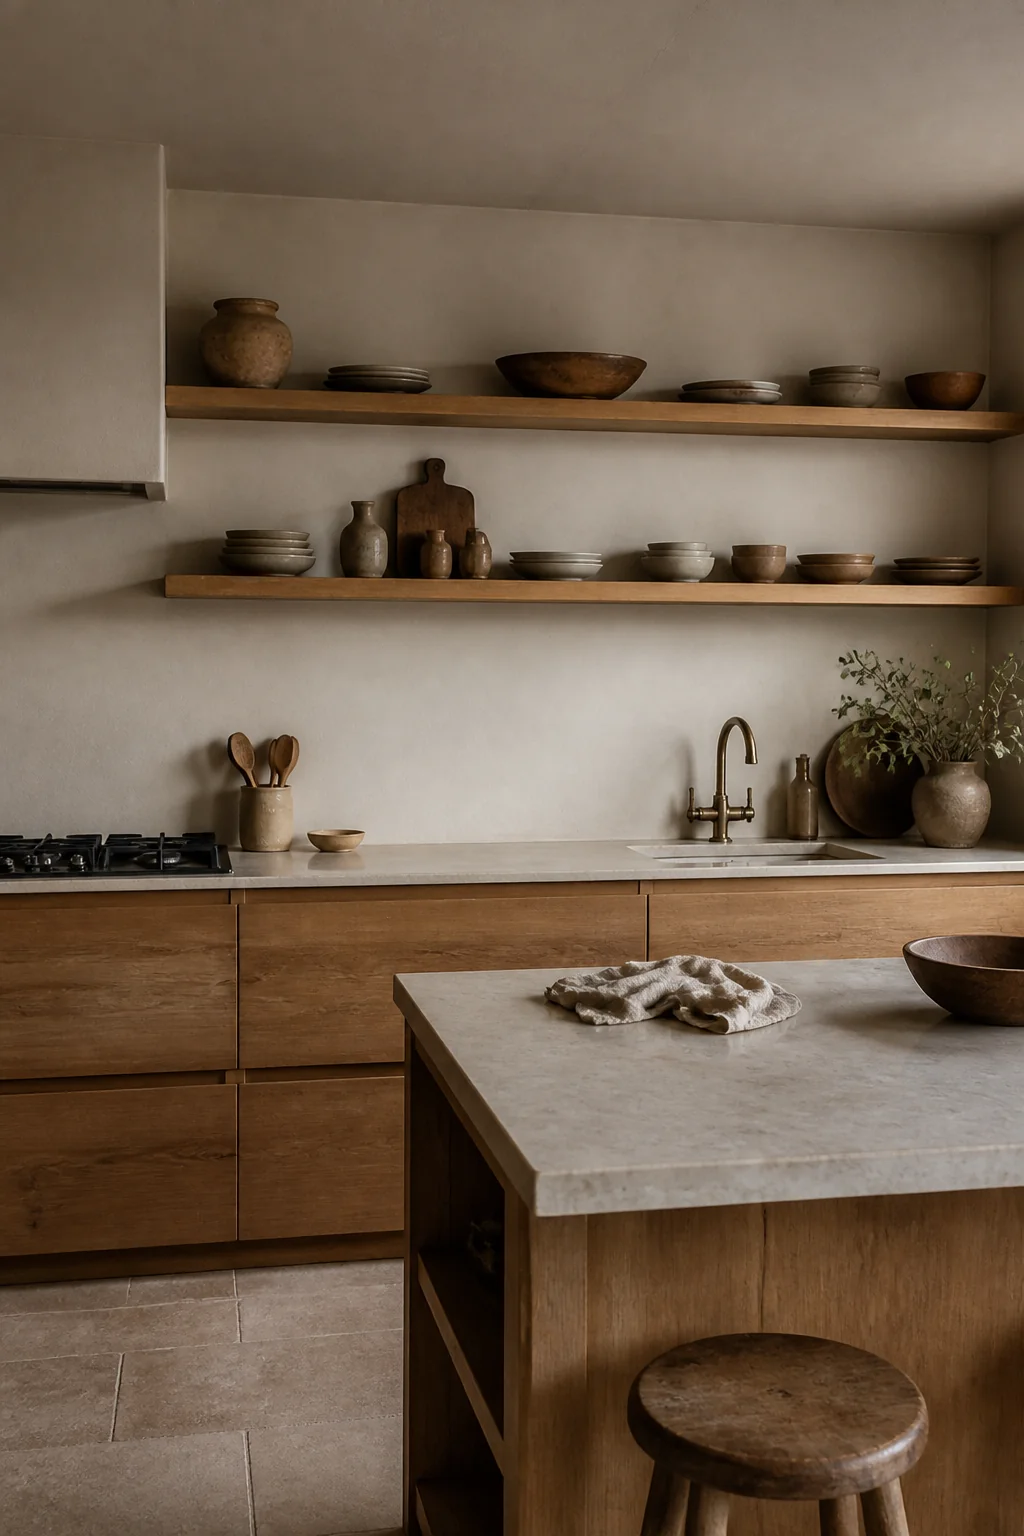
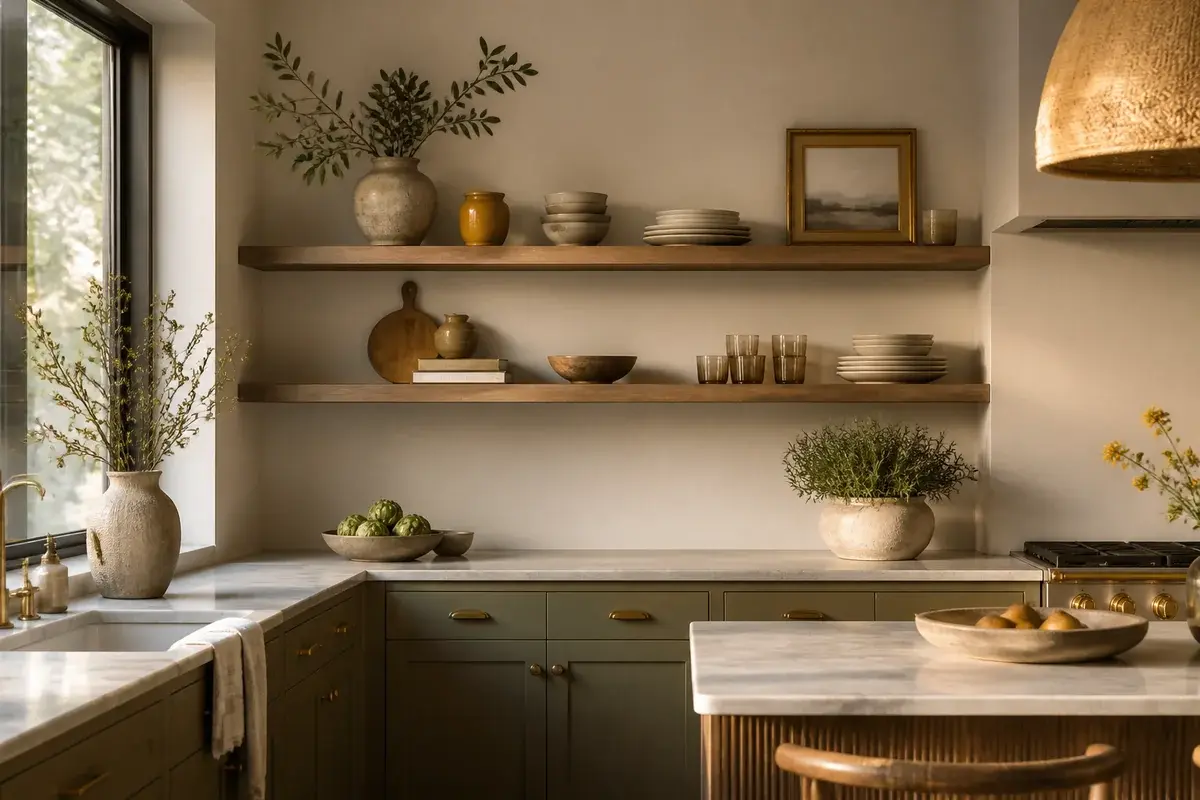
Use two or three shelves in white oak, 10 to 12 inches deep, and space them about 15 inches apart. Keep everyday plates and bowls at the reach height you use most, and put heavy stoneware on the lowest shelf. Wood carries warmth and shows its grain, which suits a kitchen built around clay and stone. A common mistake is going deeper than 12 inches, because the shelves start to pull the wall into clutter. A 1x12 board cut to length works well if you don't want to buy solid stock. Anchor every bracket into a stud or into anchors rated above the loaded weight.
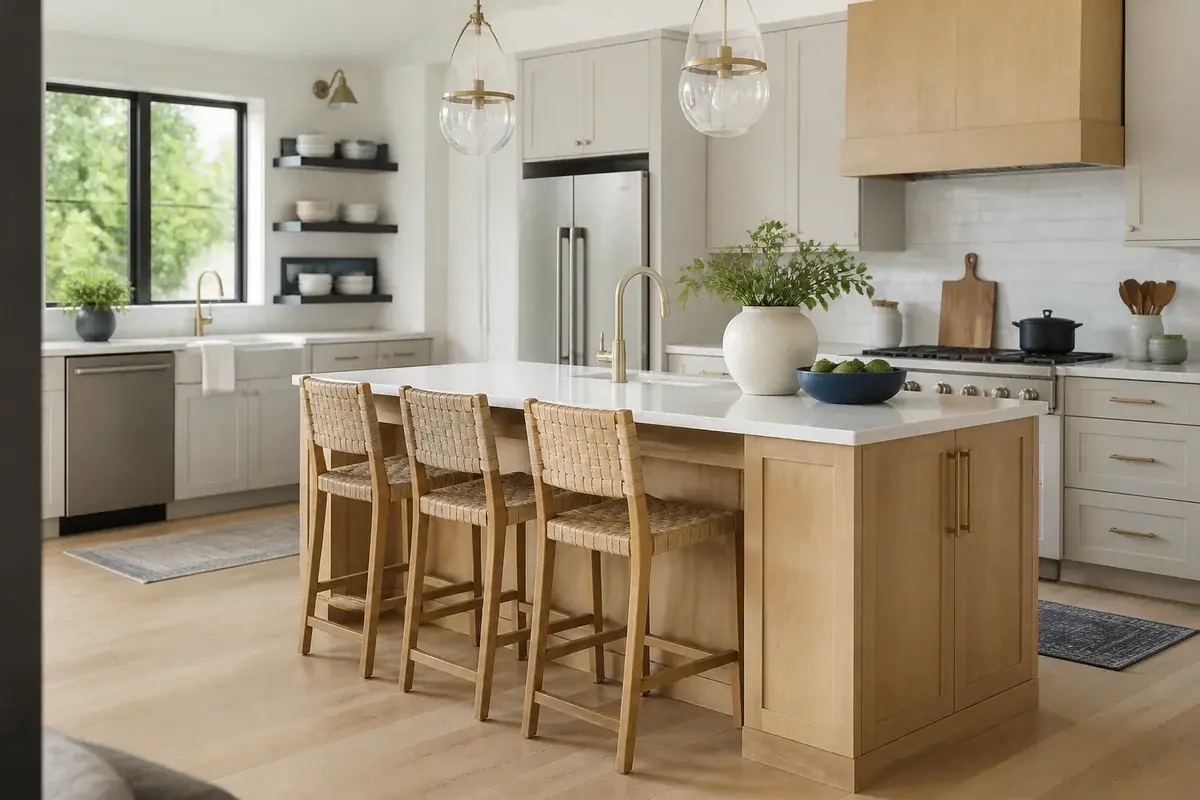
9. Hand-hammered brass pendants over the island
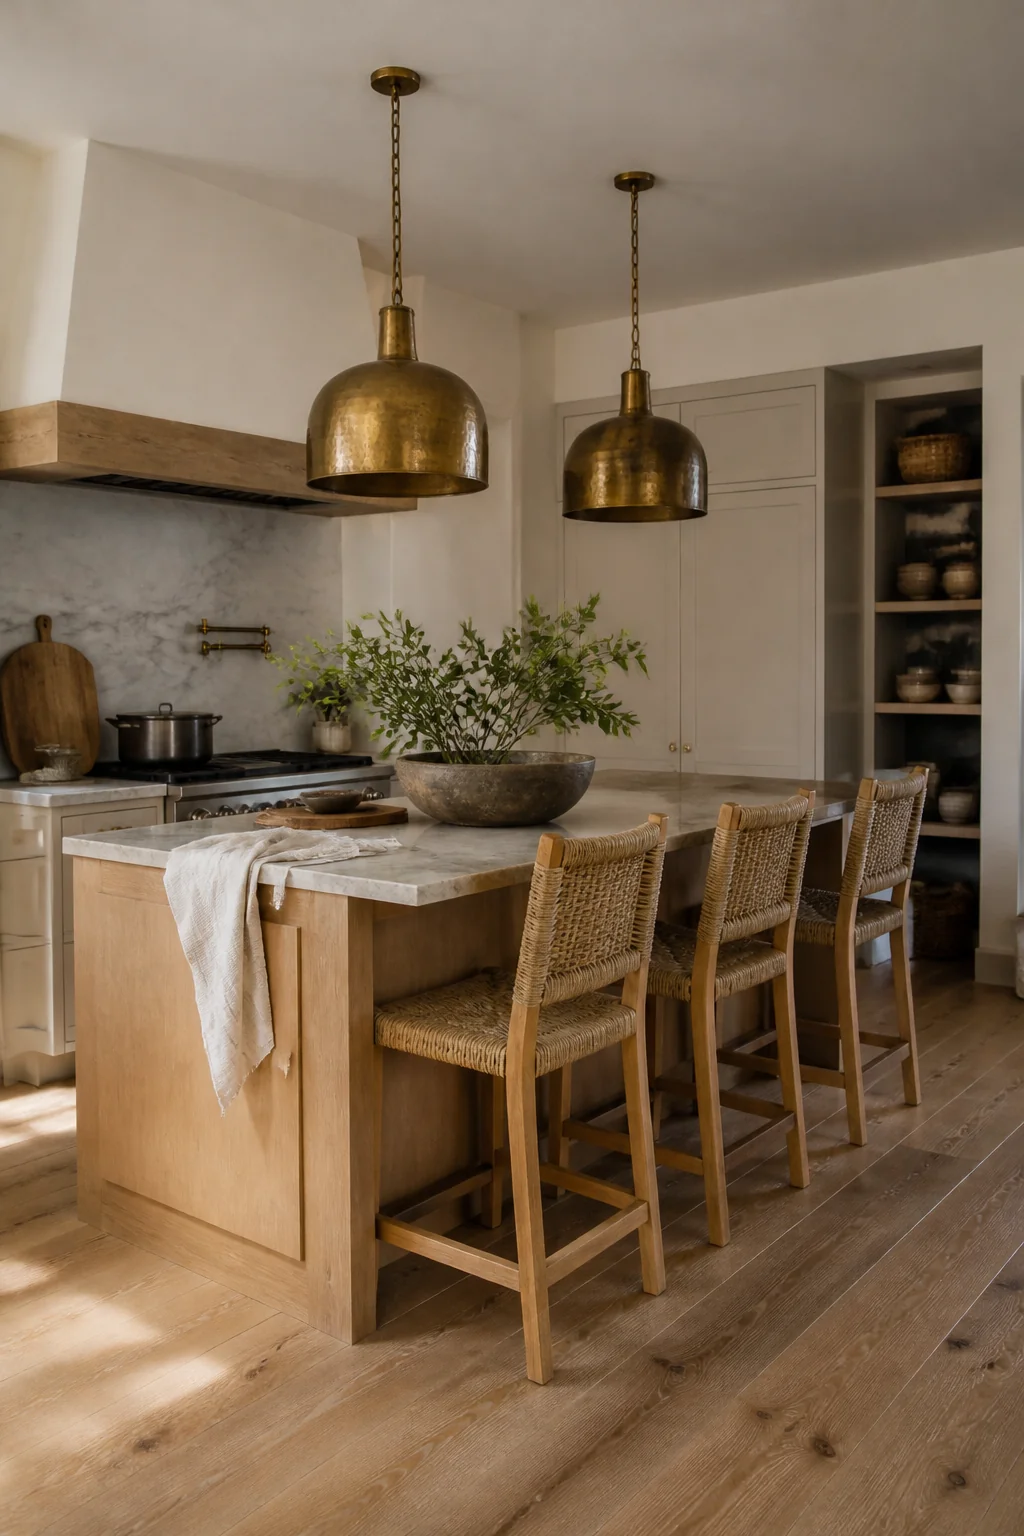
Hang two or three pendants over the island in hand-hammered brass or aged iron, with shades in clear glass or woven rattan. Hang the bottoms 30 to 36 inches above the counter, and space two pendants about 28 to 30 inches apart, center to center. The light lands low and warm, and the fixtures become the anchor for the whole island. A common mistake is hanging them too high, so the light spills onto the ceiling and the counter looks dim. Adding or replacing a fixture is wiring work, so switch off the breaker or have a licensed electrician do it. Our art deco dining room lighting piece covers how fixture scale works in a room with a table.
10. Olive, terracotta and ochre as a three-color palette
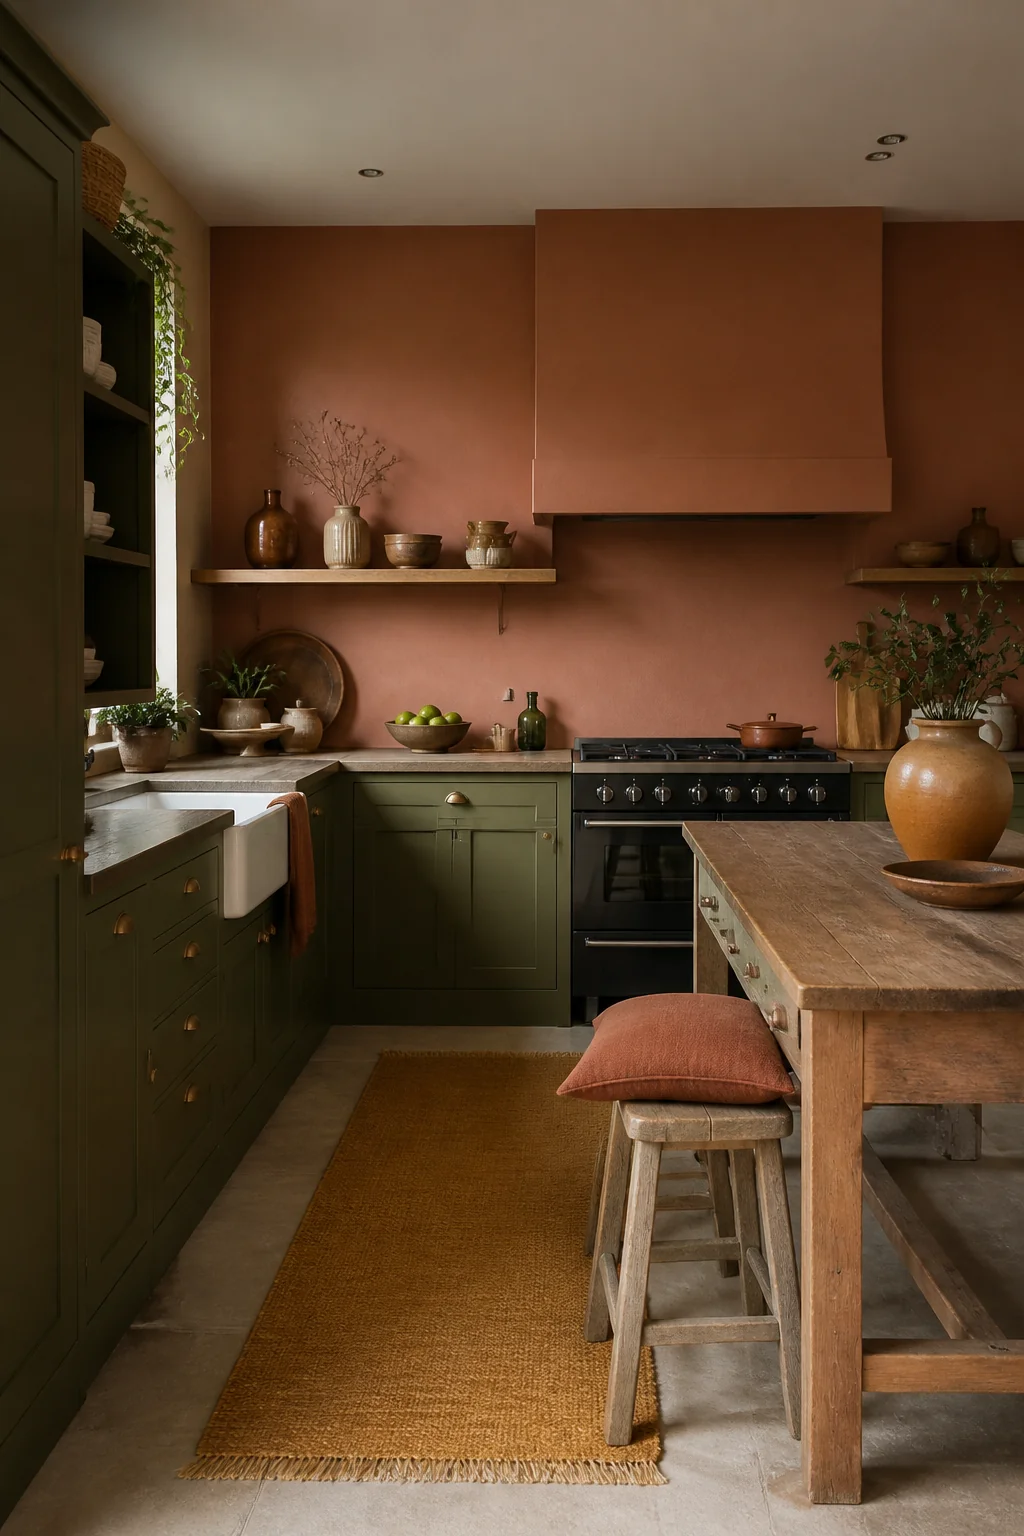
Pick three colors and stop there. Use olive green on the lower cabinets, terracotta in pottery and a runner or stool cushion, and ochre in a few small objects. Keep the walls and ceiling white or cream. A limited palette lets the materials do the work, and the white keeps the warm colors from turning muddy. Test each color on a sample board beside the actual counter before you commit. A common mistake is adding a fourth accent because the room feels bare, which usually makes it feel busy instead. Three colors, placed with restraint, reads as a plan.
11. Deep blue lower cabinets under white uppers
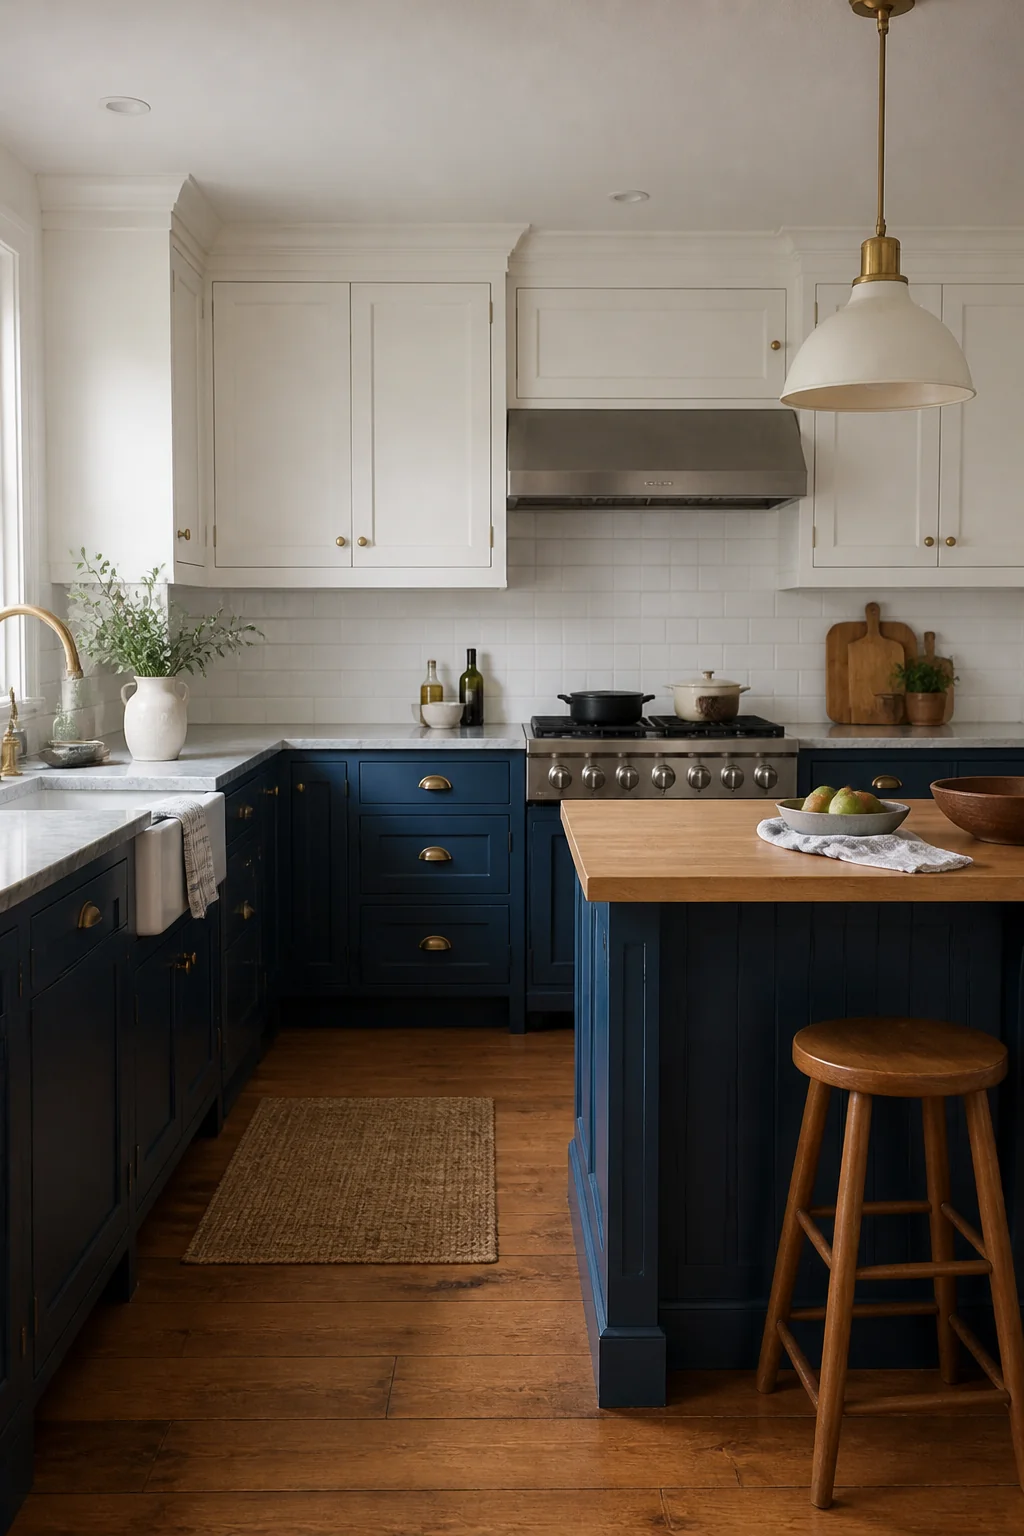
Paint the lower cabinets in a saturated, slightly grayed blue, the shade people often call Aegean, and leave the uppers white. The darker color sits low, where it grounds the room, and the white uppers keep the top of the kitchen from closing in. Use a cabinet enamel that cures hard, since kitchen fronts take daily wear. Spray paint and oil-based finishes need the windows open or the work done outdoors, and dry oily rags should lie flat outside until they're fully dry. A common mistake is painting the uppers dark too, which shrinks a small kitchen fast.
12. Patterned tile on the island end panels
Put patterned cement tile or painted ceramic on the exposed ends of the island, the sides you see first from the doorway. An end panel about 36 inches tall and 24 inches wide is a good size for a single feature. Because the ends are seen first, a pattern there reads as intention rather than decoration. A common mistake is tiling the front and both ends, which makes the island compete with the backsplash. Pick one repeating pattern, set it in thinset over a flat, solid base, and seal cement tile before the first use.
13. Unlacquered brass pulls on the cabinets
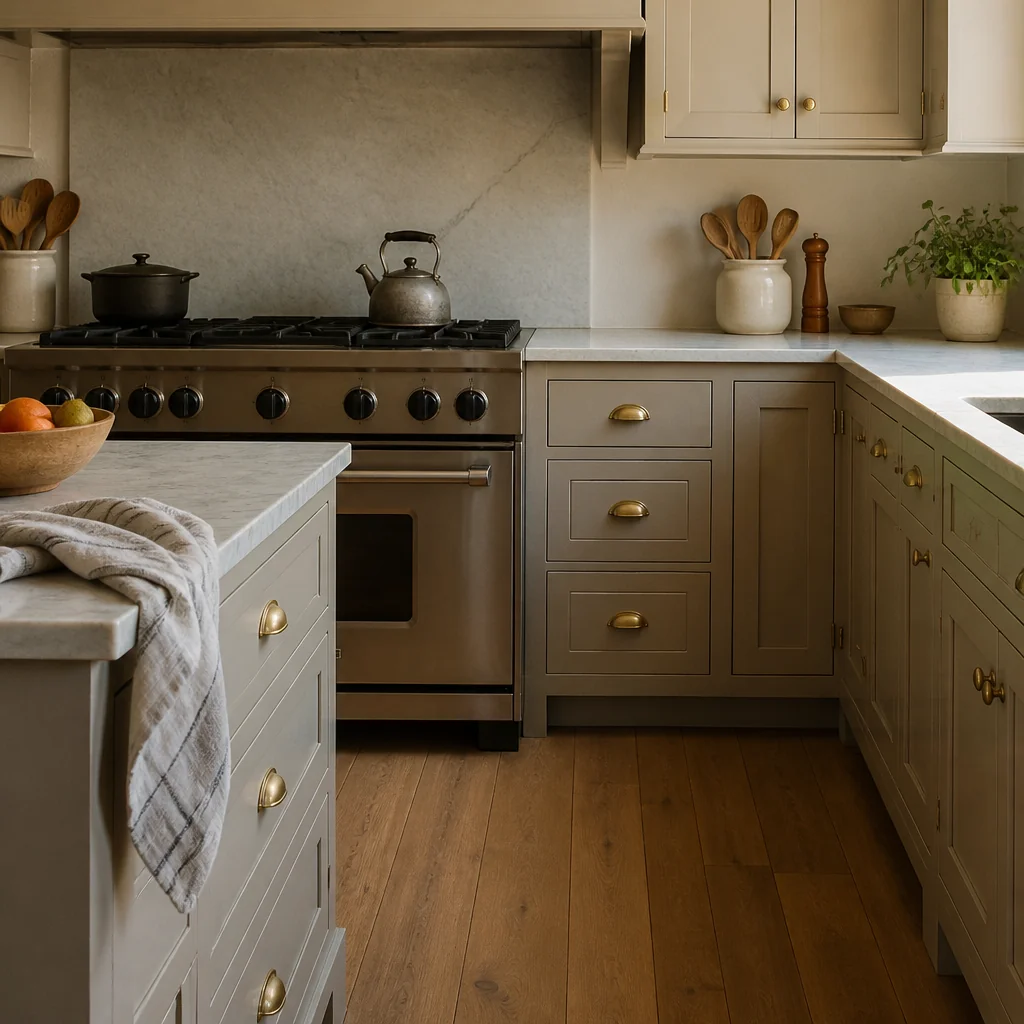
Swap cabinet pulls for unlacquered brass in a simple bar or knob shape, spaced about 4 inches center to center on drawers. Unlacquered brass darkens and warms with use, which suits clay tones and white plaster. Lacquered brass stays bright and shiny, which fights the softer palette around it. Mixing brass and chrome on the same run of cabinets is a common mistake, and it's the fastest way to make a kitchen look assembled rather than planned. Choose one metal and keep it through the faucet, pulls and light fixtures.
14. A terracotta herb row on the window sill
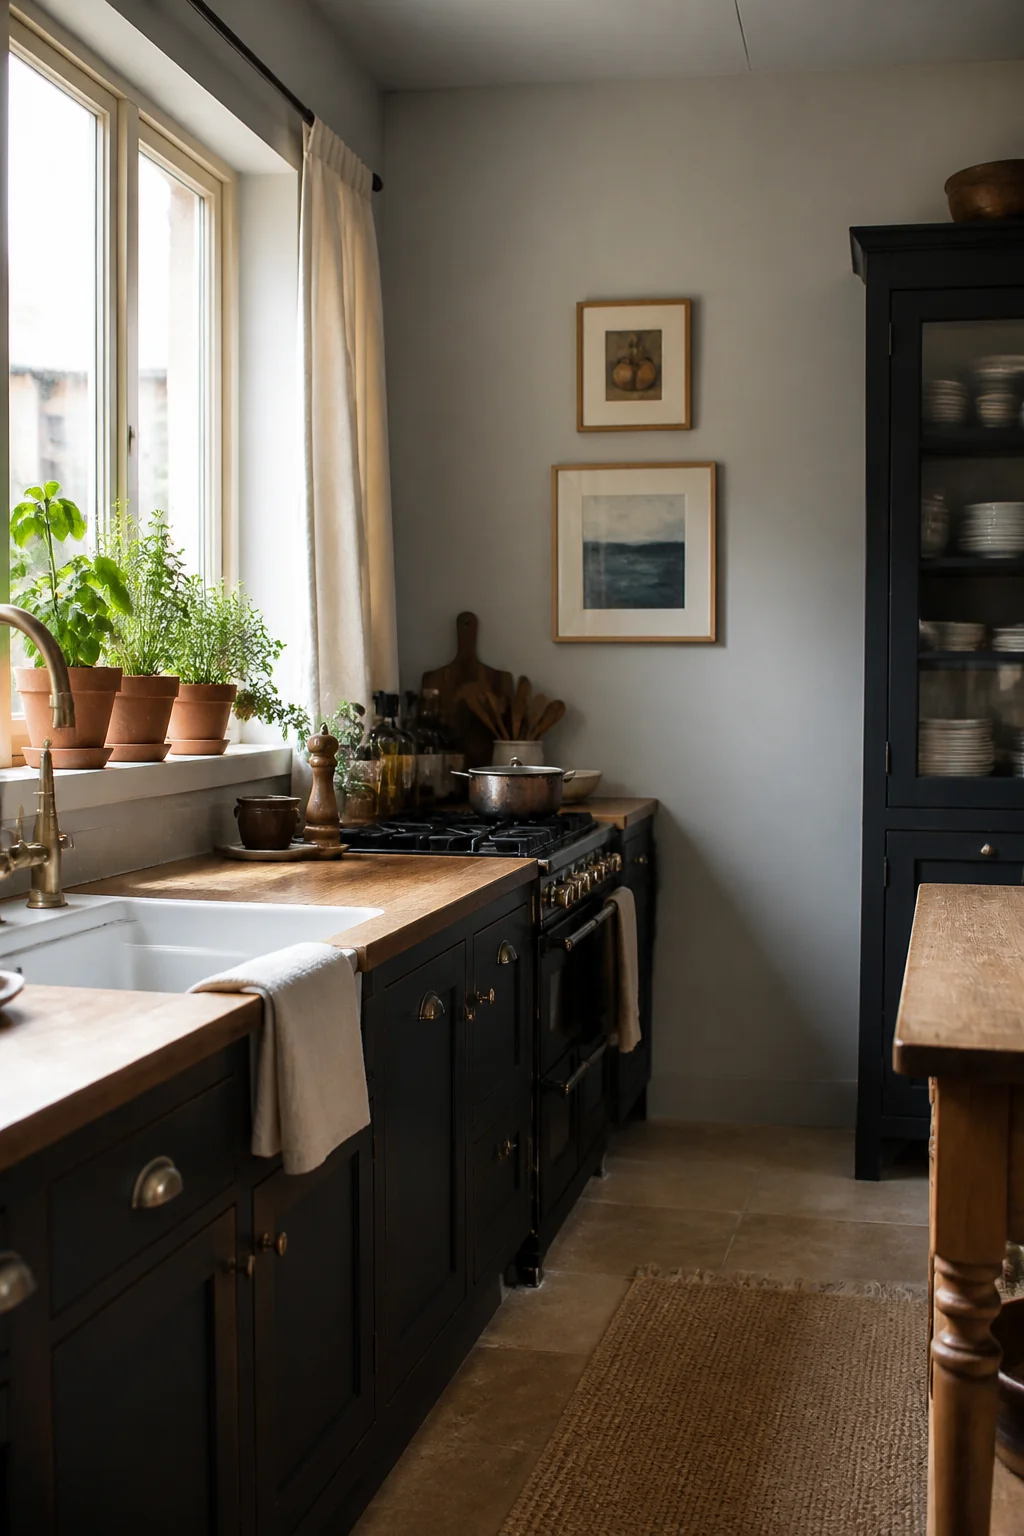
Line the window sill with terracotta pots of rosemary, thyme and bay, set about 4 to 6 inches apart. Use unglazed clay so the pots pick up the color of the wall over time. The sill becomes a green, textured edge that frames the window without a curtain. Herbs need strong light, so a sill that gets morning or midday sun works best, and a north-facing sill usually won't keep them alive. Keep the sill clear enough that the window still opens. Before you add anything else to open shelves, a declutter your home checklist helps you see what's already crowding the space.
15. Clay vessels and flameless candles on the island
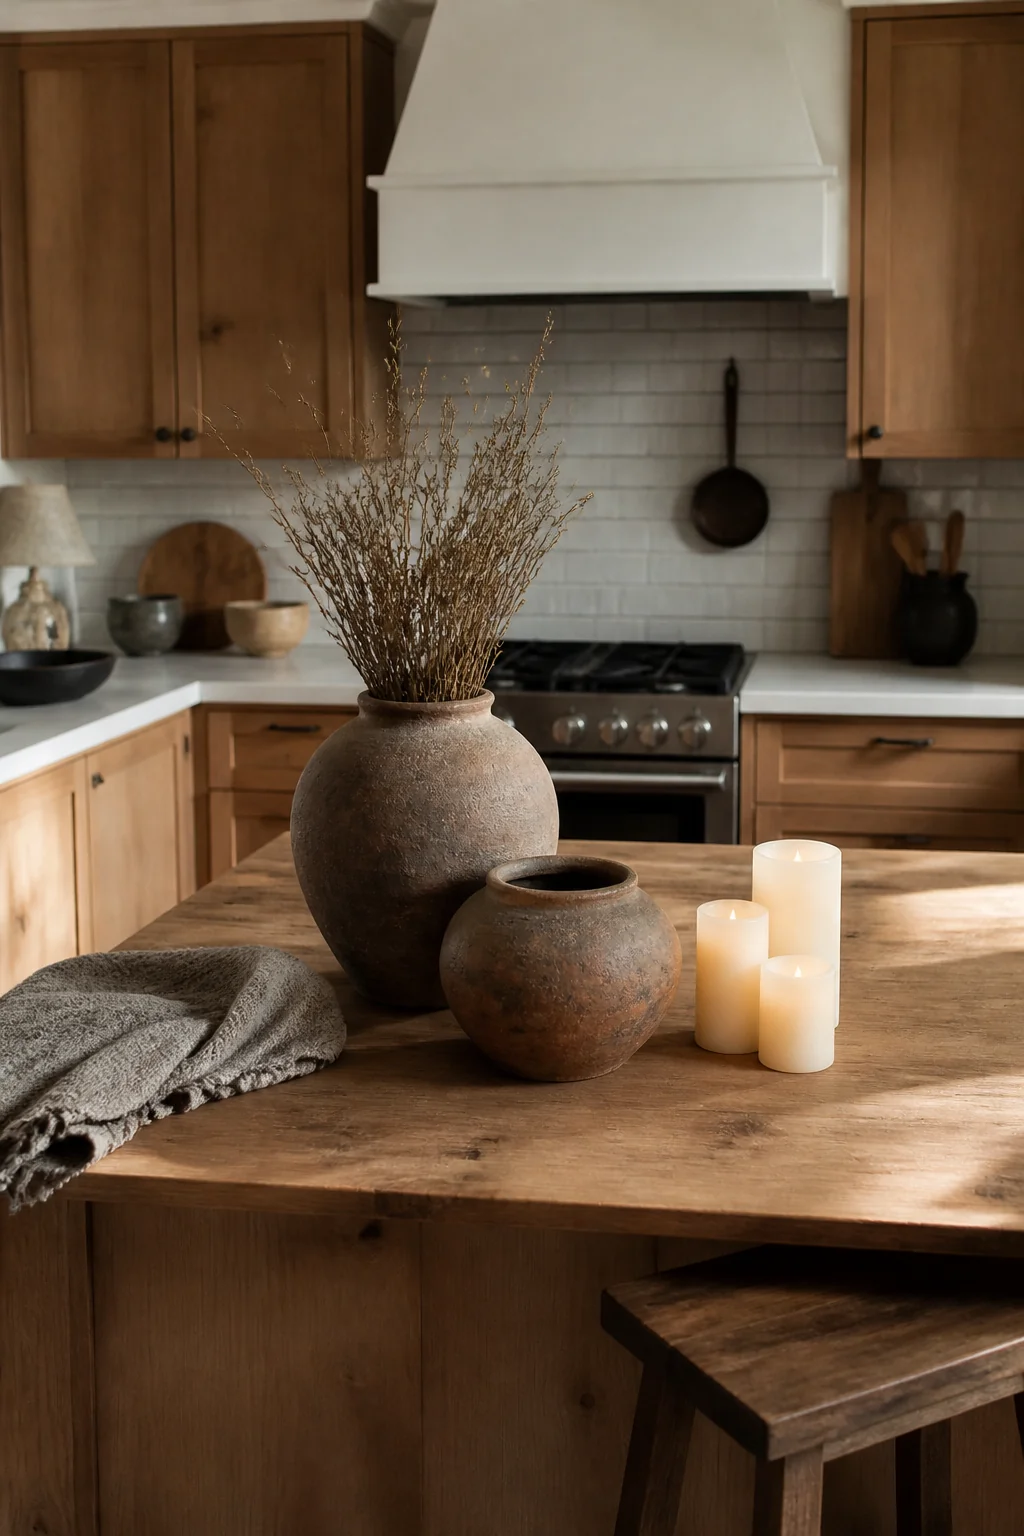
Set a cluster of clay vessels and flameless candles on the island, with the tallest piece about 12 inches high and the others stepping down. Their matte surfaces pick up the light differently than the stone top, which adds texture at table height. Warmth at seated eye level makes the room feel lived in when people sit to eat. Flameless candles are the right choice here, because a real flame needs at least 12 inches of clear space from anything that can burn and needs to be put out when you leave the room. Keep the cluster to three or four pieces so the island still has room for food and a cutting board.
Save the full guide
The room images in this post are illustrations made with AI.