29 Kitchen Open Shelving Decor Ideas That Look Styled, Not Cluttered
29 kitchen open shelving decor ideas with the measurements, prices and weight limits behind them, from three-item groupings to the 2-inch front margin.
This post contains affiliate links. As an Amazon Associate I earn from qualifying purchases. If you buy through our links, we may earn a commission at no extra cost to you.
Open shelving photographs beautifully and then leaves you standing in front of an empty board with a cupboard's worth of dishes and nowhere obvious to put any of it. Styling the shelves comes down to decisions with real numbers underneath: how much empty space to leave, what a loaded plate stack weighs, which piece anchors the eye, and how to mix the things you're showing off with the things you reach for every morning. Here are 29 ideas with those numbers attached, from farmhouse through modern.
1. Start with a three-item grouping system
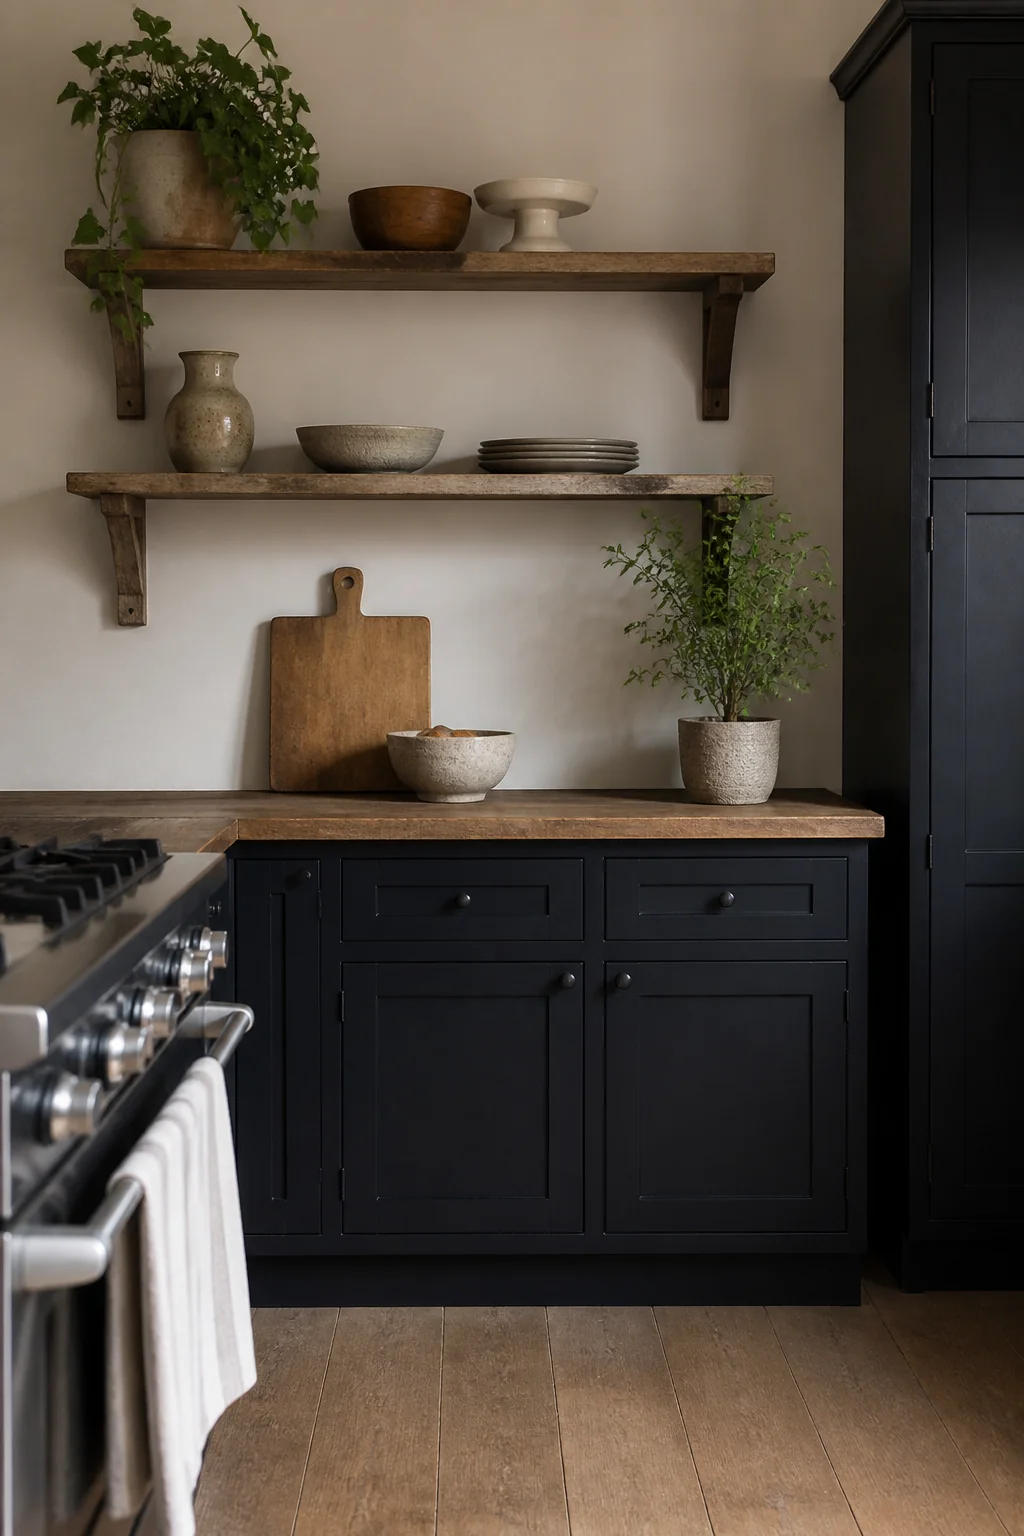
Pick three pieces that differ in height, texture and job, then repeat that trio along the run. A ceramic bowl around 8 inches wide, a plant in a 4-inch pot and a short stack of books gives you one tall element, one mid and one low horizontal. Leave 4 to 6 inches of clear shelf between groupings so the eye reads them as separate rather than as a continuous row. A 36-inch shelf takes two groupings comfortably; anything under 30 inches should carry one and stop there. Budget roughly $15 to $30 for the bowl, $8 to $12 for a small plant, and nothing at all for books you already own. The usual failure is three objects of nearly the same height, which reads as a line of stuff instead of an arrangement. If two pieces come out close, set one on a book and take it up an inch.
2. Use matching bowls in different sizes and finishes
Nesting reads better than lining bowls up side by side. Set a 10-inch stoneware bowl down first, tuck a 7-inch wooden one inside at a slight angle, then a 4-inch metal one on top, so all three rims stay visible. Three good pieces come to about $60 together. Offset each rim by an inch or so, because fully nested bowls look like storage waiting to be put away. The material mix is doing the real work: stoneware absorbs light, wood softens it, and metal throws it back at you. Keep an eye on weight, since a 10-inch stoneware bowl runs close to 2 pounds empty and that is before you drop fruit in it. Glossy on glossy on glossy goes flat under a warm bulb, so let at least one of the three be matte or raw wood. On an 8-inch deep shelf, size the largest bowl down to 8 inches so it doesn't overhang.
3. Mix in vintage wooden cutting boards
Lean a 14-inch board against the back wall and set a small plant in front of its lower corner so the board has a visual foot. Flea market boards run about $35; a new end-grain one is closer to $50 to $70. Pull the base 1 to 2 inches out from the wall so it sits at a shallow angle, and slip a strip of rubber shelf liner underneath, because sealed wood on a sealed shelf slides forward every time a drawer shuts. Wipe the board with food-grade mineral oil every couple of months. Left dry, the surface goes gray and eventually splits along the glue lines. One caution: skip this spot if it sits above or right beside the range, since steam and heat will cup a flat board within a season. Check depth before you buy, too. A board leaned on a 6-inch shelf overhangs the front edge and catches sleeves.
4. Display your best dinnerware, not your everyday set
Open shelves are display first and storage second, so the plates living up there should be the ones you like looking at. There's a practical argument as well. Anything within three or four feet of a range picks up a fine grease film, and a piece you never touch simply collects it, while the plates you use weekly get washed and effectively clean themselves. Hold a stack to eight or ten plates. Twelve stoneware dinner plates come to roughly 20 pounds, which is a lot of load for wall anchors rated for a picture frame. A curated four-place setting you'd be happy to see every morning runs about $60 to $120. If you only own one set, put it up anyway and keep the chipped overflow behind a cabinet door. We'd take a shelf of eight plates you love over sixteen you merely tolerate.
5. Incorporate open wire baskets for small items
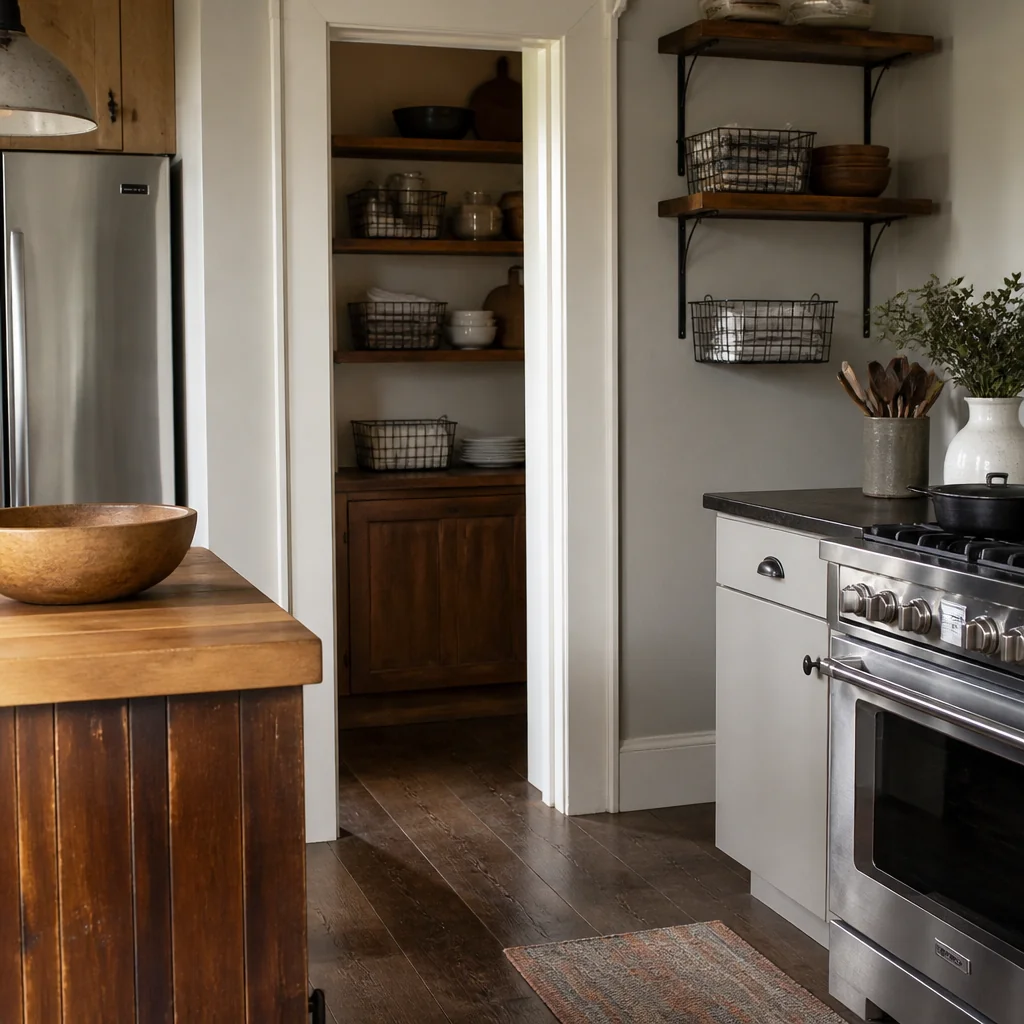
A wire basket around 10 by 8 inches swallows tea, napkins and small linens without the shelf reading as a pile. Expect about $20 for one with a powder-coated finish, which matters near a sink because raw wire spots with rust inside a few months. Line the base with a folded linen napkin so tea bags and twist ties don't drop through the inch-wide gaps in the mesh. Keep the filled weight under about 5 pounds and set the basket back an inch from the shelf edge so nobody clips it reaching past. The trade-off is worth naming: a basket hides clutter, which means it quietly turns into a junk drawer at eye level. One per shelf is the ceiling, and it stays useful only if you tip it out and sort it every month or so.
6. Layer cookbooks with the spine facing out and covers turned in
Alternate the direction every three or four books so you get a run of spines, then a block of front covers, then spines again. Standard cookbooks measure 8 by 10 up to 9 by 11 inches, so you need at least 12 inches of vertical clearance between shelves for them to stand upright. Hold the run in place with something heavy at the end: a stone mortar, a marble bookend, a small crock. Six hardcover cookbooks weigh roughly 15 pounds together, so position them over a bracket rather than mid-span on a long floating shelf. Thrifted titles cost $3 to $8 and the older jackets often carry better color than anything printed now. Keep this run away from the range, though. Steam curls dust jackets and warps the boards underneath, and a cupped cover never flattens out again.
7. Add a small potted herb garden
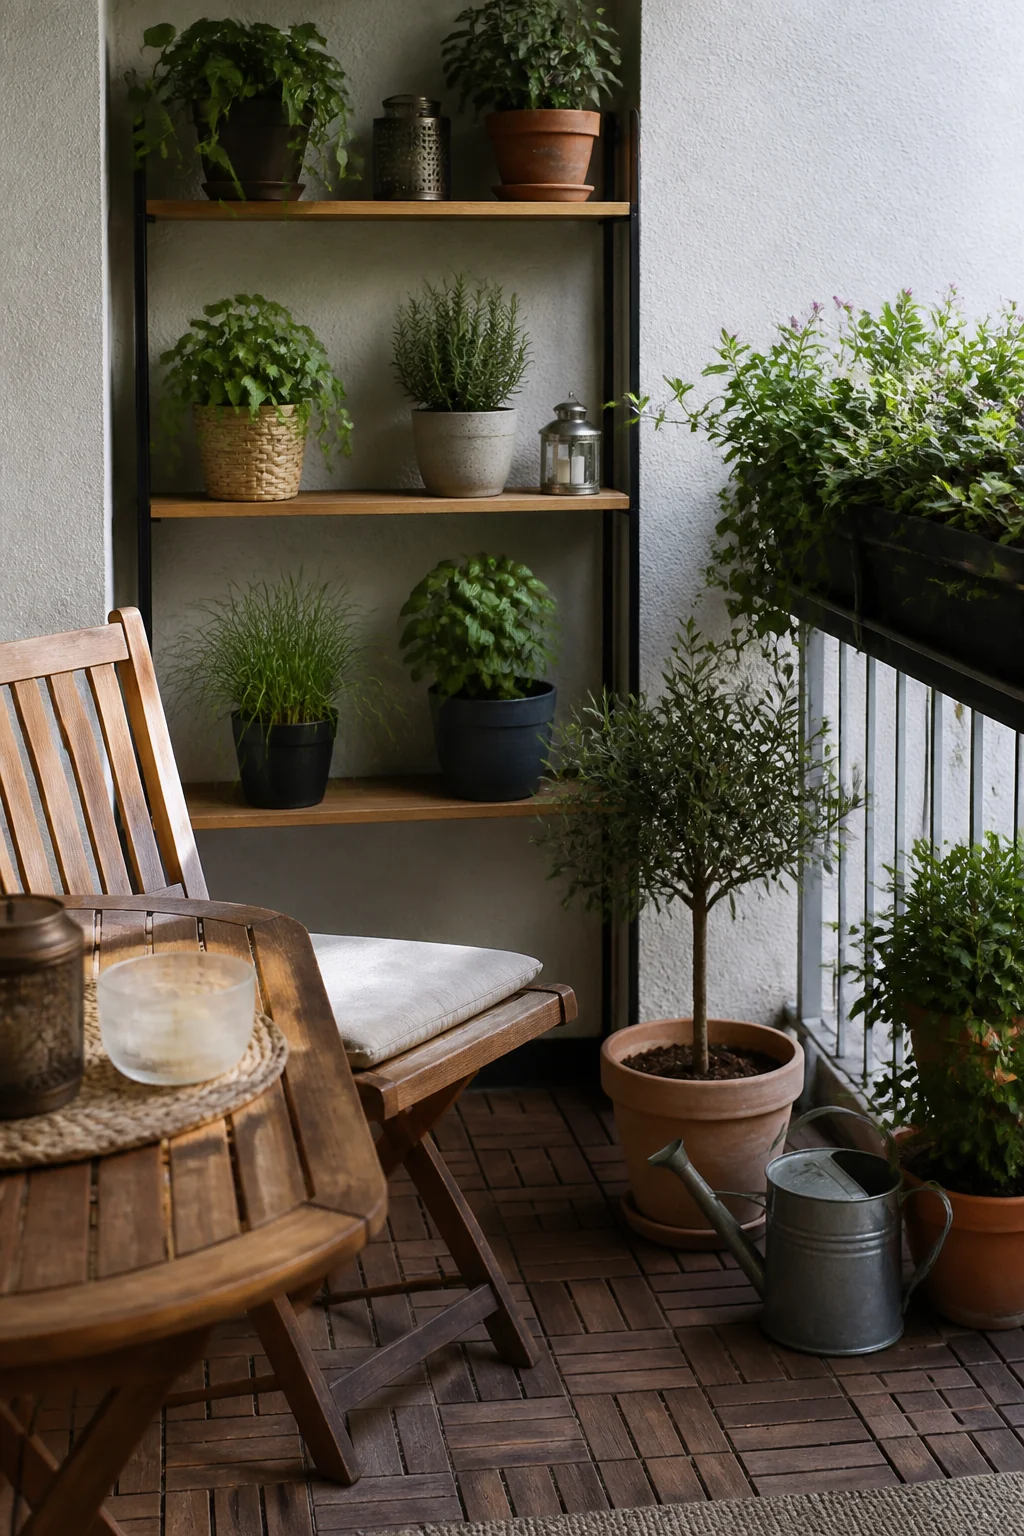
Three 4-inch pots of basil, thyme and rosemary cost around $25 and earn their space twice, once as greenery and once as dinner. They want four to six hours of bright light, which means this only works on a shelf near a window. On a windowless wall a small clip-on grow light solves it, or you swap to pothos and stop fighting the room. Drop each nursery pot inside a slightly larger cachepot instead of planting directly, so you can lift the whole thing out and water it at the sink. Standing water on a wood shelf leaves dark rings that don't sand out easily. A 4-inch pot with damp soil weighs about a pound and a half, so structurally this is nothing. Give each pot a quarter turn when you water, or they all lean toward the glass within a month.
8. Use monochromatic dishware for a clean look
All-white plates in different surfaces, matte, glossy, ribbed, reactive glaze, read as curated rather than merely matched. A full dinnerware set runs about $120 to $180. The catch nobody mentions is that whites disagree with each other. Bone white leans blue-gray, and set beside a warm cream piece under a 2700K bulb it can look dingy instead of crisp. Buy a single plate first and hold it against the dishes you already own, in your own kitchen light, before committing to twelve pieces. Vary the surface rather than the color: a ribbed side plate stacked on a smooth dinner plate throws shadow lines that keep the pile from reading as a blank disc. The downside of white is that a chip announces itself immediately, so the nicked ones belong in a cabinet and the good ones stay on view.
9. Tuck a small framed print or two behind taller items
A 5 by 7 print propped against the wall behind a pitcher adds a personal note without giving up a whole shelf. Framed ones run $15 to $40. You need 2 to 3 inches of clear depth behind the taller object for a frame to sit upright, so measure before you buy rather than after. A thin frame, under three quarters of an inch, reads lighter and won't crowd whatever stands in front of it. Skip glass anywhere near cooking. Grease film on glass is miserable to clean and dulls quickly, while acrylic glazing or an unglazed print on heavy paper handles a kitchen far better. Put a felt dot under the bottom two corners so the frame doesn't creep forward every time a drawer below slams. Two prints on one shelf is usually one too many.
10. Stack linen napkins in a shallow wooden tray
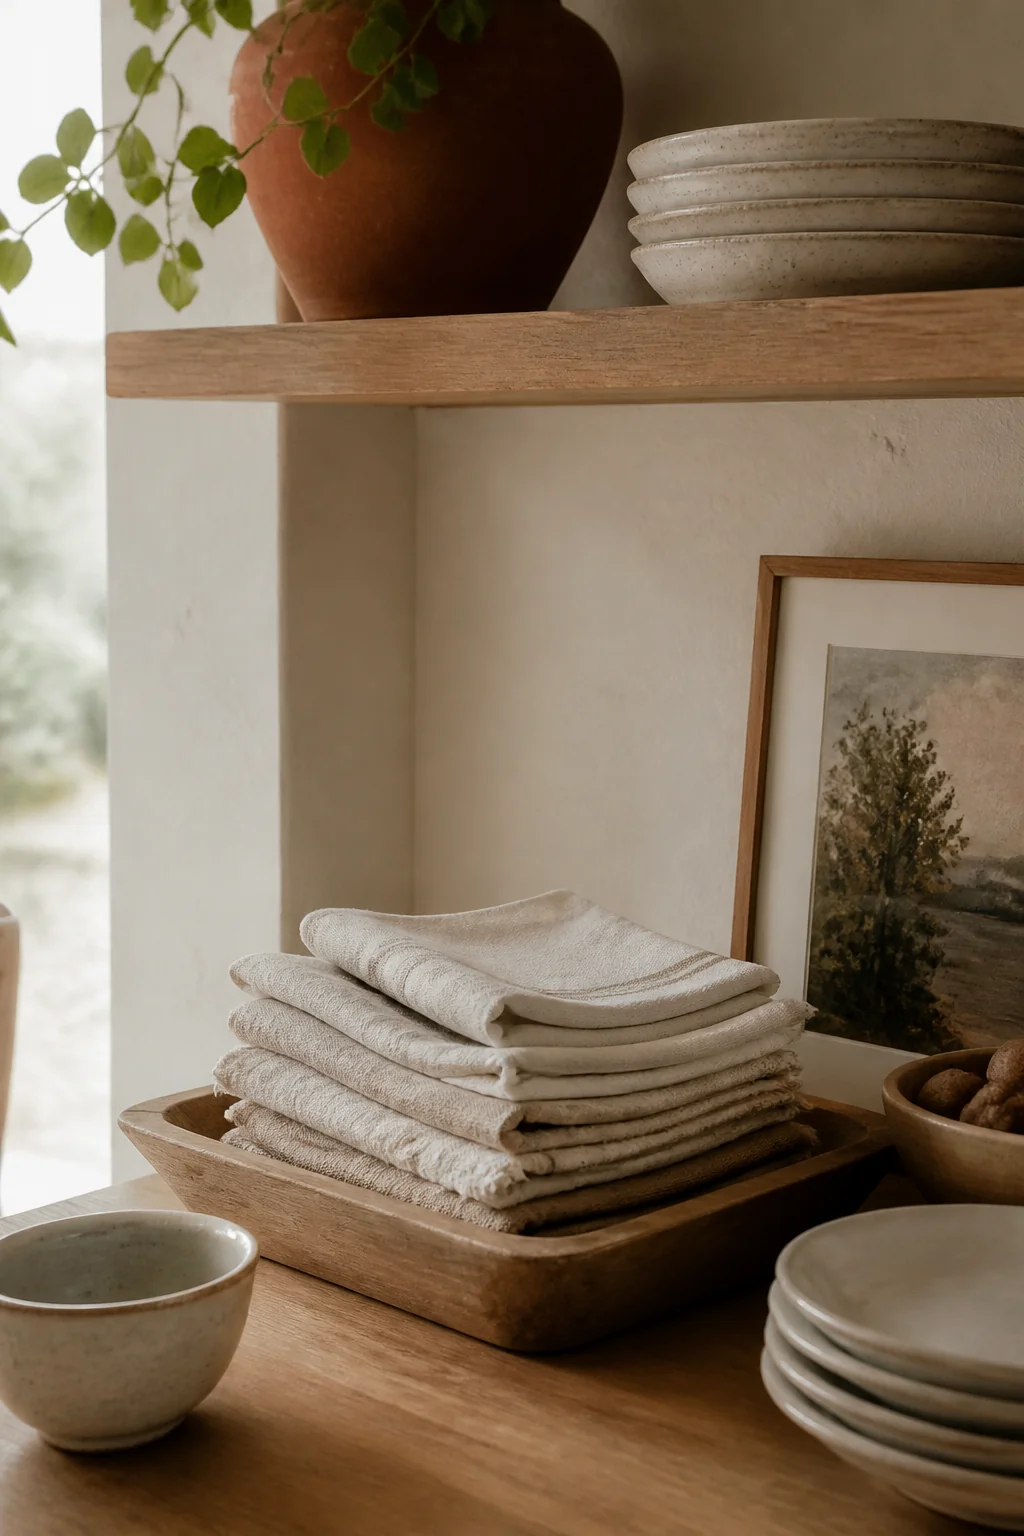
A shallow tray around 12 by 8 inches turns a loose pile of napkins into something with edges. Trays cost about $25 to $50. Fold the napkins into 5 or 6 inch squares and keep the stack to six, which lands around 3 inches tall and still looks deliberate rather than like laundry waiting to be dealt with. Rolling works too and hides mismatched hems better than folding. Look for a lip of about an inch, since a perfectly flat board lets the top napkin slide off whenever someone brushes past. Linen yellows in direct sun, so if this shelf catches afternoon light, use napkins you don't mind aging or rotate the stack with a set from the drawer. The tray earns its place a second way: lift the whole thing off when you wipe the shelf down.
11. Group glassware by height and color
Sort by height first and color second. Tall drinking glasses stand 6 to 7 inches, wine glasses 8 to 9, so they want different shelf gaps rather than the same one. Six good drinking glasses run about $40 to $60. Hold to a single style within any one grouping, because four mismatched shapes in a row look like a cupboard rather than a display. Leave half an inch between glasses so you can lift one out without clinking its neighbor. Rim down keeps dust out but traps a stale smell against wood, particularly on an unsealed shelf; rim up stays fresher and needs a rinse before use. Pick one and stay consistent, since a mixed row of up and down rims produces exactly the visual noise you were trying to design out.
12. Add a thin metal shelf divider between sections
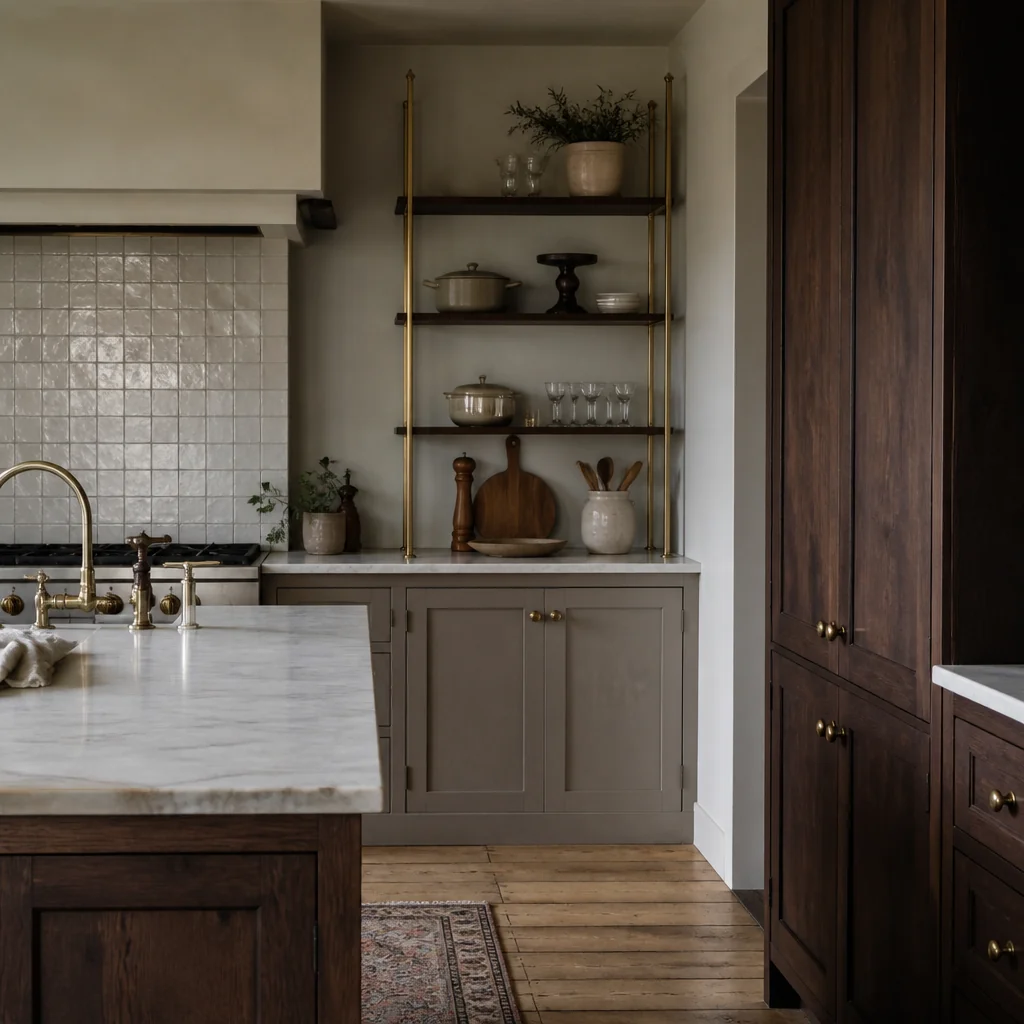
A brass or steel divider costs about $15 and does two jobs at once: it stops a plate stack creeping sideways, and it gives the eye a clean break between two groupings. Measure the shelf thickness before ordering. Most clamp-on dividers are cut for boards three quarters to one and a quarter inches thick, so a reclaimed 1.5-inch beam won't take one; use a weighted bookend with a rubber base there instead. A divider 6 to 8 inches tall handles plates and books, and anything taller starts competing with the things it's meant to separate. Screw-in versions hold more weight but leave holes, so on a rented or freshly refinished shelf, stay with the clamp. Two dividers on a 36-inch shelf is plenty. Three chops the run into fussy little compartments.
13. Display a small vintage apron or linen cloth
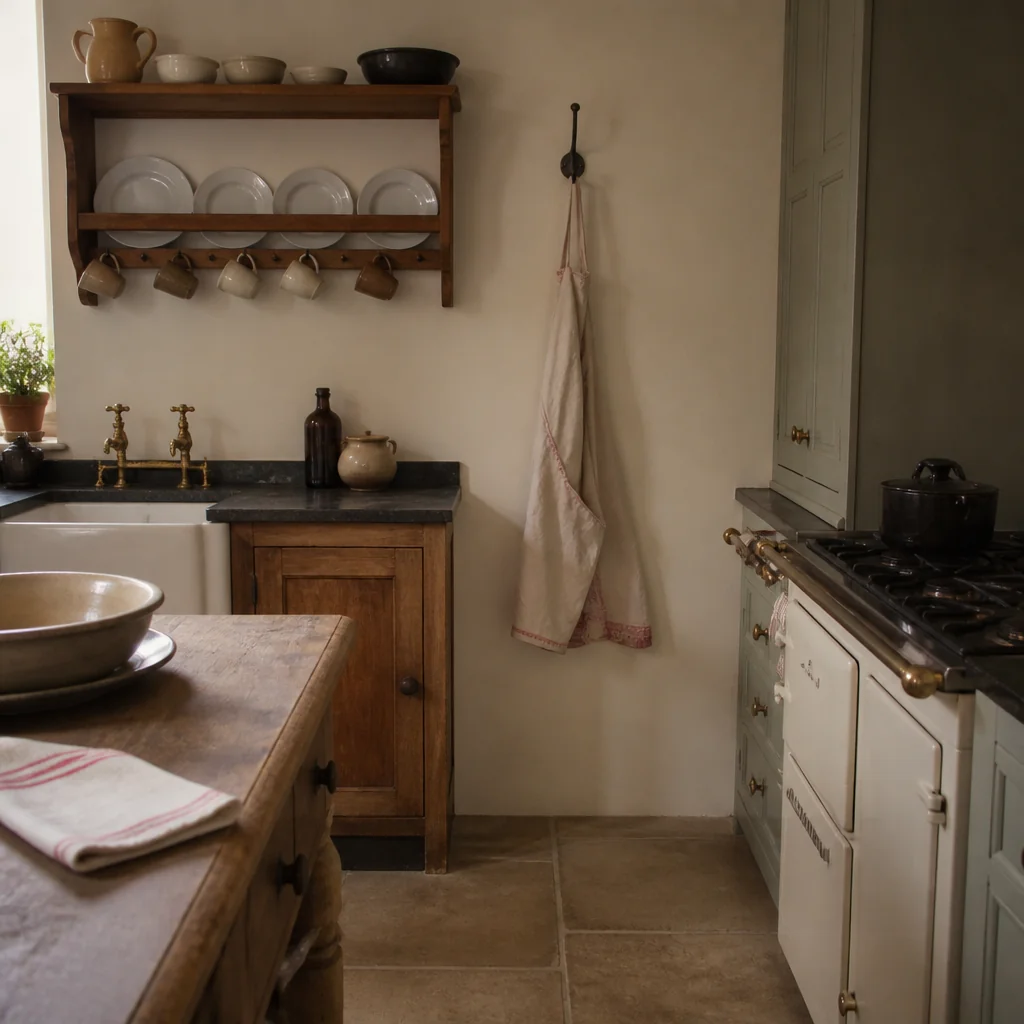
Fabric is the texture open shelves are usually missing, and an old apron or linen cloth supplies it for $10 to $25. Hang it from a small brass cup hook screwed into the front edge of the shelf, drilling a 1/16 inch pilot hole first so the wood doesn't split, or use an adhesive hook rated for 3 pounds if you can't make holes. Fold the cloth to about 8 inches wide so it hangs as a panel rather than a lump. Linen drapes flatter than cotton and holds a crease, which is why it reads crisp instead of limp. Fabric near a range absorbs cooking smells within a couple of weeks, so wash it monthly and never hang anything too fragile to launder. If hooks are out of the question, the same cloth folded flat beside a bowl works nearly as well.
14. Mix in small glass cloches over tiny plants or bread
A 6-inch glass cloche costs around $20 and turns whatever sits underneath into a small event: one succulent, a couple of pears, the stub of a candle. Measure your shelf gap first, since a 6-inch dome plus its base wants about 7 inches of clearance to lift on and off. The mistake here is sealing a living plant under glass. Humidity builds, the leaves stay wet, and a succulent rots from the base within a month or two. Lift the dome for a few hours twice a week, or put a dried arrangement under there and stop thinking about it. Bread stays soft longer under glass but sweats onto the base, so use wood or marble you can wipe rather than fabric. Keep whatever's inside at least half an inch clear of the glass, or it looks squashed rather than displayed.
15. Use risers to create height variation
A 2-inch riser under a single item breaks up a flat line of objects. Sets of three run about $25, though a hardback book or an offcut of marble tile does the same job for nothing. The rule that keeps this from looking accidental: raise something at the back, not at the front, so you build depth rather than a wall. Check headroom before you commit, because with 12 inches between shelves a 9-inch pitcher on a 2-inch riser leaves one inch of clearance, which isn't enough to lift it out without tipping it. Weight matters more than people expect on floating shelves, since a riser concentrates the whole load onto four small feet instead of a broad base. Keep anything heavy that sits on a riser centered over a bracket rather than out in the middle of a long span.
16. Include one statement piece per shelf
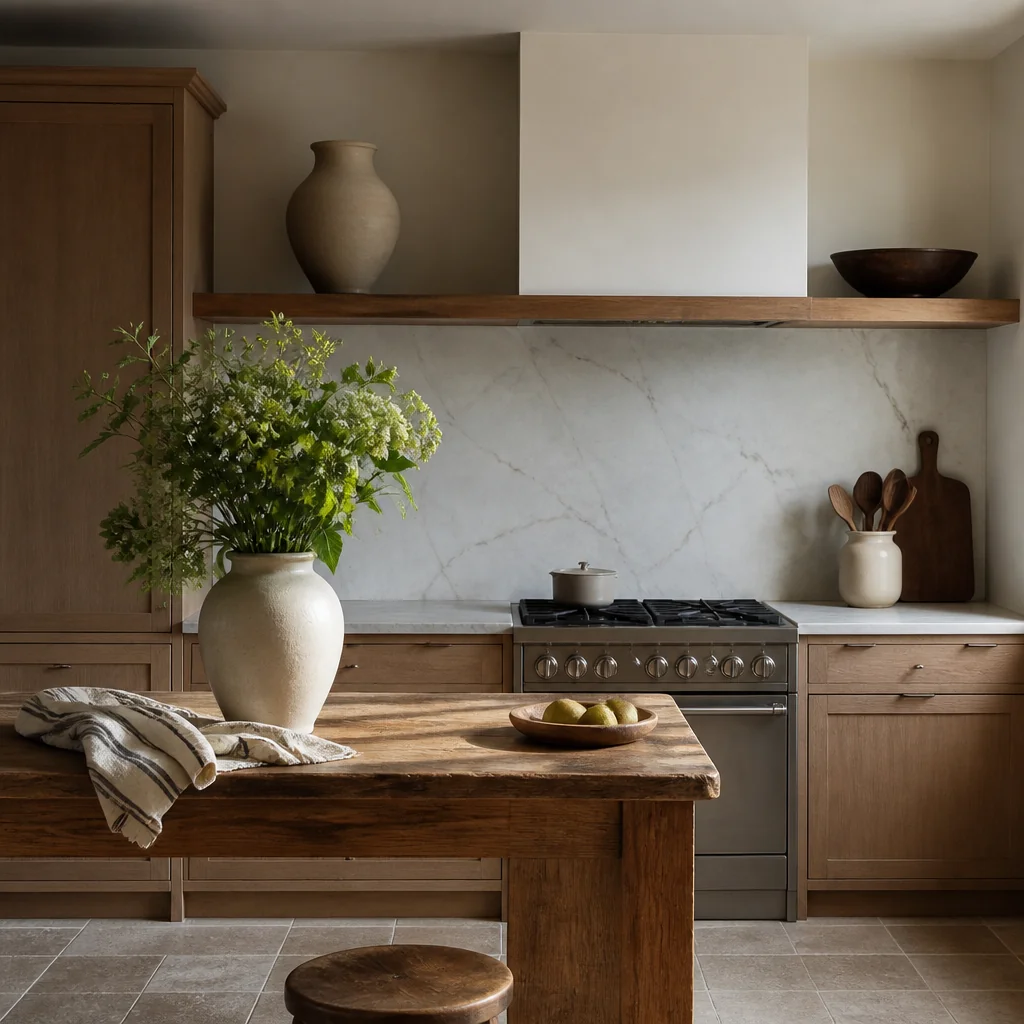
One large object per shelf gives the eye somewhere to land: a wooden dough bowl, a tall ceramic vase, an old kitchen scale. On a 36-inch shelf, something 10 to 14 inches tall reads as an anchor without swallowing the run. Budget $40 to $90 for a piece with real presence, and note that thrift shops and estate sales beat retail badly on this particular category. Set it 8 to 10 inches in from one end rather than dead center, then build the smaller groupings outward from it. Two anchors on the same shelf cancel each other out and you end up with a tug of war instead of a focal point. Stagger them between shelves as well: if the anchor sits left on the top board, put the next one right on the shelf below.
17. Keep one shelf mostly clear for breathing room
The usual advice is to fill every inch. We'd ignore it. One shelf left mostly empty gives the whole arrangement somewhere to breathe, and the board at eye level, roughly 57 to 60 inches off the floor, is the one worth sacrificing, since that's where your eye lands first walking into the room. There's a working benefit too, because a clear 18-inch stretch is somewhere to park a hot lid or a bag of groceries while you unload. In a small kitchen with genuinely tight cabinet space, giving up an entire board is a real cost. The compromise is to clear one section instead, say the 12 to 18 inches directly above the sink, and let the rest keep working. What you gain is contrast, because a dense grouping only looks intentional with emptiness beside it.
18. Display cookware with the handles facing out when it's beautiful
Copper pans and enameled cast iron are worth showing. A scratched nonstick skillet is not. Check the load before anything else: a 5.5-quart enameled Dutch oven weighs 12 to 14 pounds, which needs brackets screwed into studs at 16 inches on center, not drywall anchors. Put the heaviest piece on the lowest shelf and directly over a bracket. Copper is the high-maintenance option at $60 to $350 a pan, and it dulls to a flat brown within a few weeks unless you rub it down with lemon and salt or a proper polish. Enameled cast iron asks for nothing but a wipe. One safety note on a 10-inch deep shelf: a long handle jutting into the room at head height is a hazard, so turn handles along the wall rather than out toward the walkway.
19. Add small succulents in ceramic pots between larger items
Three 2-inch succulents in small ceramic pots cost about $12 together and fill the awkward gaps between bigger objects. Echeveria and haworthia stay compact and stretch more slowly than most in imperfect light. Drainage decides whether this works: a pot with no hole holds water around the roots and rots the plant from below, so keep each one in its nursery pot and lift it out to water. Every two or three weeks is plenty, and less than that through winter. If the shelf gets under a few hours of decent light, the rosettes will stretch and lean within a couple of months, at which point preserved moss in the same pots, or a dried stem, is the honest answer rather than a failing plant. Keep them out of the direct path of steam from a kettle or a boiling pot.
20. Stack folded dish towels in a linen color
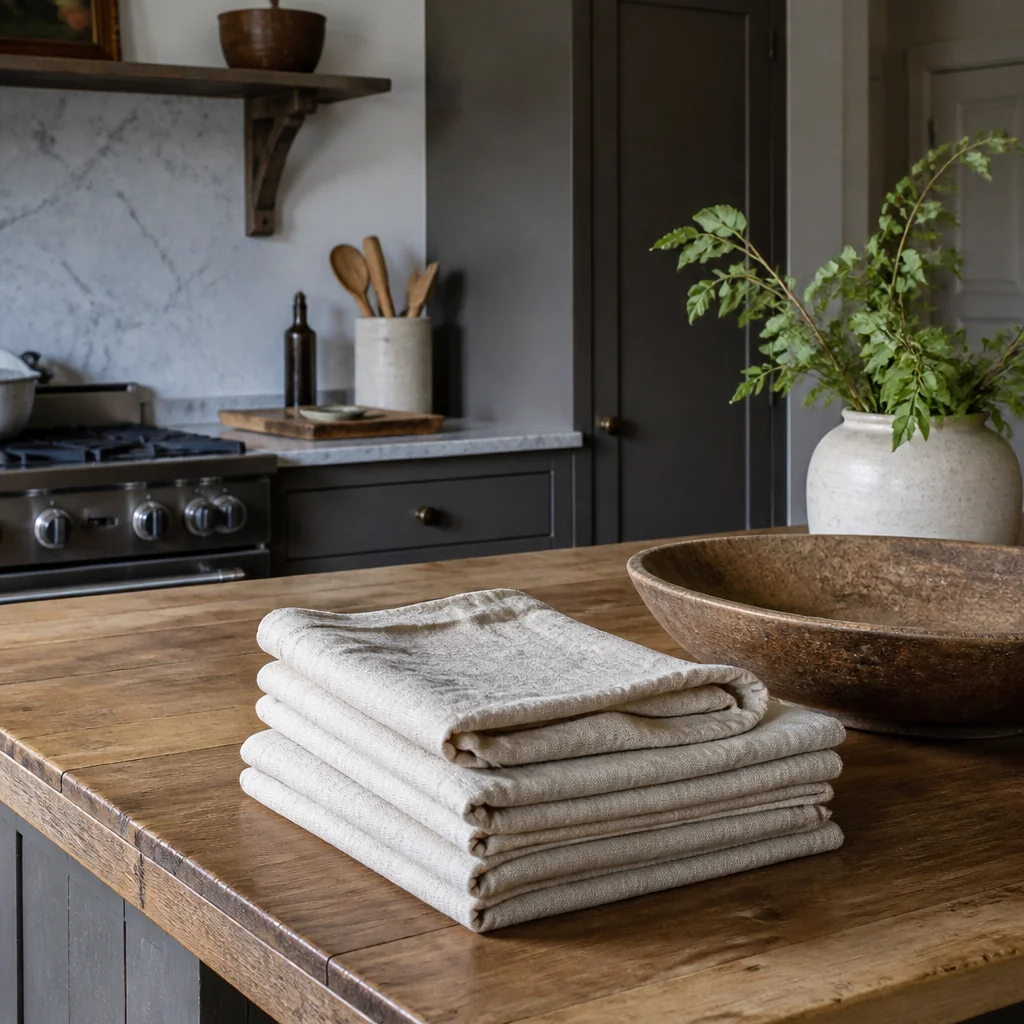
Four good linen towels run about $30 to $40. Fold them to roughly 6 by 8 inches and keep the stack three or four high, which comes to about 3 inches and still reads as a choice rather than a laundry pile. Flax linen absorbs well and dries fast, which matters because a damp towel folded on a shelf sours within a day. Terry is thirstier but bulky, and it slumps. Waffle weave sits between the two and holds its shape best in a stack. Skip white on a working shelf, since turmeric, coffee and tomato find it inside a few weeks and never fully wash out. Oatmeal, flax and soft gray hide all of that. Rotate the display stack into the drawer now and then so one set doesn't take all the wear while the other stays pristine.
21. Lean larger pieces instead of standing them upright
A platter or a large board leaned against the back wall carries less visual weight than the same object standing upright, and it looks less staged. Give the base 4 to 5 inches of shelf depth and let the piece sit at a shallow angle, somewhere around 10 to 15 degrees off vertical. Steeper than that and it walks forward over time. A strip of rubber shelf liner or two felt bumpers under the base stops the slide. Watch the tipping point on shallow shelves, because on a 6-inch board anything taller than about 16 inches pitches forward the first time a cabinet door slams underneath. Put a felt pad on the top back corner as well, since a hard edge resting against painted drywall burnishes a gray mark into the paint within a month.
22. Use marble or terrazzo pieces as anchors
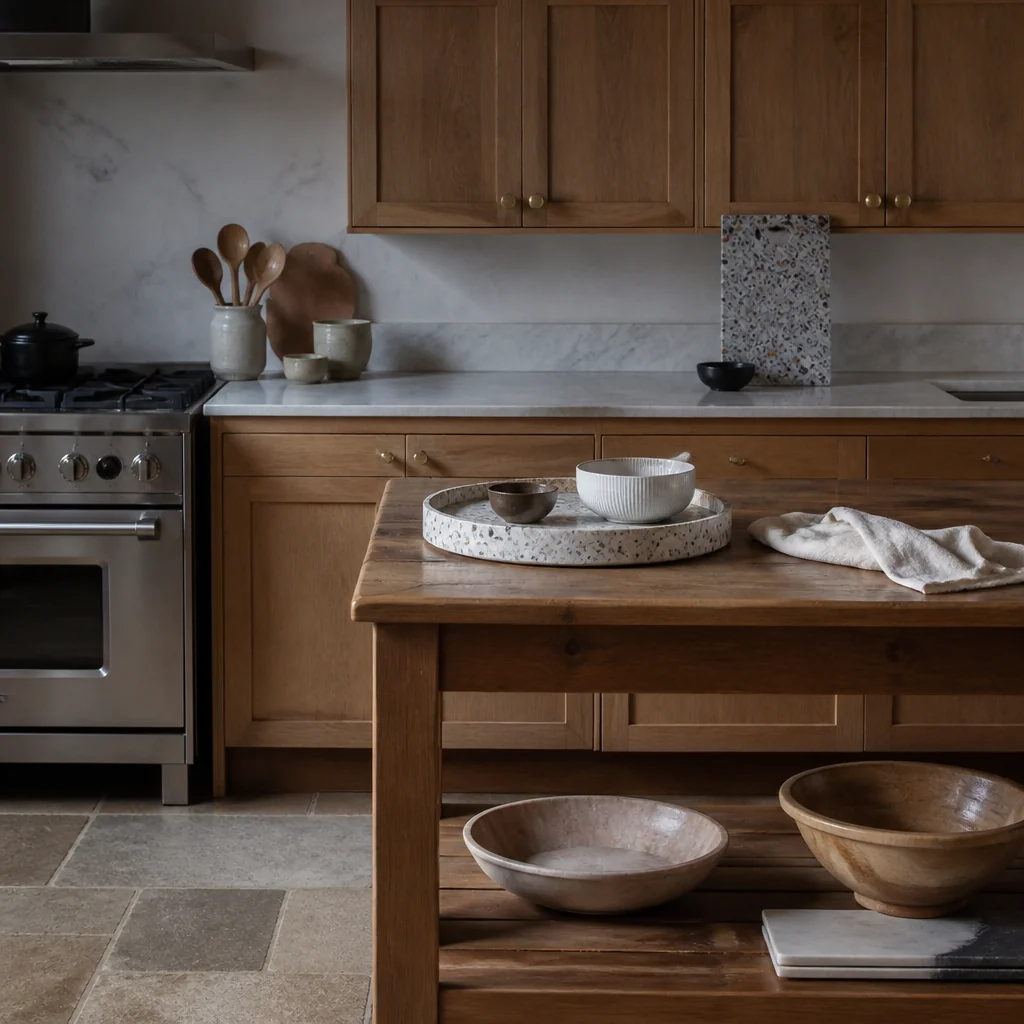
A marble cheese board or a small terrazzo tray, $40 to $70, brings cool stone into a shelf full of warm ceramic and wood. Marble is porous and stains, so seal it and keep lemon, vinegar and wine off the surface. Acid etches a dull patch into the polish that no cleaner brings back. Terrazzo is more forgiving thanks to its resin binder, and the fleck gives you pattern without printing anything. Weight is the real consideration here: a 12 by 8 inch marble board runs 6 to 8 pounds, which belongs on a lower shelf and directly over a bracket rather than out in the middle of a span. White Carrara with gray veining sits easily beside oak and walnut, while heavily veined black marble tends to take over a small shelf on its own.
23. Include one small dark object for depth
One dark object per shelf, a black bowl, a charcoal ceramic jar, a bottle-green glass vessel, keeps an arrangement from going flat. Expect $20 to $35. The reason is contrast: under a warm bulb an all-cream shelf loses its edges, and the individual pieces stop reading as separate objects at any distance. A dark note gives the eye a fixed point to measure everything else against. Keep it small, 4 to 6 inches, and set it at a different height on each shelf so the dark spots don't line up into a column down the wall. Two per shelf is the practical limit. Past that the whole run feels weighted, which is particularly unhelpful on upper shelves, where visual heft up high starts to read as pressing down on the counter below.
24. Display vintage or heirloom pieces that have real meaning
Inherited china and old glasses are exactly what open shelving is for, since none of it survives being buried at the back of a cabinet anyway. One thing worth knowing: decorative glazes from before the 1970s can carry lead, particularly on bright reds, oranges and hand-painted rims, so treat those as display rather than dinnerware. Test swabs run $10 to $15 if you'd rather know for certain. Hairline crazing in old glaze harbors bacteria too, which is a second reason to keep them off the table. Give a piece like this room to be seen: at eye level, on its own, with 3 or 4 inches of empty shelf around it. And keep anything irreplaceable away from the shelf nearest the range or the dishwasher door, where traffic, steam and swinging elbows all concentrate.
25. Add a small wooden cutting board propped vertically
A 12-inch board standing upright works as a soft divider between two groupings and adds a vertical line to a shelf otherwise full of horizontals. Boards handsome enough to display run $25 to $40. Standing one truly vertical needs a stop behind it, a divider, a bracket or the shelf's back wall, and without one you're better off giving it a few degrees of lean. Check the gap first: a 12-inch board needs at least 13 inches between shelves to go in and come back out. End-grain boards around 1.5 inches thick stand far more stably than a thin edge-grain one, which topples at the slightest knock. Decide up front whether this board works or poses, because one you cut on shows knife scoring within weeks. Keep a display board separate, or take the marks as part of the look.
26. Mix matte and glossy finishes on the same shelf
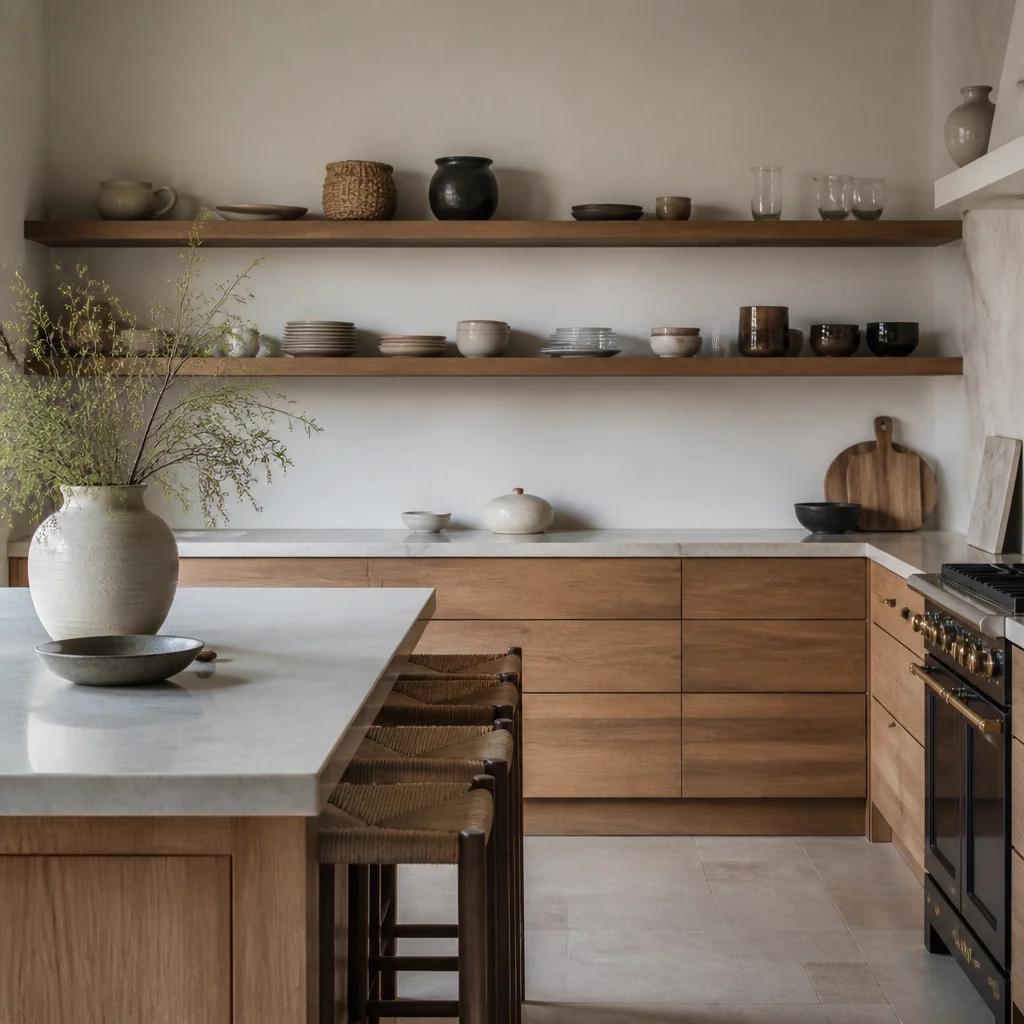
Matte bowls beside a glossy plate stack beside one shiny vase keeps a shelf from reading flat, and variation in finish does more work than matching materials ever will. Glossy surfaces bounce the light source straight back at you, matte holds its own shape and shadow, and setting them side by side is what gives an arrangement dimension. On a shelf of six pieces, one or two glossy items is about right. Put those where the light actually lands, near a window or under an undershelf strip, and keep the matte pieces in the shaded stretch. All glossy under a downlight is the failure mode: hard reflections on every curve, and the shelf glares rather than glows. Raw wood and unglazed stoneware count as matte and are the cheapest way to balance out a glossy dinnerware set.
27. Tuck a small brass or wooden spoon holder with a few pretty spoons
A small brass or wooden holder with three good spoons costs about $30 all in and lands neatly between useful and decorative. Beech and olive wood hold up best over years of washing; oil them monthly with the same food-grade mineral oil you use on boards, or they dry out, go pale and raise a fuzzy grain. Choose an open holder over a closed crock and let spoons dry fully before they go back in, because damp wood sealed in a vessel turns musty fast. A 3-inch holder with handles standing up wants 10 to 12 inches of clearance above it. Put it on the shelf nearest the range so it's genuinely within reach while you cook, and accept the consequence: it needs wiping more often than anything else on the run.
28. Leave about 2 inches of space at the front of each shelf
Keep the front 2 inches of every shelf clear. It reads as a visual ledge that makes the whole run look deliberate, and more practically it means your knuckles clear the edge when you reach for something at the back. Depth drives the decision. A standard open shelf is 10 to 12 inches deep and a dinner plate measures 10 to 11 inches across, so on a 10-inch board a plate stack eats the entire margin and either has to lean or move to a 12-inch shelf. On a shallow 6-inch shelf, 2 inches is too much to surrender, and an inch is the working compromise. The reason this matters more here than in a cabinet is simple: nothing catches a piece you nudge. It goes straight to the floor.
29. Repeat one color accent throughout the shelves
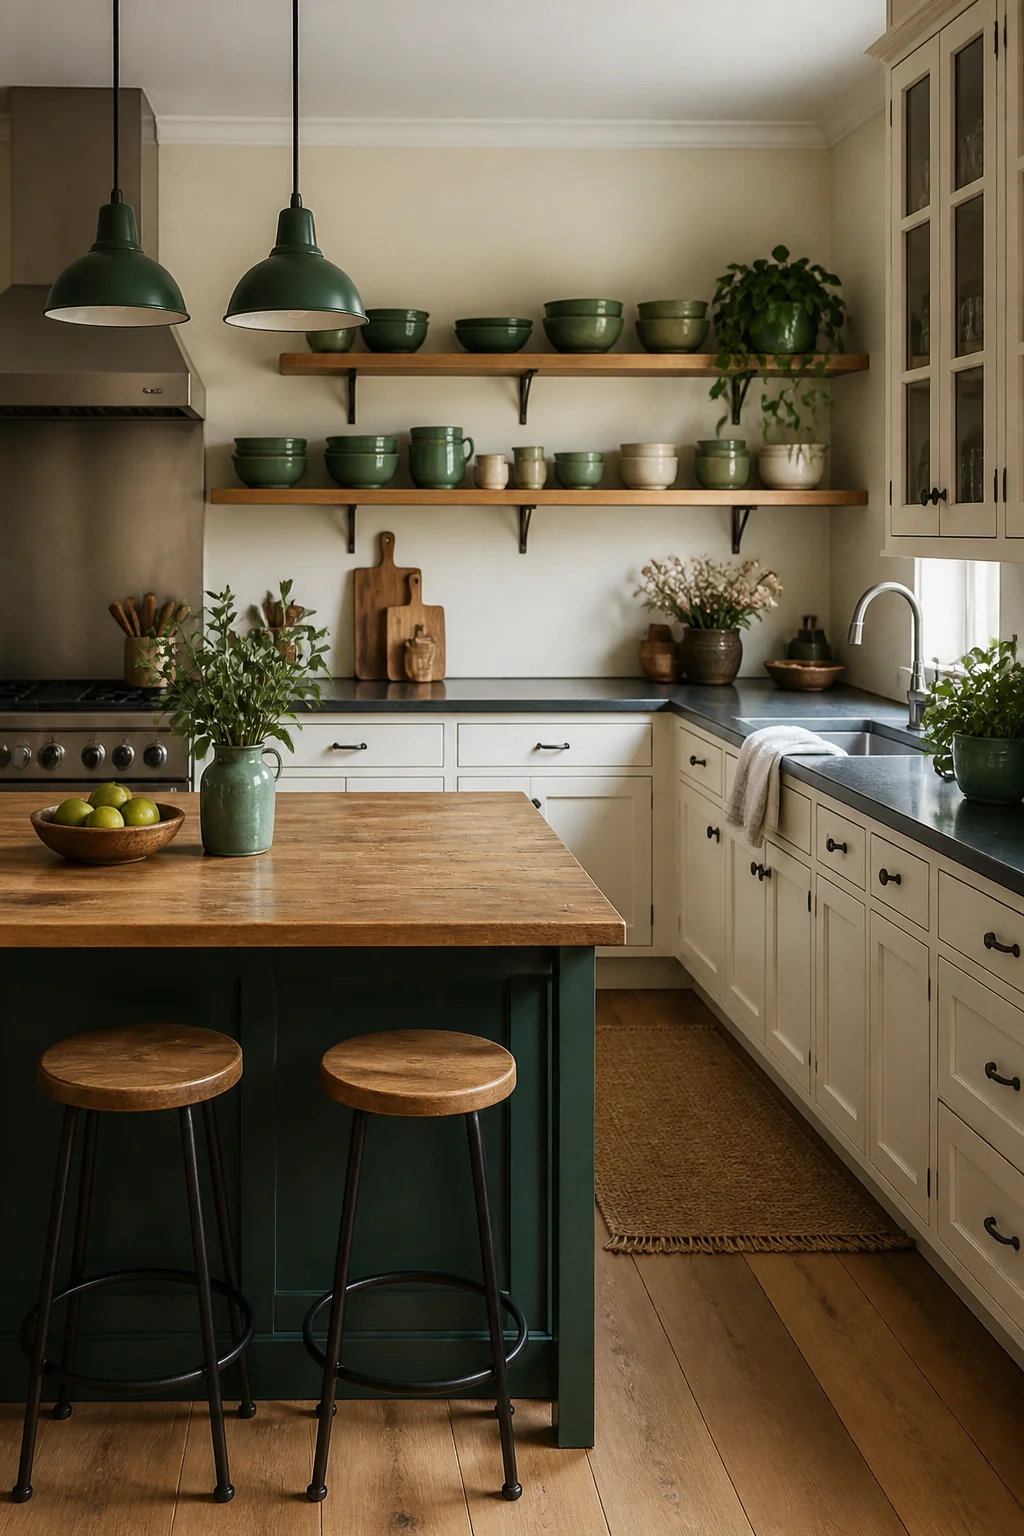
One color repeated across the run is the thread that ties separate shelves into a single arrangement. White dishes, black accents and a few notes of sage green is one version; swap the green for terracotta or deep blue and the mechanism is identical. The accent has to appear at least three times, at different heights, before it reads as a decision rather than a stray object. Dish towels, a glazed jar and a plant pot are the cheapest way to place it, usually under $40 for all three, and they're easy to trade out when you tire of the color. Where this falls apart is a single accent appearing once, which looks like something somebody left behind. Two accent colors plus a neutral is the ceiling before the shelves start to read as confetti.
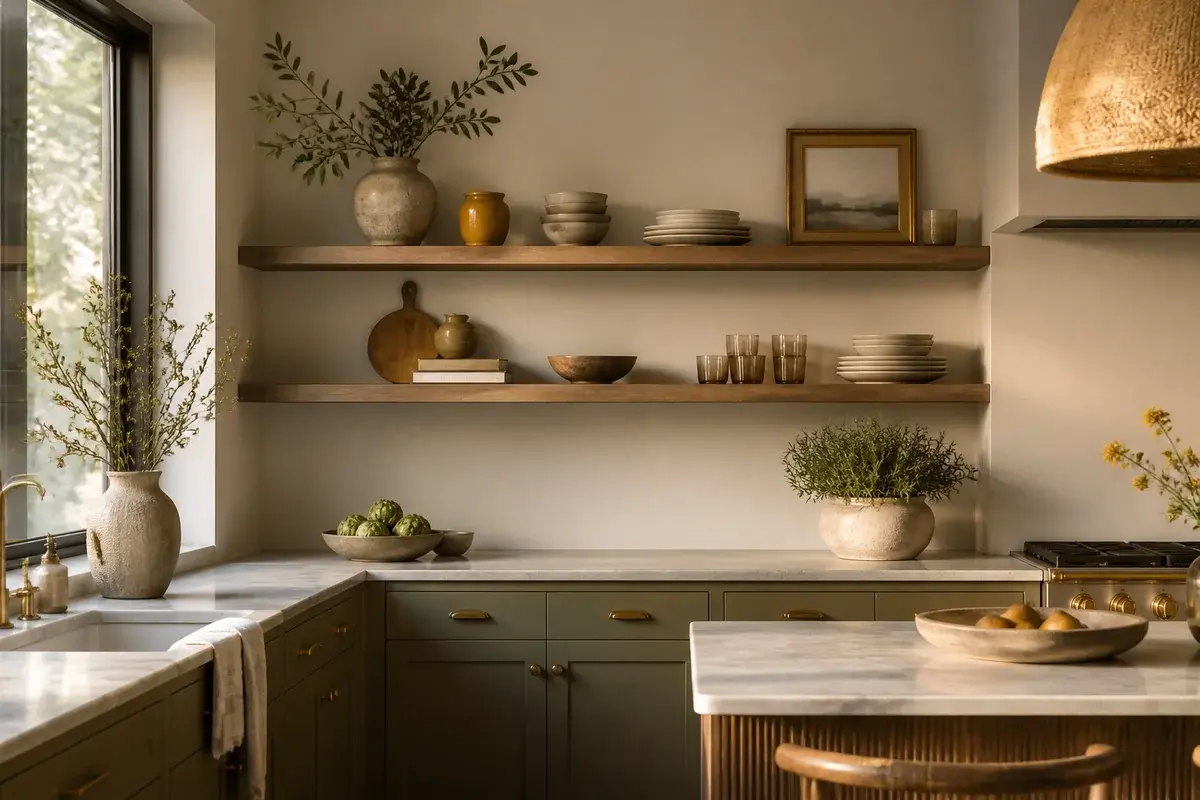
The whole guide in one image
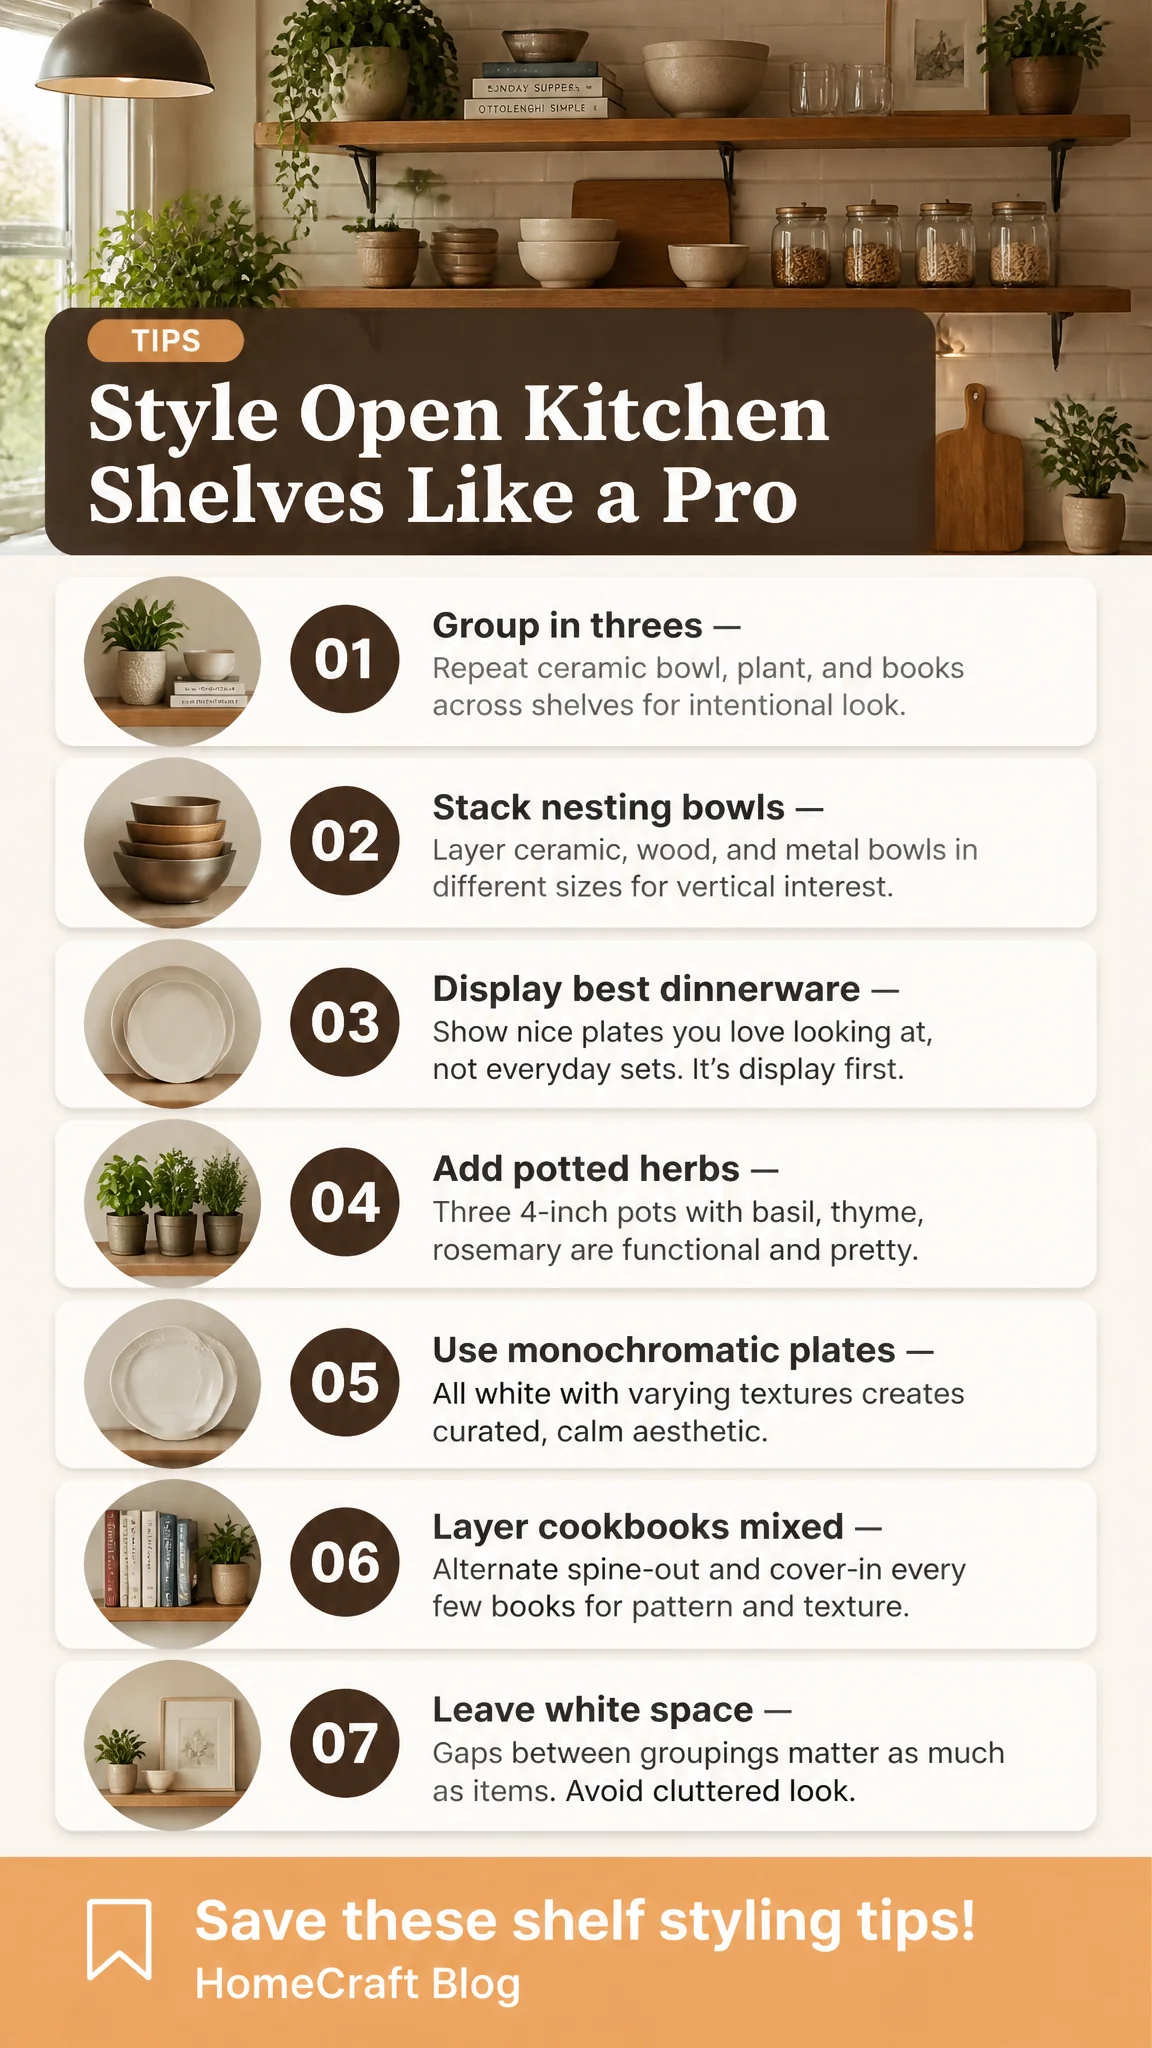
Before any of the styling matters, the shelf has to hold. Brackets into studs at 16 inches on center, the heavy pieces low and directly over a bracket, and a realistic sense of what a run of plates and cookware weighs. That part isn't decorative, and it's the one thing on this list that fails badly rather than just looking wrong.