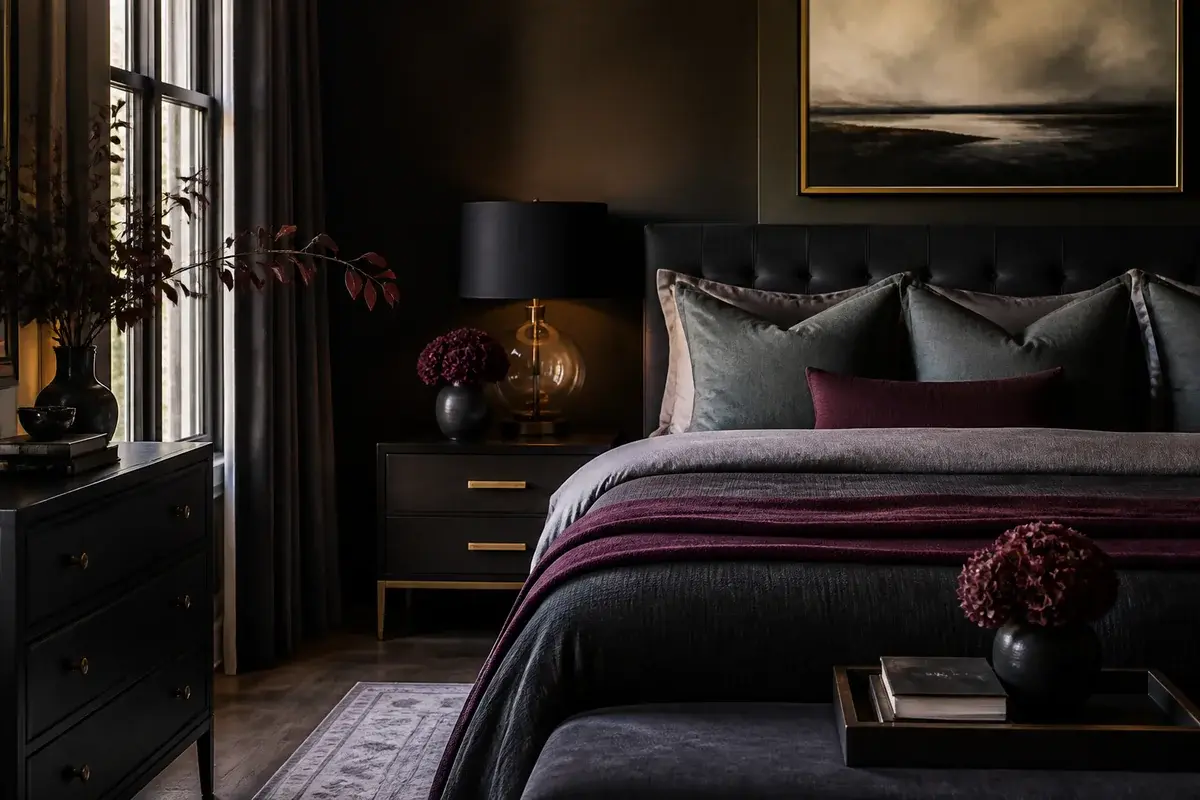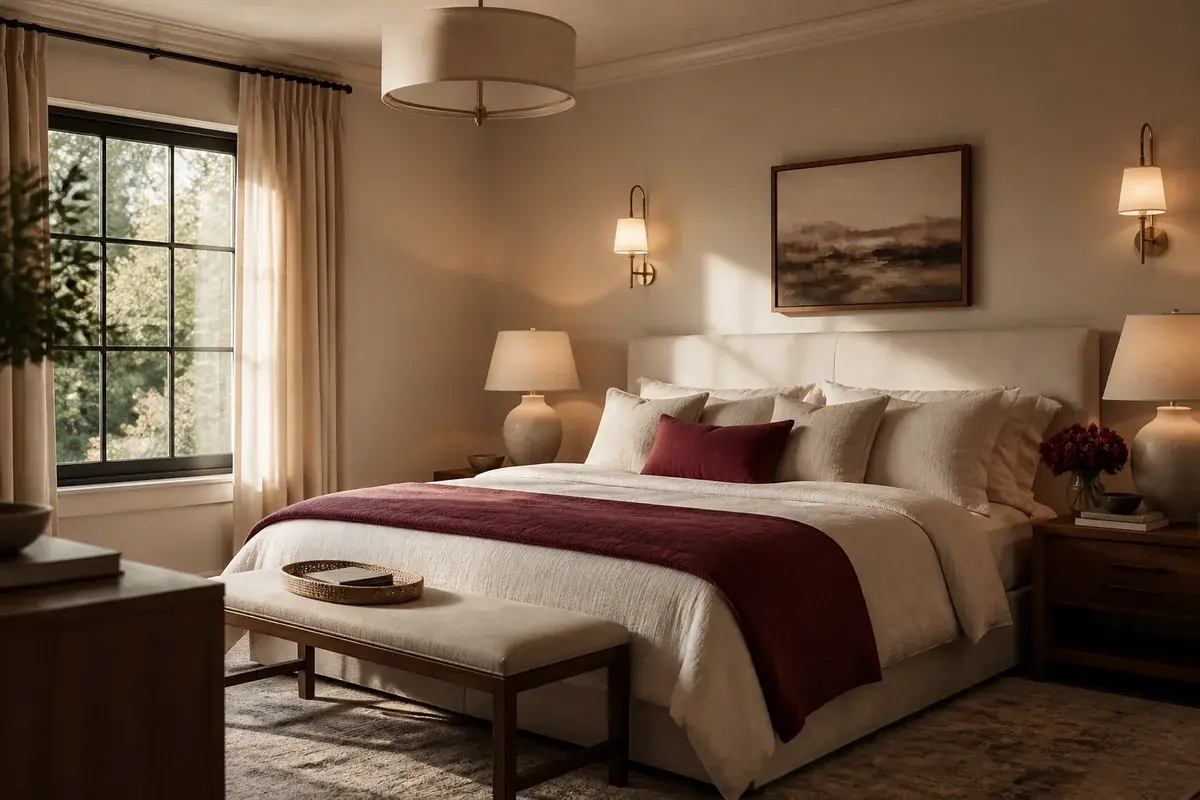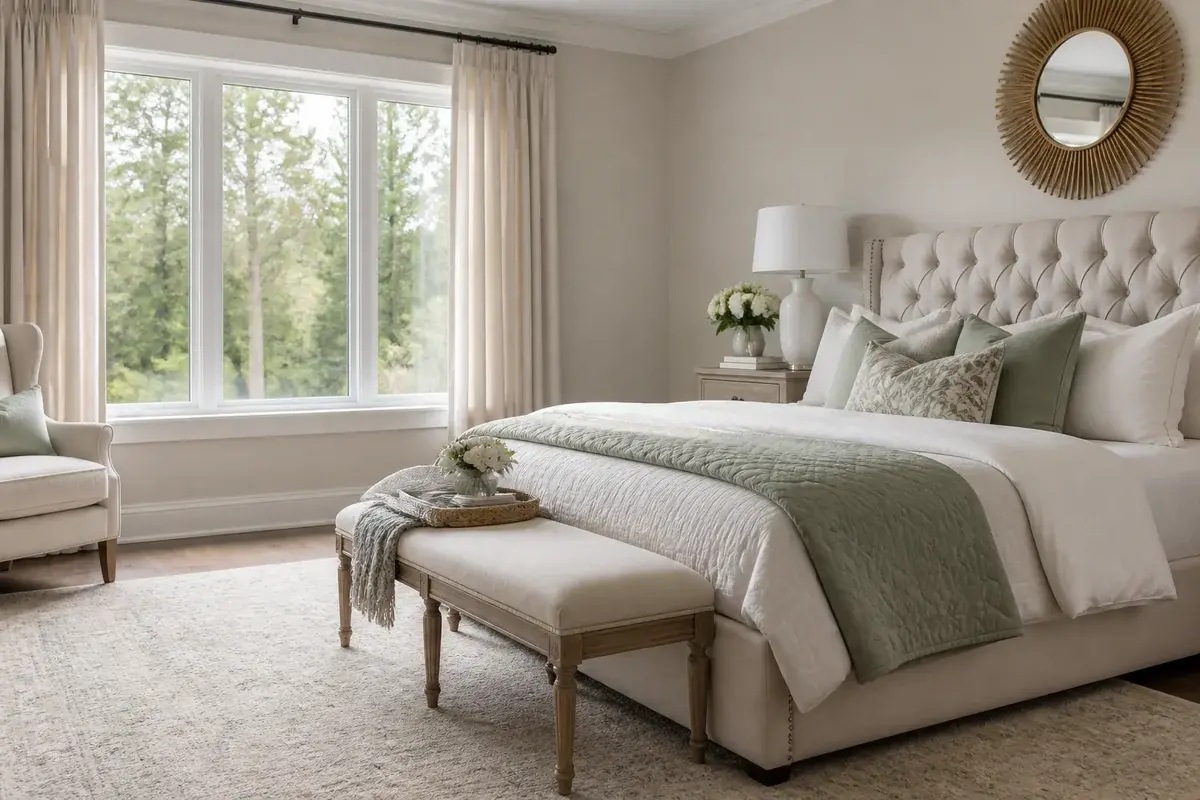
25 Dreamy Headboard Ideas for Beds That Make a Statement
25 headboard ideas for beds with real widths by mattress size, mounting methods and price ranges. Upholstered, wooden, woven, metal and no-drill options.
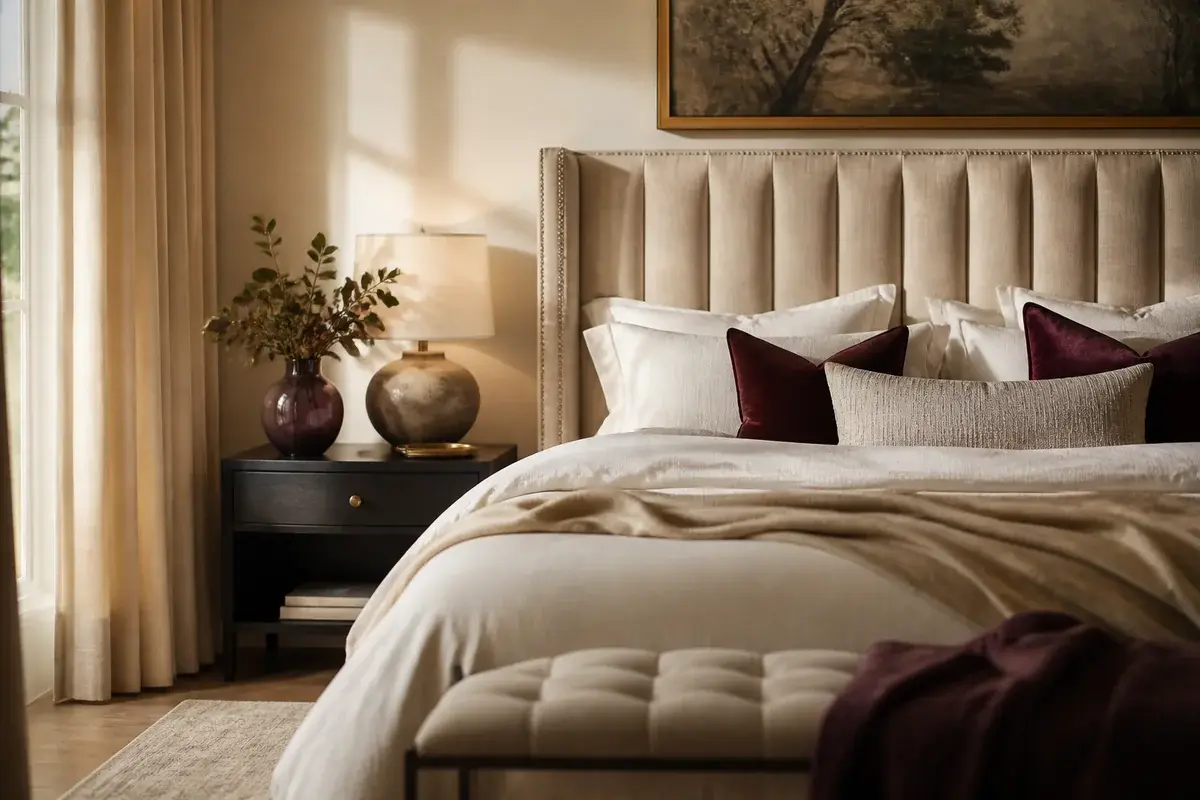
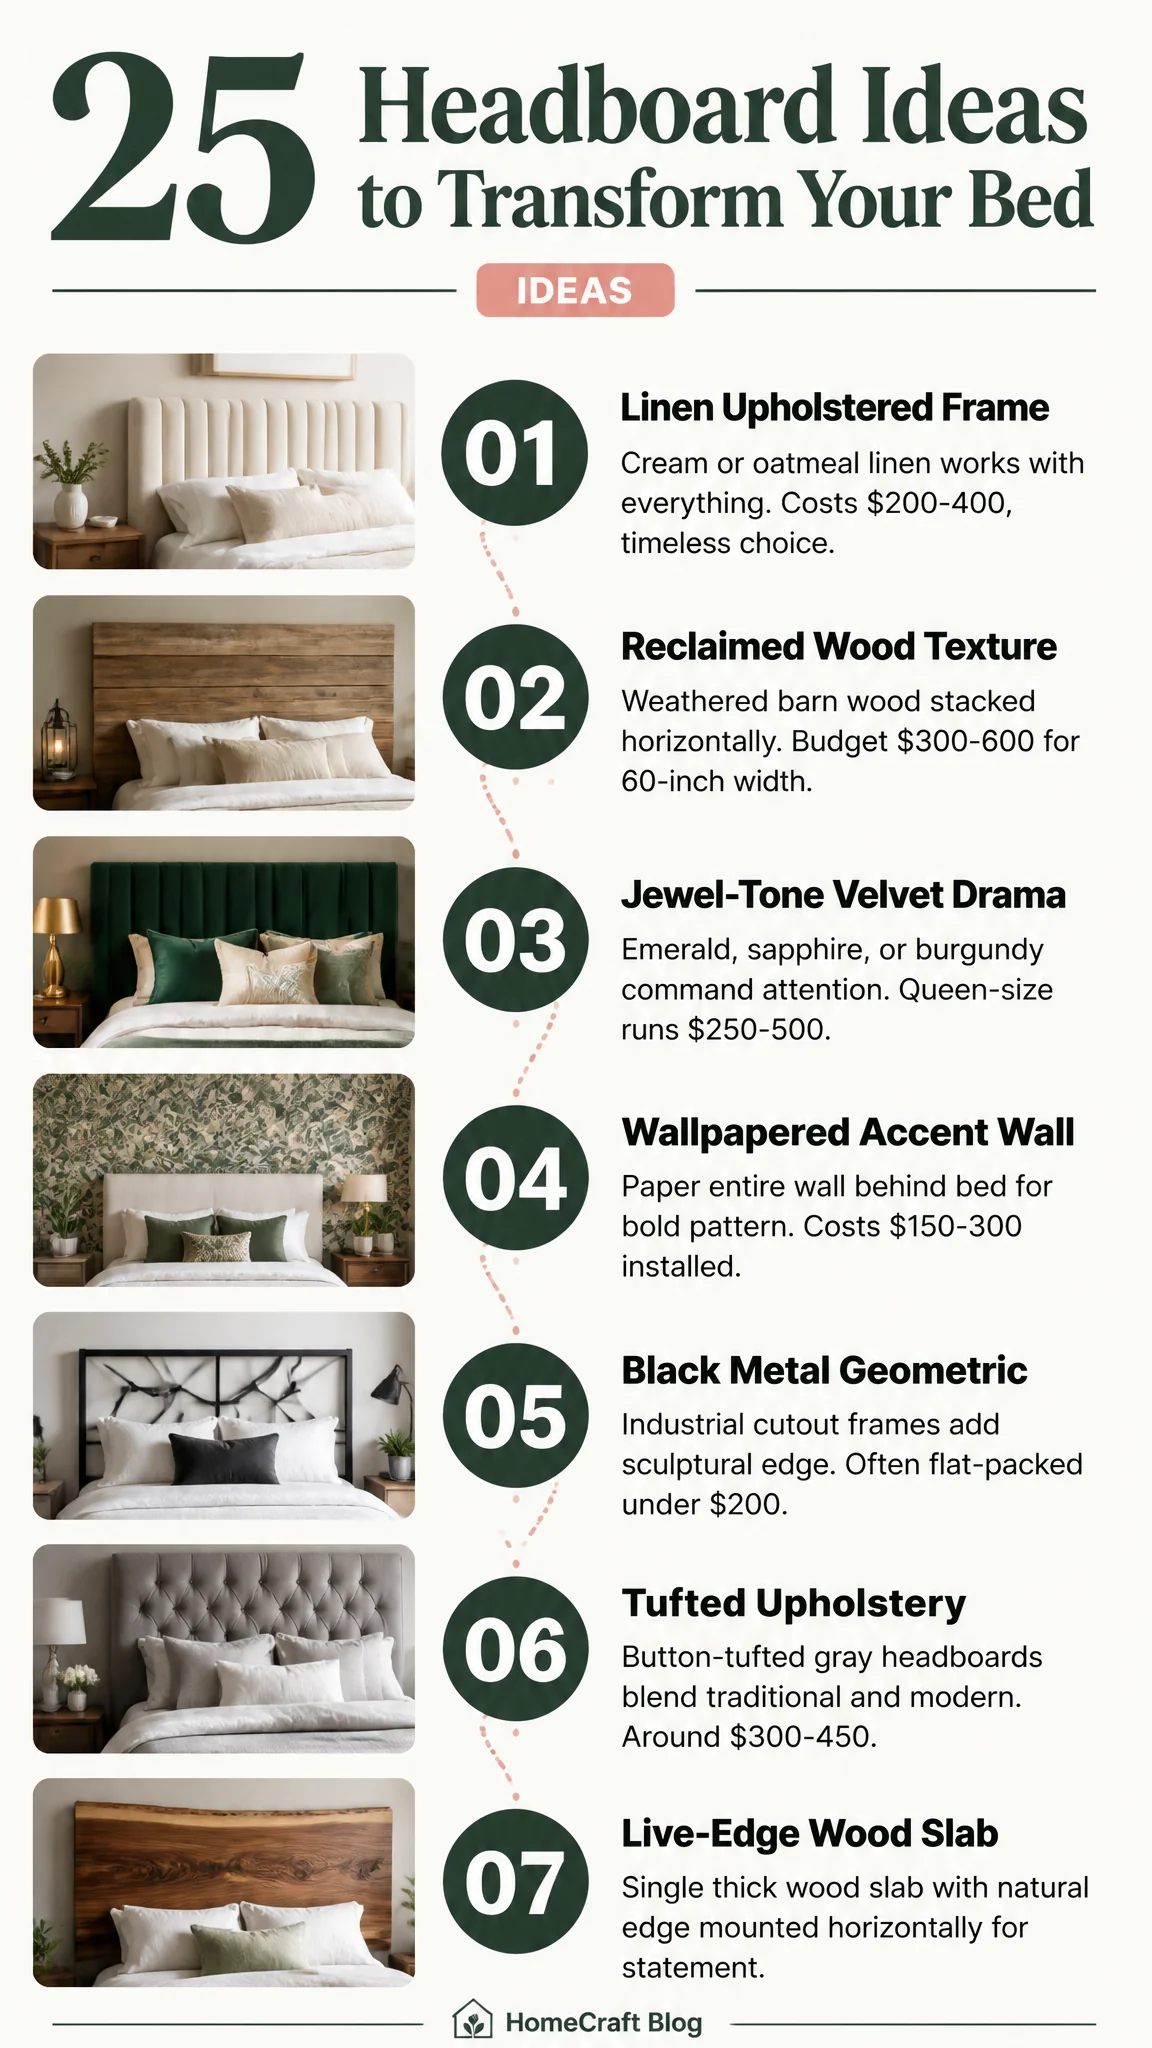
A headboard is the one piece of bedroom furniture that either disappears or does most of the work. Get it right and everything else can stay quiet: plain white bedding, one lamp, done. Skip it, or hang something undersized, and the wall behind your pillows reads as unfinished no matter what you spent on the rest of the room. That's the case for treating it as your bedroom's main character rather than the last thing you shop for.
Before you fall for a photo, write down two numbers. A headboard should be roughly 2 to 4 inches wider than your mattress, so 62 to 64 inches for a queen, 78 to 80 for a king, and 41 to 43 for a twin. And the top edge usually lands 20 to 30 inches above the mattress surface for a standard look, or 48 inches and up if you want the piece to dominate. Those two measurements quietly rule out about half of the headboard ideas for beds you'll see online. The rest are fair game, and they run from under $50 to well past $1,000.
1. Linen upholstered frame in natural cream
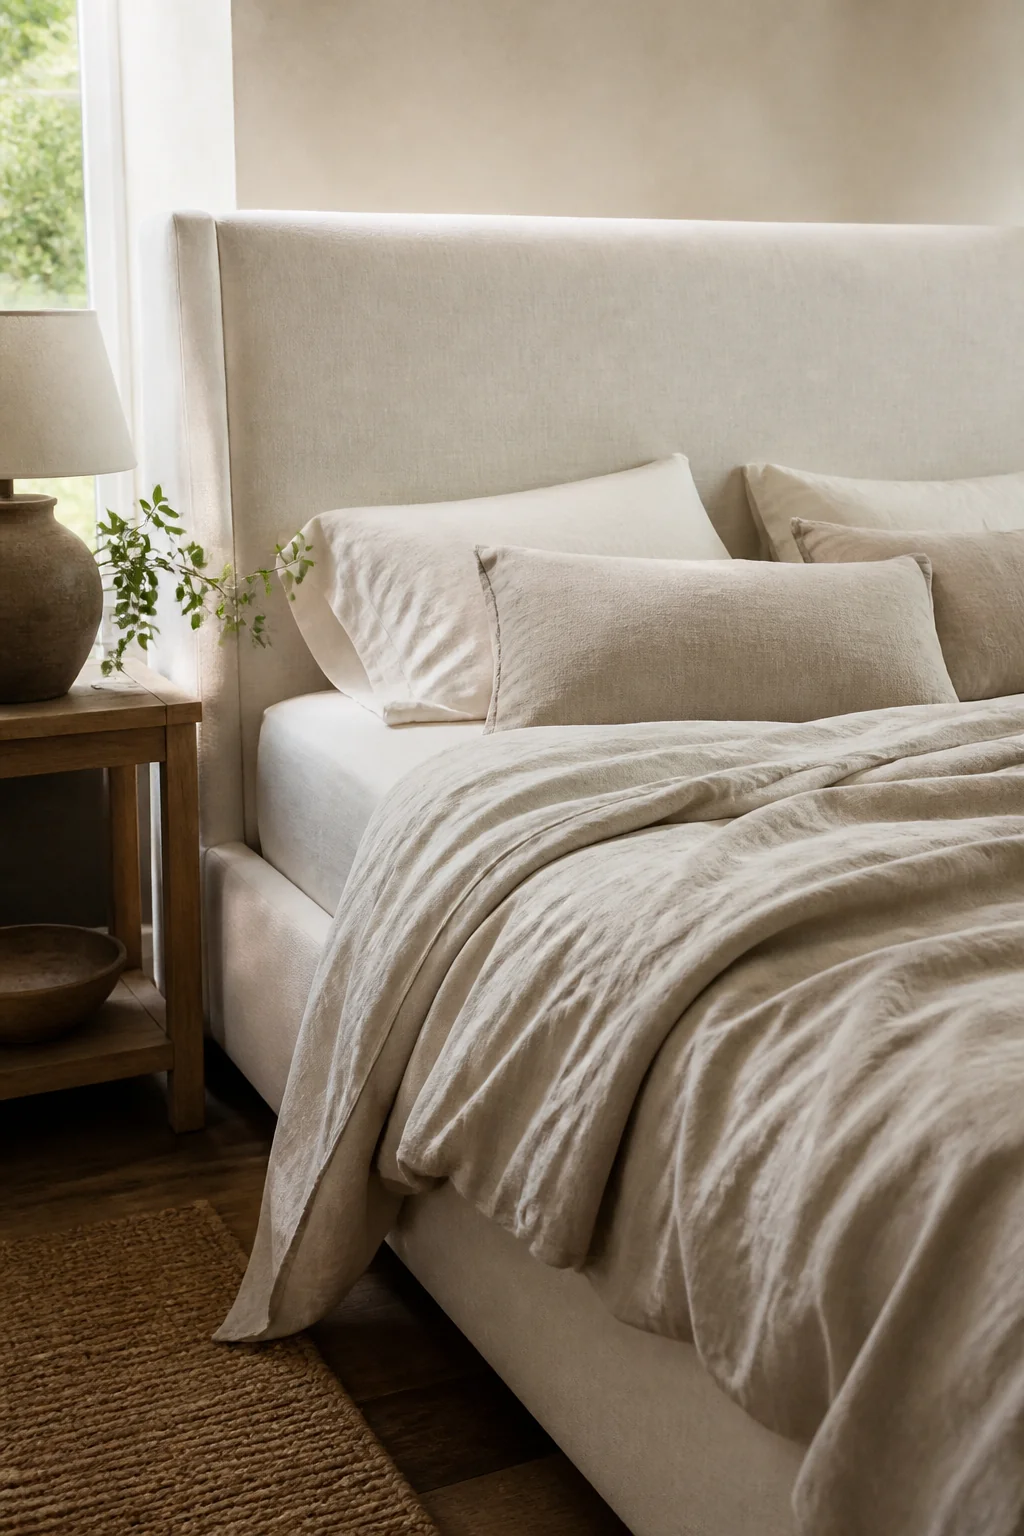
A simple upholstered headboard in oatmeal or cream linen works with almost everything, which is why it never leaves production. Expect $200 to $400 for a queen, more if the frame underneath is solid hardwood rather than engineered pine. The spec worth checking is the fabric, not the color. Look for a linen blend rated at 15,000 double rubs or higher and a cleaning code of W or WS, which means you can spot clean with water rather than shipping the panel to a specialist. Pure natural linen wrinkles beautifully but drinks up hair oil, so if anyone in the bed reads sitting up, a linen and polyester blend keeps its face far longer. Cream hides that mark better than bright white. A slipcovered version, where the whole cover unzips and goes through the wash, is worth the extra $60 or so.
2. Reclaimed wood with a weathered gray finish
Salvaged barn wood or reclaimed planks stacked horizontally give you grain variation that no factory finish copies convincingly. Budget roughly $300 to $600 for a 60-inch width before labor, since reclaimed stock is sold by the board foot and priced on scarcity rather than species. Two cautions matter more than the styling. Anything painted before 1978 can carry lead, so a $12 test swab from the hardware store earns its keep in about two minutes. And barn wood that was never kiln dried can still hold powderpost beetle larvae, which is why reputable dealers list a heat cycle at around 130 degrees. Build it as one panel rather than a set of loose boards: screw the planks to two vertical 1x4 cleats on the back, then hang the whole assembly on a French cleat driven into studs. Boards mounted individually drift out of alignment as the wood moves through the seasons.
3. Statement velvet in jewel tones (emerald, sapphire, burgundy)
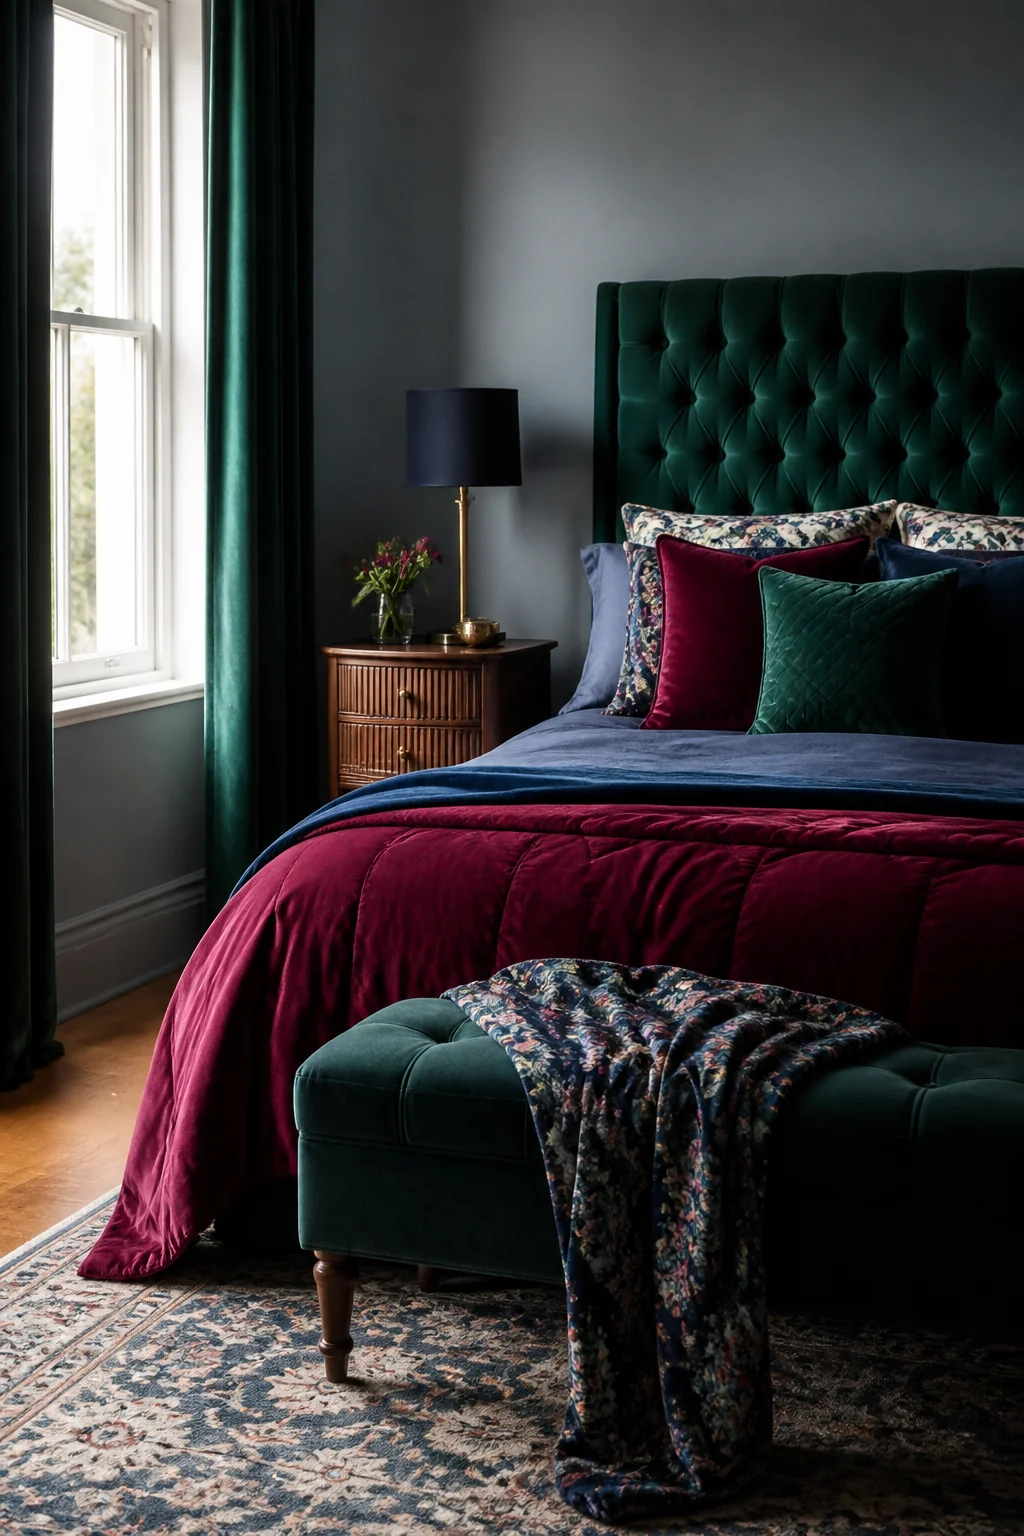
Jewel-tone velvet commands a room without shouting. Emerald and sapphire photograph especially well because the pile catches light at two angles, so the color shifts as you walk past it. Expect $250 to $500 for a queen. The fiber matters more than the shade: cotton and rayon velvet crush permanently wherever you lean, while polyester velvet springs back and takes a damp cloth. Ask for the cleaning code and skip anything marked X, which means vacuum only and nothing else. There's one real trade-off. A saturated color absorbs light instead of bouncing it, so a dark velvet panel in a small or north-facing room can leave the head of the bed feeling like a cave. Two sconces about 30 inches above the mattress, aimed at the ceiling rather than at the fabric, put the light back without flattening the pile.
4. Floor-to-ceiling wallpapered accent wall
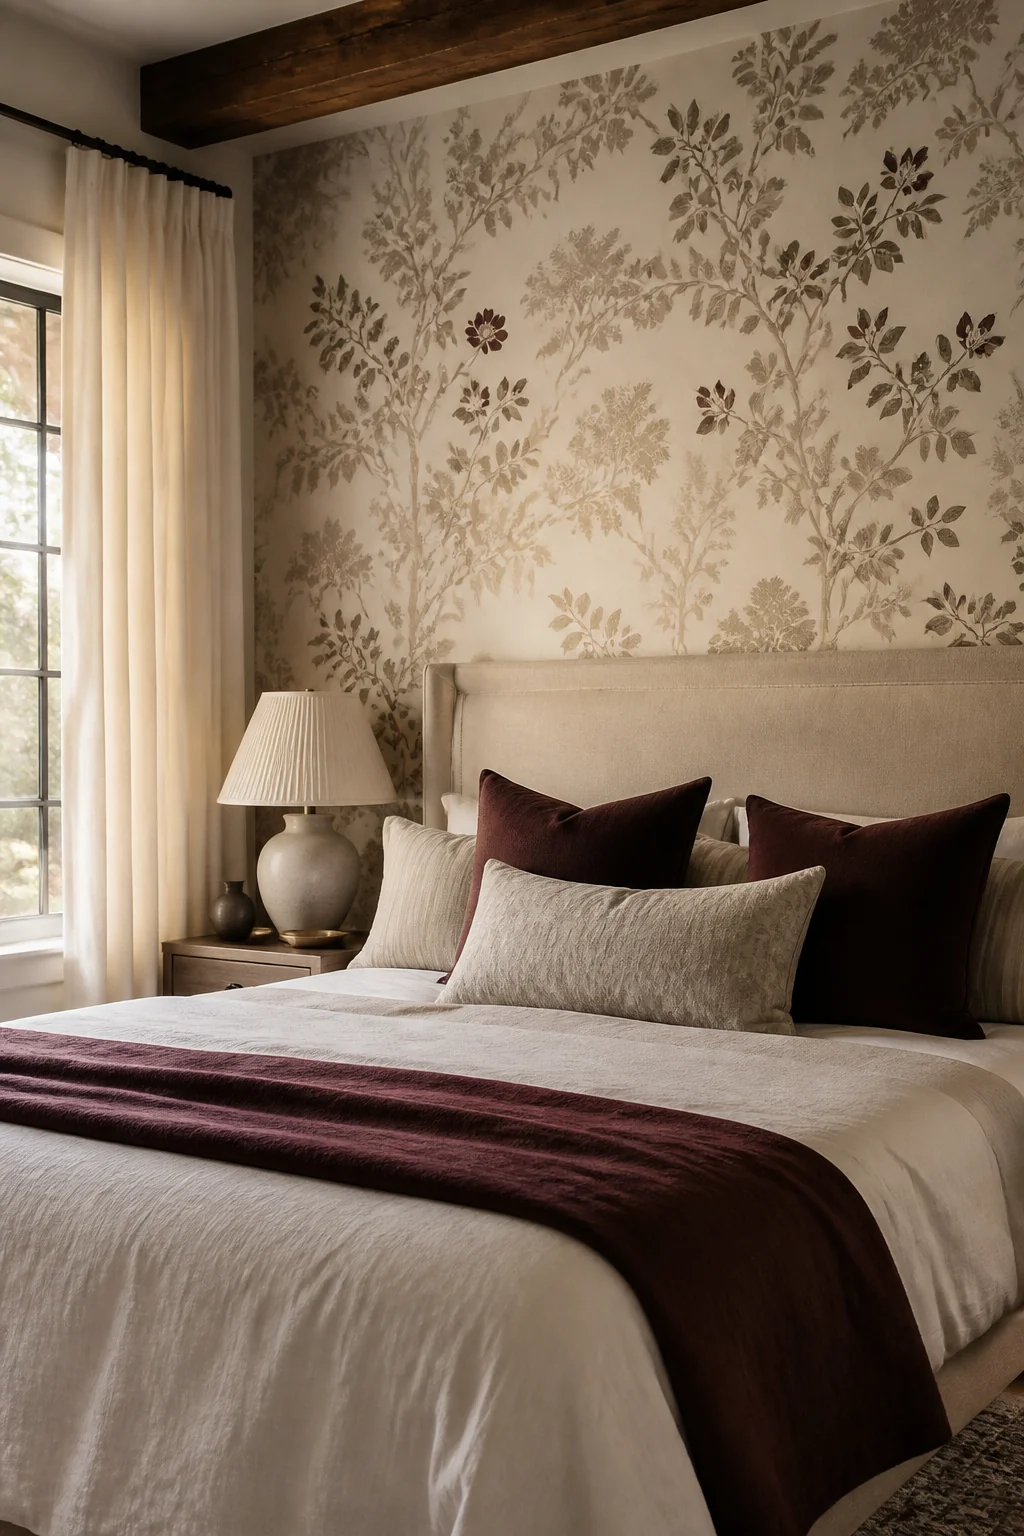
Paper the entire wall behind your bed and skip the headboard purchase altogether. You get far more freedom with pattern and color, and a 10-foot by 10-foot wall costs about $150 to $300 including paste. Buy by the numbers: one standard double roll covers roughly 56 square feet before you lose anything to pattern repeat, so 100 square feet of wall wants three rolls, not two. Order the extra and keep the offcuts for the inevitable scuff repair. The failure modes here are predictable, at least. Peel-and-stick will not bond to a heavily textured wall or to flat matte paint, so it needs a clean eggshell or satin surface first. And the top rail of the mattress rubs the paper exactly where the pillows sit. Leave a 2-inch gap between bed and wall, or run a slim wooden rail at mattress height, and the pattern survives years instead of months.
5. Black metal frame with geometric cutouts
Industrial metal headboards with cutout patterns throw line and shadow onto a wall that would otherwise stay flat. Flat-packed versions come in under $200, and most bolt to the bed frame rather than the wall, which is a genuine advantage if you rent. Check your frame for headboard brackets before you order, though. Platform beds often don't have them, and a universal bracket kit adds $25 to $40 plus twenty minutes with a socket wrench. Insist on powder-coated steel: a wet-sprayed finish chips around the bolt holes the first time you torque it down. The honest drawback is noise. A hollow tube frame bolted to a metal bed rail ticks against the wall every time someone rolls over, and it's maddening at 2am. Two adhesive felt bumpers on the back edge cost about a dollar and end it.
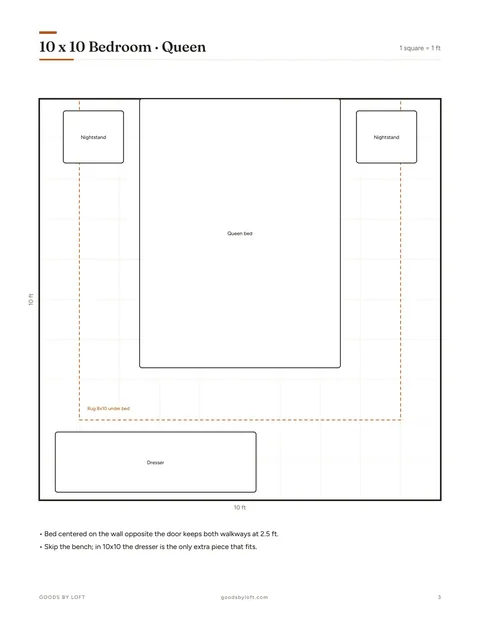
6. Tufted upholstery in soft gray
Button tufting has outlasted several style cycles, and it sits as comfortably in a traditional room as in modern spaces. Around $300 to $450 buys a decent queen. What separates the good from the disappointing is foam depth. Real tufting needs 3 to 4 inches of foam so the buttons pull into proper wells that hold their shadow; a 1-inch panel with buttons glued on the surface gives you dimples and nothing more. Press the face in the showroom, or ask for the foam spec if you're buying online. A diamond grid with buttons 8 to 10 inches apart reads classic, and wider spacing reads modern. The downside nobody mentions: those button wells are dust traps, and a vacuum brush skims straight over them. A can of compressed air twice a year takes five minutes and keeps the surface crisp.
7. Live-edge wood slab mounted horizontally
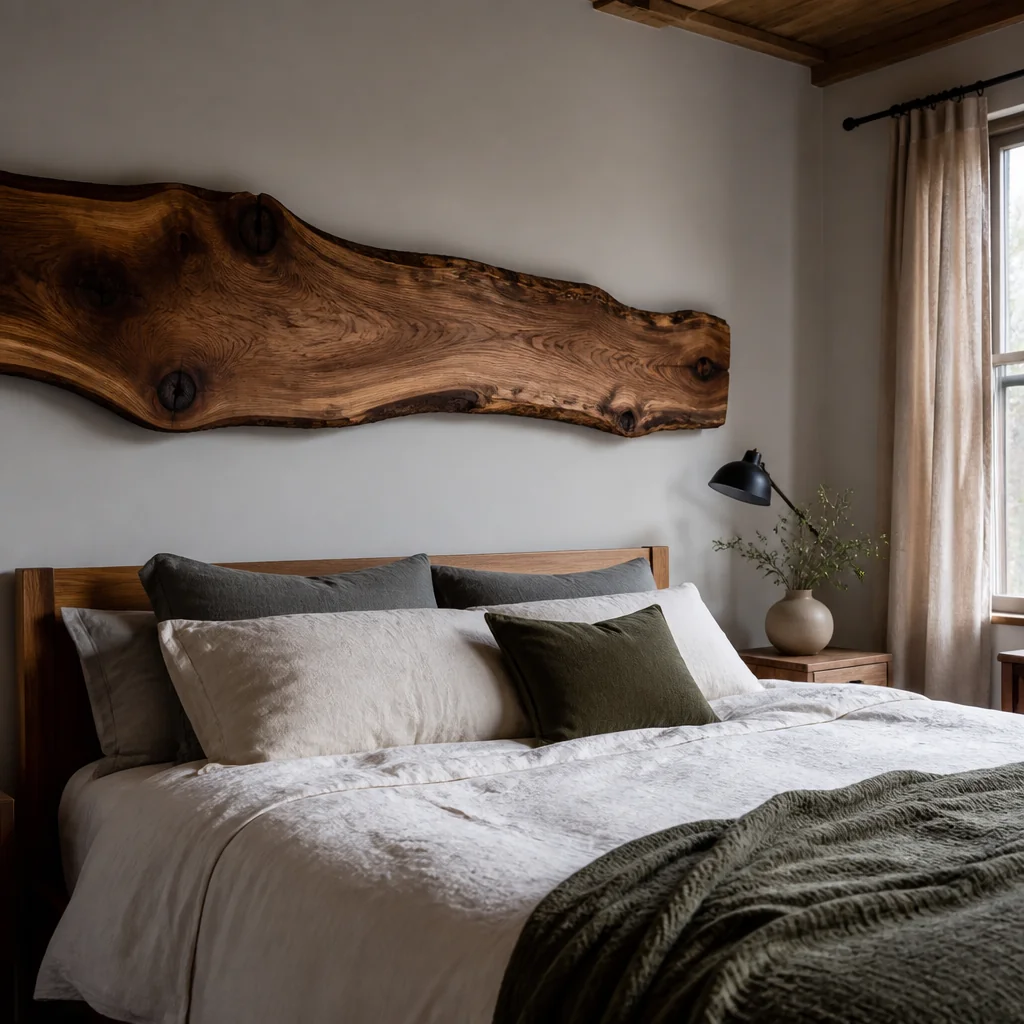
A single thick slab with the natural edge left intact is the most sculptural option on this list, and at $400 to $800 it's priced accordingly, depending on species and length. What the listing rarely spells out is weight. A walnut slab 60 inches long, 20 inches deep and 2 inches thick lands somewhere near 60 to 70 pounds, which rules out drywall anchors completely. It hangs on two steel French cleats screwed into studs with 3-inch #10 screws, and studs sit 16 inches on center in most homes, so measure before you fall for a particular width. Ask whether the slab was kiln dried to 6 to 8 percent moisture content, because green wood cups and checks across its first heated winter. Mount the bottom edge 2 to 3 inches below the top of the mattress, so pillows press against timber instead of sliding into a gap.
8. Stacked stone or shiplap
Two very different builds share this slot. Shiplap is the affordable one: 1x6 pine boards at roughly $2 to $4 per linear foot, spaced with a 1/8-inch nickel gap and pinned into studs with 2-inch 18-gauge brads. A queen-width run takes an afternoon and about $120 in lumber, and painted white or cream it reads clean but never flat. Stone is the serious one, closer to $500 to $1,000 installed, and it comes with a structural rule: adhered stone veneer is generally capped at 15 pounds per square foot over ordinary framing, which is why thin-cut veneer over cement board is the standard approach rather than full-depth stone. Both give you shadow that shifts as the light moves through the day. Both are also permanent, so if you rent, or you suspect you'll want something different in three years, a painted panel serves you better.
9. Macrame wall hanging
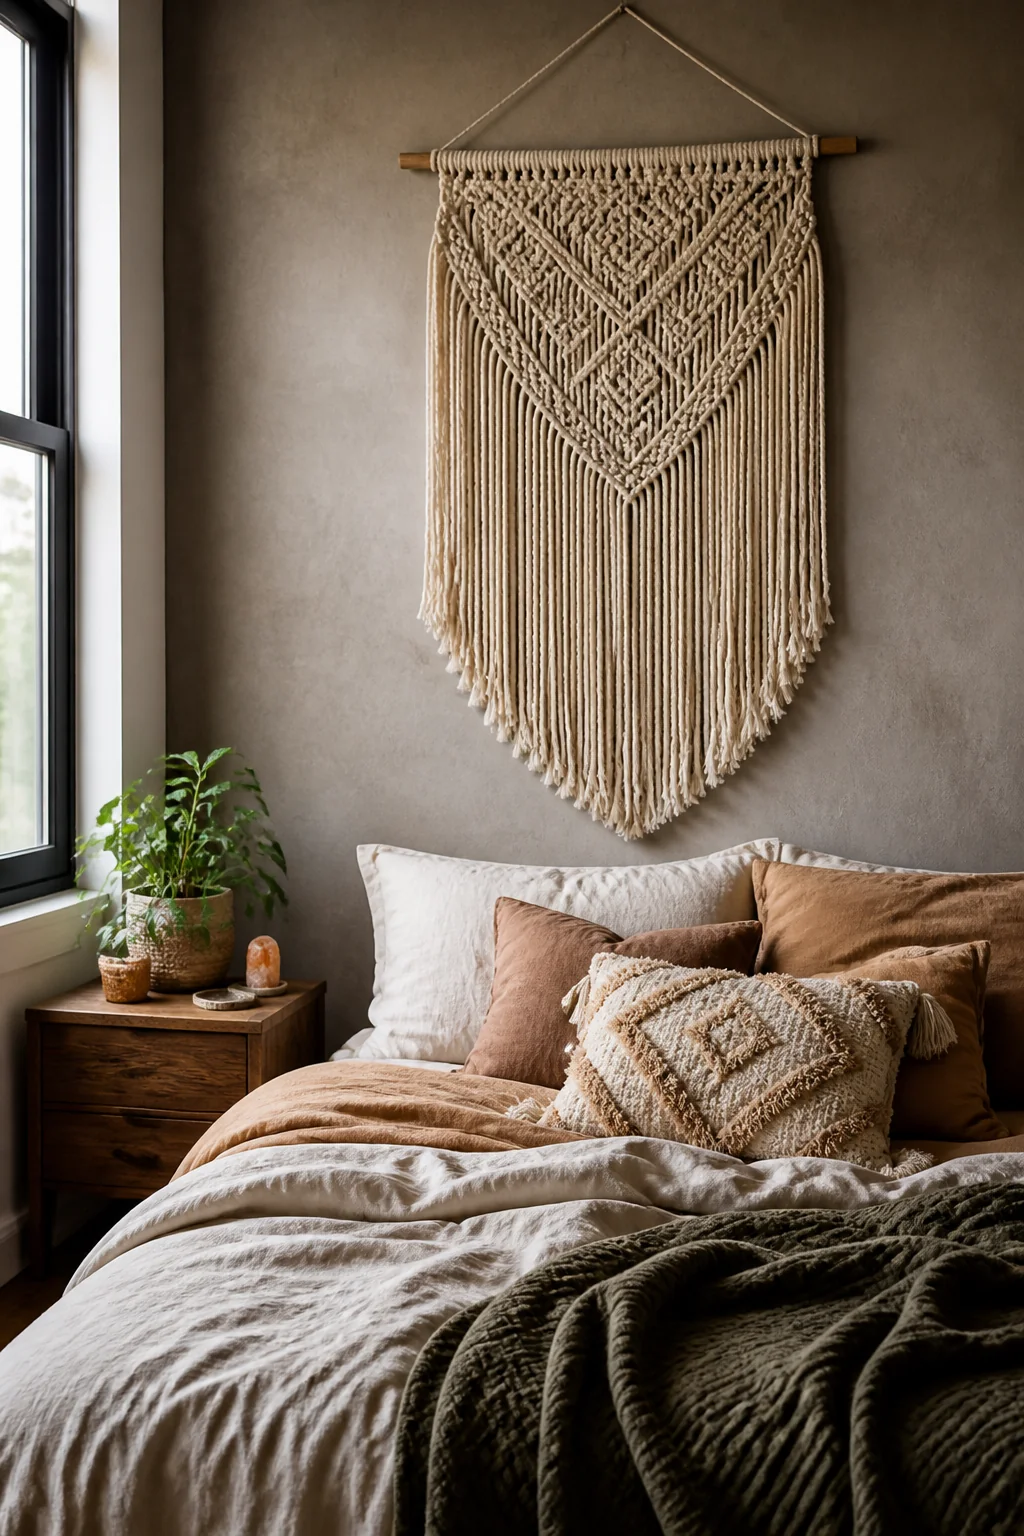
A large macrame panel softens the wall behind a bed the way a rug softens a hard floor, and it runs $80 to $250 depending on size and rope quality. Scale is where this one usually goes wrong. A 24-inch panel above a 60-inch queen looks like a forgotten accessory rather than a decision, so aim for a piece at least as wide as the mattress, hung high enough that the bottom fringe clears your pillow tops by an inch or two. Look for 4mm or 5mm single-twist cotton rope. Cheap jute versions shed fiber onto the bedding every night and never stop. The dowel gets surprisingly heavy once the rope is knotted onto it, so put at least one screw into a stud instead of trusting two picture hooks. Keep it out of hard afternoon sun as well, since natural cotton yellows unevenly.
10. Curved or arched wooden frame
An arched headboard, whether a soft half-circle or a taller gothic point, breaks the rectangle habit that makes most bedrooms read alike. Expect $350 to $700, and they sit particularly well in bohemian or eclectic rooms. Measure your ceiling before you commit to a tall one. The peak of an arched panel often sits 55 to 60 inches above the mattress, which puts it around 80 inches off the floor, uncomfortably close to the bottom of a standard 84-inch window or a sloped attic ceiling. Curves also compete with one another, so if the same wall already has a round mirror or an arched doorway, one of them has to go. Bent-ply arches cost less than solid timber and hold their shape better in a humid room, though the veneer edge chips if you knock it while moving the bed.
11. Upholstered headboard with nailhead trim
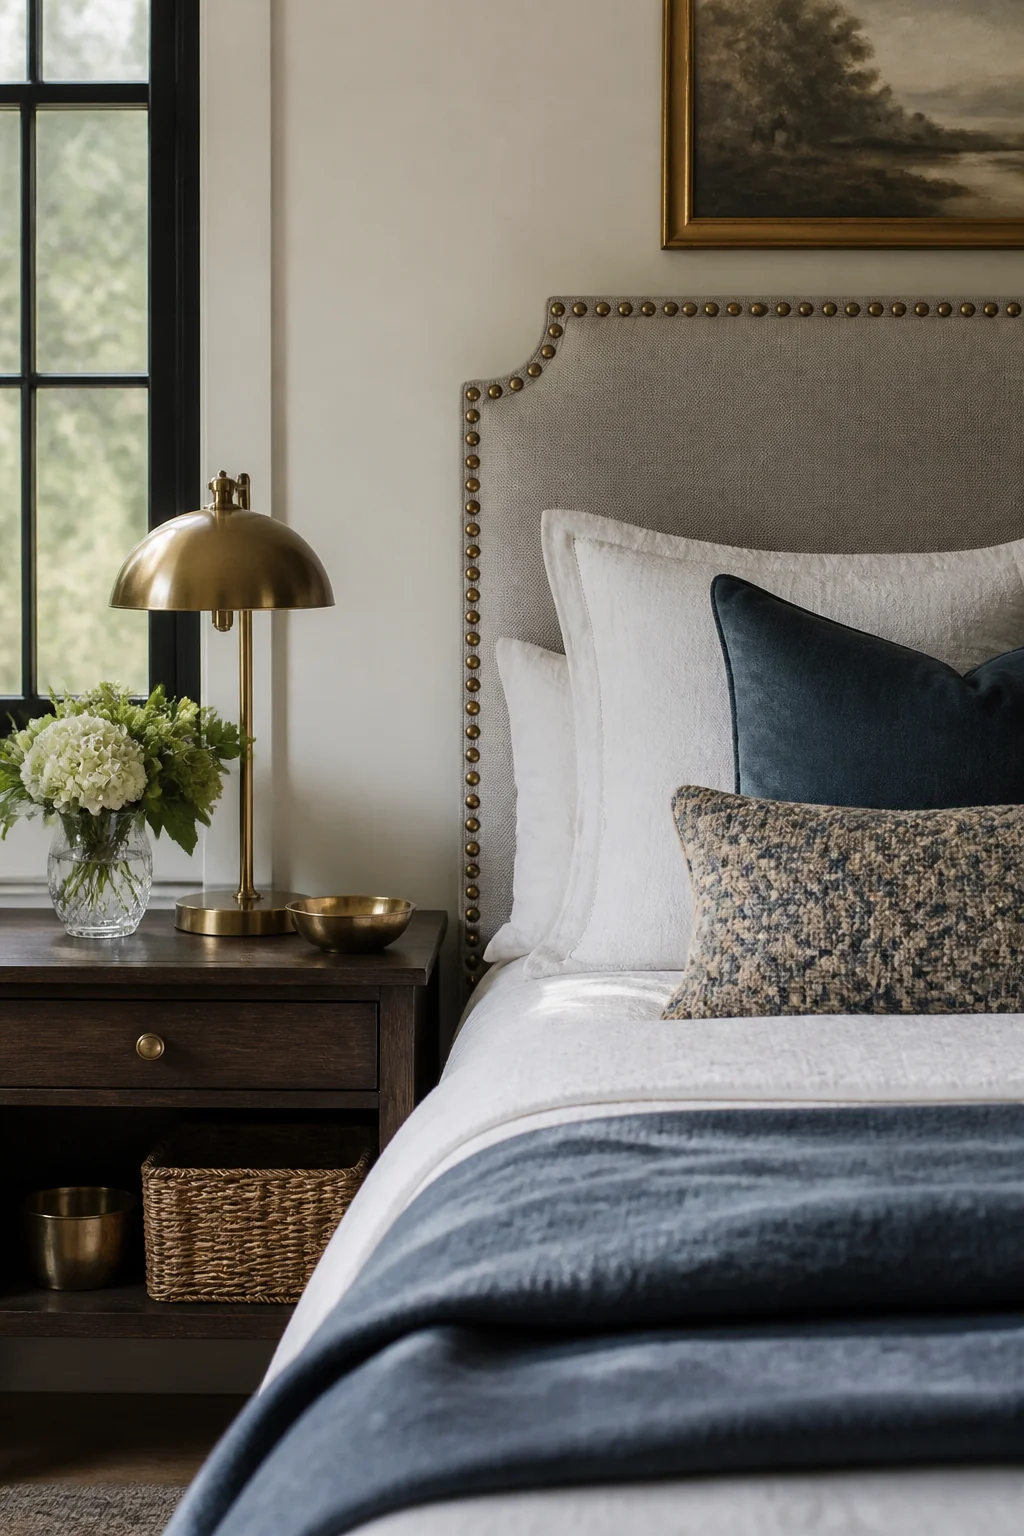
Nailhead trim draws a defined edge around an upholstered panel and adds a slightly traditional note without changing its shape. Bronze reads warm, brass reads formal, matte silver keeps things quiet. Budget $300 to $500 for a piece that feels substantial rather than hollow. Before you buy, ask whether the nails are individual or strip trim, because that decides how the headboard ages. Hand-set nails placed about an inch apart look better up close and can be tapped back in when one works loose. Strip trim, where five decorative heads share a single real nail, is faster to produce and cheaper to buy, but the whole run lifts at once when it snags. Either way the heads sit proud of the fabric and will catch a fitted sheet dragged over them, so make the bed from the sides rather than hauling linens up over the top edge.
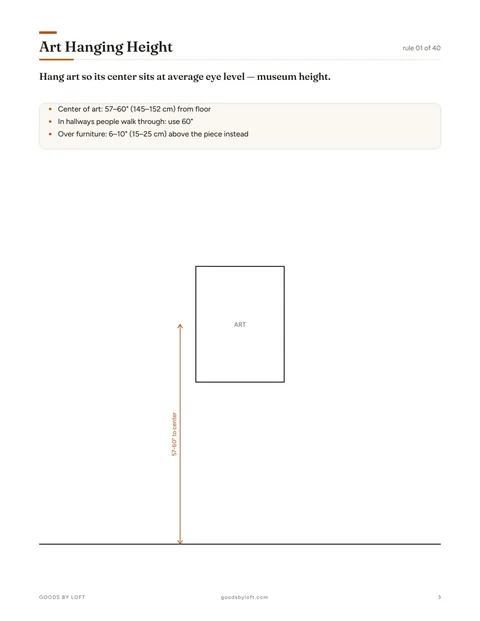
12. Exposed brick (painted or natural)
If the wall behind your bed is already brick, use it. Raw brick carries color variation nothing manufactured matches, and it costs you nothing when it's already there. If you want it lighter, skip ordinary wall paint. Limewash and mineral paint soak into the masonry rather than sitting on top, so the brick keeps its texture and stays breathable, and a gallon runs $50 to $70 while covering 200 to 250 square feet, which is more than one wall needs. Latex seals moisture inside the wall and peels off in sheets a few years later. Sort two things first: brush the surface and look for efflorescence, the white powdery salt that signals moisture moving through the brick, and run a bead of caulk along the baseboard, because brick dust on bedding is relentless. Once you've painted, treat the decision as permanent.
13. Floating wooden platform with built-in nightstands
A solid wood shelf mounted to the wall and running past both sides of the bed replaces a headboard and two nightstands in one move. Carpentry puts it at $600 to $1,200. Work out the heights on paper before anyone picks up a saw. The platform surface should land within about 2 inches of your mattress top, usually 24 to 26 inches off the floor, so you can reach a glass of water without sitting up. Make it 10 to 12 inches deep: enough for a lamp, a book and a phone, not so deep that it eats walking space. The whole load has to reach framing, so plan the run to cross at least three studs at 16-inch spacing, and check what's inside the wall before you cut. Bedroom receptacles usually live on this wall, and burying an outlet behind a fixed platform is a code problem as much as an inconvenience.
14. Rattan or woven cane in a frame
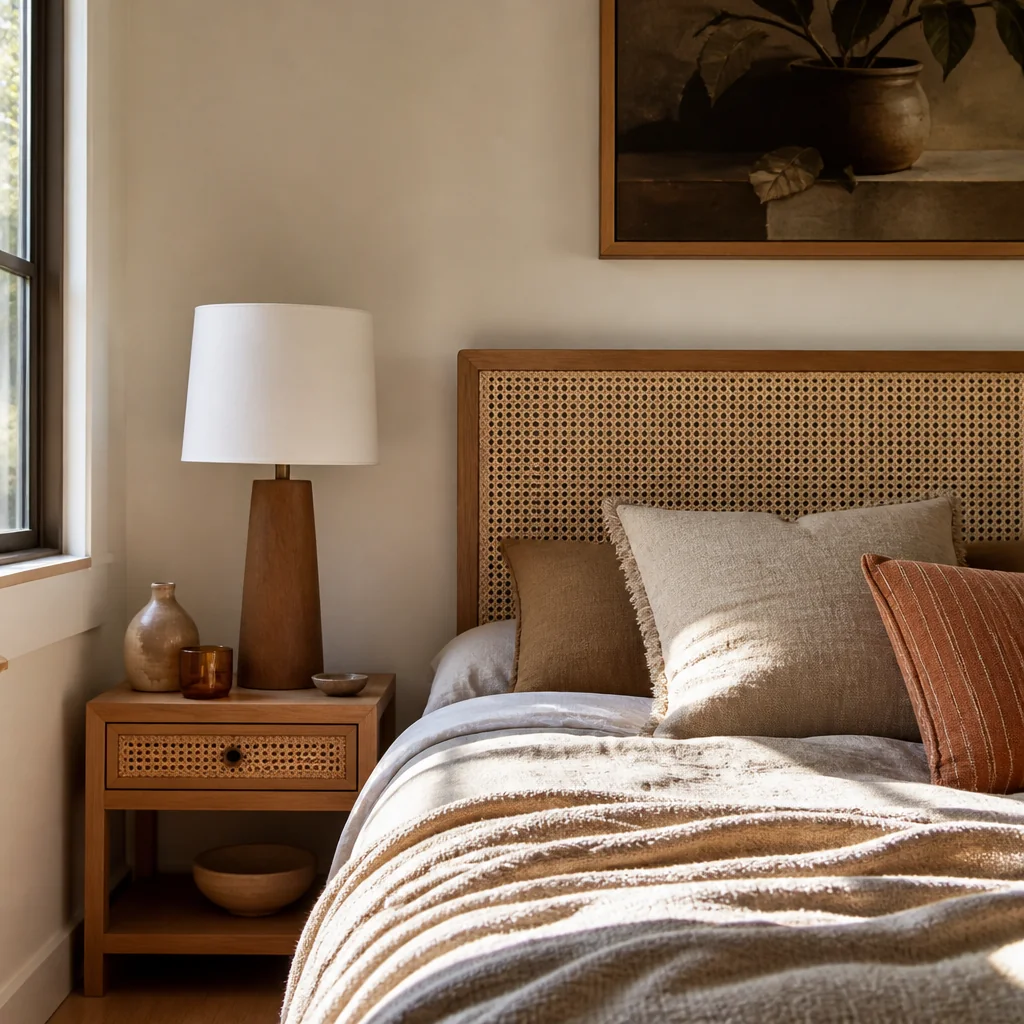
Woven cane panels and rattan screens lay an organic grid across the wall, and prices sit between $150 and $400. Raking light is what makes it work. A lamp set to the side rather than straight in front throws the weave's own shadow onto the wall behind it, which is why these panels look disappointingly flat under a single ceiling fixture. If you build one yourself, cane webbing comes in 18-inch and 24-inch rolls, and the technique that matters is soaking it in warm water for 30 to 60 minutes before you fix it, so it shrinks drum-tight as it dries instead of sagging within a month. Traditional press-caning needs a 1/4-inch spline groove; stapling the webbing to the back of a simple frame is the far easier route. Cane splits in very dry heat, so keep the panel off a wall directly above a radiator or a floor vent.
15. Leather or faux-leather upholstery
Leather takes a beating and wipes clean, which makes it the sensible pick when pets sleep on the bed or someone eats breakfast in it. A queen runs $400 to $800. Grade matters more than color here. Full-grain and top-grain develop a patina and last decades; bonded leather is ground scrap glued to a fabric backing and typically starts flaking within two to four years, whatever the label implies. Among the fakes, polyurethane stays supple and breathes reasonably, while PVC vinyl stiffens and cracks in a dry, heated room. Chocolate and black read sophisticated, bone and tan soften the effect and hide dust better. One quirk people forget: leather holds room temperature, so it feels cold against bare shoulders in February and slightly tacky in an unair-conditioned August. A folded throw across the top edge solves both ends of that.
16. Quilted fabric panel
A quilted panel gives you dimension without the formality of tufting, at roughly $200 to $400 for quilted cotton or linen. The stitch pattern does the design work. Straight channel quilting runs vertically and makes a low headboard look taller; a diamond grid reads softer and more traditional. Check the batting weight before you buy, because thin polyester fill flattens into a limp rectangle after a season of being leaned on, and anything under about 4 ounces per square yard won't hold its relief. This is also the friendliest option on the list to make yourself, since you're stapling a finished quilted panel to plywood rather than wrestling with foam and buttons: if you can sew a straight line, you can produce something that looks bought. The stitch lines do gather dust, so run a vacuum brush over it when you change the sheets.
17. Fabric-wrapped frame with storage shelves
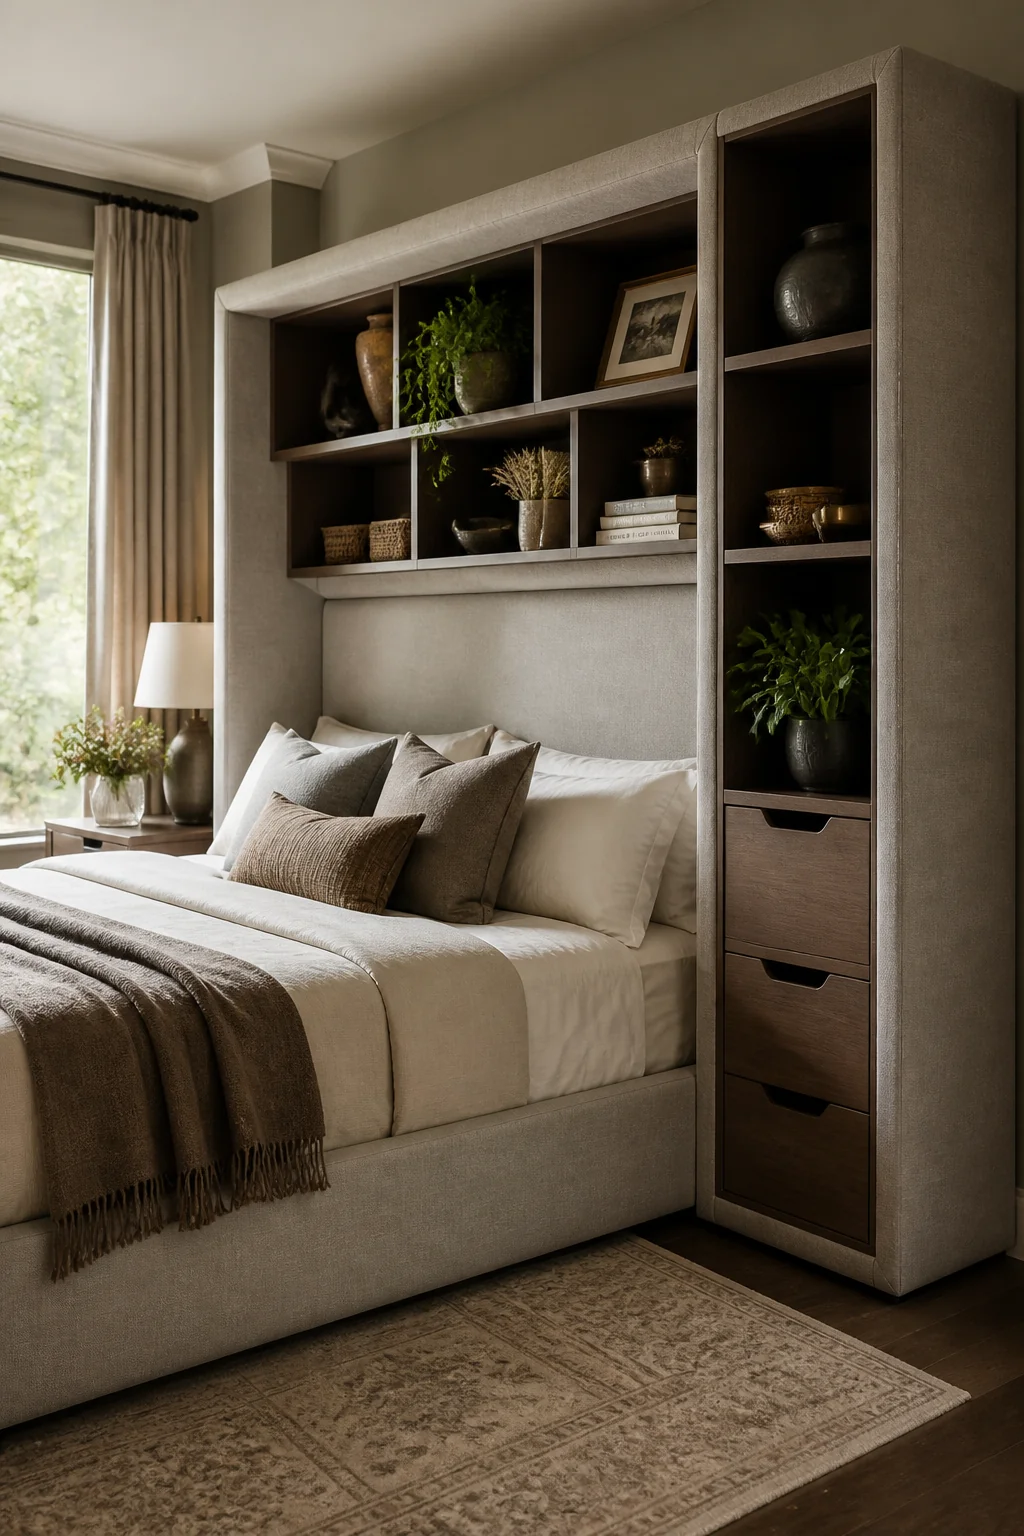
This is a headboard doing double duty as a bookcase, with fabric wrapped over the visible sides so it still reads soft. You'll pay $500 to $900 for the structure and get back shelf space that empties a nightstand or two. Do the floor math before you commit, because a storage headboard is typically 10 to 14 inches deep and pushes the bed that same distance further into the room. Measure your walk-around clearance first: 24 inches on each side is the practical minimum and 30 to 36 inches is what feels comfortable. In a room under 11 feet wide with a queen, that depth is usually the deciding factor rather than the price. Keep the shelves low enough that nothing sits above pillow height, or you'll knock things over in the dark, and plan in a couple of closed bins, since open cubbies only look tidy while they stay curated.
18. Stenciled or hand-painted design
If you have a steady hand, paint the pattern straight onto the wall. A reusable stencil costs $15 to $40 and a sample pot of paint another $8, so a full arched or rectangular motif behind the bed lands under $50, which makes it the cheapest real headboard here. Technique is where most attempts fall apart. Load a 4-inch dense foam roller, then off-load nearly all of it onto a paper towel until the roller looks almost dry, and build the color in two light passes. A wet roller bleeds under the stencil edge every single time. Hold the stencil with repositionable spray adhesive rather than tape, and snap a plumb line down the center of the bed so the pattern stays square to the mattress instead of to a crooked ceiling. Mark your registration points in pencil before you move the stencil.
19. Velvet rope detail on a painted wall
Rope strung into a diamond or chevron pattern across a painted wall gives you line and movement for under $50 in materials and an afternoon of work. Thickness decides whether it reads as a design or as string, so use 8mm to 10mm cotton, jute or faux-leather rope; anything thinner disappears from across the room. Anchor each turn on a small brass cup hook or an upholstery tack driven into a stud or a plastic anchor, and keep the tension even by working outward from the center rather than end to end. The limitations are worth knowing before you start drilling. Rope collects dust along its upper surface and wants a vacuum brush every month or so. And every hook leaves a hole, which makes this a better fit for a wall you own than for a deposit you'd like back. Choose a rope a shade or two off the wall color rather than a hard contrast.
20. Brass or gold tubing frame
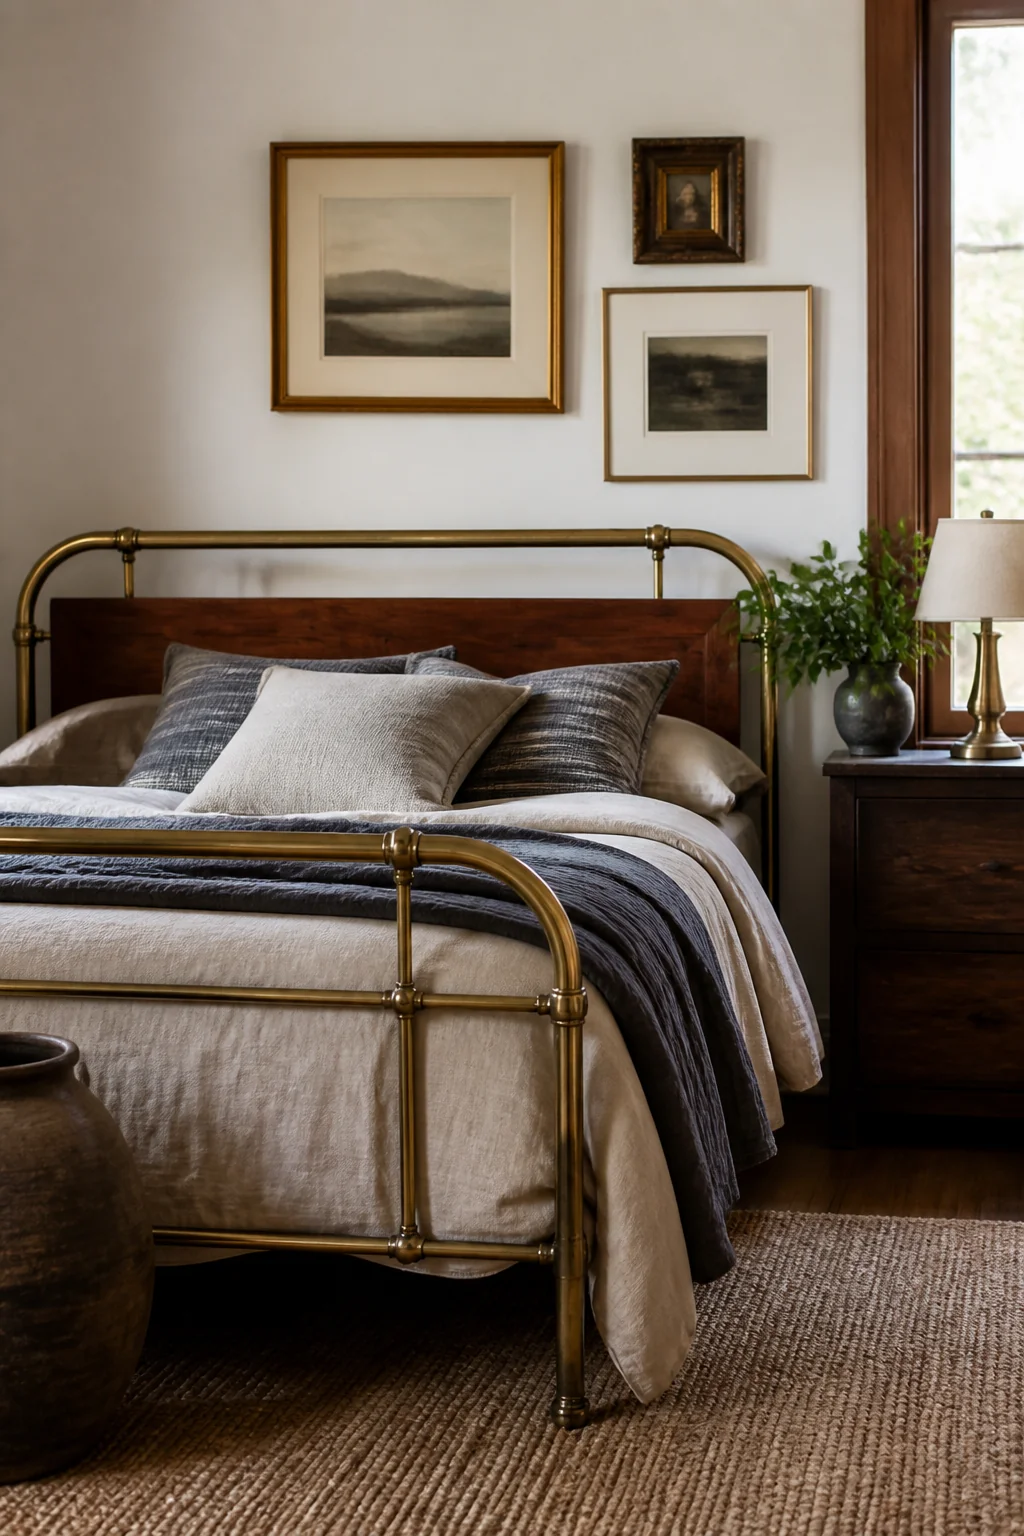
Slim metal tubing keeps a bedroom feeling open, because you see the wall straight through it. These frames run $250 to $500 and sit well against natural wood, a low-pile rug or plain upholstery. Ask what the metal really is before you pay. Solid brass tubing costs more and develops a patina you can polish back or let deepen, while brass-plated steel is a microns-thin coating that wears through exactly where hands land, often within a couple of years. Lacquered brass holds its shine but can't be polished once the lacquer clouds; unlacquered goes browner every year, which some people want on purpose. The practical catch is that tubing offers nothing for pillows to rest against, so plan on a firm bolster or euro shams if you read sitting up. Wall sconces suit this better than a table lamp, since the frame casts almost no shadow of its own.
21. Layered textiles and a floating shelf
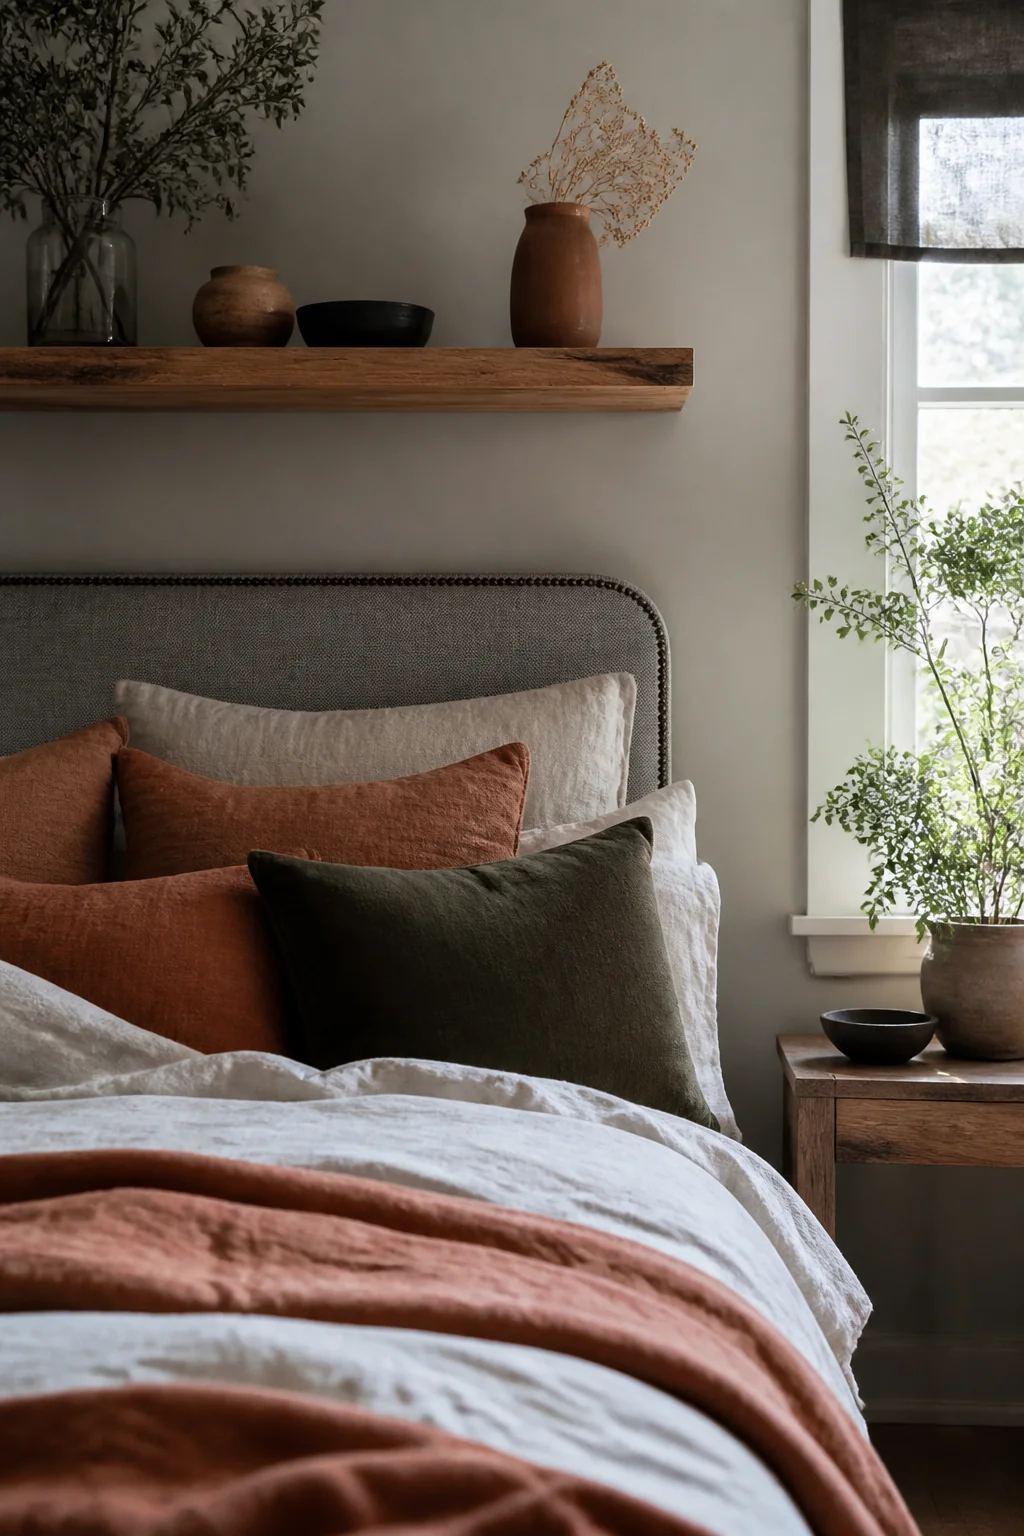
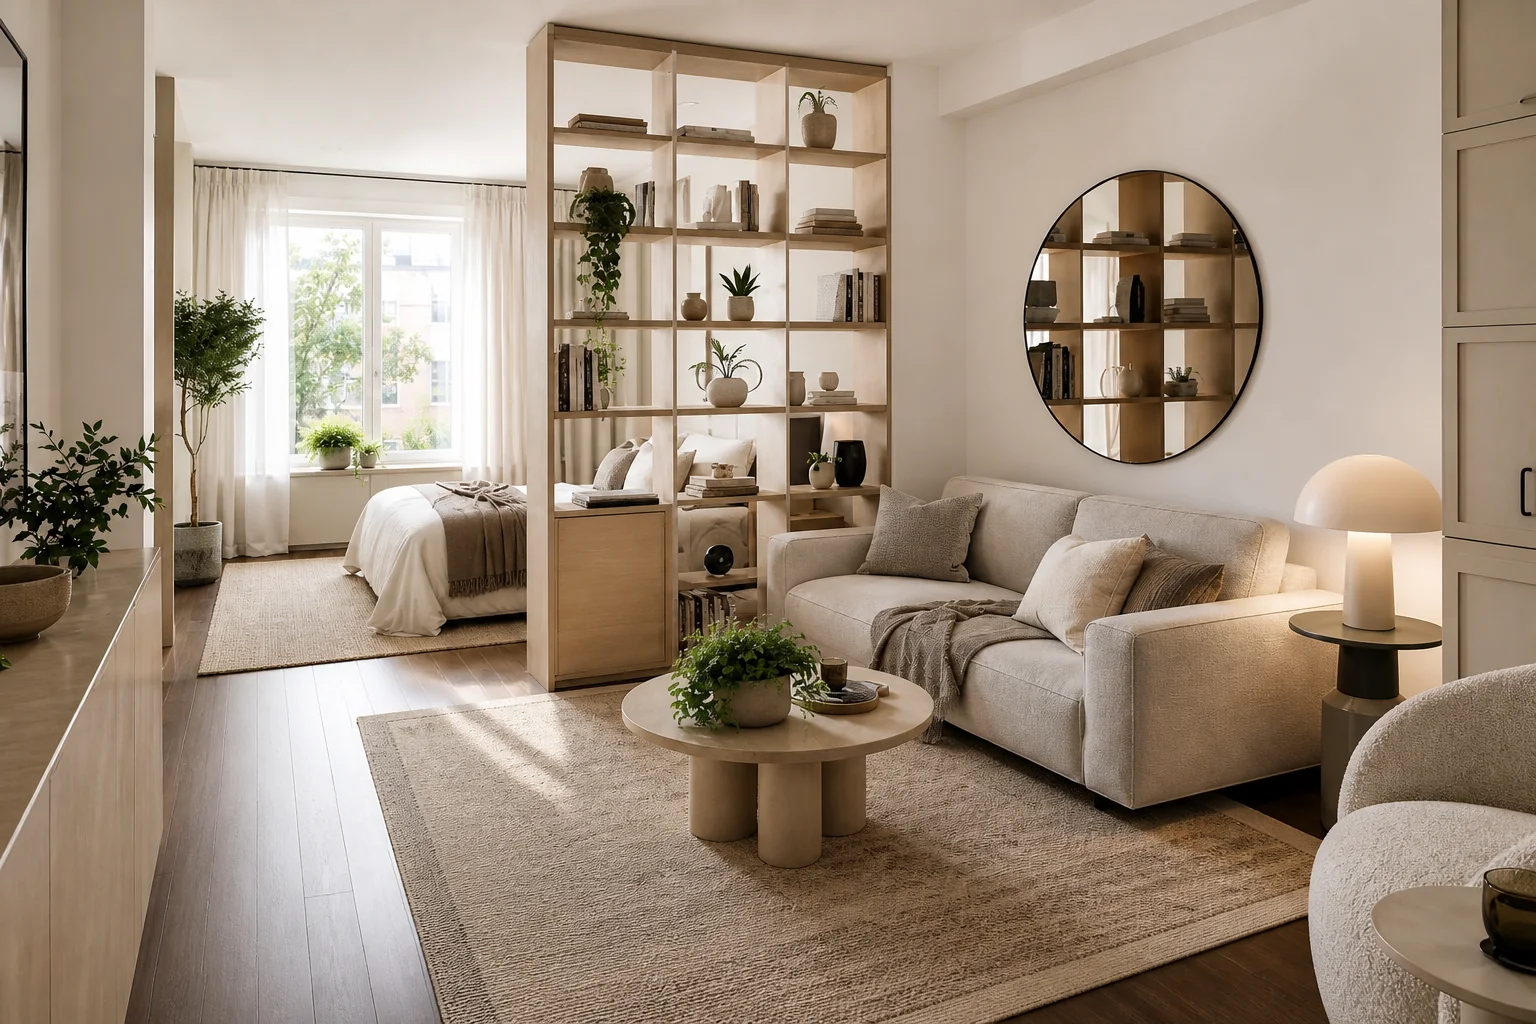
Skip a traditional headboard entirely: mount one simple shelf above the bed and layer textiles behind the pillows, whether that's a throw, a small tapestry or a length of fabric on a rod. The whole arrangement comes in under $200 and restyles in ten minutes whenever you tire of it. Set the shelf 30 to 36 inches above the mattress top, which clears your head when you sit up, and keep it 5 to 6 inches deep so it passes over the pillows without crowding them. Fix it into two studs rather than anchors, because a floating shelf carries its load on a cantilever and pulls hardest at the top screws. Be deliberate about what goes on it: nothing heavy, nothing glass, nothing sitting directly above a sleeper's face. Small frames and a low vase are the version you won't regret at 3am.
22. Concrete or polished cement finish
A concrete face behind the bed reads cool and contemporary, and professional application costs $400 to $800. Almost nobody uses poured concrete for this. The practical versions are microcement or a thin veneer plaster troweled on at 2 to 3 millimeters over primed board, which keeps the weight sane; a genuine cast panel runs 12 to 18 pounds per square foot and needs structural backing, so it isn't a weekend project unless you know exactly what's inside the wall. The material brings its own habits, too. Untreated cement is porous and stains from anything oily, hair products included, so it needs a penetrating sealer and a refresh every few years. And it holds cold, which feels crisp in a warm climate and unwelcoming in a drafty room. Color also drifts slightly as it cures, so approve a physical sample board rather than a photograph.
23. Copper or bronze statement frame
Warm metal adds richness without visual weight, because a large open frame still shows the wall through its middle. Prices land between $300 and $600, and the tone bridges transitional and modern-traditional rooms where cool chrome would feel wrong. Copper is the one to think hard about, because it's genuinely reactive: left bare it shifts from bright penny to deep russet inside a year or two and eventually toward brown, and skin oils speed that up wherever hands touch. If you want it to stay the color you bought, ask for a lacquered finish and clean it with a dry cloth only, since ammonia glass cleaner strips lacquer in patches you can't blend back. Bronze behaves more predictably. Both metals read warm under 2700K bulbs and turn faintly green under cool white LEDs, so check your bedside bulbs before you blame the frame.
24. Patterned fabric panel with simple frame
A single panel of patterned fabric, geometric or botanical or abstract, stretched over a wooden frame costs about $150 to $350 and behaves like art you're allowed to lean on. It's also the easiest piece here to build. A queen-width panel needs roughly 2 yards of 54-inch fabric to cover a 62-inch by 30-inch frame with 4 inches of wrap on every side, over 1/2-inch plywood, with 3/8-inch staples set every 2 inches. Pull the fabric taut from the center of each side outward and work opposite sides in turn, because once a pattern pulls crooked no amount of restapling straightens it. Center a large repeat on the bed rather than on the frame, and be warned that stripes advertise every degree the frame sits off level. Since it's only stretched fabric, a new one over the same frame is a one-hour job next year.
25. Vintage door or barn door as headboard
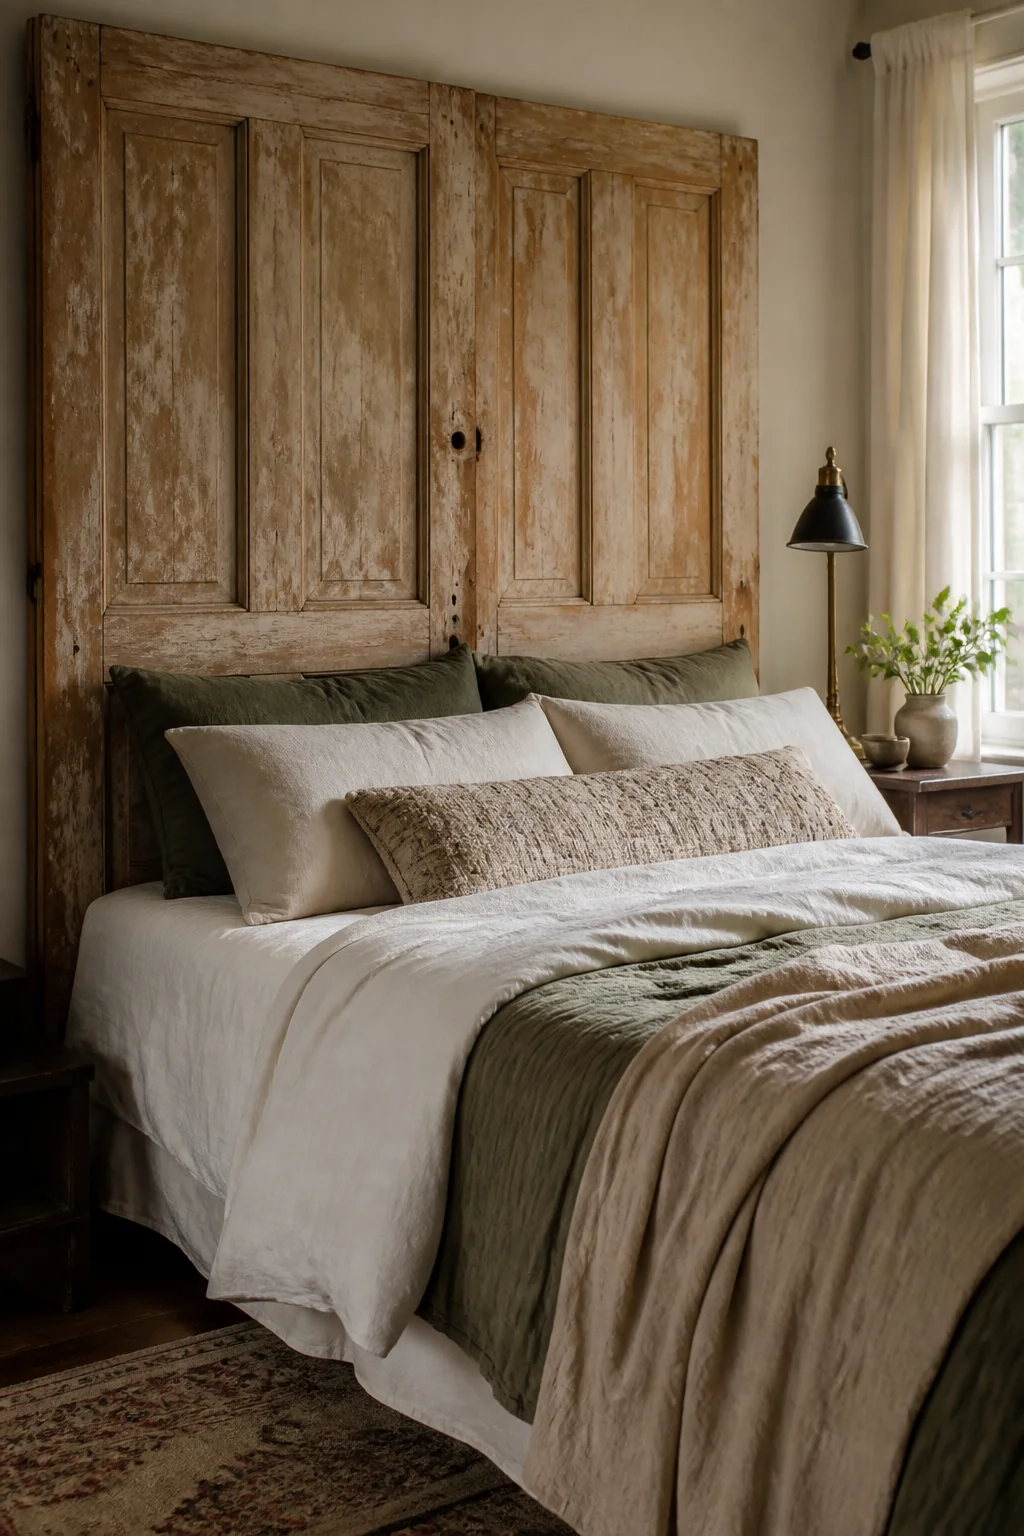
An old door turned on its side hands you architectural detail and a bit of history for $200 to $500 at a salvage yard, plus mounting hardware. The proportions happen to cooperate: a standard interior door is 80 inches tall and 30 to 36 inches wide, so laid horizontally it spans a queen with room to spare and just covers a 76-inch king, at a height that lands right in the normal range. Weight is the catch. A solid-core or old-growth door can top 60 pounds, so it hangs on a French cleat into studs, never on picture hooks. Test any pre-1978 paint with a lead swab before you sand a single inch, and seal the whole thing with shellac-based primer, which locks in old odors and any remaining finish. Leave original hardware only if it sits flush; a protruding knob at pillow height is a nightly hazard.
Take the guide with you
More of this comes down to measurement than to taste: how wide the panel sits against your mattress, and how its weight reaches a stud. A beautiful slab on drywall anchors is a repair bill waiting for a bad night, and a 54-inch panel over a 60-inch queen will look wrong forever, however good the fabric is. Get those two right and almost anything above works in almost any room. If you're torn between two directions, order swatches and tape them to the wall behind the bed for a week. Morning light is unforgiving in a way no showroom ever is, and it usually makes the decision for you.
Ideas fade by Friday. A plan finishes the room.
You just read a full guide to your bedroom. Saving ideas will not change it; a plan will. The Home Decor Collection is every planning tool we make, for every room in the house, in one download, so the after photos below stop being other people's rooms.
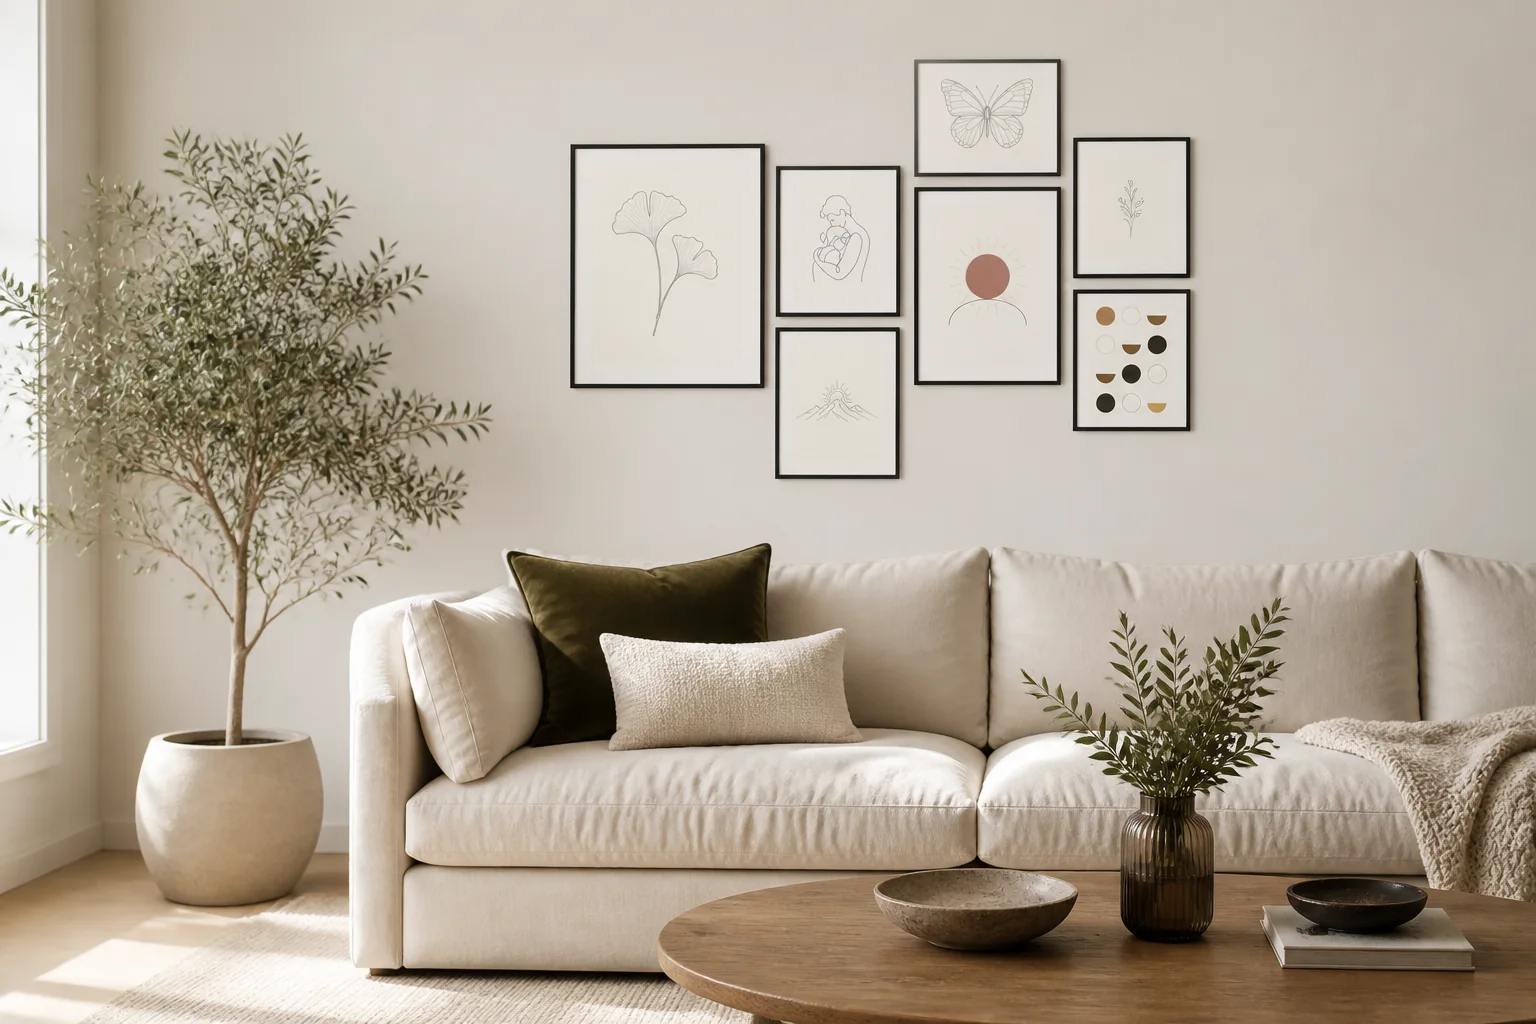
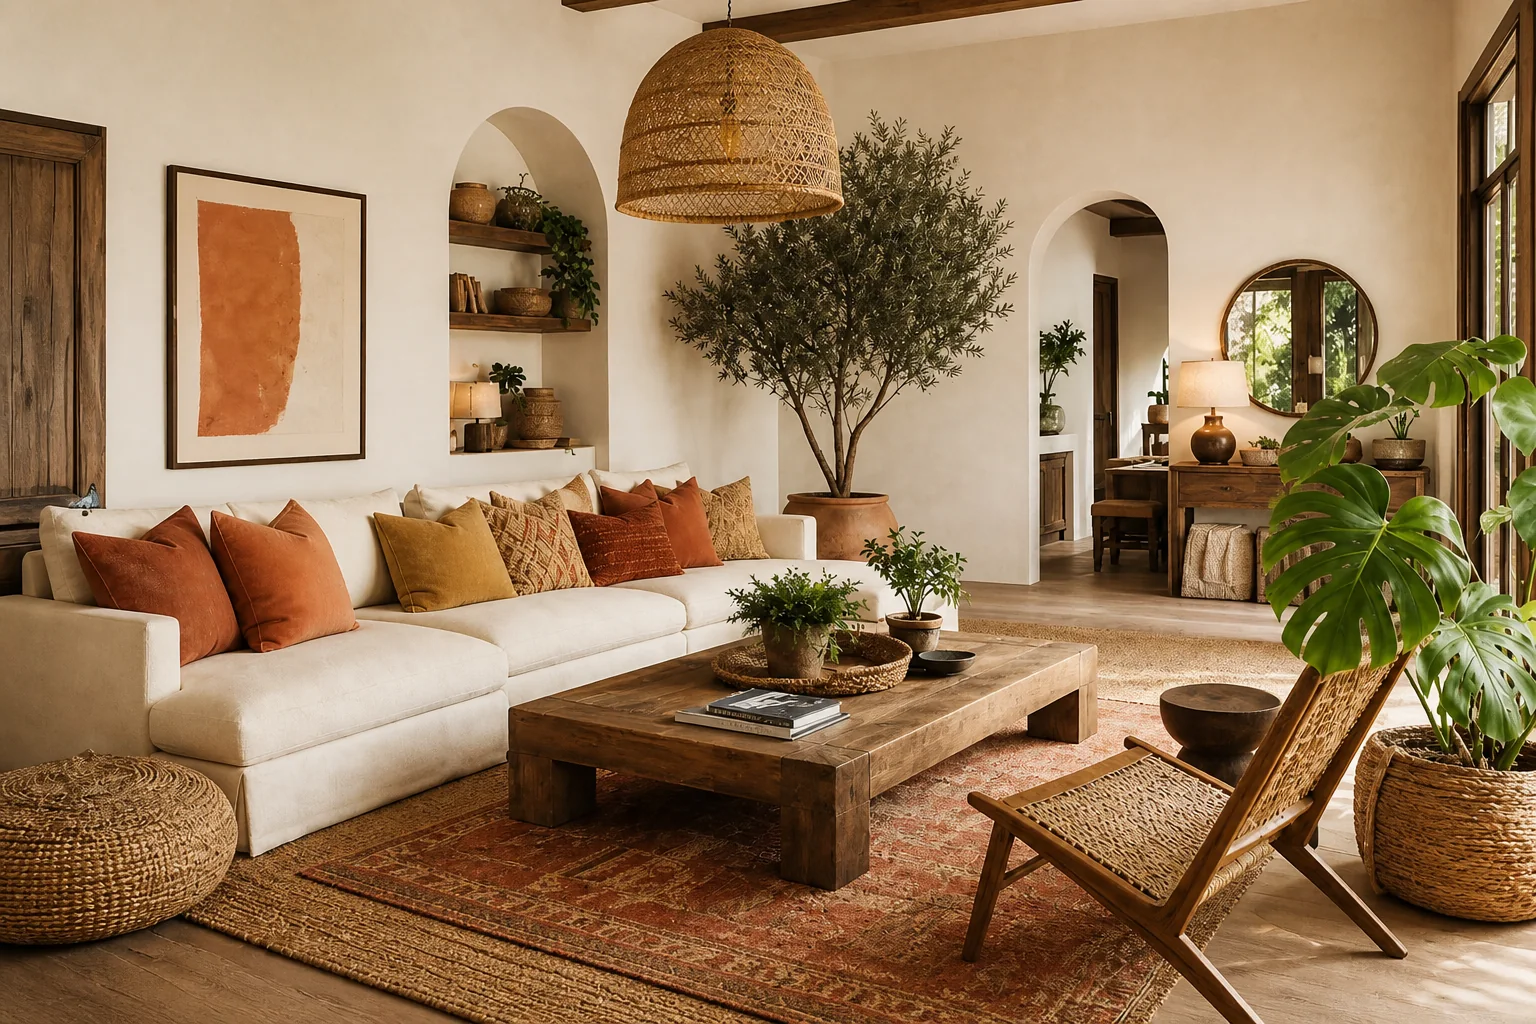
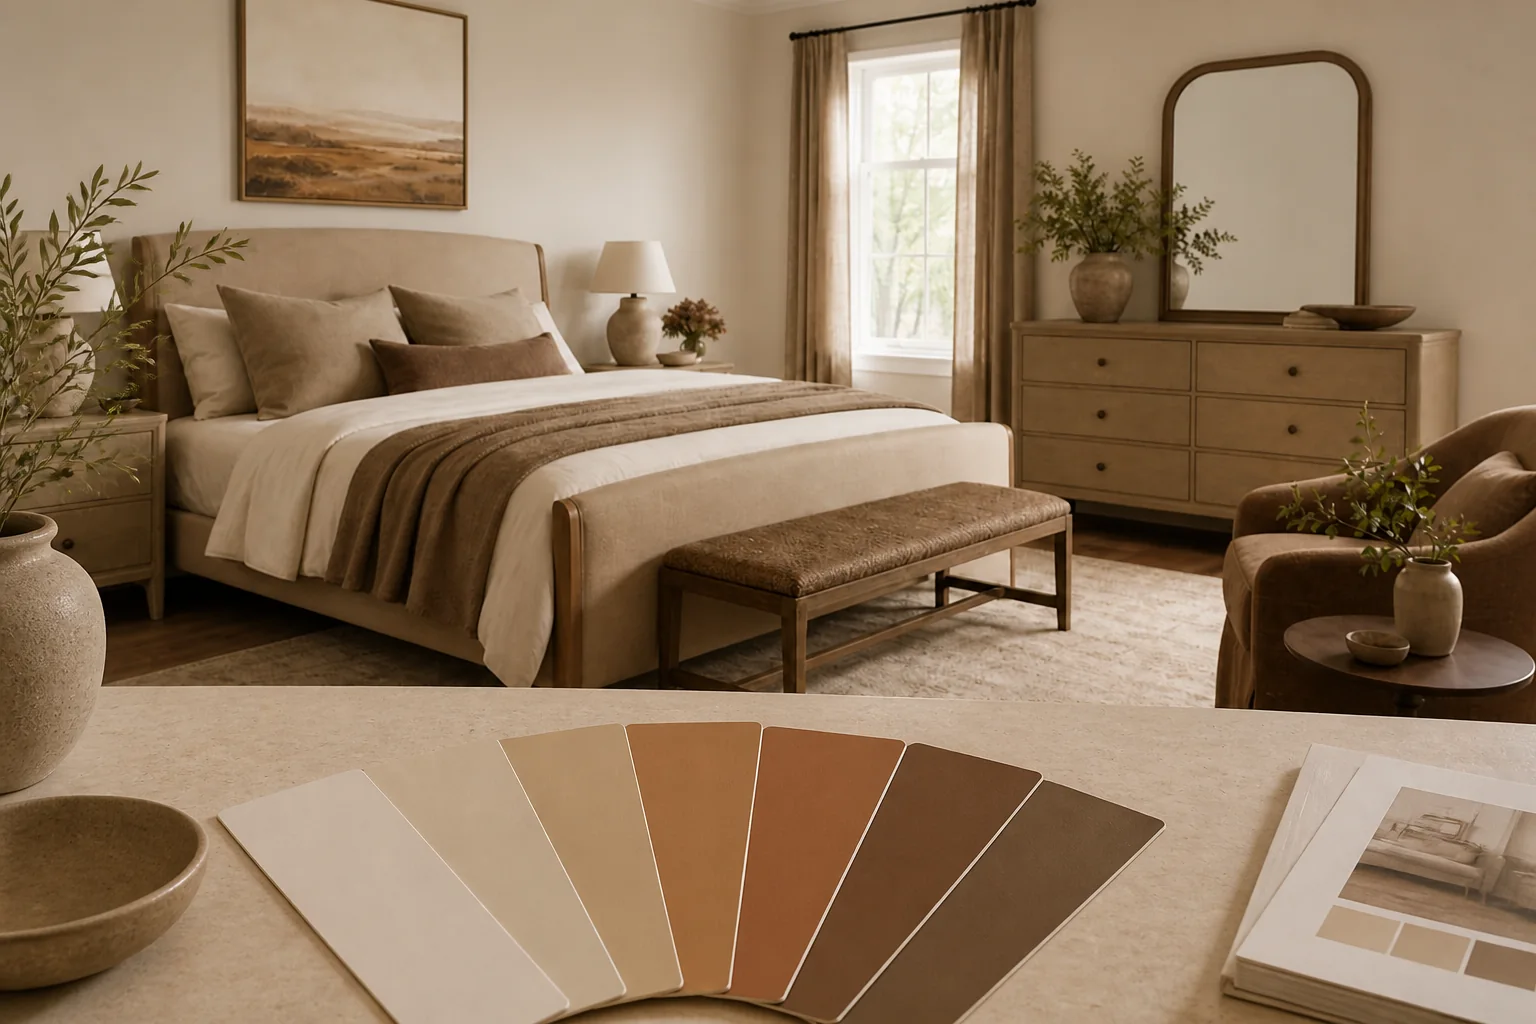
- Six room Style Kits, each with layout, palette and shopping list$114
- The Gallery Wall Studio: 200 prints + 15 measured layouts$29
- The Room Makeover System: 40 solved room layouts + workbook$29
- The Color Palette Handbook: 60 palettes shown in real rooms$19
- The Whole-Home Reset: 40 printable organizing checklists$19
- The Decorator's Cheat Sheets: the 40 measurements that matter$9
- All eleven products, bought separately
$219$97
A single hour with an interior designer costs more than the entire Collection, and this one keeps answering for every room you will ever decorate. Free updates included as the products grow. And if it is not for you, the 14 day money back promise means you simply get a refund.