20 Chic Dorm Wall Decor Ideas That Come Down Clean
20 dorm wall decor ideas with real prices, hanging weights, and removal notes, from thrifted frames to peel-and-stick wallpaper and pegboards.
Most dorm walls start out the same: blank, beige, and a little grim. The standard advice is to hang a poster or two and call it done, which is fine if you want the room to feel temporary. You're going to spend a lot of hours in there, though, and the walls are the one surface nobody else is using. The good part is that almost none of what follows needs a big budget, a toolkit, or a hole in the drywall. It needs knowing what holds, what each thing costs, and what comes off the wall clean in May.
1. Layer paper posters in thrifted frames
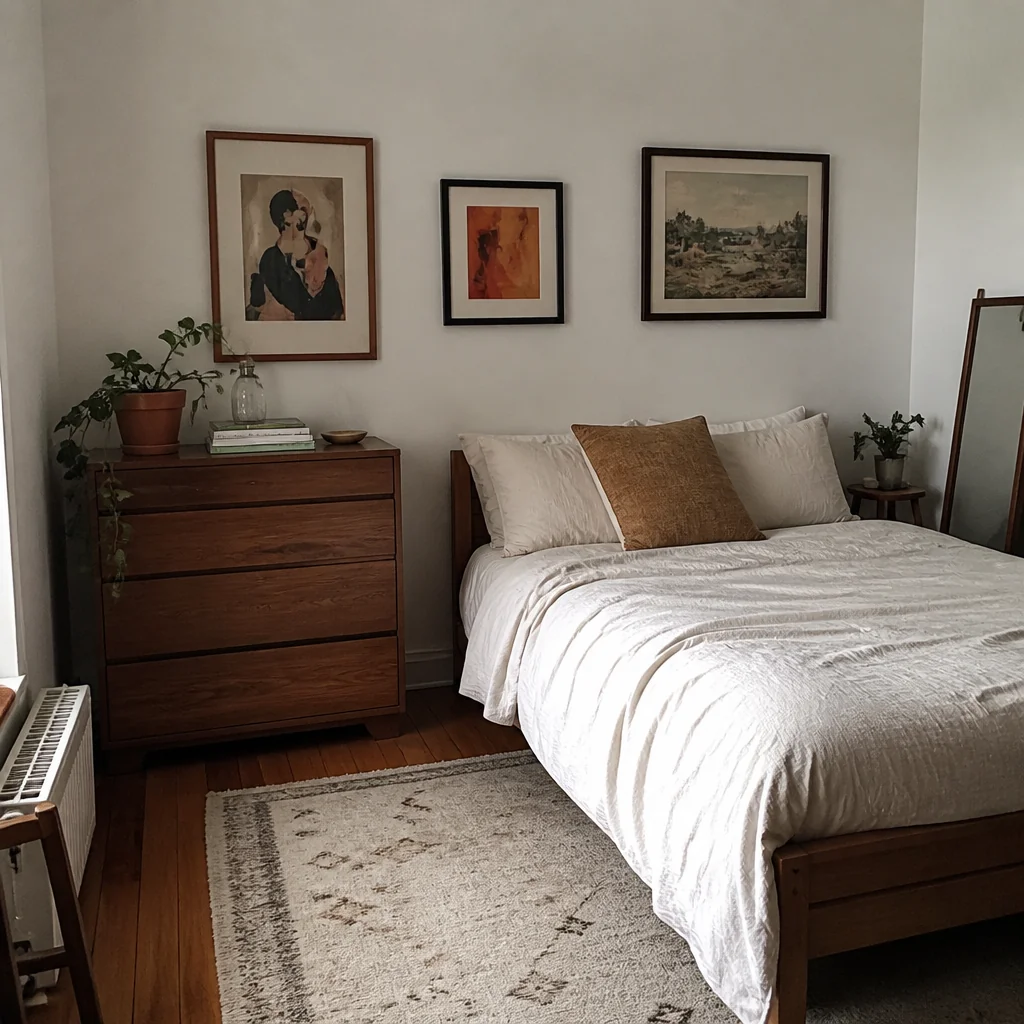
Thrift stores price a 16x20 frame around $8 to $12, which is less than the glass alone costs new. Look for wood or thin metal, check the glazing for scratches under a light, and pop the backing off to see whether the corners are stapled or glued, since glued corners loosen once you swap the contents a few times. Here's the sizing catch: posters print at 18x24 or 24x36, so a 16x20 frame needs either a print made to that size or a poster trimmed with a straightedge and a fresh blade. A 16x20 with real glass weighs four to five pounds, and most removable adhesive strips are rated three or four pounds per pair, so use two pairs and press each one for a full thirty seconds. If your building bans glass, lift it out and cut a sheet of acrylic to fit for about $6. Swapping in new artwork later takes two minutes and no new hardware.
2. String up fairy lights in a pattern
Random draping reads as leftover holiday lights. Map the shape first: run a line of painter's tape into a zigzag, a rectangle, or a big loose star across the wall, follow that line with the string, and pull the tape as you go. A 33-foot warm-white set runs about $15 and gives you enough length for roughly a 6-foot by 4-foot shape with slack to spare. Anchor it with small clear adhesive hooks every 8 to 12 inches, because a wire left to span more than that sags into a curve and loses the shape you just mapped. Two practical notes. Check that the set is USB or low-voltage plug-in, since a lot of residence halls ban anything with an exposed transformer, and never run a string under a rug or pinned behind a bed frame where heat can build against fabric. Warm white around 2700K flatters everything in the room; cool white makes it look like a corridor.
3. Stick removable wallpaper on one accent wall
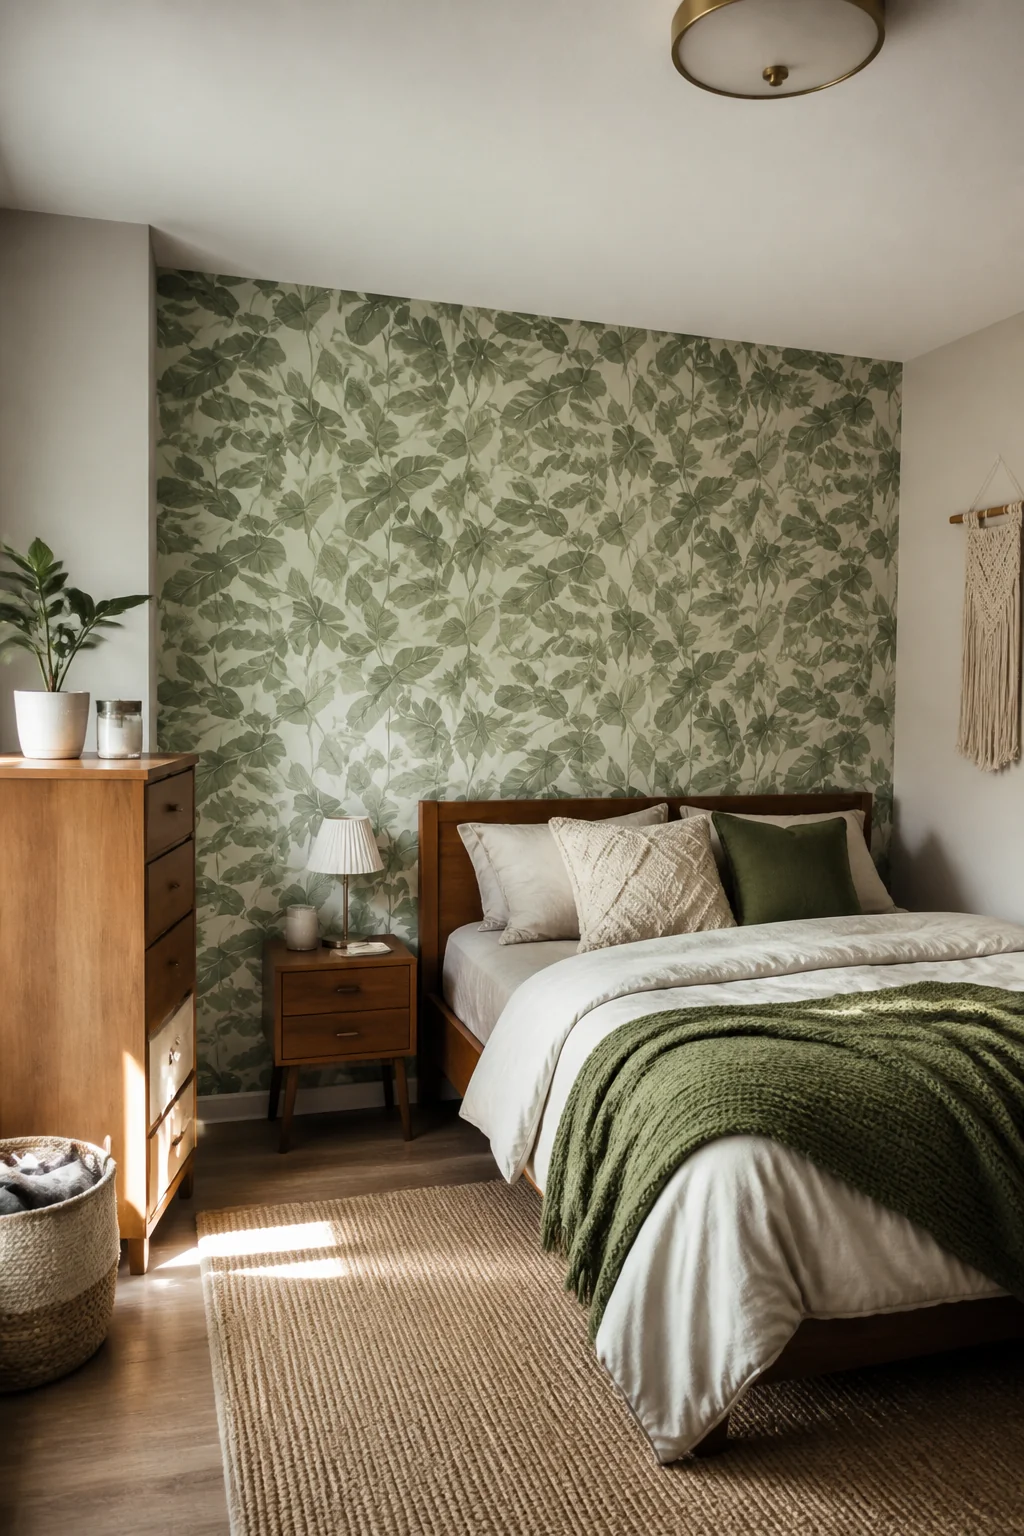
Peel-and-stick runs $25 to $40 for a roll about 20.5 inches wide by 18 feet long, and the wall behind a dorm bed usually takes two rolls once you allow for pattern matching. Measure the wall height, add 2 inches at the top and bottom for trimming, and cut every strip before you peel anything. Work top down, peel back only 6 inches of backing at a time, and smooth outward from the center with a plastic squeegee or a credit card wrapped in a sock so you don't scuff the print. Now the failure mode nobody warns you about: cinder block and heavily textured painted walls. Adhesive vinyl needs a smooth surface to grip, and on block it lifts at the edges within a week no matter how hard you press. Stick one test strip in a low corner and leave it 48 hours before you spend the money. On smooth drywall it comes away in one piece at move-out.
4. Hang a fabric wall hanging from a wooden dowel
A 36-inch wooden dowel costs about $3 at a hardware store, and leather cord or picture wire for the hanger adds a couple of dollars, so you're at roughly $12 if the fabric is something you already own. Fold the top edge of a scarf, a linen remnant, or a printed flat sheet over the dowel by about 2 inches and either stitch a simple channel or press a line of iron-on hem tape. Hem tape holds fine on cotton and linen but slides on anything slick, so stitch the satiny stuff rather than argue with it. Tie the cord to both ends and hang from one hook centered on the wall. Weight is the reason this works in a dorm at all: a fabric panel comes in under a pound, so a single adhesive hook rated for three pounds carries it easily and nothing goes into the drywall. Iron the creases out before it goes up.
5. Create a gallery wall with mixed-sized prints
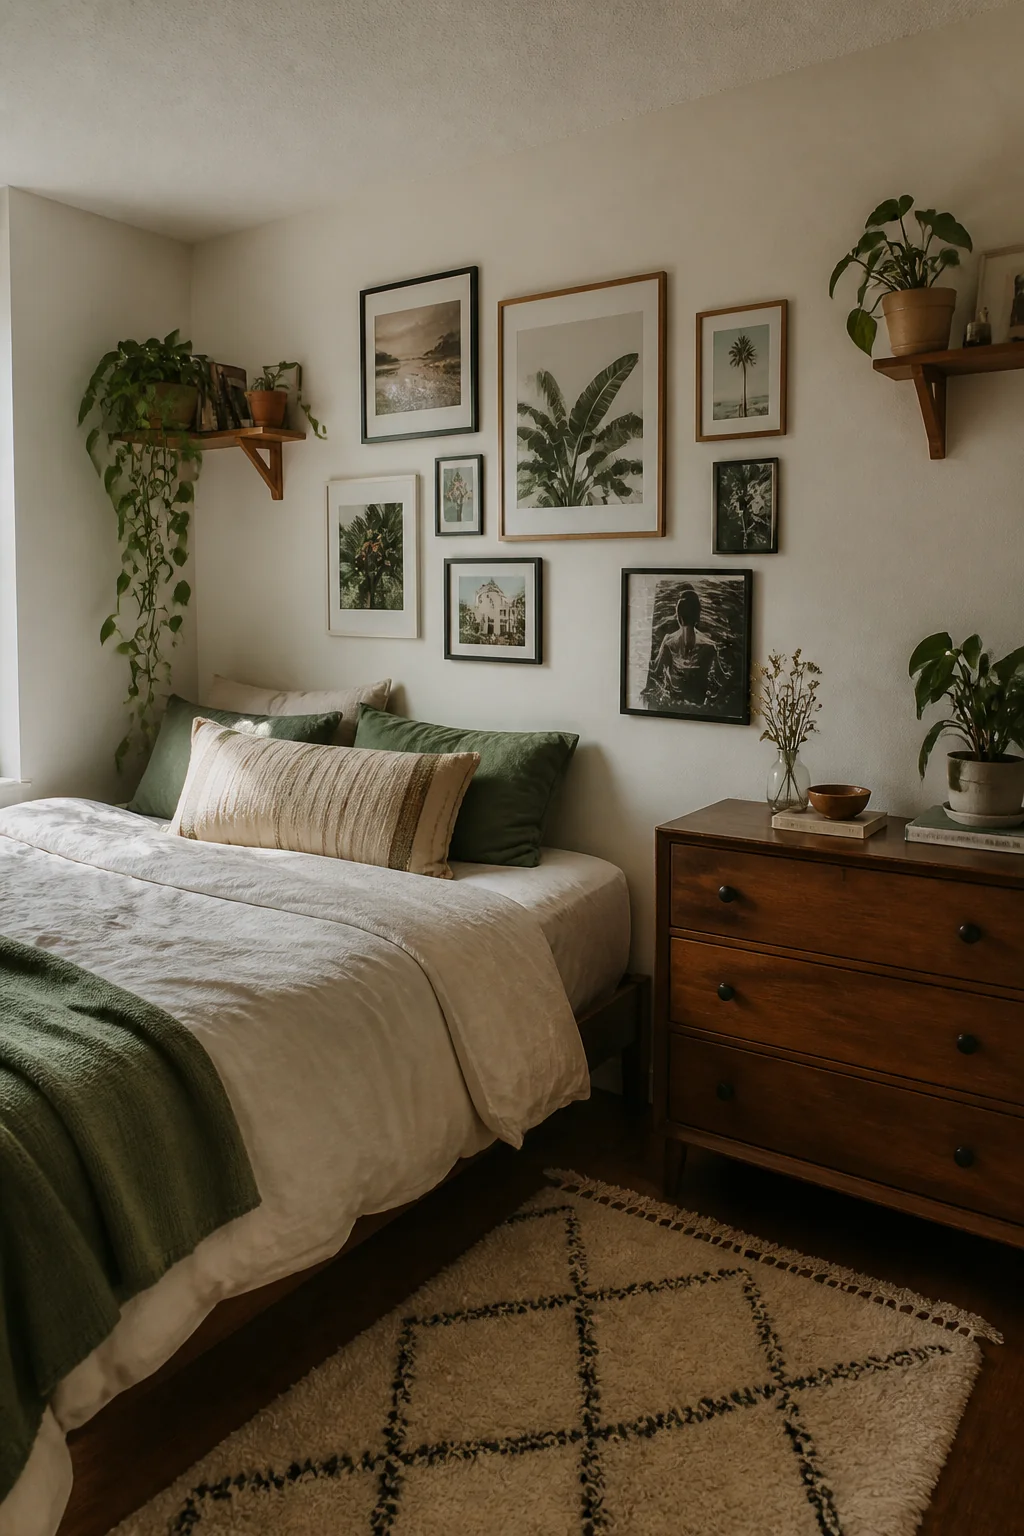
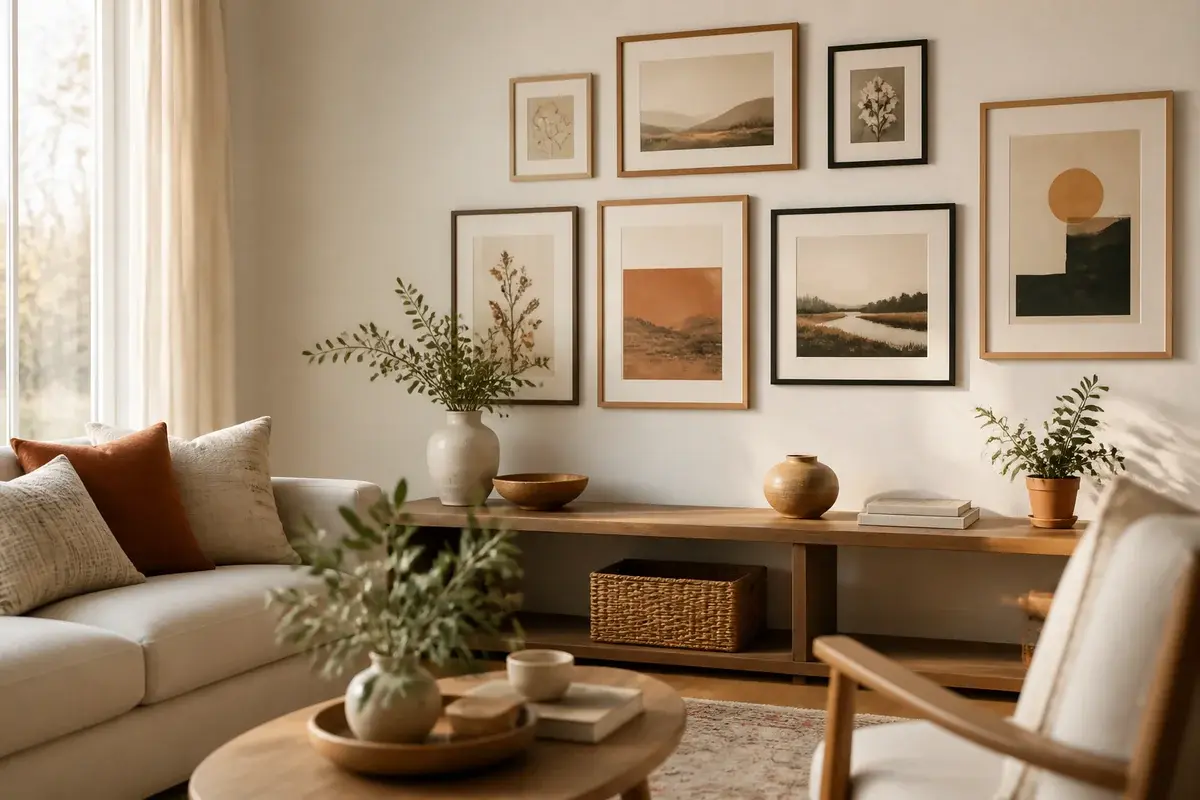
Even spacing is what turns a wall of prints into a hotel corridor, and it is the first thing everyone reaches for once a tape measure is in hand. Cluster instead. Lay the whole arrangement out on the floor first, hold the gaps to 2 to 3 inches, and let the outer edge of the group stay irregular. Mix 8x10s, 5x7s, and 4x6s, then anchor the group with one larger piece set slightly off center. Trace each frame onto newspaper, tape the paper to the wall, and live with it for a day before anything permanent happens. On cost: prints from Etsy or a campus print shop run $3 to $8 each and thrifted frames $2 to $10, so a nine-piece wall lands around $40 to $70. The combination that rarely works is ornate gold beside flat black with nothing shared. Repeat one element, a finish or a mat color, and the rest can be as mismatched as you like.
6. Arrange pressed flowers or plants under glass
Dried stems hold their shape indefinitely and ask nothing of you, which matters in a room you abandon for three weeks at winter break. Pre-pressed sets sell for $15 to $20; pressing your own costs nothing but takes patience. Choose blooms that are already close to flat, so ferns, cosmos, pansies, violets, and skip anything thick like a rose head, which browns in the middle before it dries. Layer them between sheets of parchment inside a heavy book, weight the top, and leave them three to four weeks somewhere dry. A shelf near a radiator speeds it up and also cooks the color out, so pick a cool corner instead. Mount the finished stems on cream cardstock with one dot of clear-drying craft glue at the stem only, never across a petal, then frame behind glass in a 5x7 or 8x10. Three or four small frames in a vertical line read better than one crowded panel, and the whole grouping stays under $25.
7. Paint a feature wall in a bold color
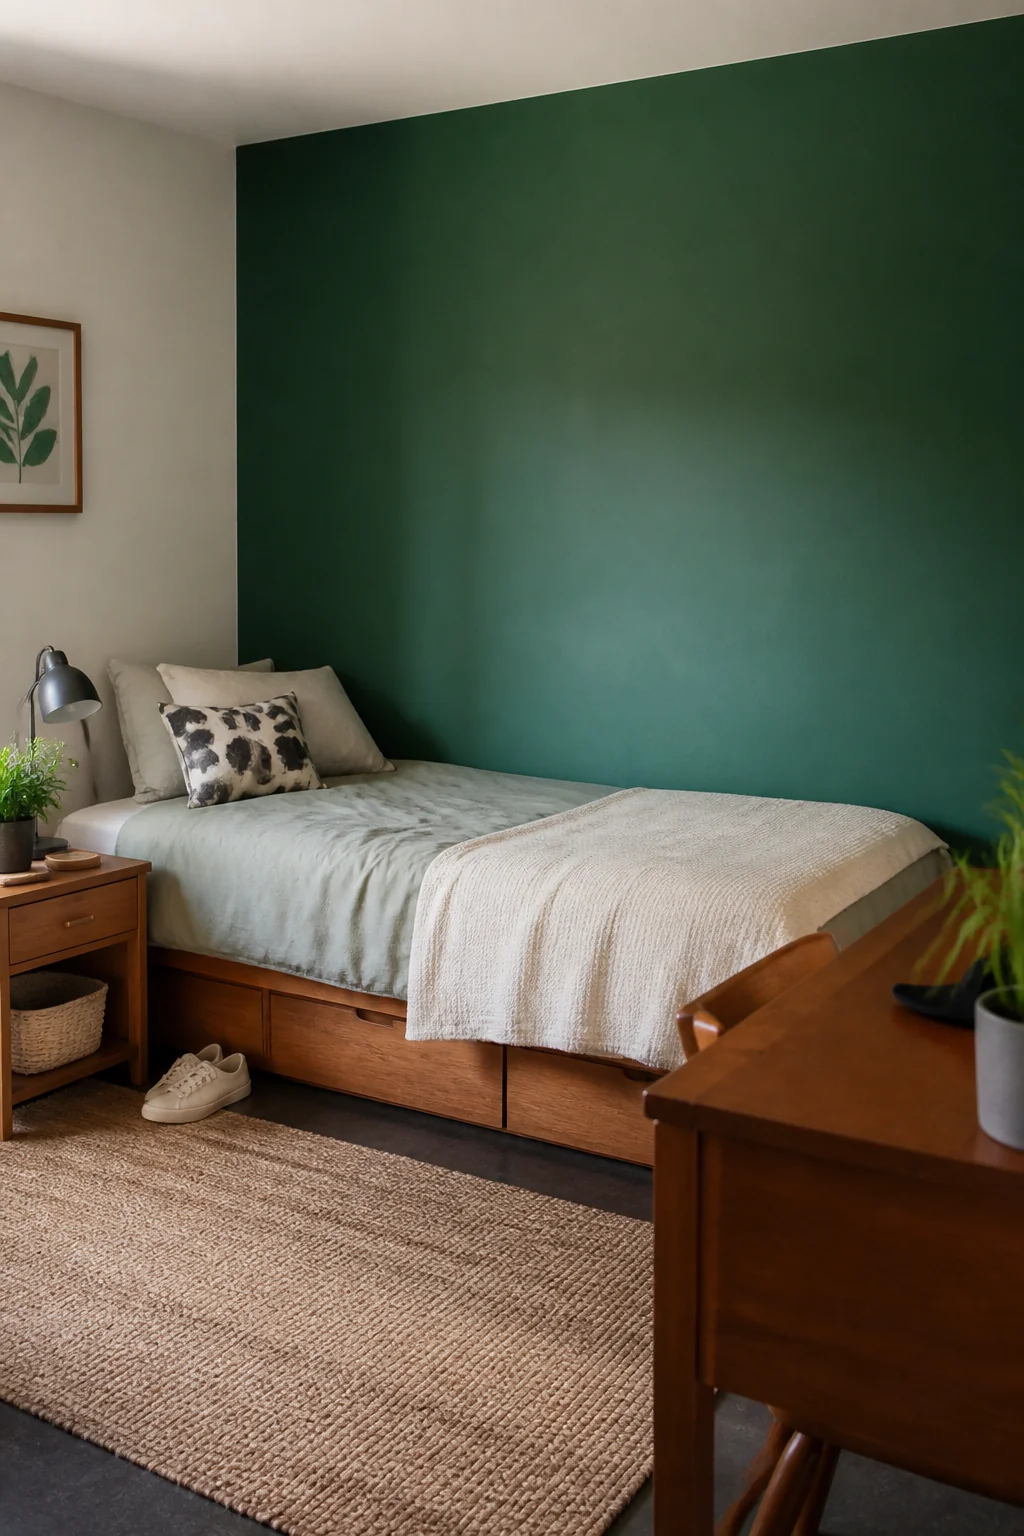
Ask housing before you buy anything. Plenty of dorms allow paint as long as you return the wall to its original color, and plenty charge $150 or more if you don't. If you're cleared, the buy to avoid is the quart that saves you $10 and strands you halfway through the second coat, which is the coat that stops beige ghosting through a dark color. One gallon of standard interior eggshell costs $20 to $30 and reaches roughly 350 square feet, comfortably enough to take an 8-by-12-foot wall through both coats. Deep green, navy, and charcoal all read as a decision rather than as dorm-issue beige. Add about $20 for a 9-inch roller, a 2-inch angled brush, painter's tape, and a drop cloth. Cut in the edges with the brush first, then roll in overlapping W strokes so you don't leave lap marks. What a dark wall does specifically is let the wall recede visually, which makes everything hung on it, pale frames, white bedding, brass hooks, read sharper by contrast. Seal the leftover half gallon for the repaint in May.
8. Hang woven wall baskets as sculptural decor
Flat seagrass and palm-leaf baskets weigh almost nothing, usually under half a pound each, so they hang from an adhesive hook or a single push pin hooked through the rim. Three decent ones run $30 to $60 new, or $3 to $8 apiece if you thrift them. Vary the diameters deliberately: something around 16 inches, something near 10, something small at 6, arranged in a loose triangle rather than a row. Let the edges overlap slightly so the group reads as one shape instead of three separate objects. The weave itself is what makes this work, since a raised pattern catches side light from a desk lamp or a window and throws its own shadow, which is exactly what a flat poster can't do. Dust them every few weeks with a dry paintbrush. Skip anything painted or lacquered, because the shine flattens the texture you bought them for.
9. String paper garland or bunting across the wall
A 10-foot paper strand costs about $8, and two or three layered strands come in under the price of one framed print. Hang the top strand with a gentle swag, dipping roughly 6 inches at the center, then run the next one 8 to 10 inches below it with a shallower curve so the two never touch. Small clear adhesive hooks hold the ends, or a folded tab of washi tape if the strand is truly featherweight; the whole thing weighs a few ounces either way. Making your own from cardstock circles run through a sewing machine or threaded on a needle costs about $4 in paper. The real limitation here is durability. Paper garland softens and sags in humidity, which you'll see fast in a bathroom-adjacent room or a summer session with no air conditioning, and direct sun fades the colors within a couple of months. Treat it as a semester decoration.
10. Mount floating shelves and style them with books and objects
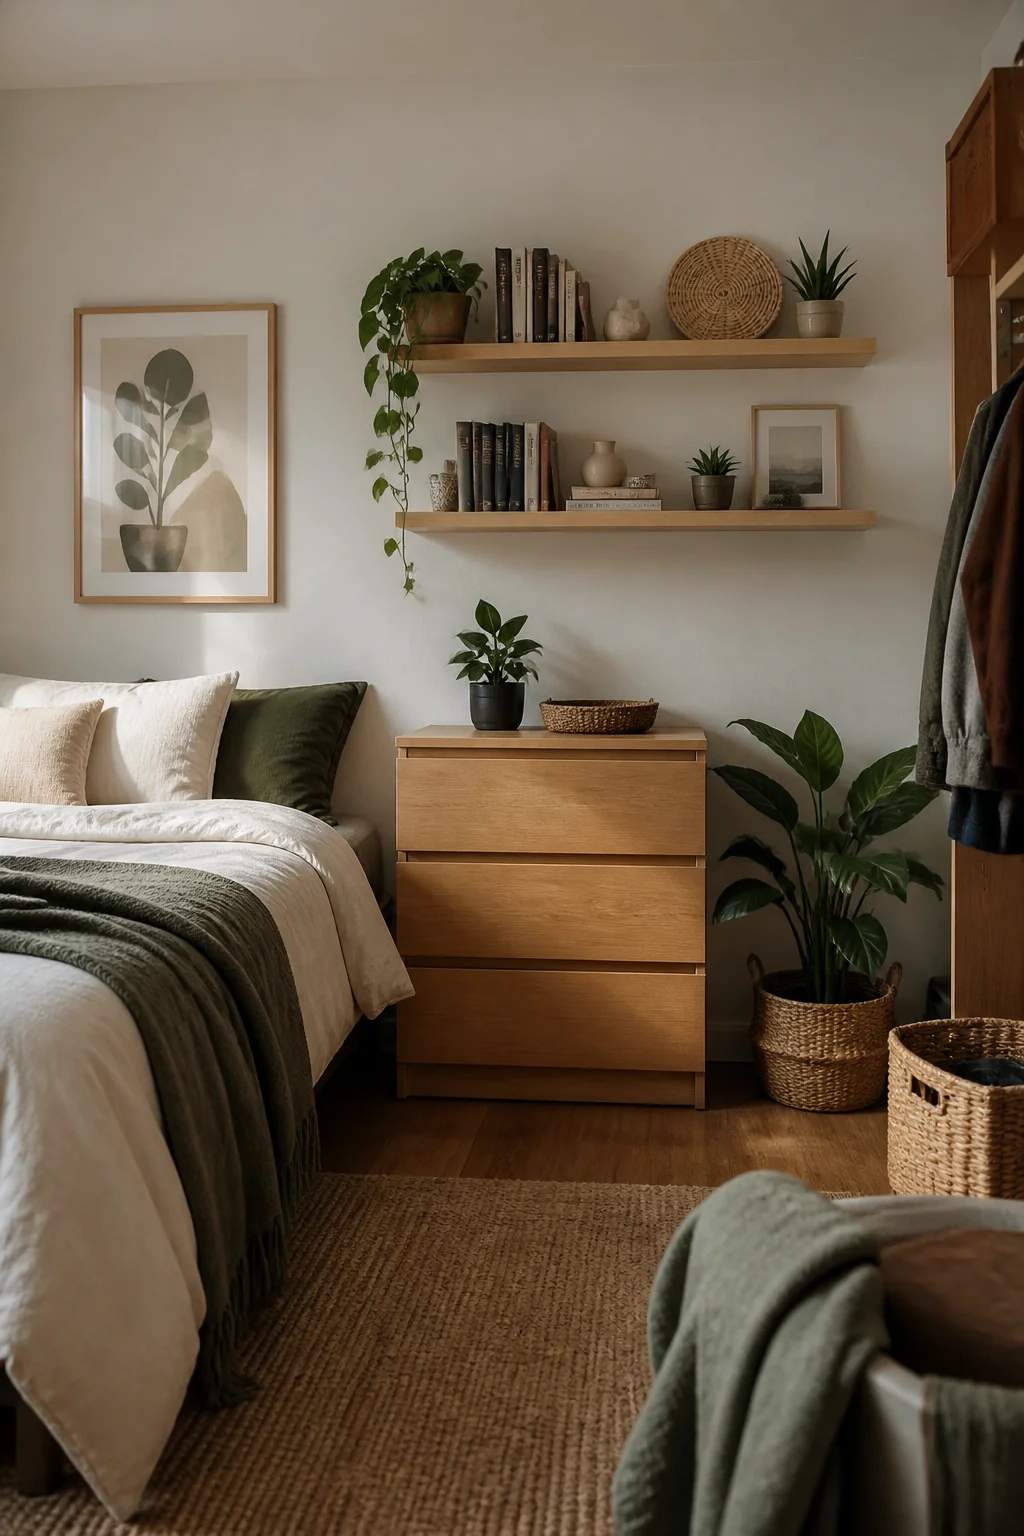
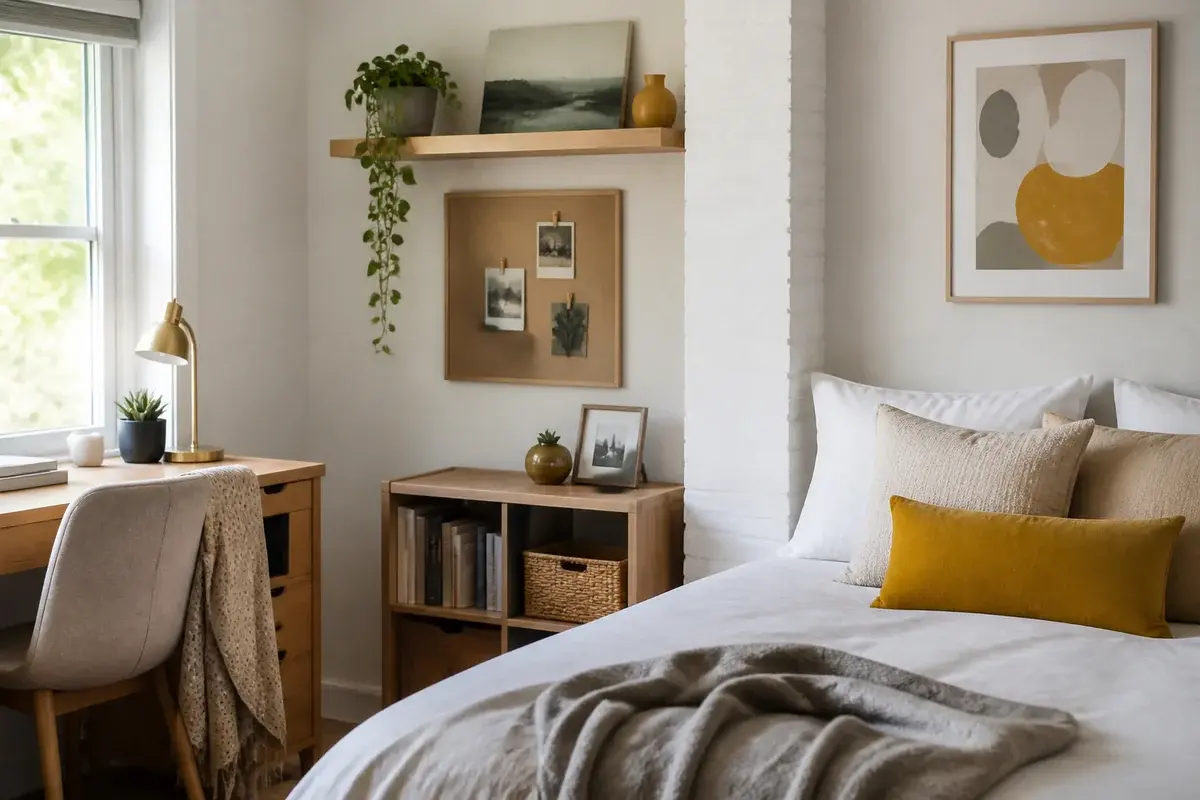
Two 24-inch floating shelves cost $40 to $60 for the pair. Read the weight rating before anything else: most budget shelves hold 15 to 25 pounds once they're anchored into drywall with the toggles in the box, and a fraction of that if you skip the toggles and drive the screws into bare gypsum. Check your wall type first, too, because cinder block needs masonry anchors and a hammer drill you almost certainly don't have. Hang the lower shelf about 18 inches above the desk so a laptop screen clears it, and set the second one 12 to 14 inches above the first. Styling is close to arithmetic: one tall object, one stack of books lying flat, one small trailing plant like pothos, then leave about a third of the length empty. A shelf packed end to end reads as storage. Keep a little spackle for patching the holes in May.
11. Create a collage wall with magazine cutouts and printables
Chaos is the risk with a collage, and a color story is the fix. Pick three colors before you cut a single image, rust and cream and olive for instance, then reject anything that fights them no matter how much you like the picture. Stay consistent on edges as well: trim with scissors for a crisp look or tear every edge for a soft one, but don't mix the two. Mount pieces with removable poster tack, a pea-sized ball in each corner, at roughly $4 for a pack that handles a hundred cutouts. Build outward from a center point and keep the outline of the whole group to a rough rectangle or oval so it has a defined edge. Two cautions. Glossy magazine paper curls away from the wall in a humid room, and anything tacked within 12 inches of a smoke detector or outlet is a fire-code problem at inspection.
12. Hang a macrame wall hanging for texture
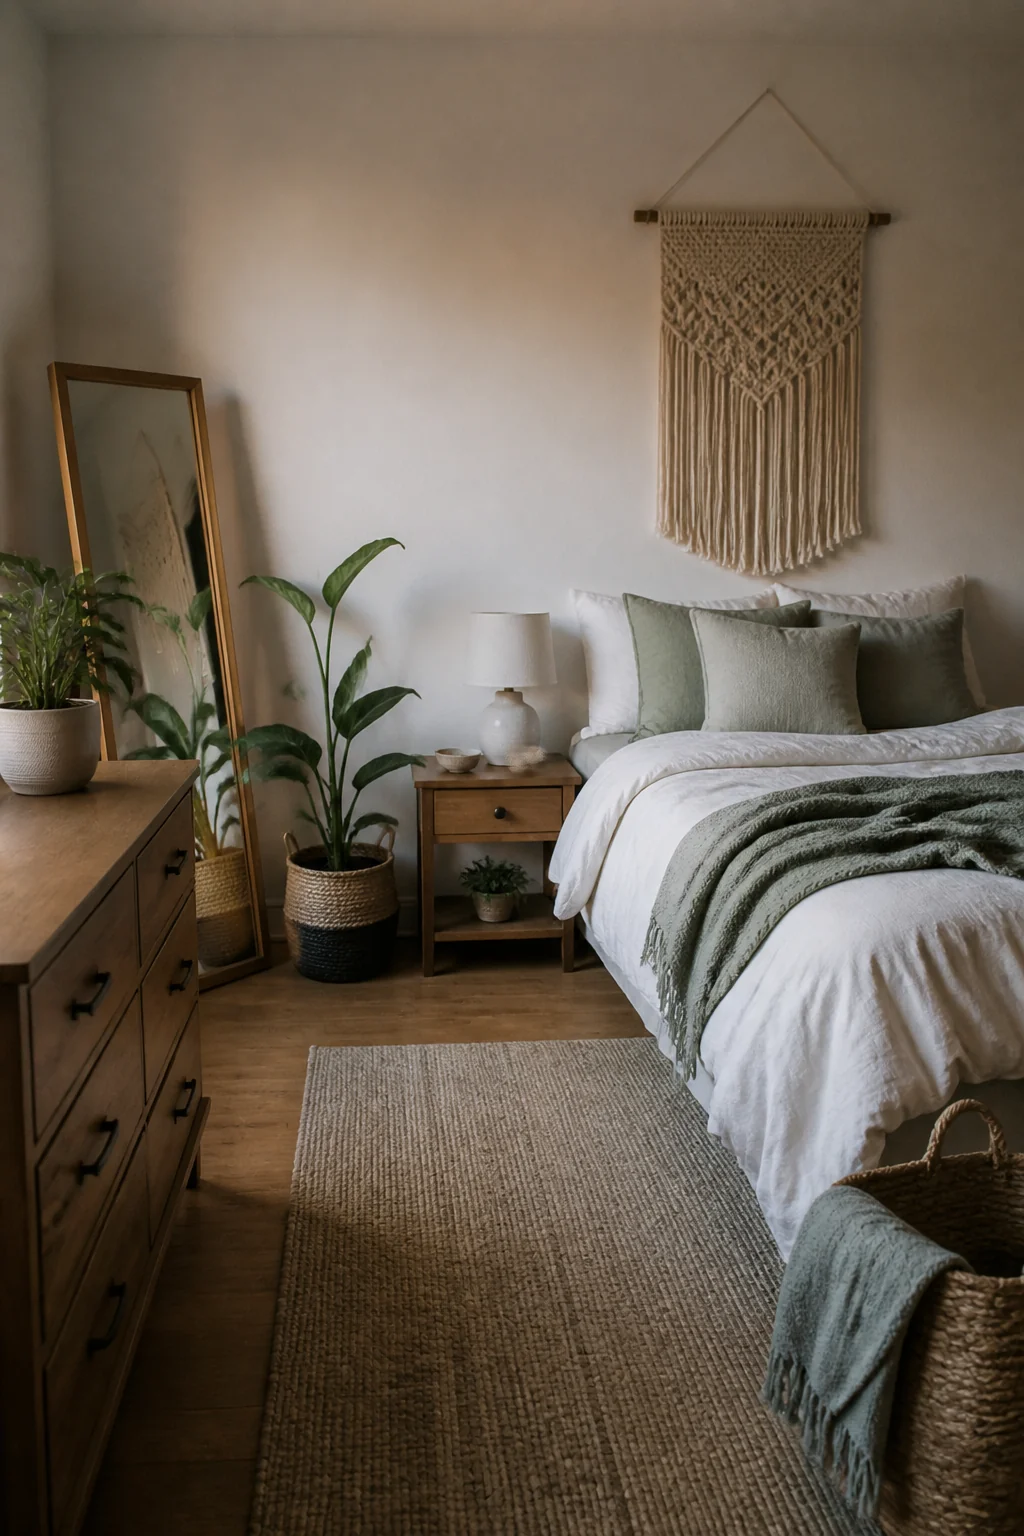
Cotton macrame runs about $15 for a 12-inch piece and up to $50 for something 30 inches wide with a heavy fringe. Even the big ones rarely pass two pounds, so one adhesive hook or a small nail carries the dowel without drama. Height is the detail people get wrong: hang it so the bottom of the fringe stops 6 to 10 inches above your headboard or desk, or it brushes your head every time you sit down and you'll end up taking it back off the wall. Undyed natural cotton is the version that crosses styles, since the knotwork carries the interest and there's no color to argue with your bedding. Dyed synthetic cord looks flat next to it and collects dust in the fibers. If yours arrives creased from shipping, mist it lightly with water and comb the fringe out with your fingers while it's damp. It hangs straight by the next day.
13. Mount a pegboard and style it with hooks and small decor
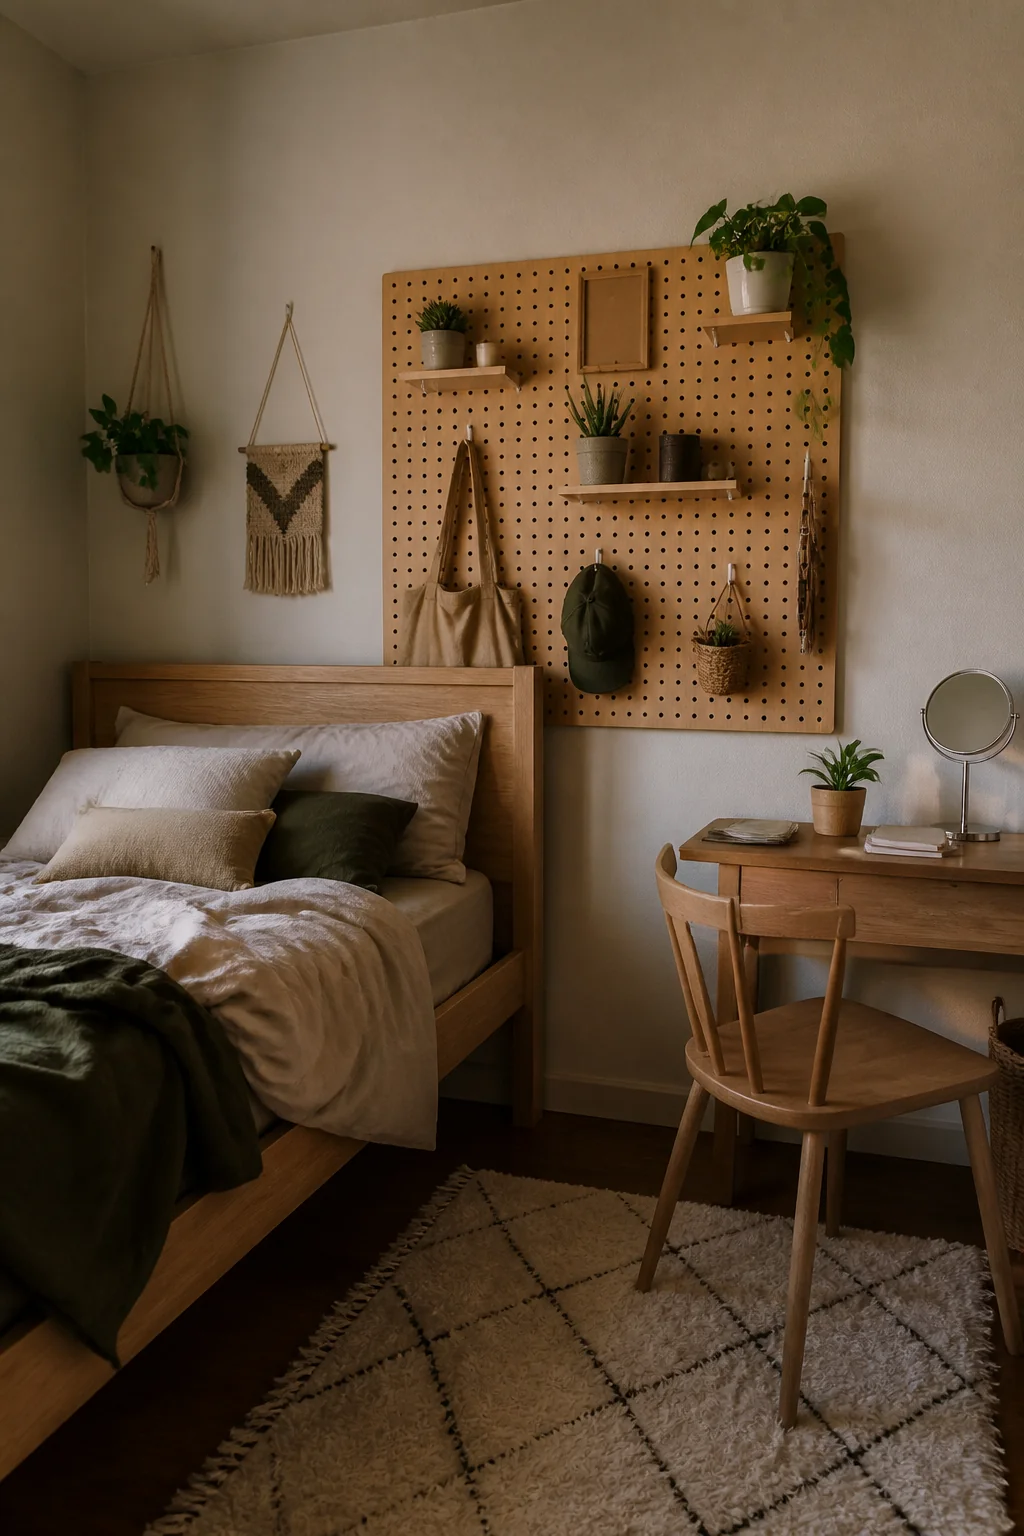
A 2-by-4-foot pegboard costs $20 to $40, plus about $10 for an assortment of hooks. The part most guides leave out is the spacer: pegboard has to sit roughly half an inch off the wall so hook prongs can pass through the holes and lock, which means furring strips behind it or the mounting kit that ships with better boards. Screwed into drywall anchors, a board that size carries 20 pounds or more spread across it. If drilling isn't allowed in your building, lean a smaller board against the wall behind your desk and let the desk take the weight. Check hole spacing before you buy hooks, since standard boards use quarter-inch holes on 1-inch centers and cheaper hooks are sized for the eighth-inch version. Hang what you reach for daily, headphones, keys, scissors, then fill the gaps with a small plant and a few postcards.
14. Paint a simple geometric mural or pattern using painter's tape
Sketch the design on paper at scale first, then transfer it to the wall with a pencil and a level, because freehand angles read as a mistake rather than a choice. Blue painter's tape at about $6 a roll handles most surfaces, but the purple delicate-surface version is what you want on freshly painted or older latex, since standard tape pulls the top layer away when you remove it. A quart of paint costs around $18 and covers roughly 90 square feet, plenty for an arch behind the bed or a set of wide horizontal bands. Two habits give you crisp edges: press the tape down hard along the paint side with a fingernail or a card, and pull it off at a 45-degree angle while the paint is still slightly tacky rather than the following morning. Keep the shapes simple. A half circle, three bands, one large triangle.
15. Hang a collection of woven wall plates or decorative bowls
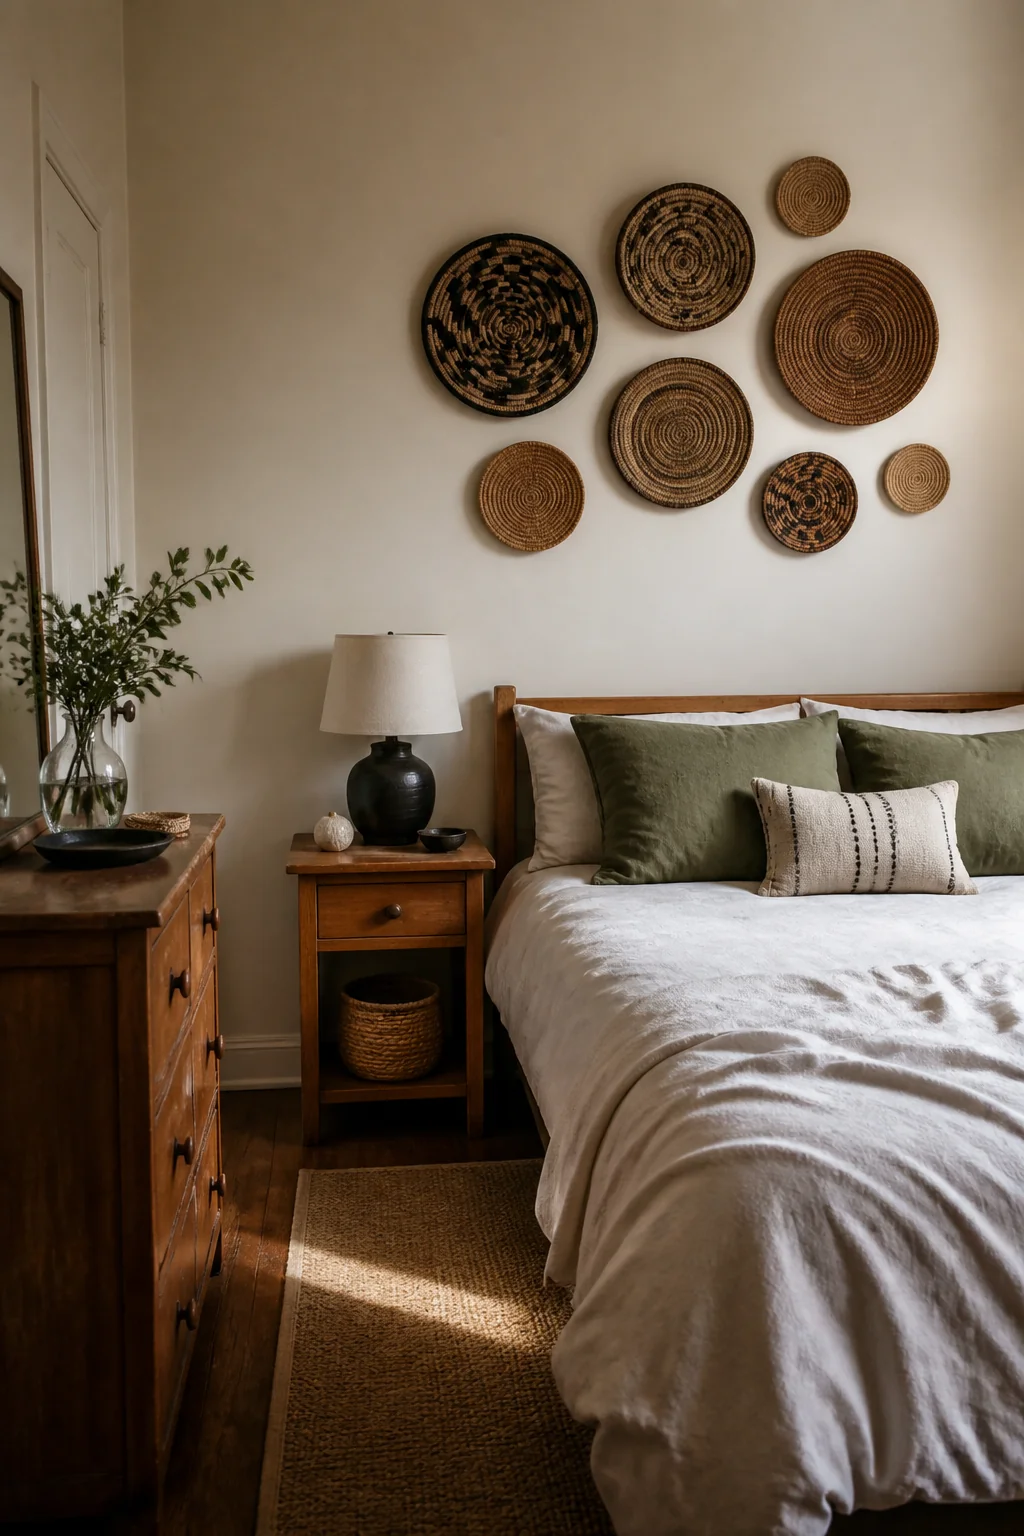
Thrift shelves are full of these at $1 to $3 each, so a group of seven costs less than one framed print. Hardware is the decision to make: adhesive plate hangers, the flat disc with a loop, run about $8 for a set of four and carry a plate up to roughly a pound, while the spring-wire kind that clips over the rim costs less but leaves visible metal at the edges. Wipe the back of each piece with rubbing alcohol before you stick anything, since old ceramic carries a fine film that defeats adhesive, and let the disc cure a full hour before you hang it. Arrange at varying heights with 2 to 4 inches between rims, and let one plate be noticeably larger so the group has an anchor. Woven raffia mixed with glazed ceramic works when the colors stay in one family. Heavy stoneware dinner plates are the exception, since they outweigh what an adhesive disc will hold.
16. Install a tension rod and hang fabric or a lightweight textile
A spring tension rod costs about $12 and needs two facing surfaces to push against, so it belongs in a window recess, a closet opening, or an alcove, not on an open flat wall. Measure the gap and choose a rod whose adjustment range brackets that number near the middle rather than at its limit, because a rod stretched to the end of its travel is the one that drops at 3 a.m. Rubber end caps grip painted drywall far better than bare metal. Hang a large scarf, a linen panel, or lightweight cotton from clip rings, about $5 for a pack of seven, so you can swap the fabric in under a minute. Keep the whole assembly under about five pounds. What it buys you is a soft backdrop behind the bed or a way to close off open shelving, with nothing drilled and nothing to patch later.
17. Create a mood board wall with cork or bulletin board
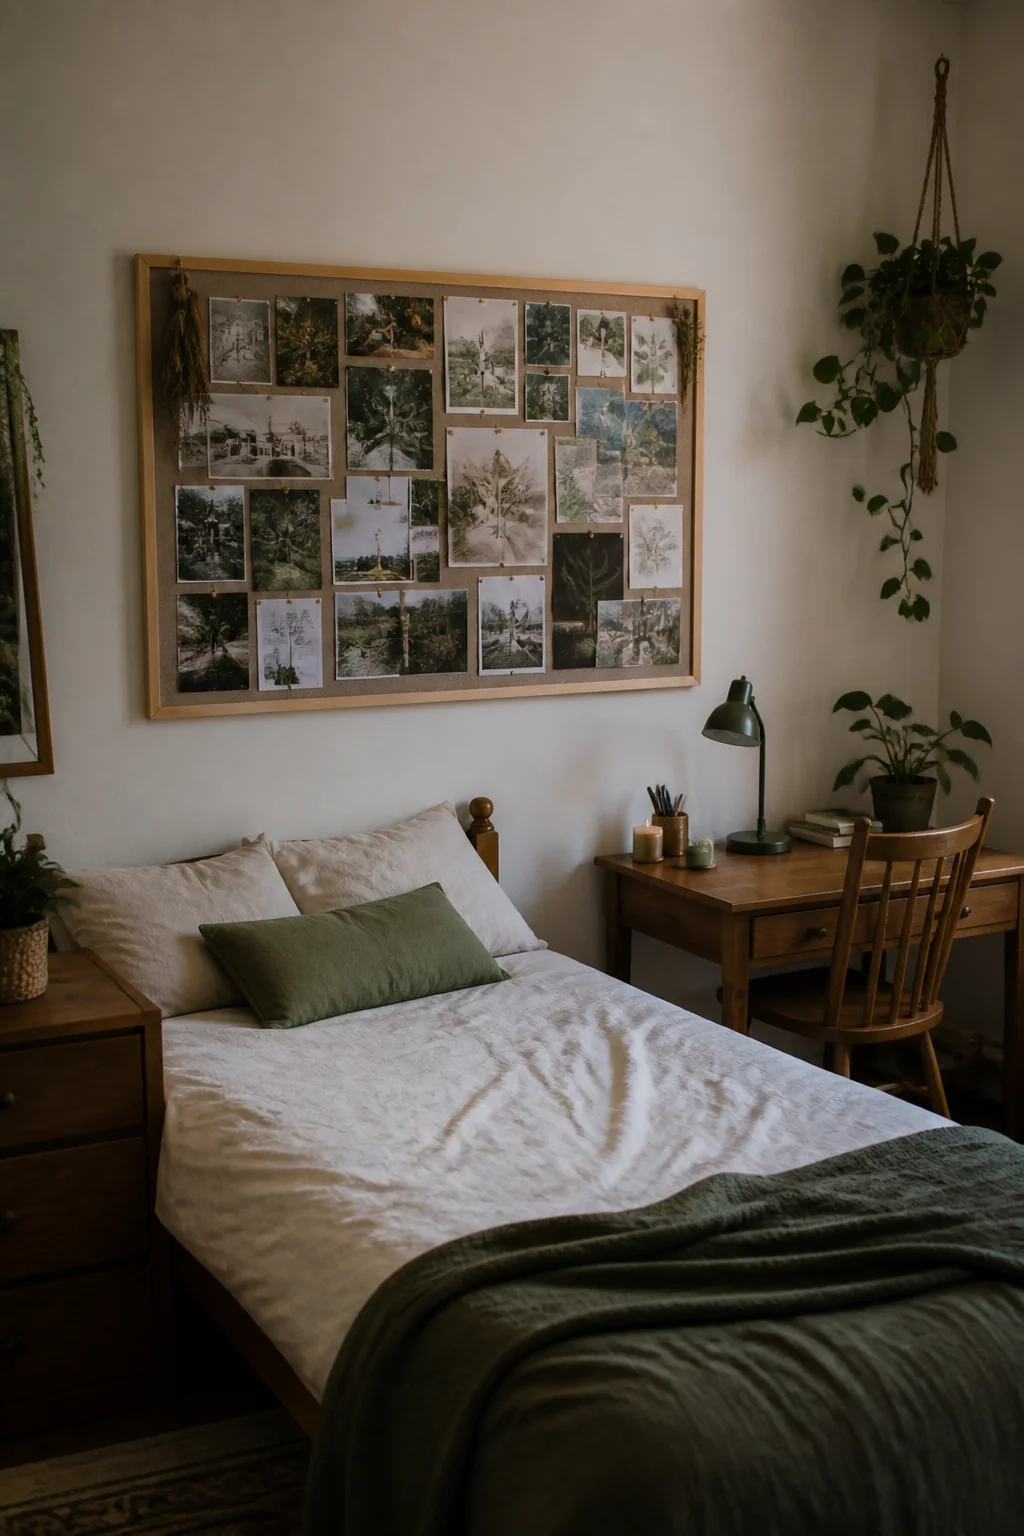
Cork sheets cost $20 to $30 for a pack of four 12-inch squares, or about $25 for a framed 24-by-36 board. The squares are the more flexible buy, since you can run them in a strip above a desk or stagger them up a corner. Mount them with heavy-duty double-sided foam tape, roughly $6 a roll, at all four corners and once in the middle. Buy quarter-inch thickness rather than the eighth-inch craft sheets, because thin cork tears out around a push pin after a few moves. Then pin up photos, fabric swatches, ticket stubs, postcards, whatever is current. Editing it week to week is the whole point, and a wall you keep rearranging never goes stale the way a fixed print does. One caution: foam tape can lift paint. Warm it with a hairdryer for thirty seconds and peel slowly and it usually releases clean.
18. Hang shadow boxes with small personal objects or pressed items
Shadow boxes run $12 to $25, and an 8x10 at about 2 inches deep is the size that handles most small objects. Depth is the spec that decides whether this works at all: a 1-inch box won't close over a stacked wristband and a shell, and you find that out only after you've arranged everything perfectly. Attach items with removable glue dots or a few stitches through the fabric-backed insert so nothing becomes permanent. Hang three boxes in a vertical line with 3 inches between them, or lean one on a shelf instead of hanging it. Filled boxes get heavy, often three to four pounds with the glass, so use a picture hook rated well above that rather than a lone adhesive strip. Restraint is what makes it land. Four or five objects with air around them read as a collection; fifteen crammed in reads as a junk drawer behind glass.
19. String fishing line and attach photos or small prints with clips
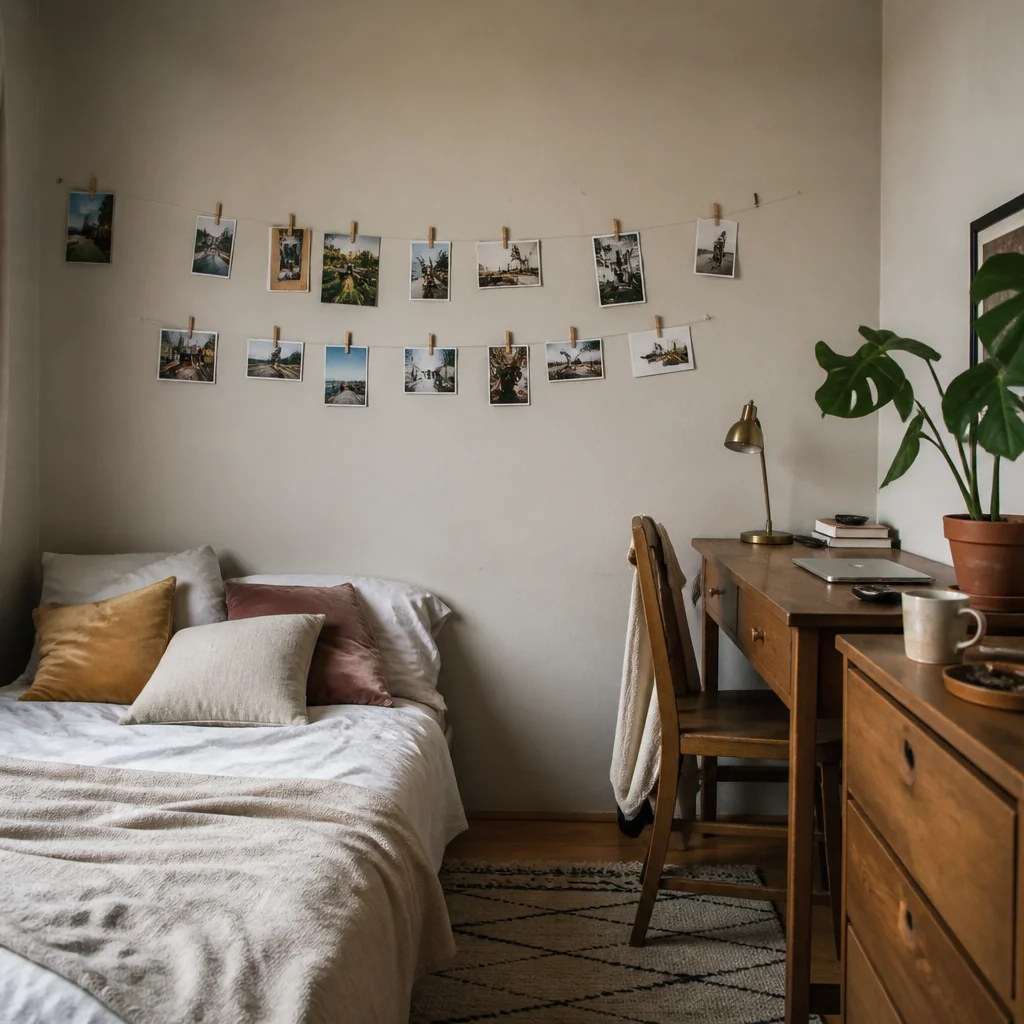
A spool of 20-pound test monofilament costs about $6 and will outlast college, mini wooden clothespins run $4 for fifty, and two small adhesive hooks finish the list at $10 to $15 total. Run the line between hooks set 4 to 6 feet apart and pull it properly taut, because prints weigh nothing but monofilament stretches, and a slack line sags into a smile you'll notice from the doorway within a week. Three parallel lines spaced 12 to 14 inches apart hold far more than one and let you stagger the heights of what you clip. Standard 4x6 prints are so light that a single line carries fifteen or twenty without complaint. The honest trade-off: the line is nearly invisible, which looks great and also means people walk into it face first. Keep the lowest run above eye level, or string it over a desk.
20. Paint your door frame in a contrasting color
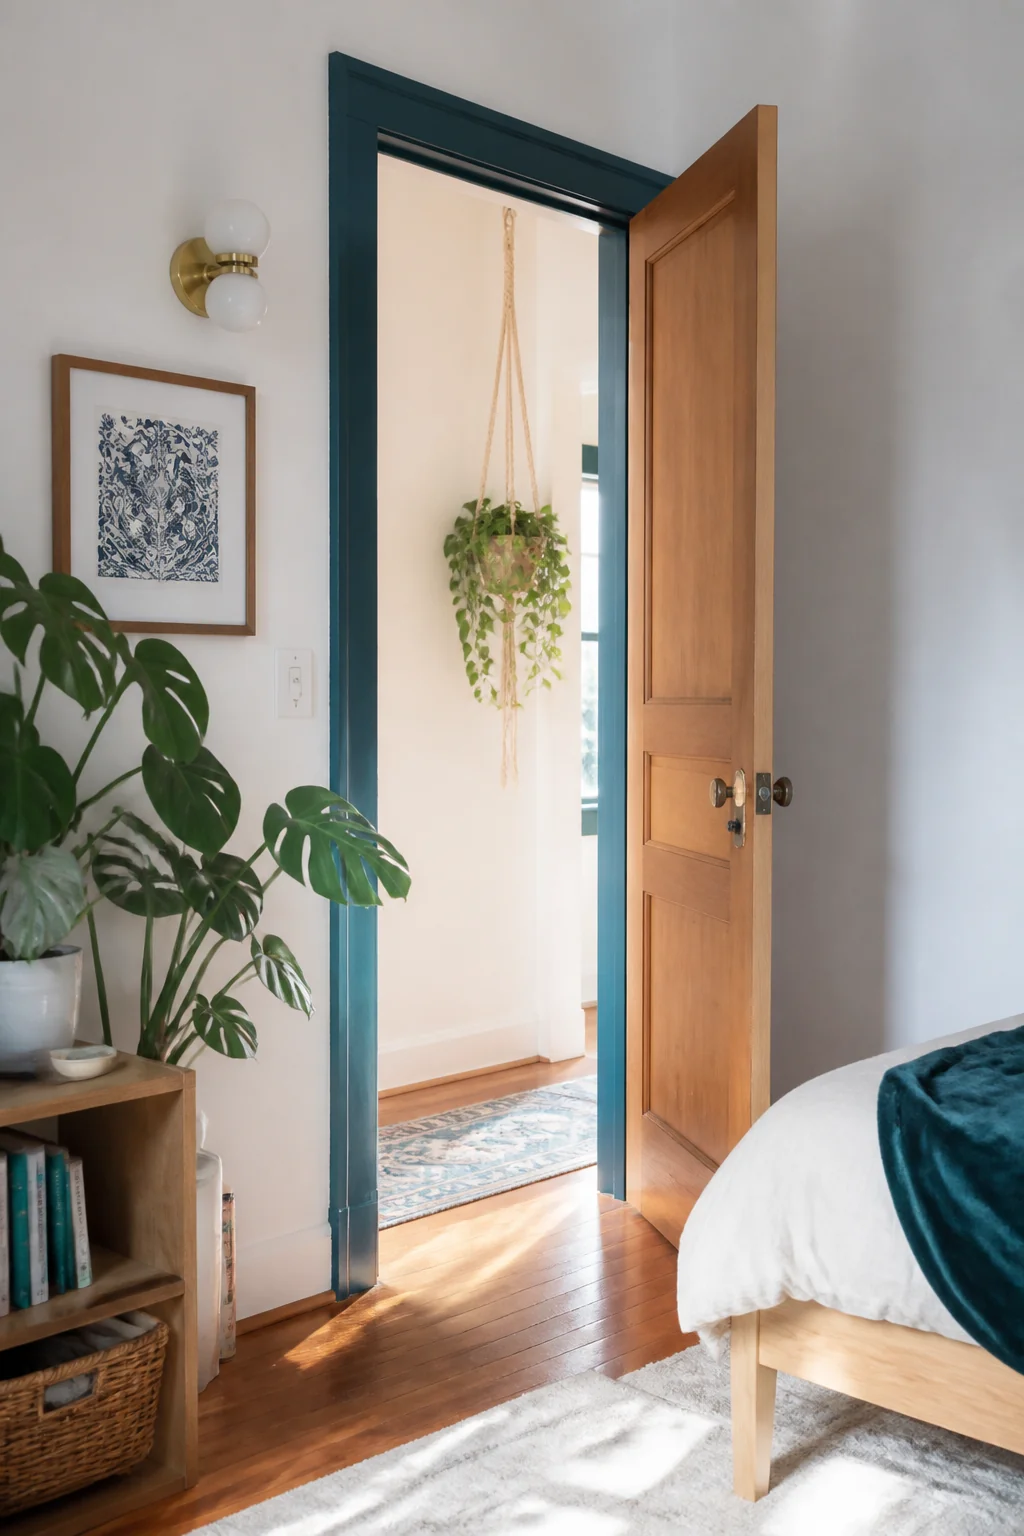
The frame is already a defined shape, so you get a clean graphic line without taping out a single edge, which is why this stays underrated. A sample pot or a quart of semi-gloss costs $8 to $20 and covers a standard 80-by-32-inch door and its casing with two coats. Semi-gloss rather than flat, because a door frame gets touched constantly and flat paint holds every fingerprint. Prep decides whether it lasts: wipe the wood with a degreaser, scuff it with 220-grit sandpaper, and prime any bare or glossy patches, or the color peels off in strips the first time someone slams the door. Tape the wall side of the casing with delicate-surface tape and pull it before the paint cures hard. Housing rules apply here as much as anywhere, and a painted frame is far more visible at inspection than a wall behind your bed.
Pin this for later
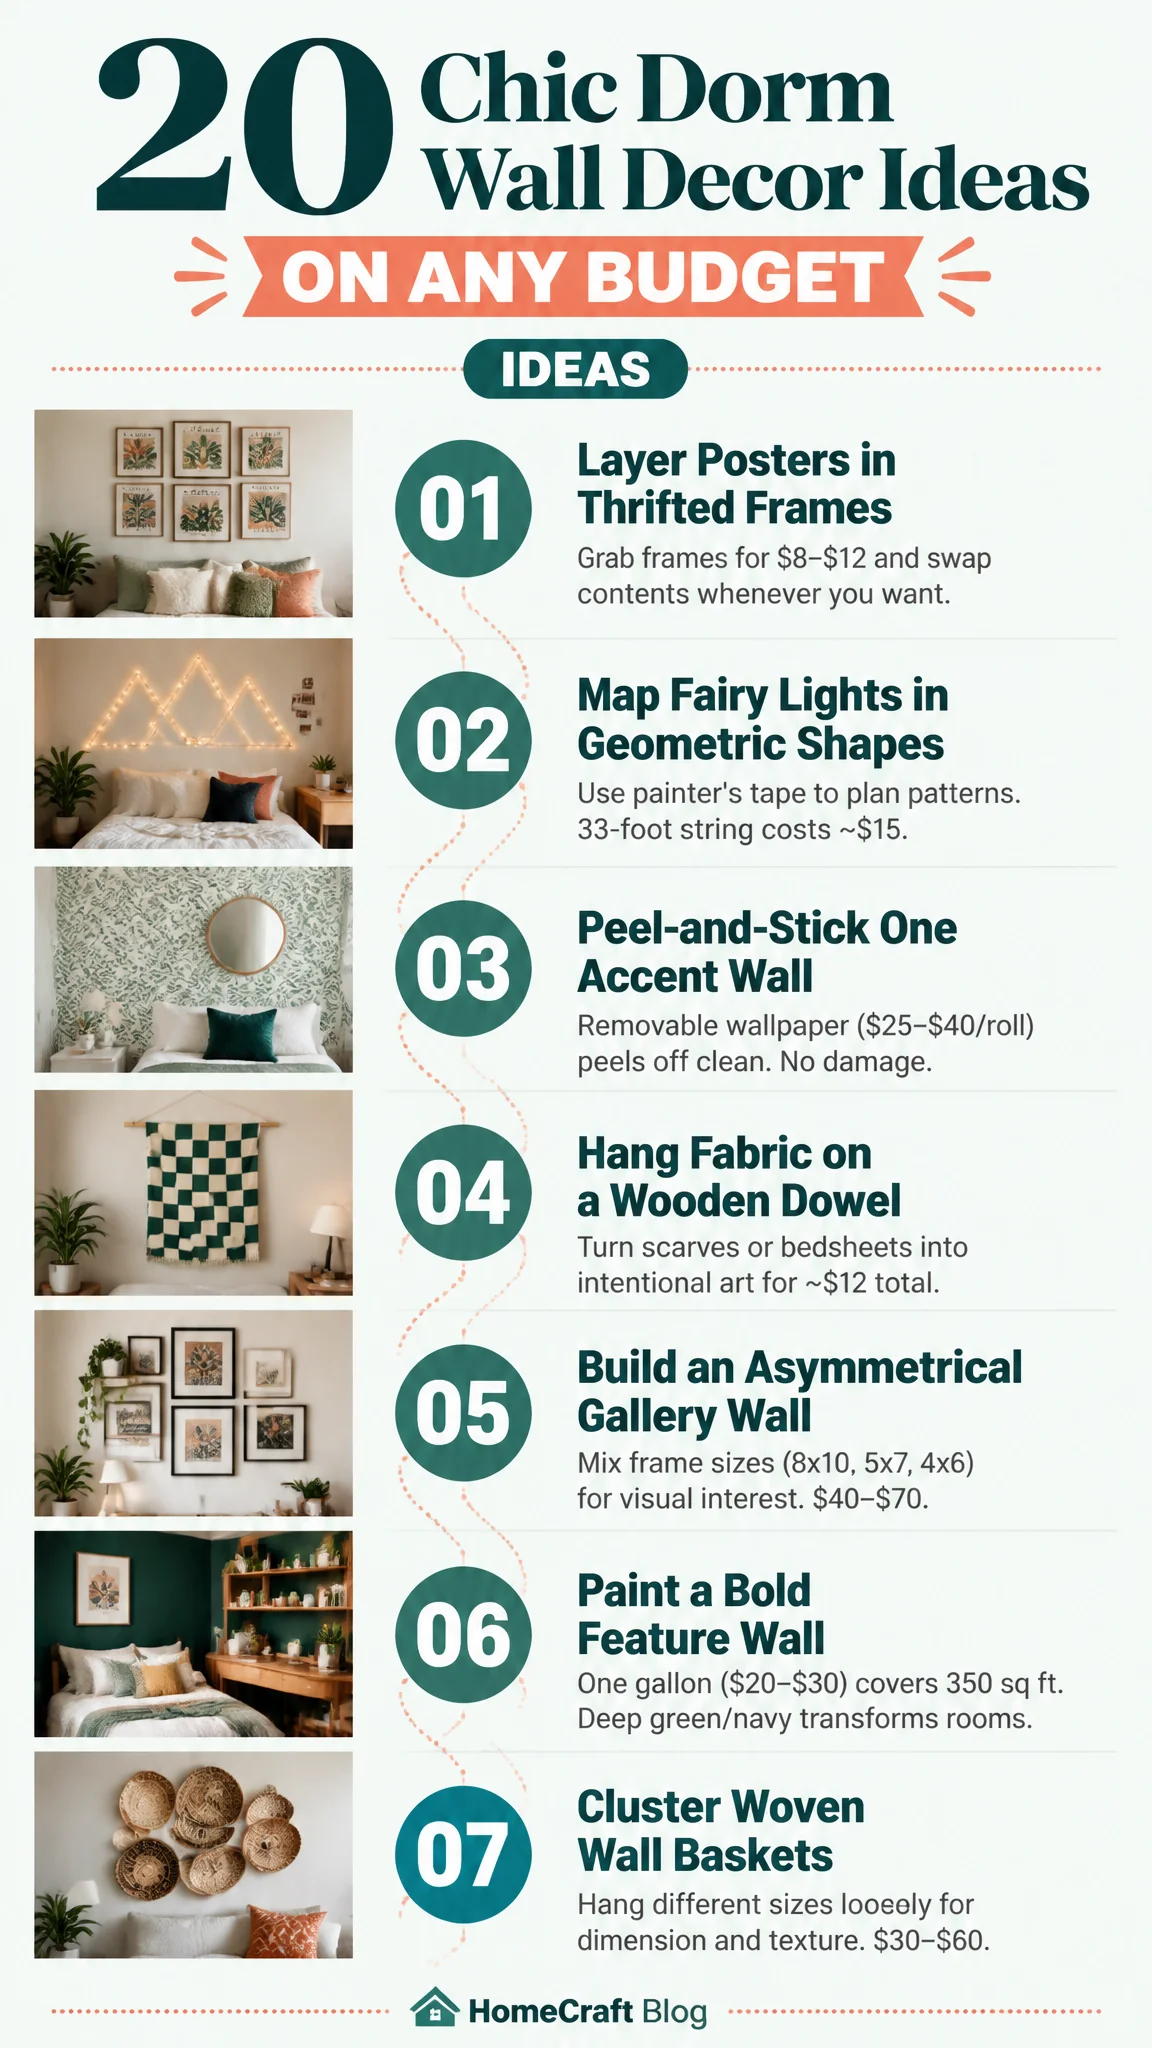
One thing worth doing before you stick anything up: read what your housing agreement says about adhesives, nails, and paint. The charge for a damaged wall usually runs higher than everything on this list put together, and the most common way people get billed is pulling an adhesive strip straight out from the wall instead of pulling the tab slowly downward. Know the rules for your building, and the rest of this is cheap.
Ideas fade by Friday. A plan finishes the room.
You just read a full guide to your walls. Saving ideas will not change it; a plan will. The Home Decor Collection is every planning tool we make, for every room in the house, in one download, so the after photos below stop being other people's rooms.
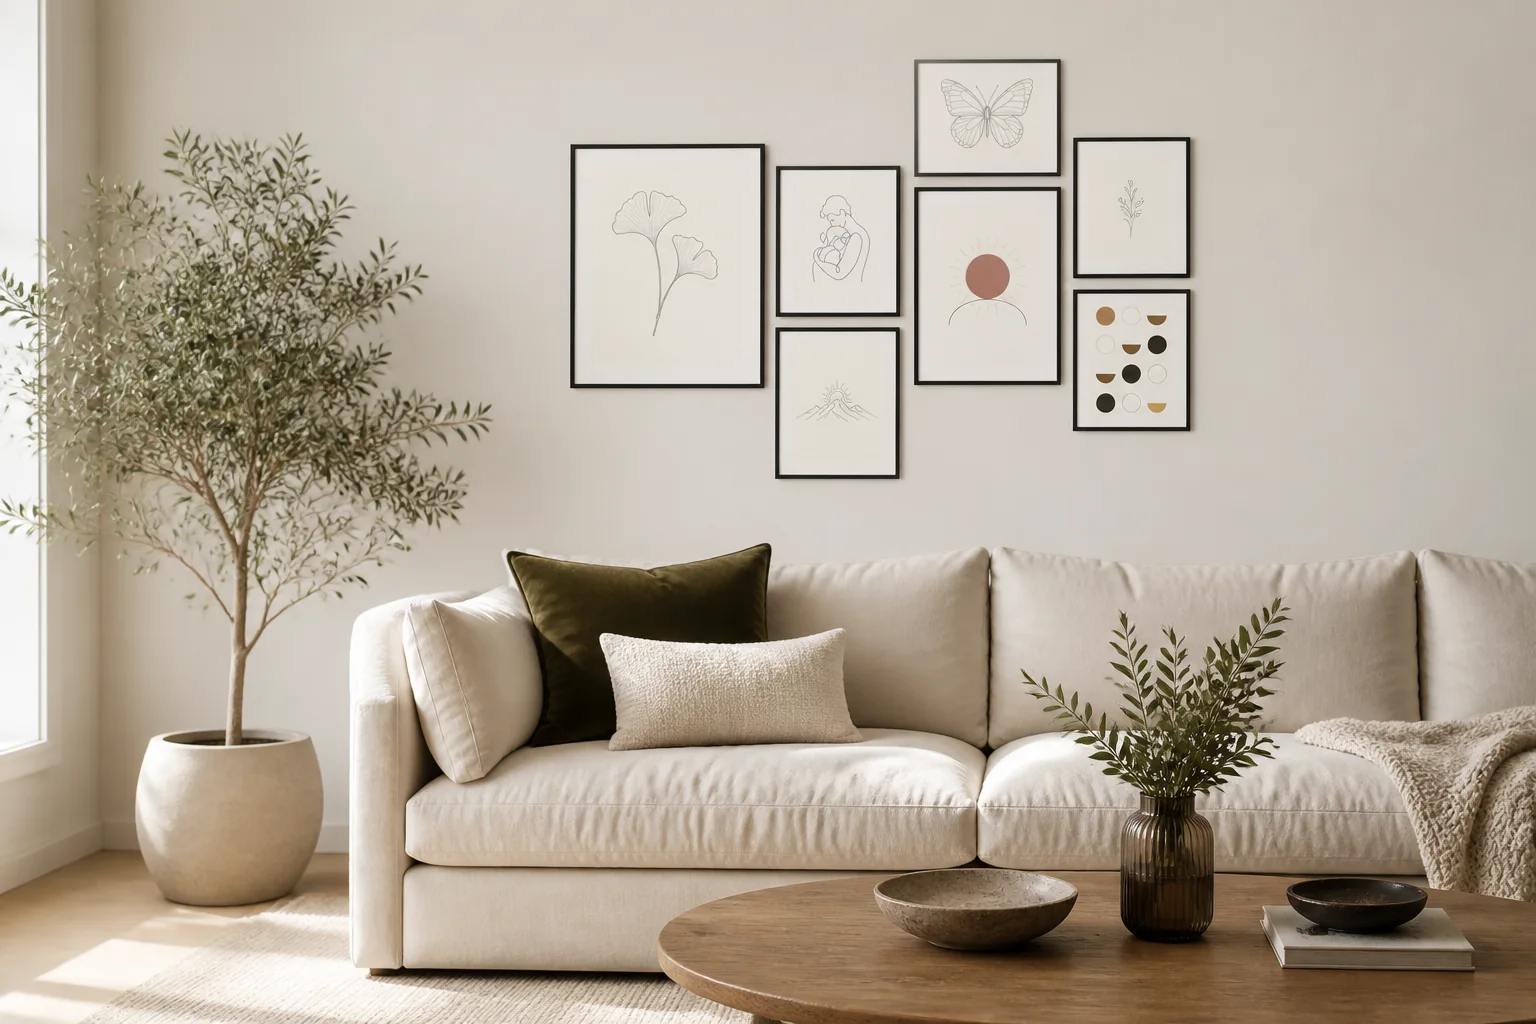

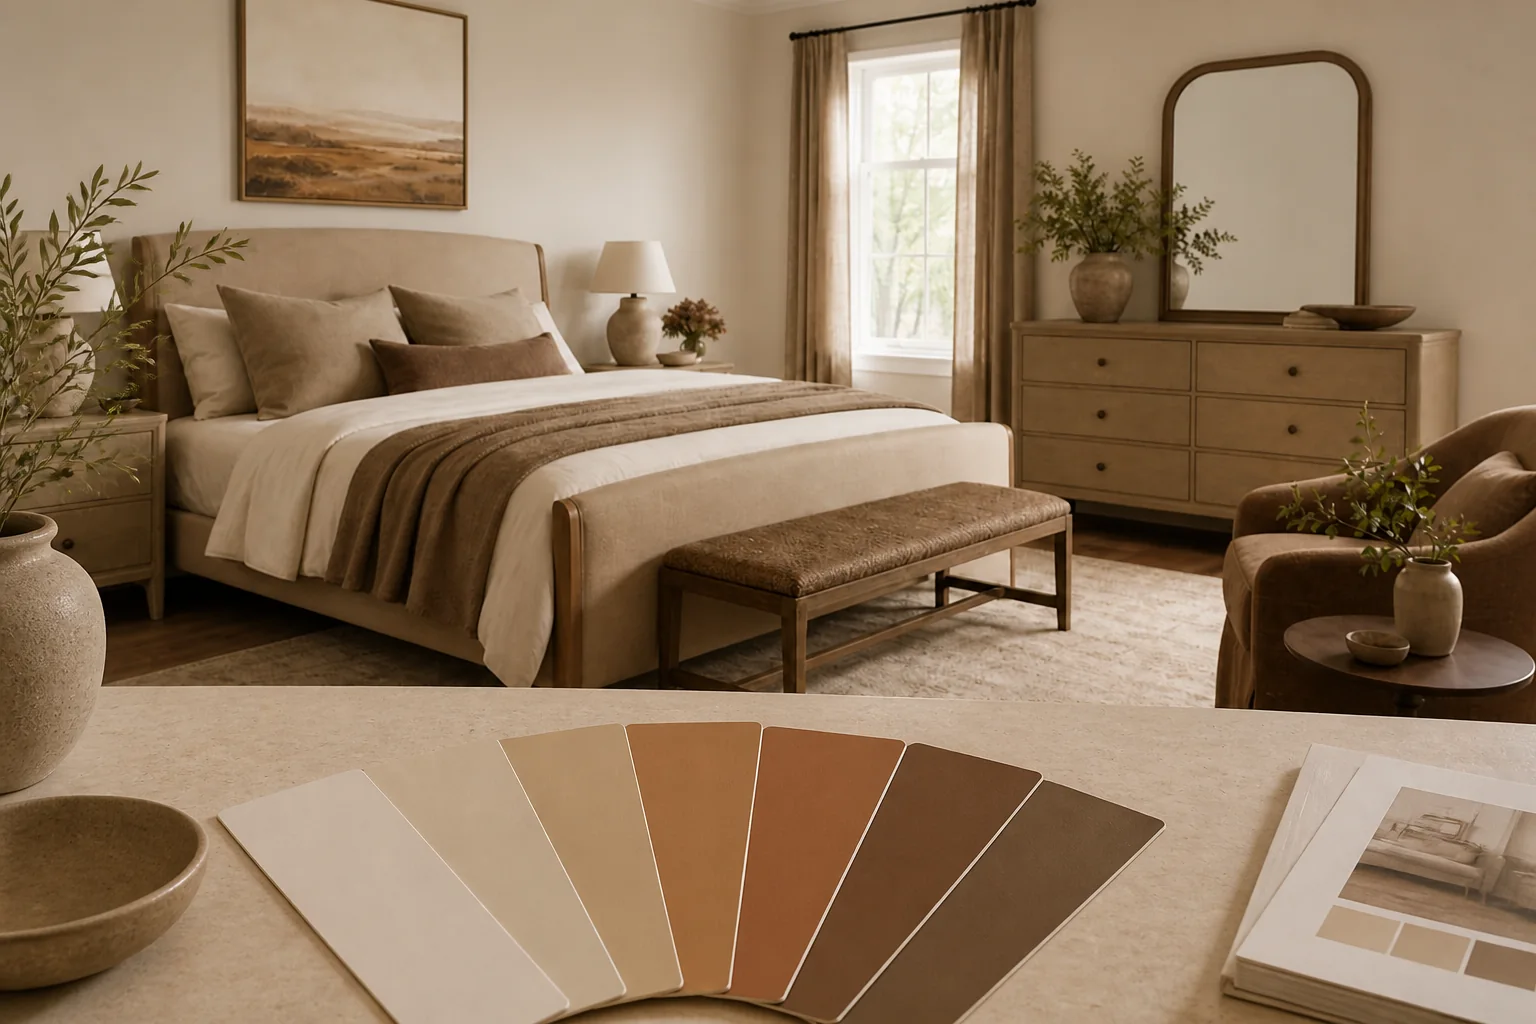
- Six room Style Kits, each with layout, palette and shopping list$114
- The Gallery Wall Studio: 200 prints + 15 measured layouts$29
- The Room Makeover System: 40 solved room layouts + workbook$29
- The Color Palette Handbook: 60 palettes shown in real rooms$19
- The Whole-Home Reset: 40 printable organizing checklists$19
- The Decorator's Cheat Sheets: the 40 measurements that matter$9
- All eleven products, bought separately
$219$97
A single hour with an interior designer costs more than the entire Collection, and this one keeps answering for every room you will ever decorate. Free updates included as the products grow. And if it is not for you, the 14 day money back promise means you simply get a refund.