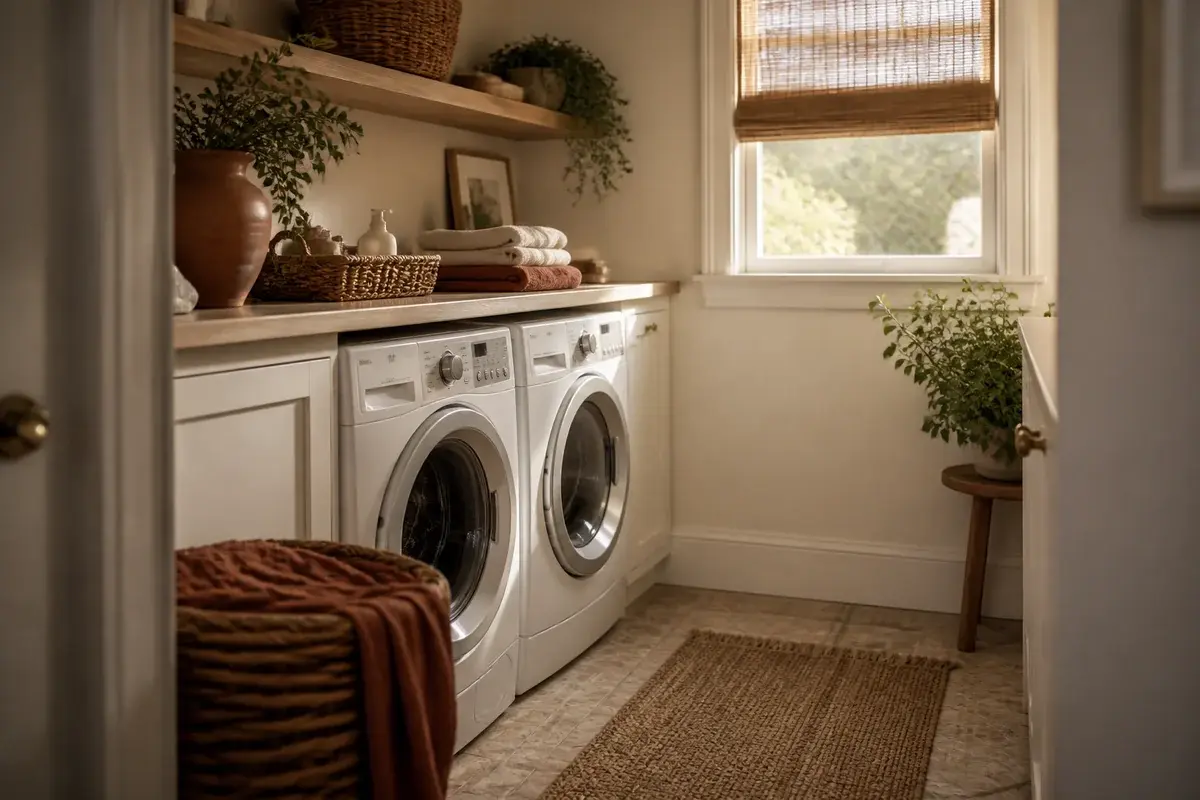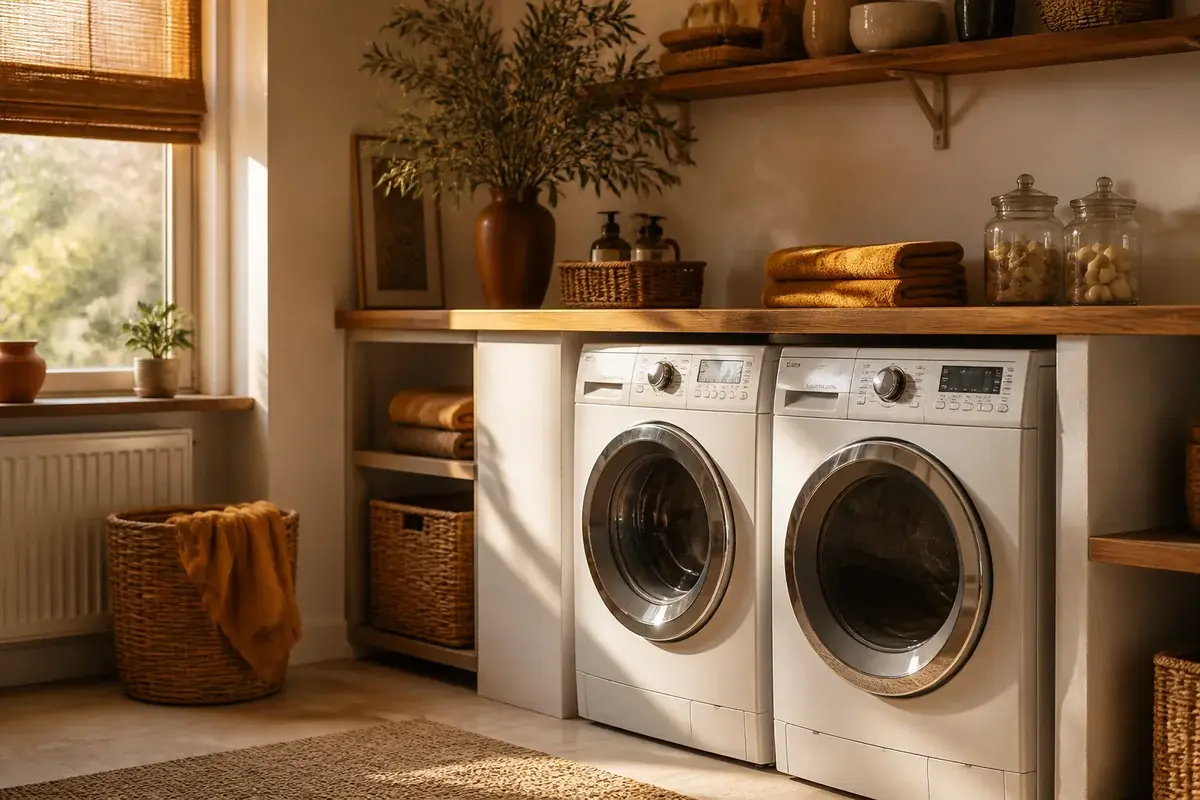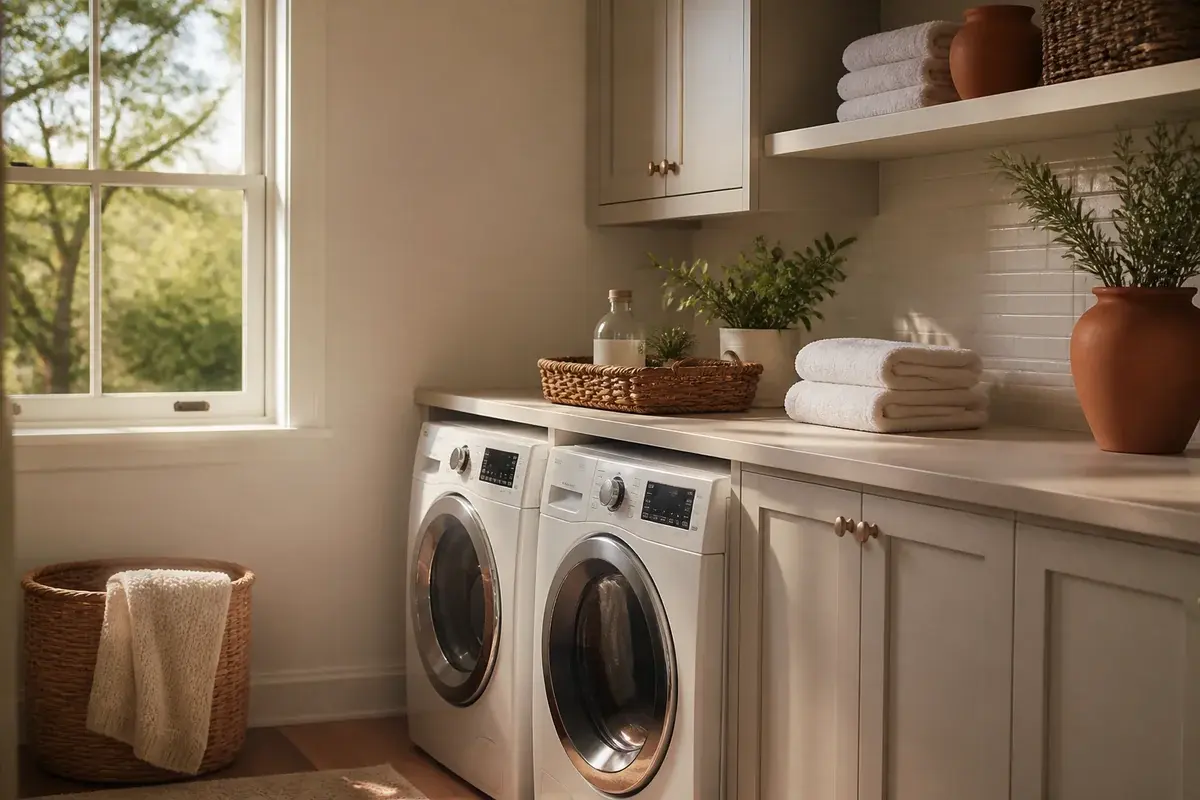
20 Clever Top Load Washer Laundry Room Ideas for Small Spaces
Smart top load washer laundry room ideas for tight spaces: shelf heights that clear the lid, storage sized to the gaps, and layouts that hold up.
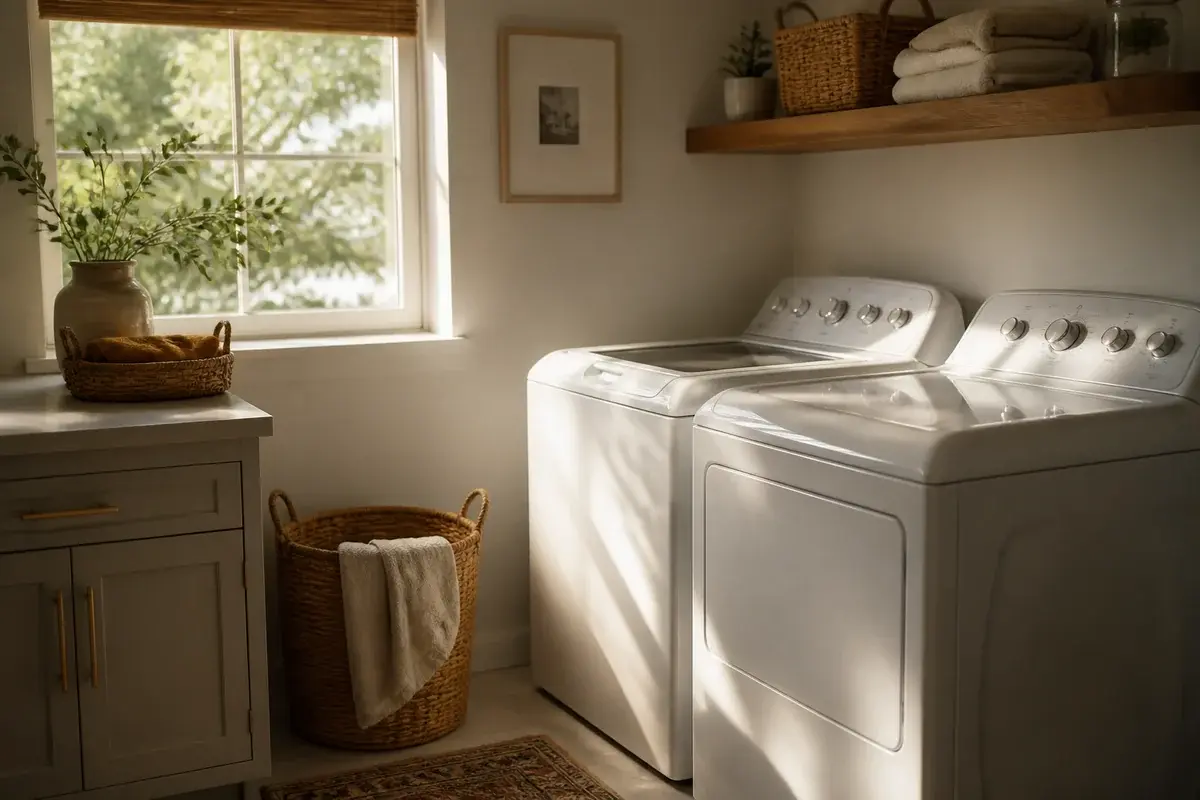
A top load washer is a demanding roommate. It's about 27 inches wide and 27 inches deep, it stands 42 to 44 inches to the lid, and that lid swings up instead of out. So the machine claims a column of air above itself that a front loader never asks for. That single difference quietly breaks most laundry storage advice: shelves hung at photo-perfect height stop the lid from opening, counters can't run in one continuous line, and the baskets end up back on the floor.
So before anything else, open the lid all the way and measure from the top of the machine to the highest point the lid reaches. On most models it's 20 to 24 inches. That number governs every idea below, and there are twenty of them, from twenty-dollar fixes to small weekend builds.
1. Floating shelves above the washer
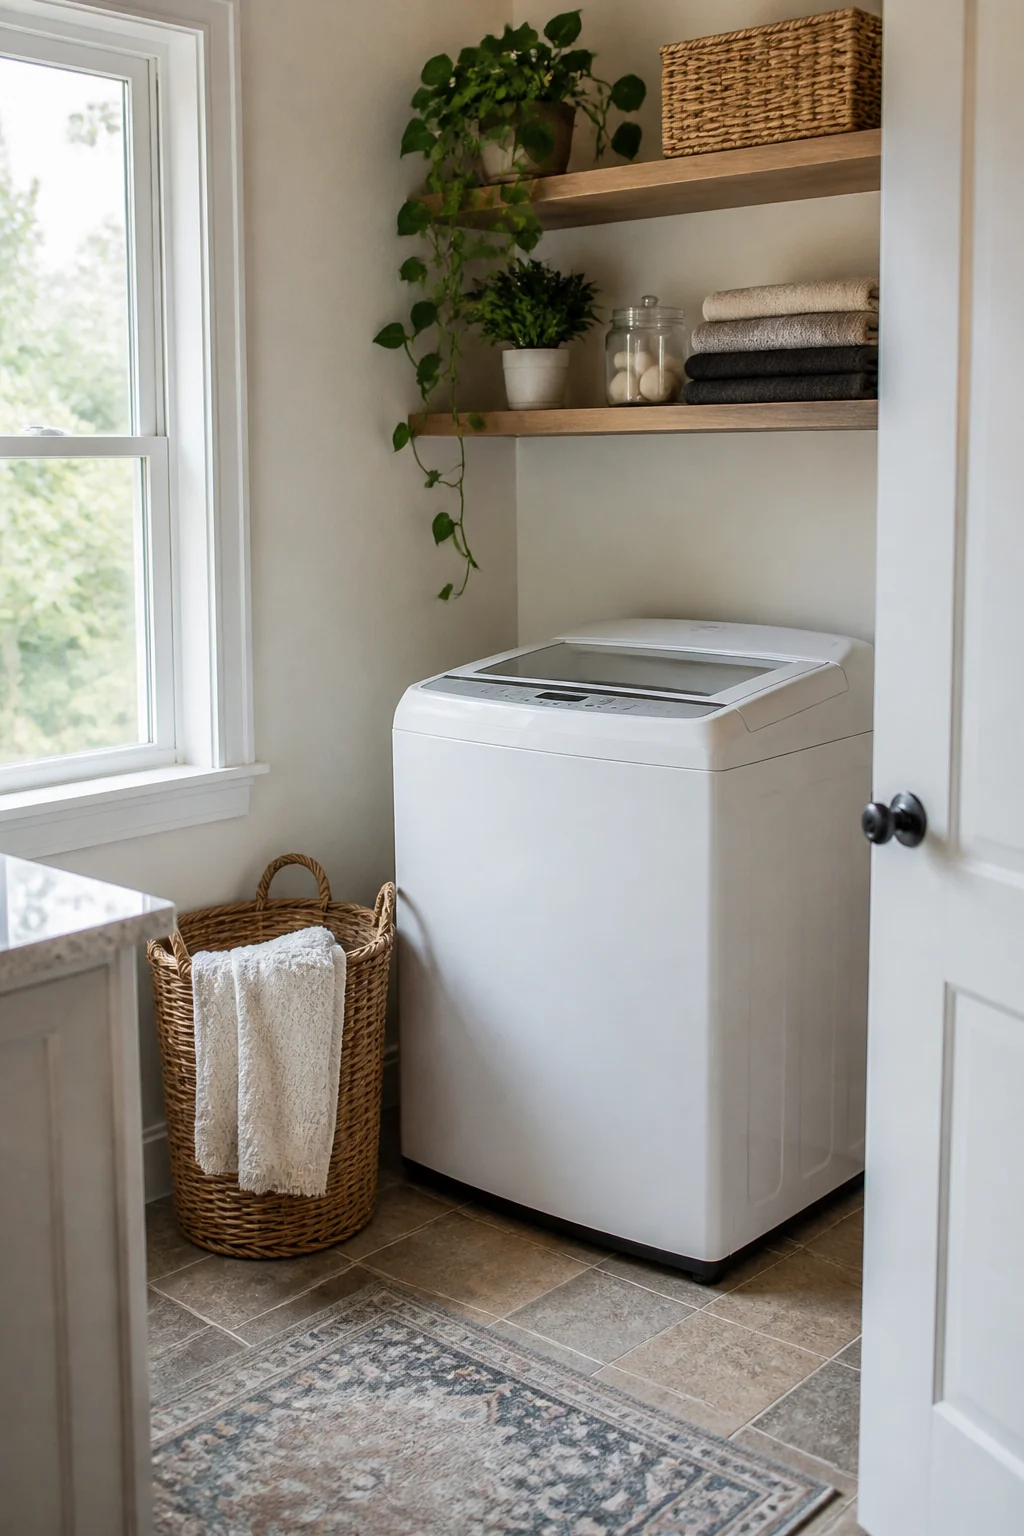
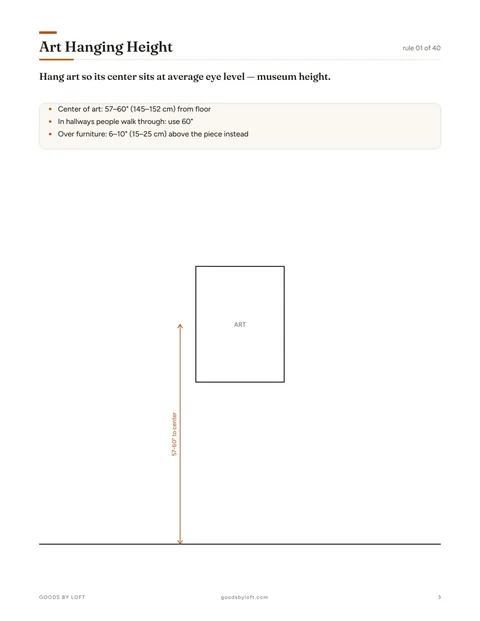
Hang these higher than feels right. With the lid open at its tallest point, the underside of your first shelf needs to sit at least an inch clear of it, which on a standard machine puts the shelf 62 to 66 inches off the floor. The same shelf over a front loader would sit at 55 inches, and that gap is exactly the mistake people copy from photos before wondering why the lid clunks.
Keep the boards 10 to 12 inches deep. Anything deeper and you'll catch your knuckles on the front edge every time you lean over the drum to fish out a stray sock, because a top loader already makes you reach 27 inches forward and down.
Land your brackets on studs at 16 inches on center where you can. Where you can't, toggle bolts rated to 50 pounds are plenty: a full gallon jug of liquid detergent weighs about 9 pounds. Budget $25 to $45 for a 36-inch shelf plus hardware.
2. A slim rolling cart beside the machine
Slip a 20-inch-wide rolling cart into the gap next to the washer for detergent, dryer sheets, and a small hamper. The conventional argument for a cart over a fixed cabinet holds up here: the day you need to pull the machine forward to reach a kinked hose or retrieve something that fell behind it, the cart rolls clear in two seconds instead of coming apart with a screwdriver.
Measure the gap at floor level, not at the top. Washer cabinets flare slightly at the base, and the drain hose usually bulges out the back left corner. Leave half an inch of slack on each side so the cart doesn't get pinned when the machine walks during a heavy spin.
Three-tier steel carts run $40 to $70. Pay the few extra dollars for locking casters if your floor is tile or vinyl, where an unlocked cart drifts a little further from the wall every time you nudge it.
3. Wall-mounted pegboard for hanging tools
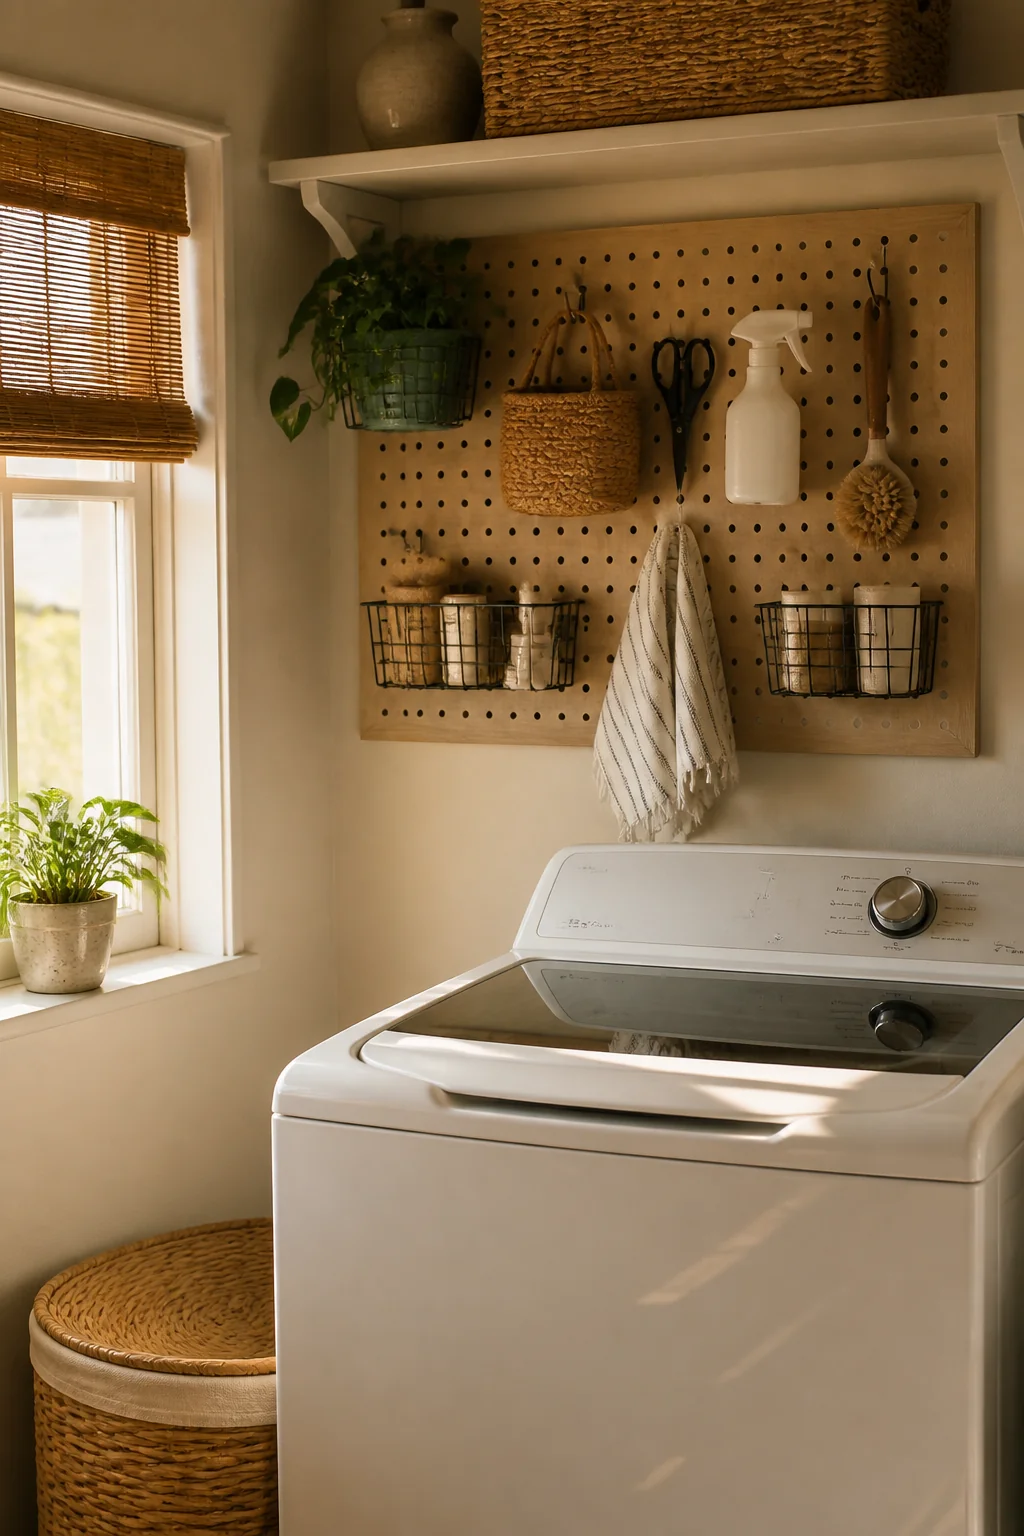
Pegboard earns its keep beside a top loader, because the wall to the side of the machine is often the only vertical surface the lid doesn't claim. A 24 by 48 inch hardboard panel is $20 to $30, powder-coated steel closer to $60, and a starter set of hooks adds $10 to $15.
Furring strips are the part people skip. Pegboard needs half an inch of air behind it or the hooks have nothing to hook into, so screw 1x2 strips to the studs first and mount the panel to those.
Set the bottom edge around 40 inches so your working zone runs from 40 to 65 inches, all of it reachable without a step stool. That's the right home for clothespins, a lint roller, mesh bags, small scissors, and the stain stick that keeps disappearing. Leave the heavy things off it entirely. Pegboard hooks work loose under sustained load, so an iron or a full jug belongs on a shelf.
4. Paint the walls a warm neutral
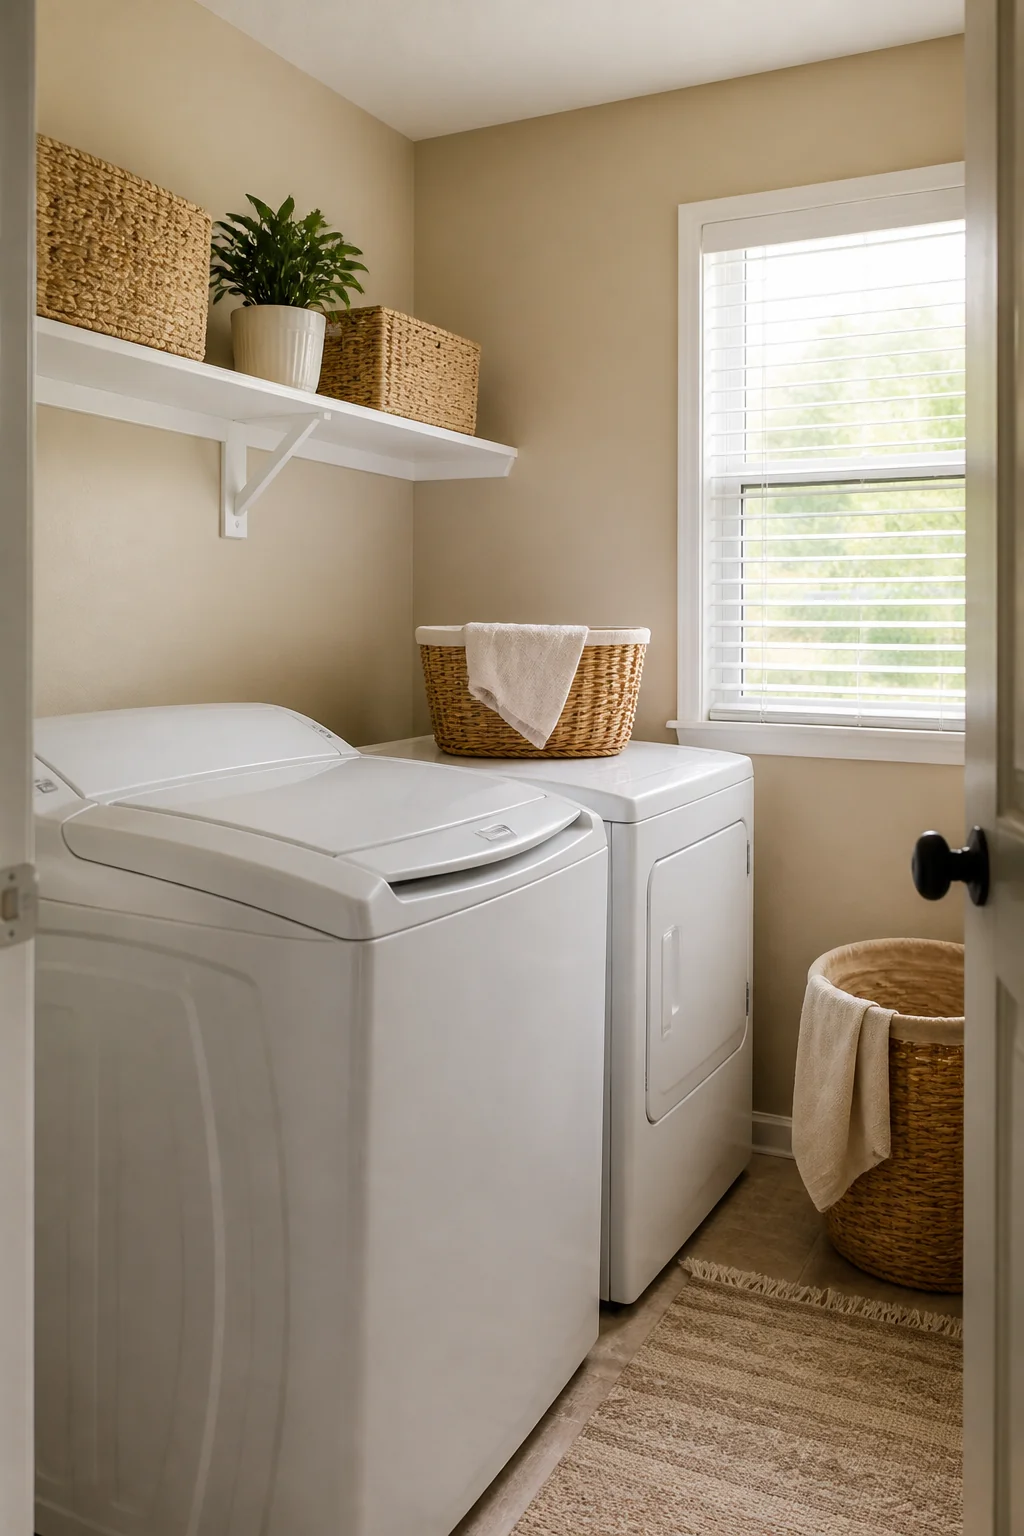
A soft beige or warm gray reads cleaner than builder white, and the reason is practical rather than aesthetic. Flat builder white shows every scuff a basket corner leaves and every splash of blue detergent. A slightly deeper, warmer tone absorbs that traffic and still spreads what light you have around a small laundry space with no window.
Finish matters more than color. Use satin or semi-gloss latex, never flat: laundry rooms swing between humid and dry, and a tighter sheen takes a wipe-down without burnishing into a shiny patch. One gallon at $35 to $60 covers a typical 6 by 8 foot room twice.
Prep takes an hour and isn't optional. Wipe the walls with a degreaser first, since dryer-sheet residue is waxy and paint will crawl off it in patches. Pull the washer forward and cut in behind it while you can, because that strip of wall is the one you'll never reach again.
5. Fold-down wall table
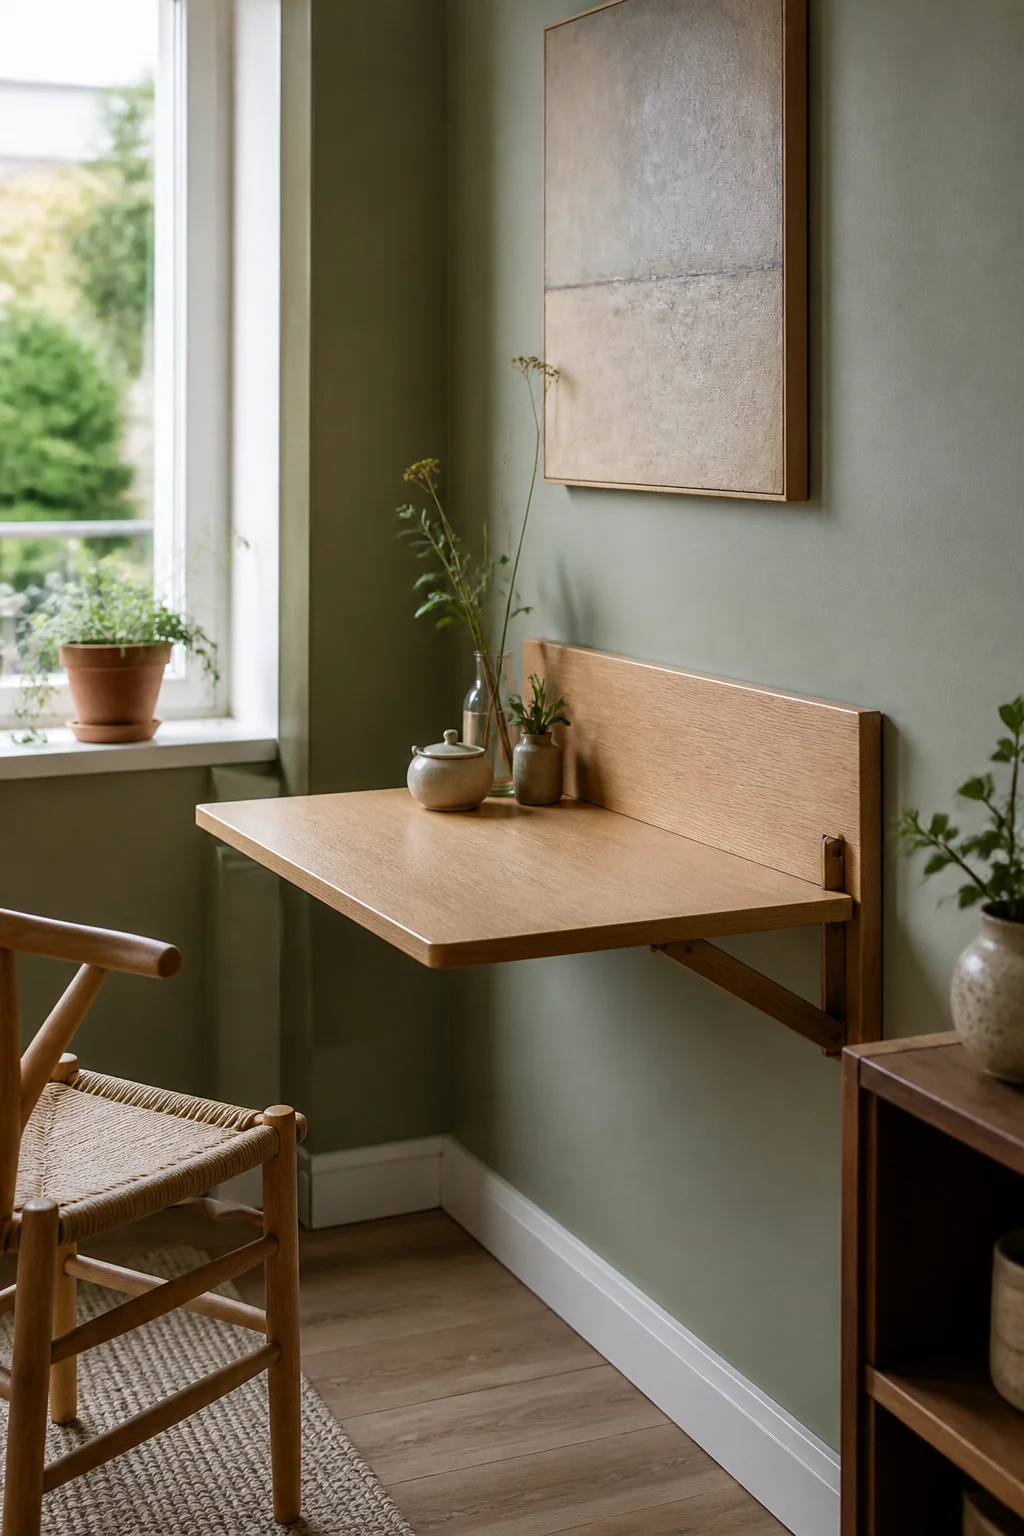
A drop-leaf table gives you the folding surface a top loader denies you, since you can never fold on top of a machine whose lid has to open. Screw a cleat into the studs, hinge the top to it, and pick the height off the appliance rather than off a chart: 36 to 38 inches puts the open leaf level with the washer lid, so a full basket slides across instead of being lifted.
A 36 by 18 inch top in 3/4-inch birch plywood weighs about 12 pounds and costs $30 to $45 in materials. Folding brackets rated for 100 pounds are $20 to $35 a pair.
Two cautions before you drill. Leave 30 inches of clear floor in front or the leaf opens into your shins. And check what the closed table covers: a leaf that drops down over an outlet or the washer's shutoff valves turns every small repair into a two-step job.
6. Over-the-washer drying rod
Hang-drying near the machine works, but twelve inches above the lid is too low on a top loader for two separate reasons: the raised lid needs 20 to 24 inches of that air, and a wet shirt on a hanger wants roughly 40 inches of drop. Put the rod on the wall beside or in front of the washer at 66 to 72 inches, and let the clothes hang past the machine rather than over it.
A 1-inch wooden closet rod with two flanged sockets is $20 to $30 and holds far more than a spring-tension shower rod, which quietly slips under a loaded rack and dumps the whole lot on the floor. Ten wet items on hangers is about 15 pounds of downward pull, so go into studs or use toggles.
Wet wool is the reason to bother at all. Sweaters stretch on a hanger, so give knits a flat drying rack and keep the rod for shirts, delicates, and anything that comes out of the dryer a size smaller.
7. Vertical hamper towers
Sorting upward instead of outward is what saves the floor. Look for a three-tier frame around 18 to 20 inches wide and 30 to 34 inches tall, low enough that the top bag clears the washer lid when it swings open. Steel-frame sorters run $50 to $80; three separate 15-inch fabric hampers on a slim shelf ladder cost less and tip more.
Label the bags by fabric rather than by person: whites, darks, towels. Fabric sorting is what spares you an extra cycle, and a top loader's wide drum rewards you for waiting until a category is genuinely full.
Height is the failure mode. A tower loaded to the brim goes front-heavy the second someone yanks the bottom bag out sideways, and the whole frame comes with it. One screw through an L-bracket into a stud settles that, which is worth doing before the first time rather than after.
8. Lower cabinet with a countertop
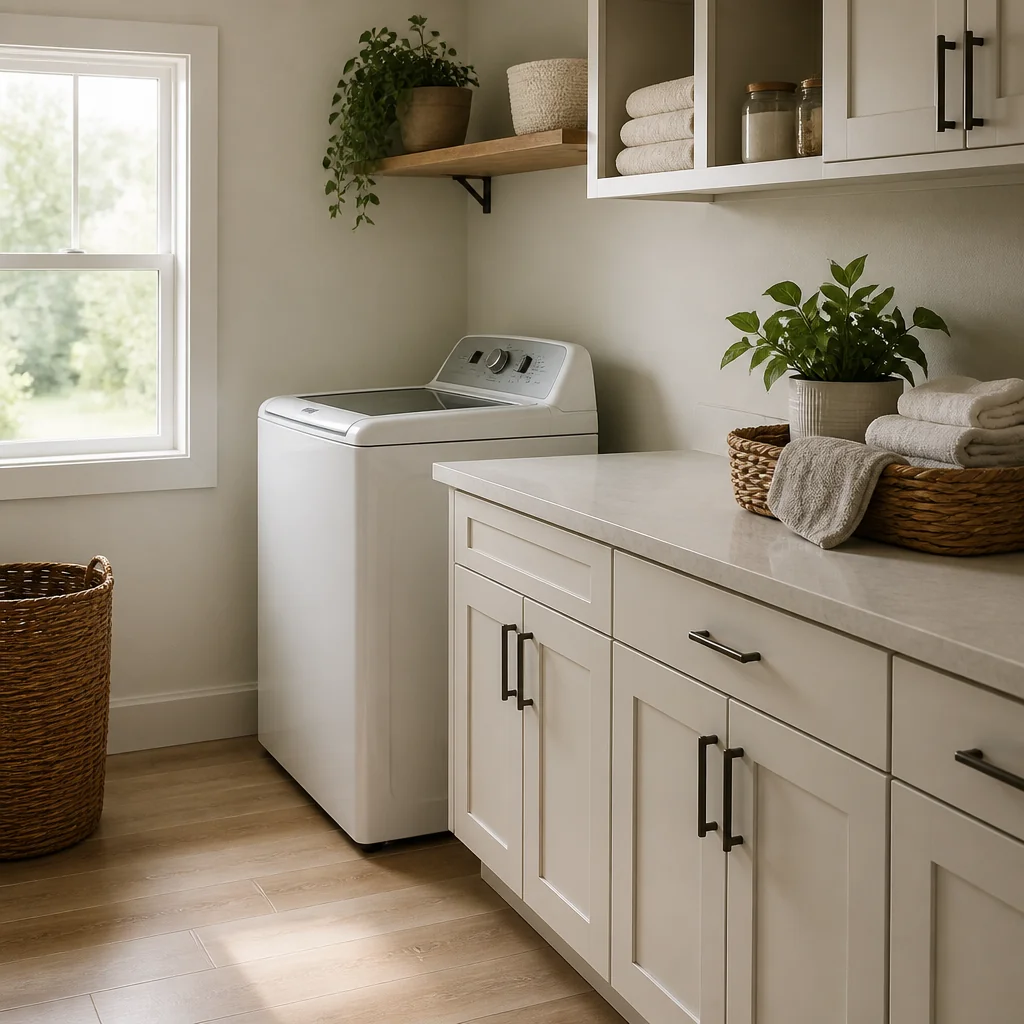
A 24-inch base cabinet beside the washer buys you a folding surface, closed storage, and somewhere to hide the bottles you'd rather not look at, for roughly $120 to $150 with a laminate top from a flat-pack range.
Height is the detail that gets missed. A standard base cabinet finishes at 36 inches, while a top loader's lid sits at 42 to 44 inches, so the counter lands six to eight inches low and a loaded basket won't slide across from machine to counter. Build the toe kick taller, or set the cabinet on a 6-inch plinth of 2x6 lumber, and the two surfaces start working as one continuous run.
Skip butcher block here, tempting as it looks. Wood next to a washer takes on splash and humidity, swells at the glue seams, and needs oiling twice a year, which means clearing the counter twice a year. Laminate or a solid surface takes the same abuse and asks for nothing.
9. Corner cubbies with baskets
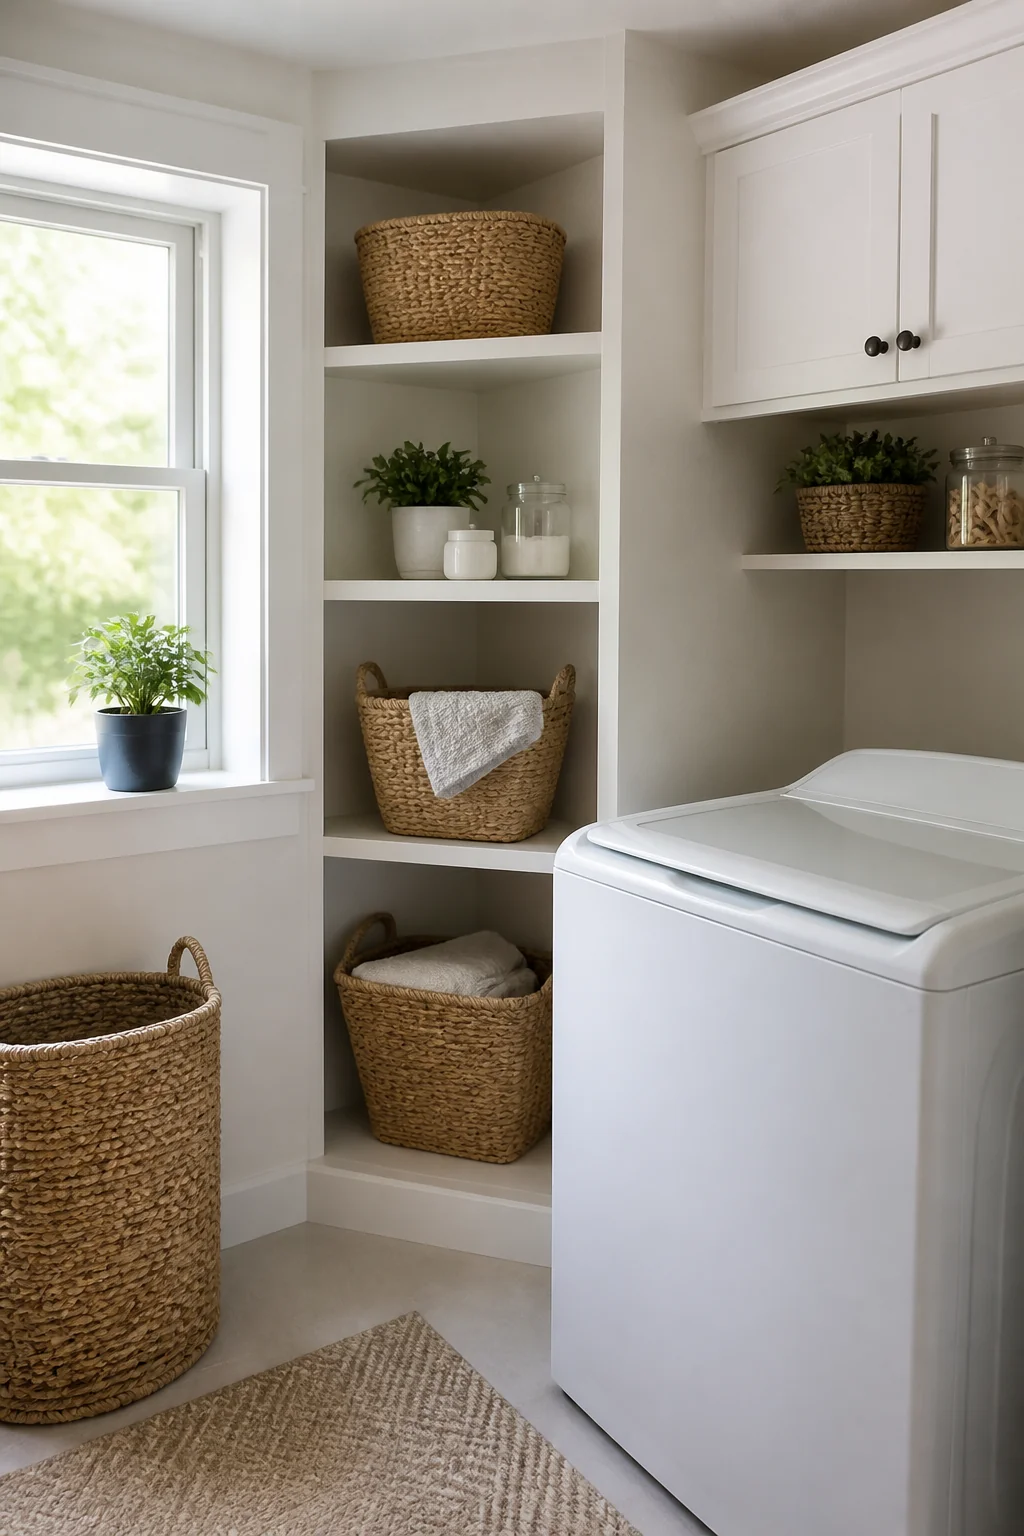
Corners in a laundry room collect a mop handle and little else, so low open cubbies with baskets inside are pure recovered square footage. Keep the unit under 34 inches tall if it sits alongside the washer so the raised lid swings past it, and 12 to 14 inches deep, since anything deeper simply swallows whatever you put at the back.
Woven seagrass baskets run $12 to $25 depending on size. Measure the cubby opening and subtract an inch when you shop: baskets cut to the exact opening bind against the sides once they're full and you end up wrestling them out.
There's one caution specific to this spot. The corner beside a top loader is a vibration zone, and an unsecured shelf unit walks across the floor during spin while its contents rattle. Rubber shelf liner under each foot dampens it; a single screw through the top rail into a stud ends it. Reserve the bottom cubby for the basket you reach for daily.
10. Adhesive labels and a command center
A small command center answers the questions that otherwise get shouted down a hallway: what's soaking, what can't go in the dryer, whose delicates are in the mesh bag. A 24 by 36 inch cork board costs $25 to $40, and a magnetic dry-erase panel is $30 to $50 and wipes clean when detergent splashes on it.
Mount it on the side wall the lid doesn't cover, at eye level around 55 to 60 inches, and hold it to three running lines: soaking now, do not tumble, and what you're out of.
Labels handle the quieter half. Use removable vinyl labels rather than masking tape, which loosens in laundry-room humidity and slides down the jar inside a month. If you decant detergent or bleach into unmarked bottles, write both the product and the dilution on the front. Clear liquid in an unlabeled container is a genuine hazard in a room children walk through.
11. Under-washer storage drawers
This one needs a reality check before you spend anything. Most top loaders sit on short leveling feet with only 2 to 4 inches of clearance underneath, and unlike front loaders they have no manufacturer pedestal option, because raising the machine would put the bottom of the drum out of reach. So measure the real gap from floor to the underside of the cabinet, at the front and the back, since the feet are usually adjusted unevenly.
With 4 inches or more you can slide in low rolling drawers meant for under-bed storage, $15 to $30 each. They're the right home for backup detergent, a spare fill hose, and the lint brush you use twice a year.
Two things stay out. Anything you need in a hurry, and anything that suffers from damp. The floor under a washer is where a slow supply-line drip shows first, so glance at it whenever you pull the drawer, and never store cardboard down there.
12. Pipe shelving for an industrial look
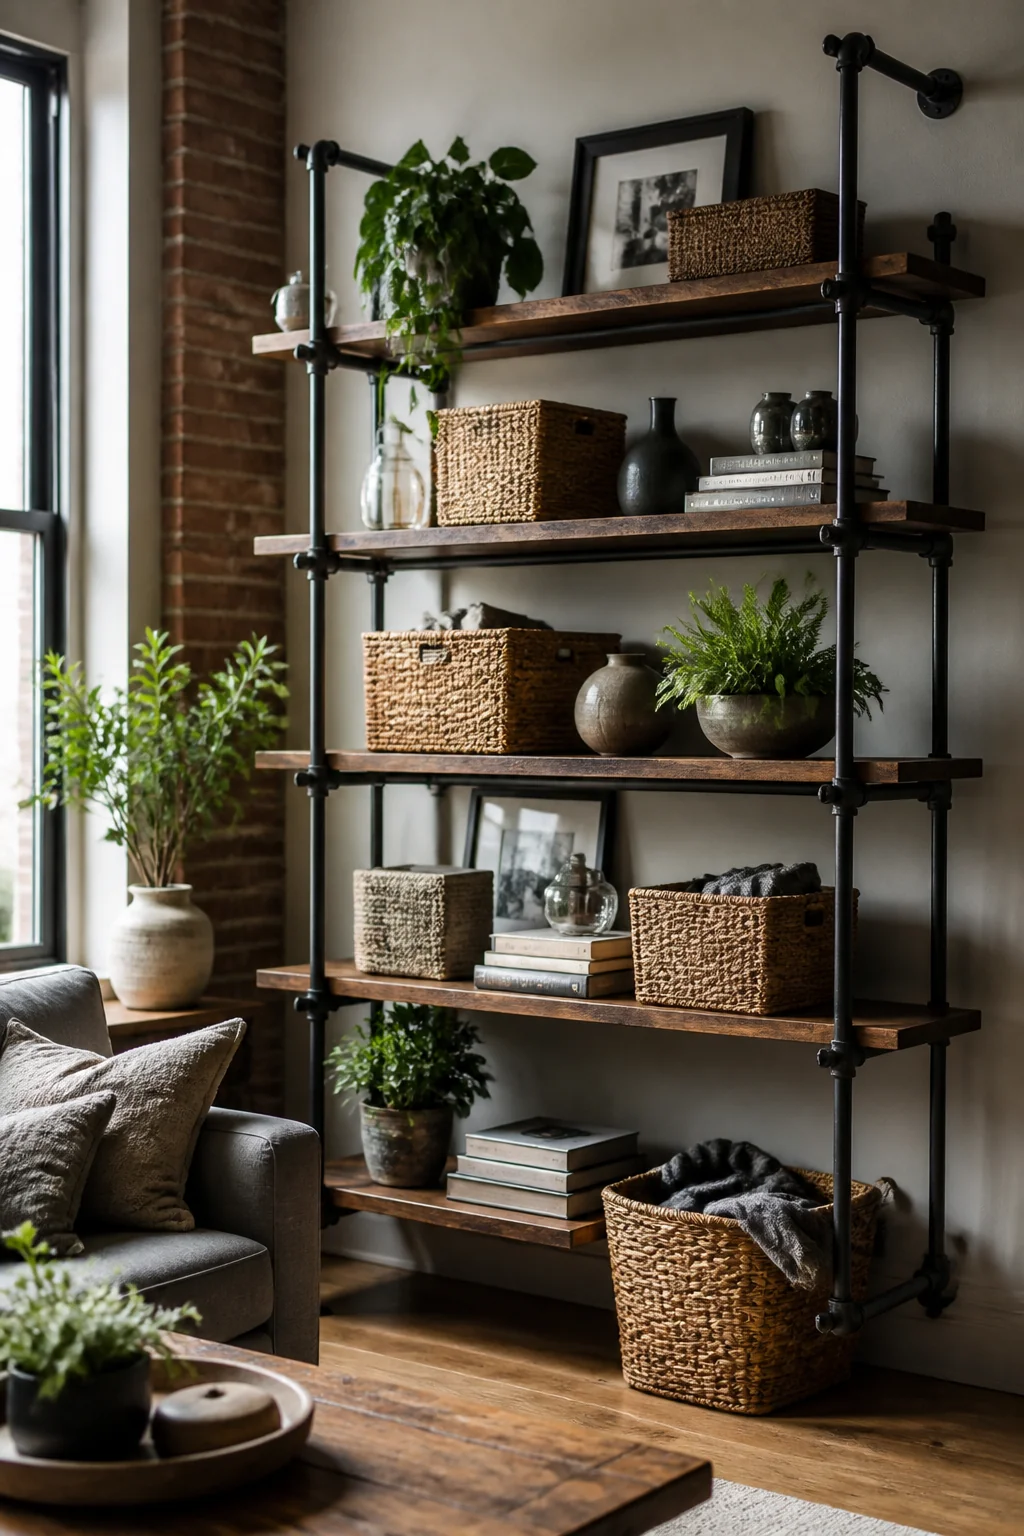
Black iron pipe suits a laundry room precisely because you build it to whatever odd height the machine dictates, which off-the-shelf kits rarely offer. A three-shelf run costs $80 to $120: 3/4-inch pipe, floor flanges at $4 to $6 apiece, nipples cut to your spacing, and 1x10 or 1x12 boards on top.
Plan the bottom shelf around the open lid, same as everything else here. Over the machine, that means starting at about 64 inches. On the adjacent wall you're free to start low, around 40 inches, and get three usable shelves instead of two.
Two things nobody mentions. New pipe ships coated in cutting oil, so wipe every piece down with mineral spirits before assembly or it will stain the boards and your sleeves for months. And the hardware is heavy: a loaded three-shelf unit can pass 60 pounds, so every flange wants a stud or a heavy toggle, never a plastic anchor.
13. A small wall mirror above the sink
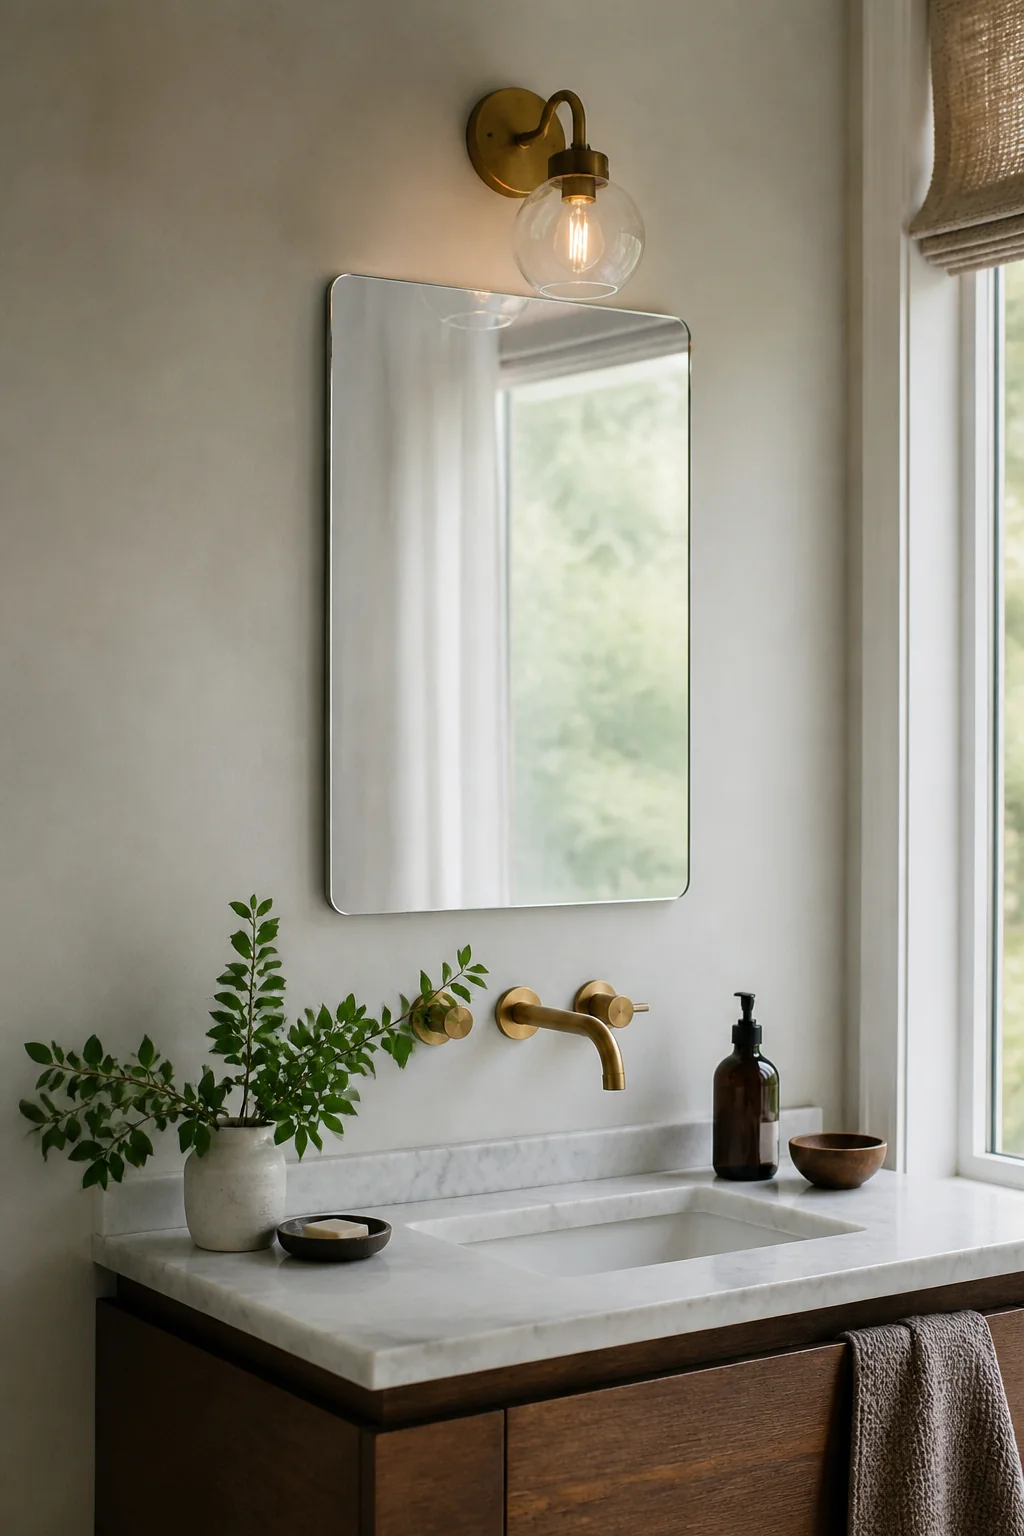
A 24-inch mirror over a utility sink does two jobs at once. It gives you somewhere to check a collar or a hem in decent light before the shirt goes back in the closet, and it spreads whatever light the room has, which counts in a windowless laundry where one ceiling fixture flattens everything.
Set the bottom edge 6 to 8 inches above the sink rim so splash doesn't run down the glass and creep into the backing, which is what causes those black edges on old bathroom mirrors. Frameless costs $40 to $70, framed $70 to $120, and in a damp room a painted or metal frame outlives raw wood.
If the mirror shares a wall with the washer, plan for vibration. Use two mirror clips or a French cleat instead of a single sawtooth hanger, which creeps sideways over a few months of spin cycles until the mirror is visibly crooked and you have no idea why.
14. Tension rods inside a tall cabinet
Inside a tall cabinet the wasted space is vertical: roughly 18 inches of dead air above every row of bottles. A spring tension rod run across the width reclaims it for $8 to $12.
Hang spray bottles from the top rod by their trigger loops and the shelf underneath stays clear for boxes and jugs. A second rod low in the cabinet holds a folding drying rack upright, or the ironing board cover that never folds back the way it came.
Two limits are worth knowing before you load it. Tension rods hold by friction alone, so they slip in melamine cabinets where the interior is slick, and a strip of rubber shelf liner at each end fixes that in seconds. And keep each rod under about 8 pounds, roughly five full spray bottles. Past that you want a proper closet rod with two screwed flanges, which is a $25 upgrade and holds many times more.
15. Vintage wooden crate shelving
Thrifted wooden crates at $5 to $10 each make warmer open storage than plain shelving, but they need prep. Sand the inner edges, because old crates splinter and you'll be reaching into them with bare hands. Then seal with a clear water-based polyurethane: bare softwood in a humid laundry room takes on damp and eventually smells like it.
Mount them staggered rather than in a neat grid, and drive 2.5-inch screws through the back panel into studs. A crate with a full jug inside is easily 12 pounds hanging off a short lever arm, and drywall anchors alone work loose over a year of vibration.
Depth is where the top loader has an opinion. Most crates are 12 to 14 inches deep, which is fine on the side wall and too much directly above the machine, where you'd be reaching around the box every time you lean into the drum. Put the shallow ones over the washer.
16. A narrow tall cabinet between washer and wall
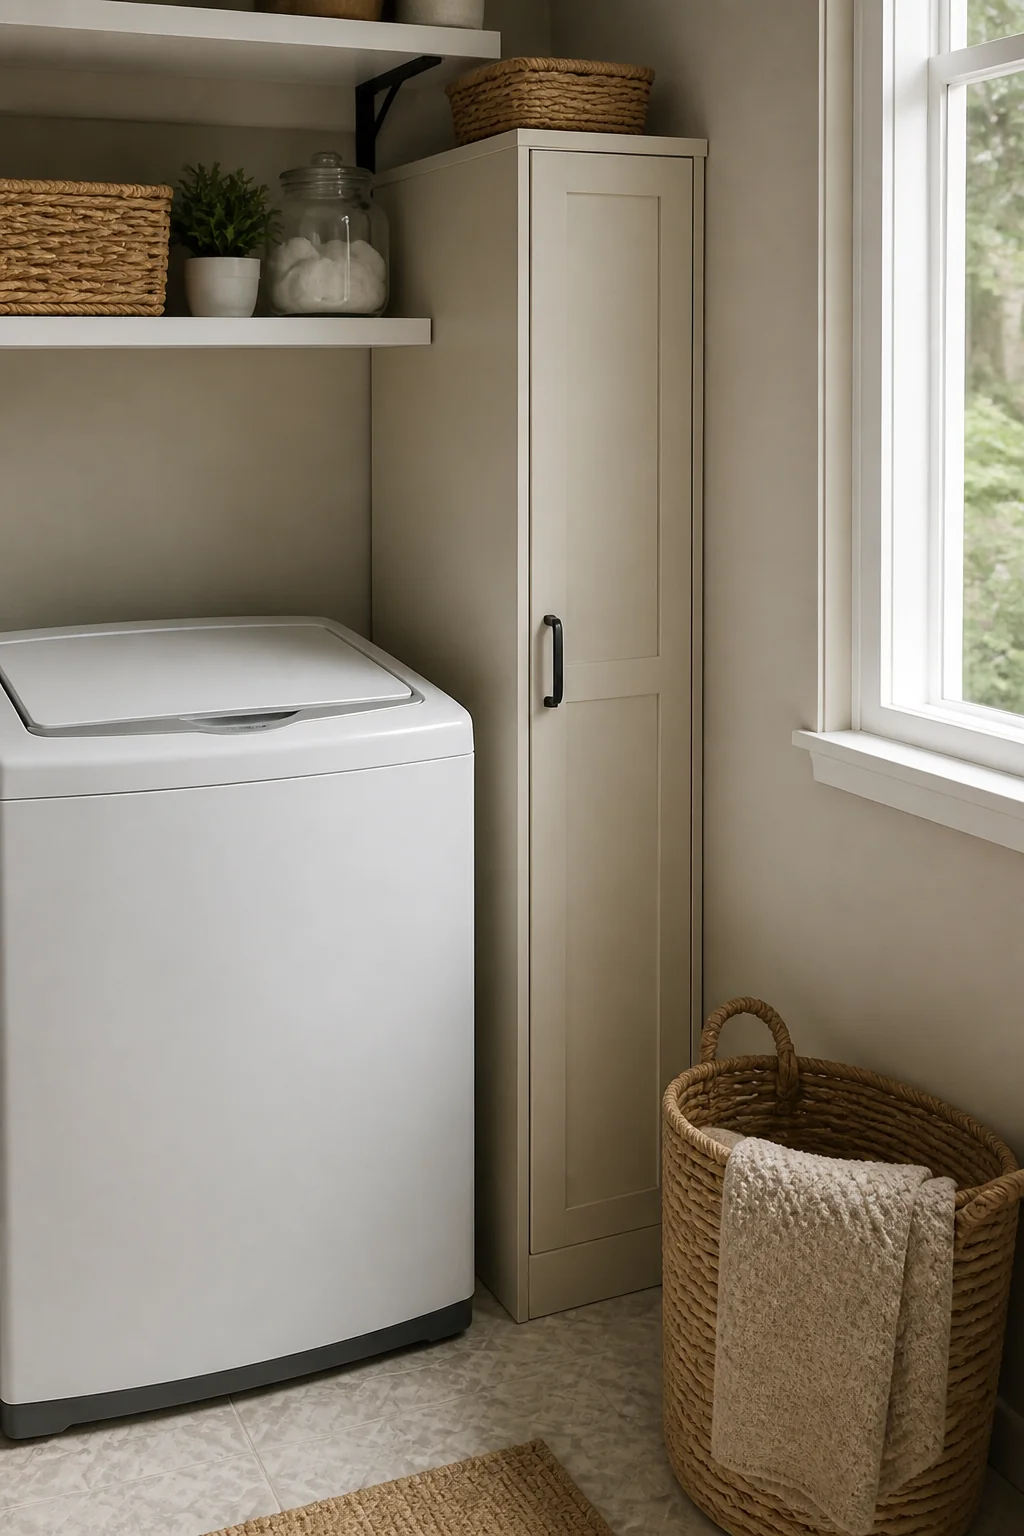
Measure that gap at three points before you buy anything: at the floor, at the top of the machine, and at the back wall. Baseboard steals half an inch at the bottom, and the drain standpipe often eats the back of the opening, so a cabinet that fits at the front can still refuse to go all the way in.
If the clear width is 12 to 18 inches, a slim tall cabinet at $80 to $200 turns dead air into the most useful storage in the room, since it sits at hand height rather than over your head. Under 12 inches, choose a pull-out on casters instead, because a hinged door needs width you don't have.
Leave an inch between the cabinet and the washer. Top loaders move, and a machine that touches a cabinet on spin transmits every vibration into it. That inch of air is the difference between a quiet room and bottles chattering two rooms away.
17. Magnetic strips for metal supplies
The side panel of a top loader is a large flat sheet of steel doing nothing at all, and a magnetic knife strip at $12 to $20 puts it to work. Small steel tins hold dryer sheets, safety pins, spare buttons, and the hair ties that would otherwise end up wrapped around the agitator.
Test the panel with a fridge magnet first. Plenty of machines have a painted steel cabinet that grips well, but some newer models use plastic side panels and the lid is the only steel left on them.
Use the adhesive-backed kind rather than screws, for reasons that need no explaining, and clean the panel with rubbing alcohol before you stick it so the adhesive bonds instead of peeling off in a week. Then keep the load light. A spin cycle is a shaker table, and anything past a few ounces per magnet migrates down the panel and lands behind the machine.
18. Fabric bags hung on wall hooks
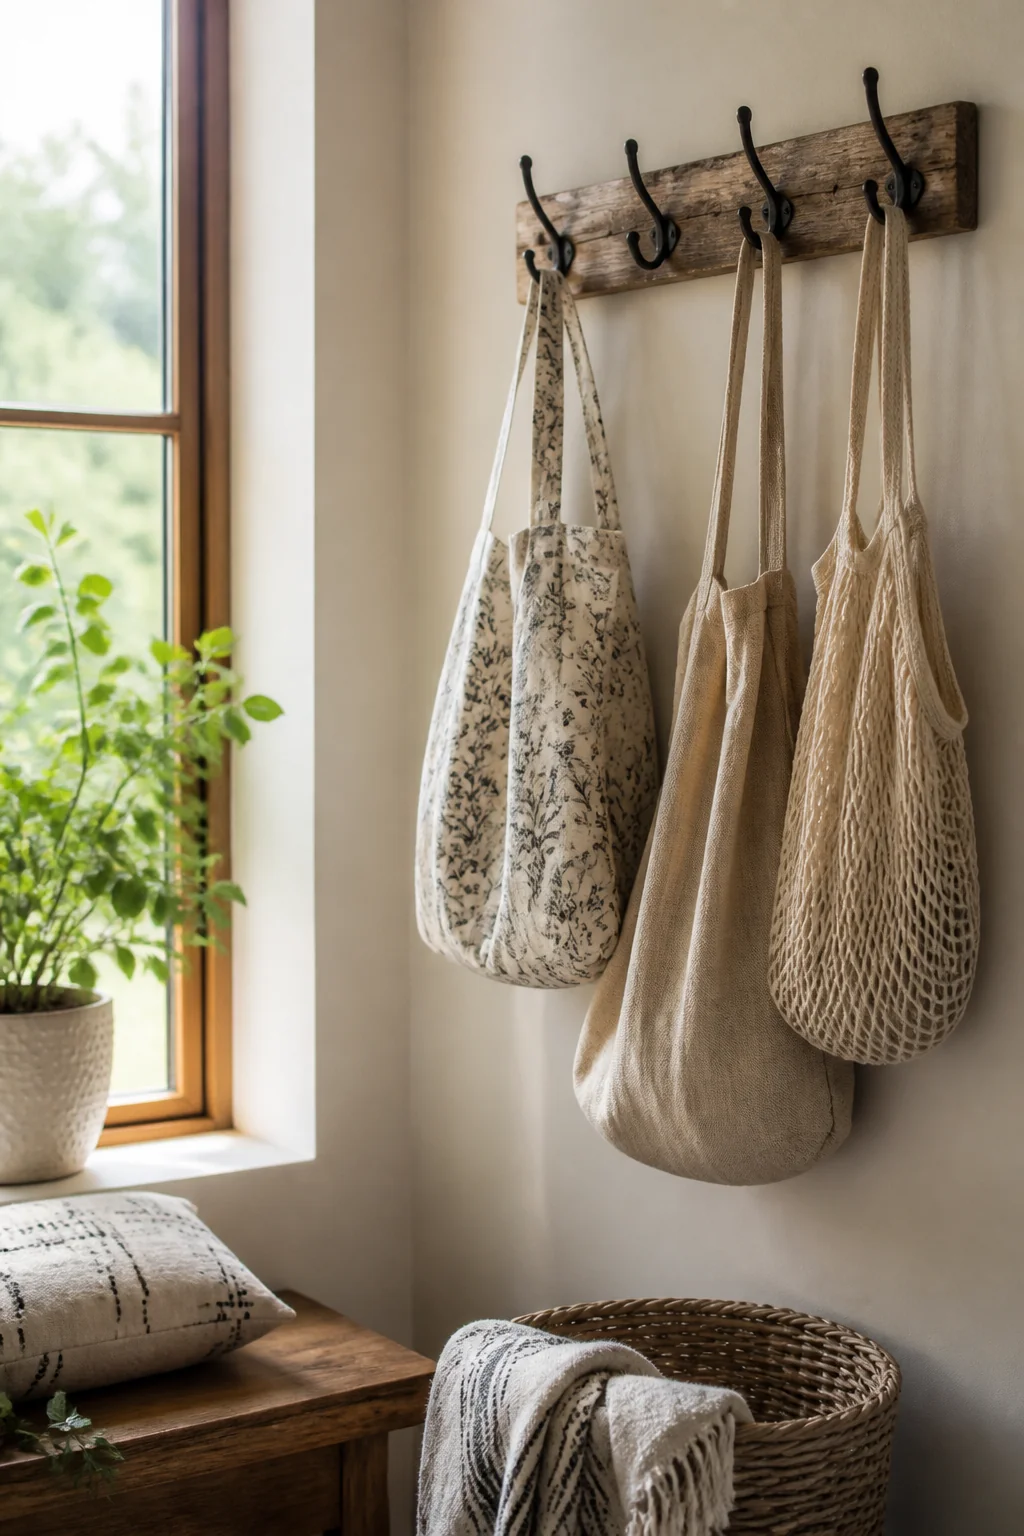
This is the cheapest sorting system going: hooks at $2 to $4 apiece, or $15 to $25 for a rail with five, plus mesh laundry bags at $8 to $12 for a set of three.
Mount them low, around 40 to 48 inches, on the wall you walk past rather than the wall behind the machine. A hook at that height is within a child's reach, which is the whole point if you want anyone else in the house to use it, and a hanging bag needs none of the lid clearance a shelf demands.
Give every bag exactly one job: delicates, socks that lost their partner, hand wash only, wool. Single-purpose bags stay useful because they never fill up and become a second hamper. If you hang them on the back of the door instead of the wall, check the door still closes first, since a loaded bag adds about 3 inches of depth.
19. Open wall shelving with baskets and bins
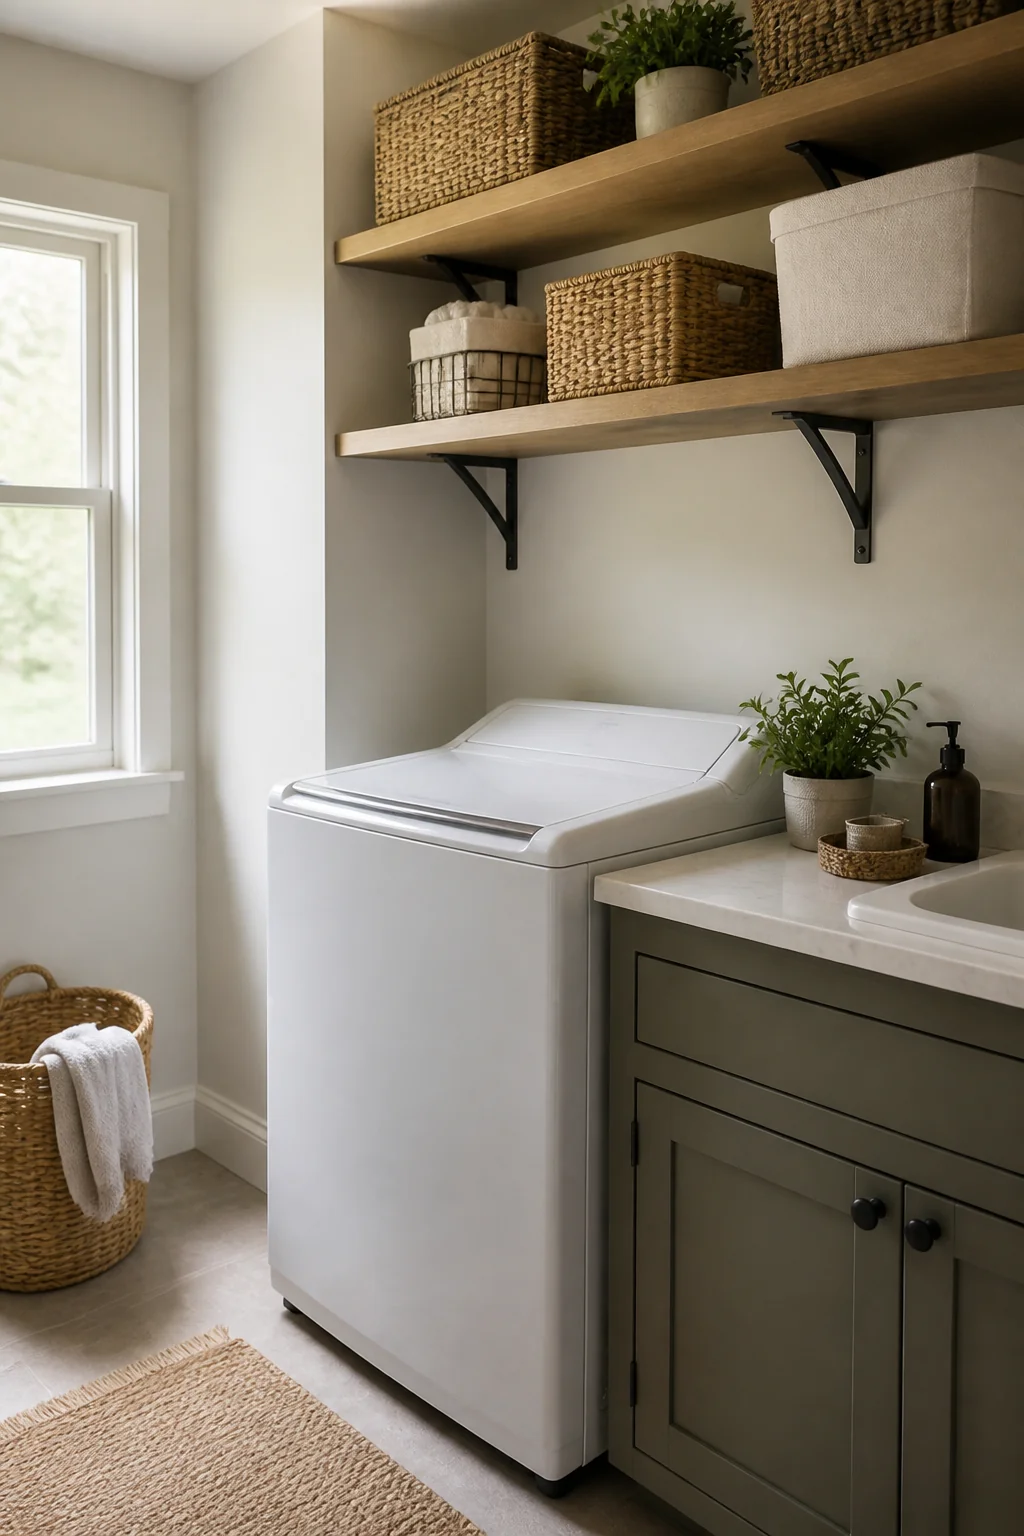
Two or three shelves running the length of one wall with matching baskets is the workhorse layout, and the spacing is where a top loader rewrites the plan. Above the machine, start the bottom shelf at 64 to 66 inches, then space the shelves 14 to 16 inches apart so a basket lifts in and out without tipping forward.
Keep the run 12 inches deep and support it every 32 inches or the boards bow under a row of full baskets. Brackets are $8 to $15 each, an eight-foot 1x12 pine board about $25, and baskets $12 to $25 apiece.
Group by category rather than by color: linens on one, cleaning supplies on the next, dryer balls and sheets on the third. Then put the category you touch daily on the lowest shelf, because the top shelf above a top loader is a real stretch when you're already reaching over 27 inches of machine.
20. A slim laundry sink with faucet
An 18-inch stainless utility sink runs $80 to $150, and a wall-mount faucet with a tall spout adds $50 to $100. It earns its 30 inches of wall if you pre-treat stains, hand wash wool, or regularly rinse something too muddy for the kitchen sink.
Plumbing is the real cost, not the fixture. If the sink can sit within a few feet of the washer's existing standpipe and hot and cold valves, tying in is usually a few hundred dollars of a plumber's time. Running new drain across the room is a different project with a different number, so find out what's already inside that wall before you fall for a photo.
Set the rim at 34 to 36 inches, whatever the box suggests. And if the sink sits directly beside the machine, keep the faucet spout below 43 inches, or the washer lid will knock into it every single time it opens.
The whole guide in one image
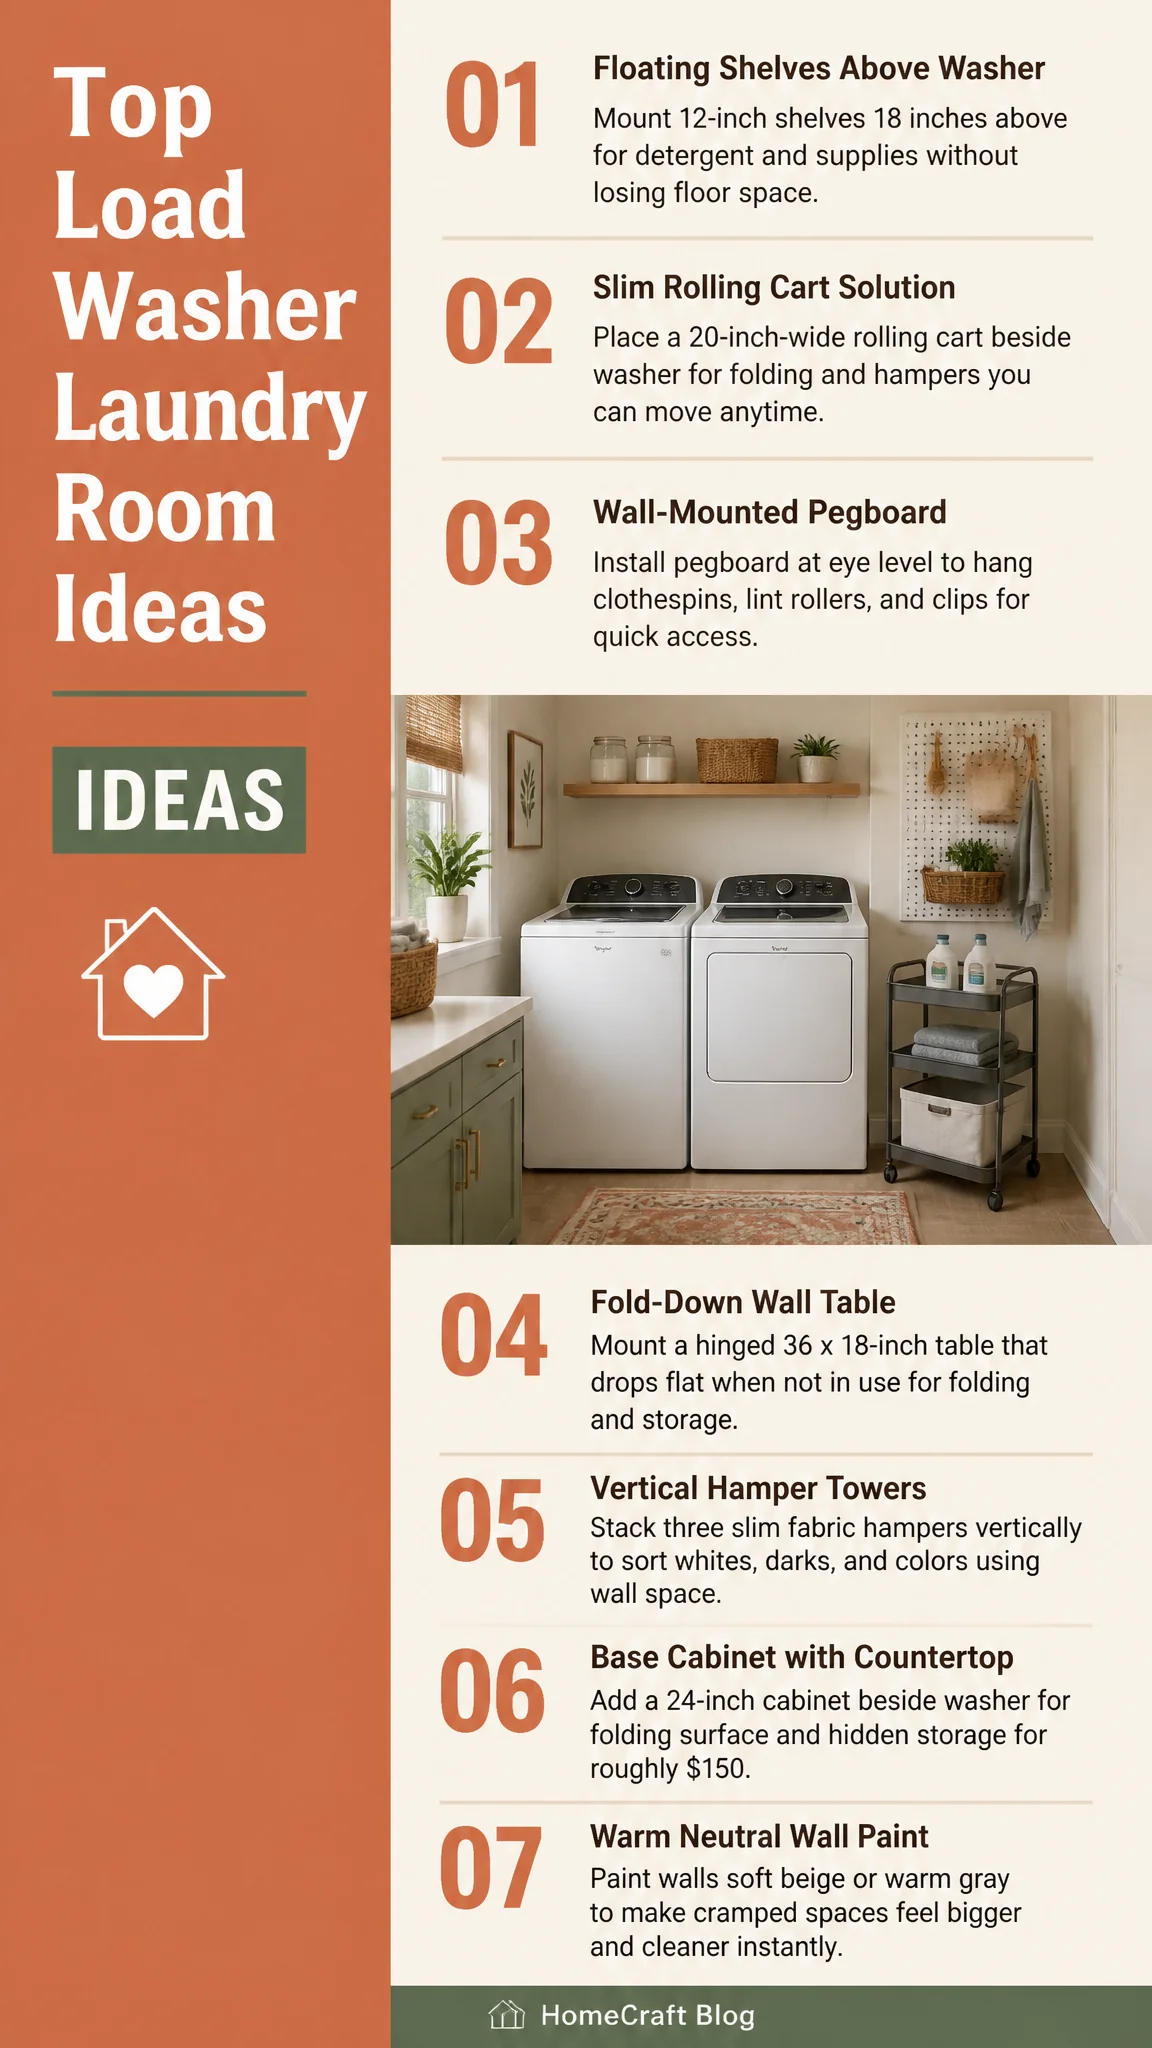
That last detail is the one to carry away. Almost every laundry room that feels cramped around a top loader has a shelf, a rod, or a cabinet hung at front loader height, and the machine has been losing that argument ever since. Every idea above works around the open lid rather than against it.
Ideas fade by Friday. A plan finishes the room.
You just read a full guide to your laundry room. Saving ideas will not change it; a plan will. The Home Decor Collection is every planning tool we make, for every room in the house, in one download, so the after photos below stop being other people's rooms.


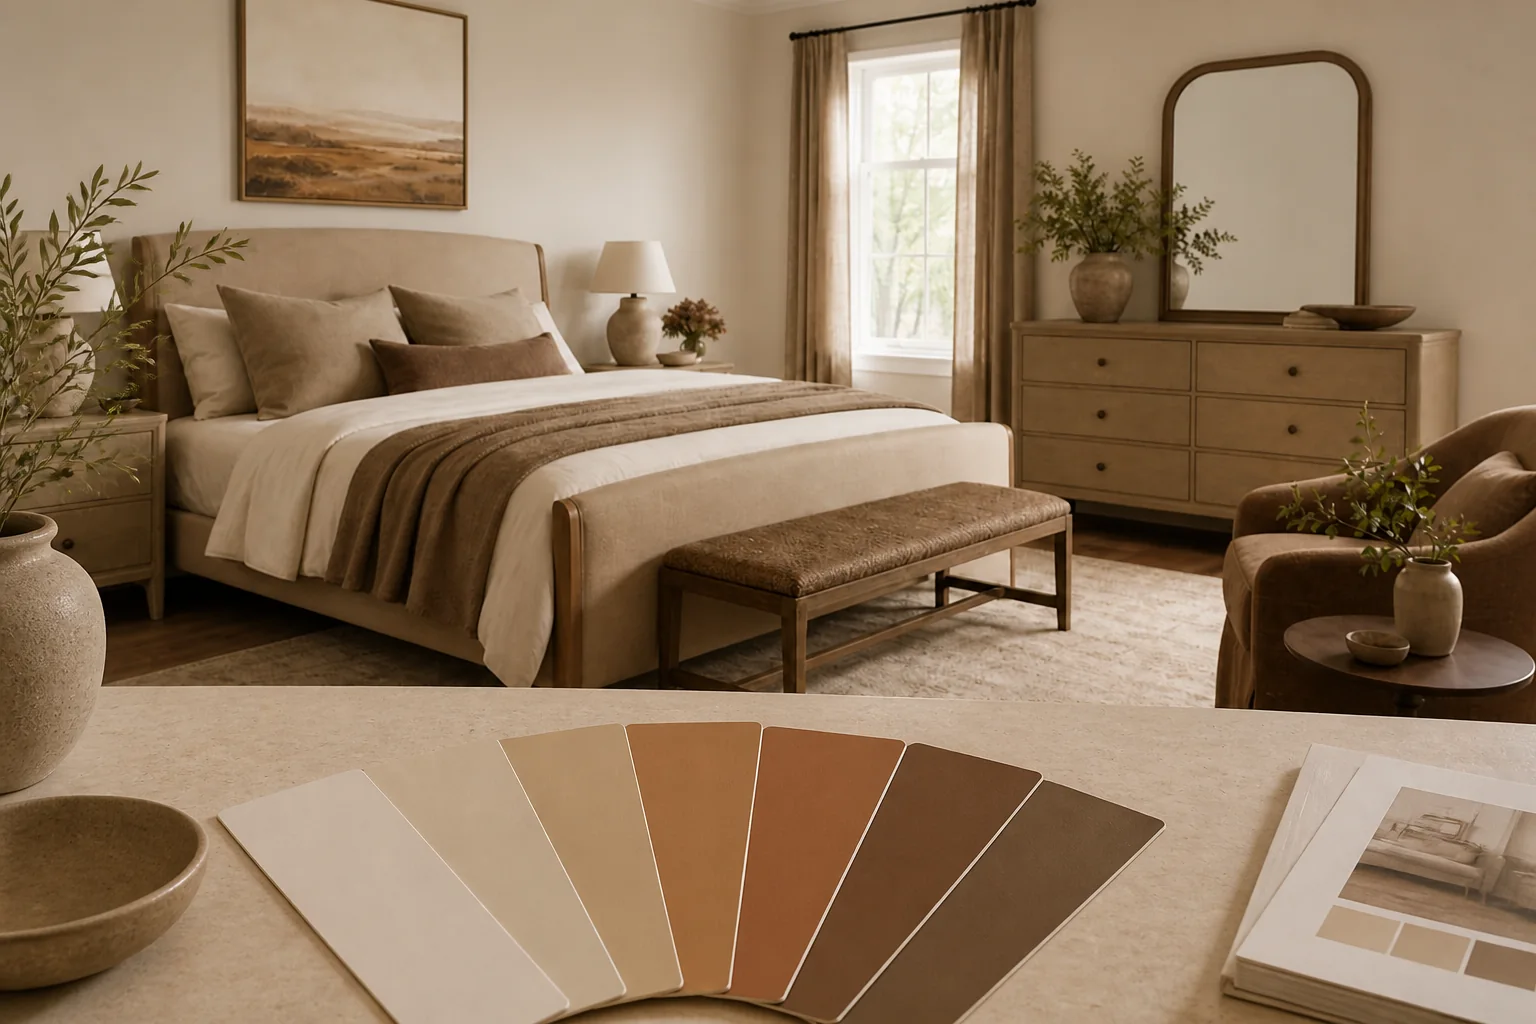
- Six room Style Kits, each with layout, palette and shopping list$114
- The Gallery Wall Studio: 200 prints + 15 measured layouts$29
- The Room Makeover System: 40 solved room layouts + workbook$29
- The Color Palette Handbook: 60 palettes shown in real rooms$19
- The Whole-Home Reset: 40 printable organizing checklists$19
- The Decorator's Cheat Sheets: the 40 measurements that matter$9
- All eleven products, bought separately
$219$97
A single hour with an interior designer costs more than the entire Collection, and this one keeps answering for every room you will ever decorate. Free updates included as the products grow. And if it is not for you, the 14 day money back promise means you simply get a refund.