31 Clever Small Laundry Room Design Ideas for Tight Spaces
A small laundry room holds more than it looks like it does. Here are 31 ideas with the clearances, shelf heights and prices you need before you buy.
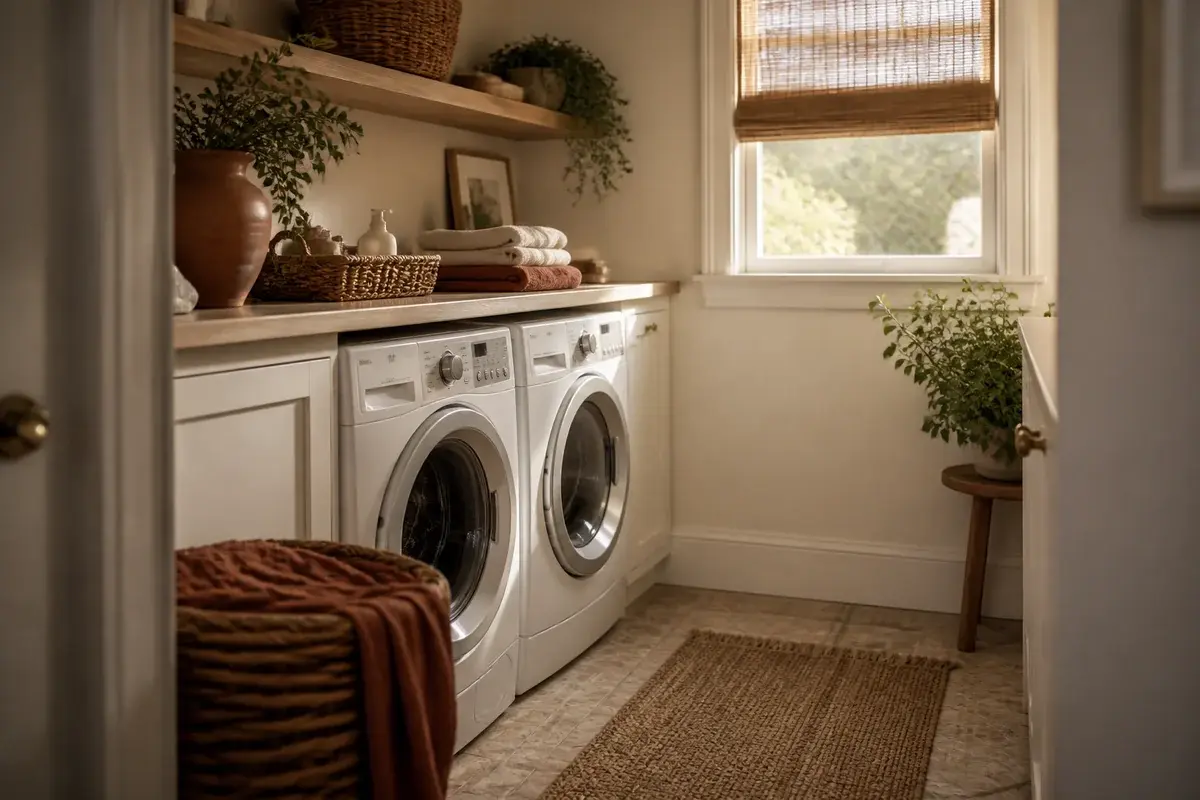
Small laundry rooms fail for a boring reason: nobody ever gave them a layout. The room gets whatever square footage is left over after the kitchen and the bathroom are drawn, and then it quietly collects beach towels, half-used paint cans and a basket that never empties. A 5x8 closet is a real room with a real job, though, and most of its usable surface is vertical and completely untouched. Everything below comes with the number you need before you spend anything: the clearance, the shelf height, the price range, or the thing that goes wrong if you skip a step. The ideas run loosely from structural (where the machines sit) to finishing (light, color, the small stuff on the walls), so you can start wherever your room hurts most.
1. Stack your washer and dryer vertically
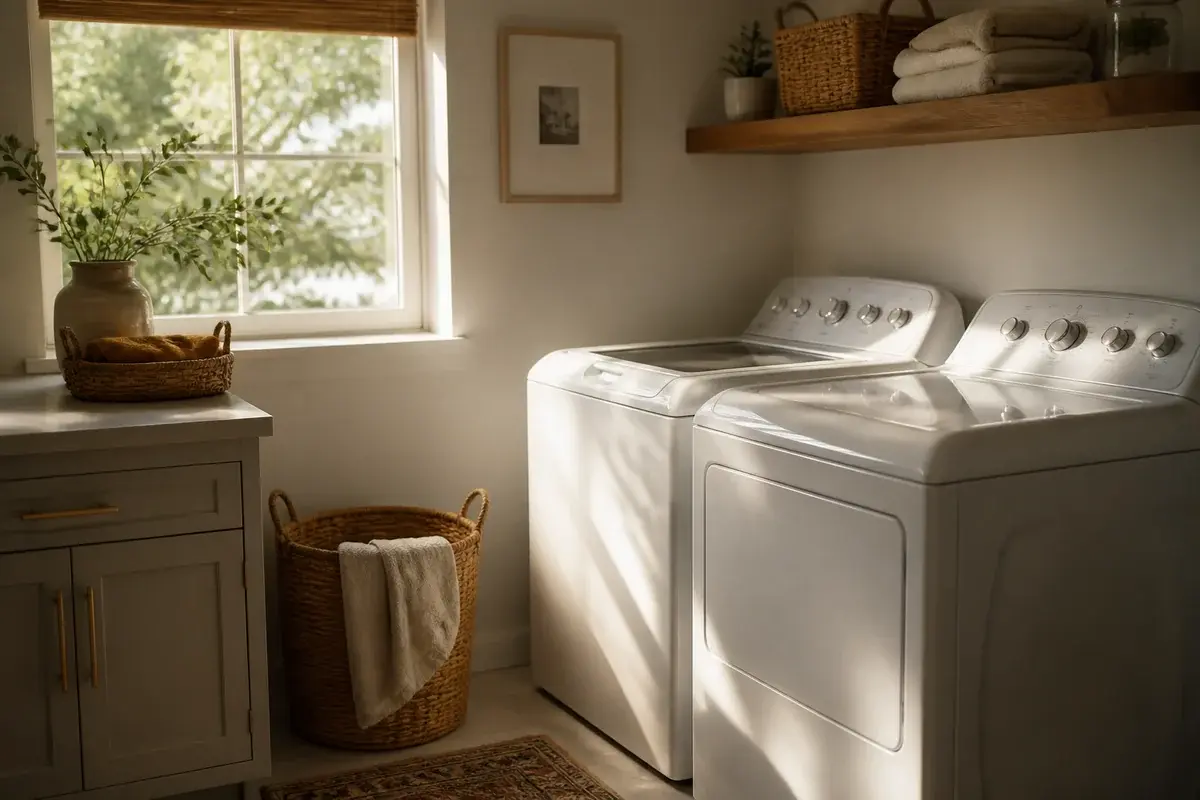
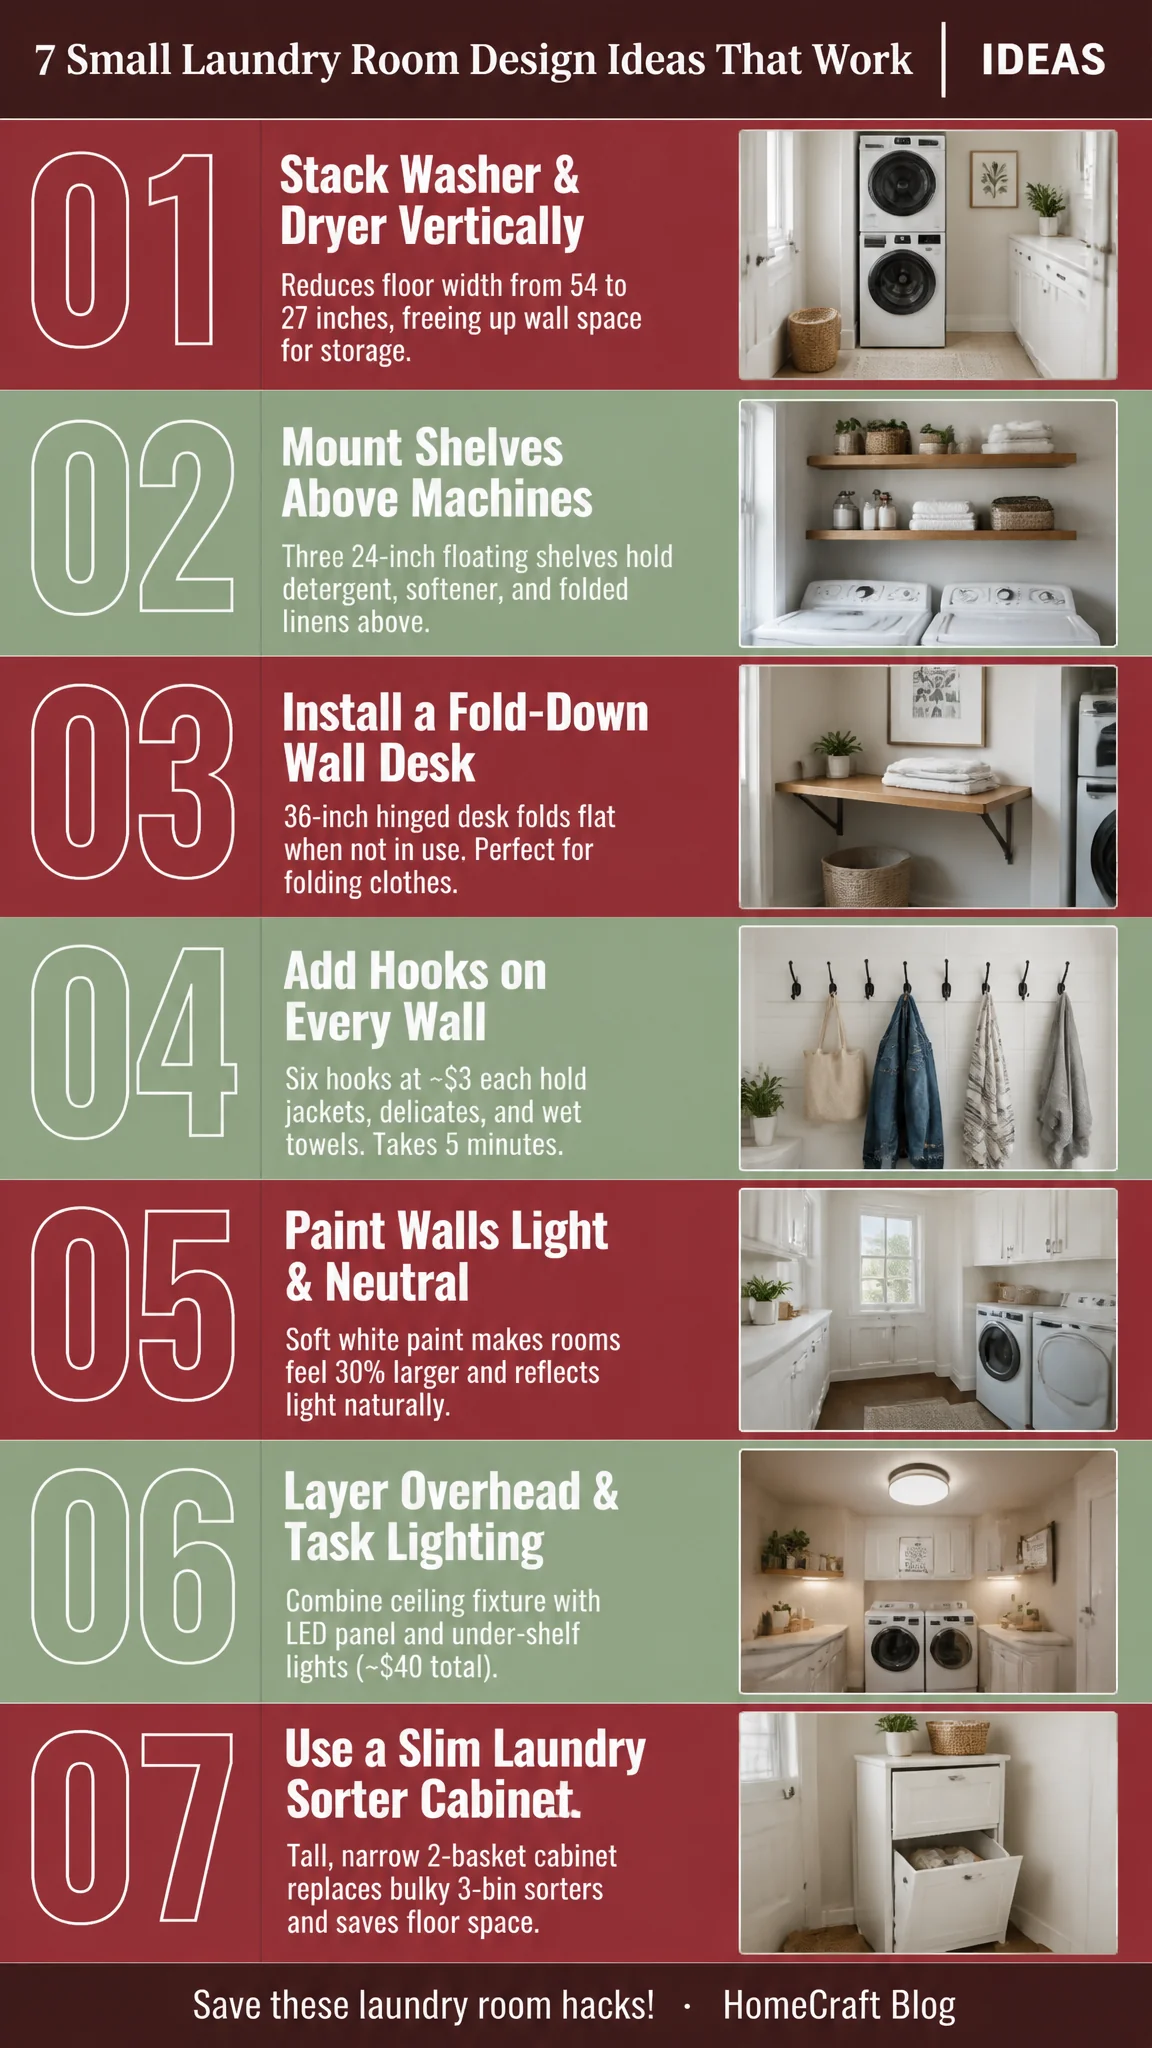
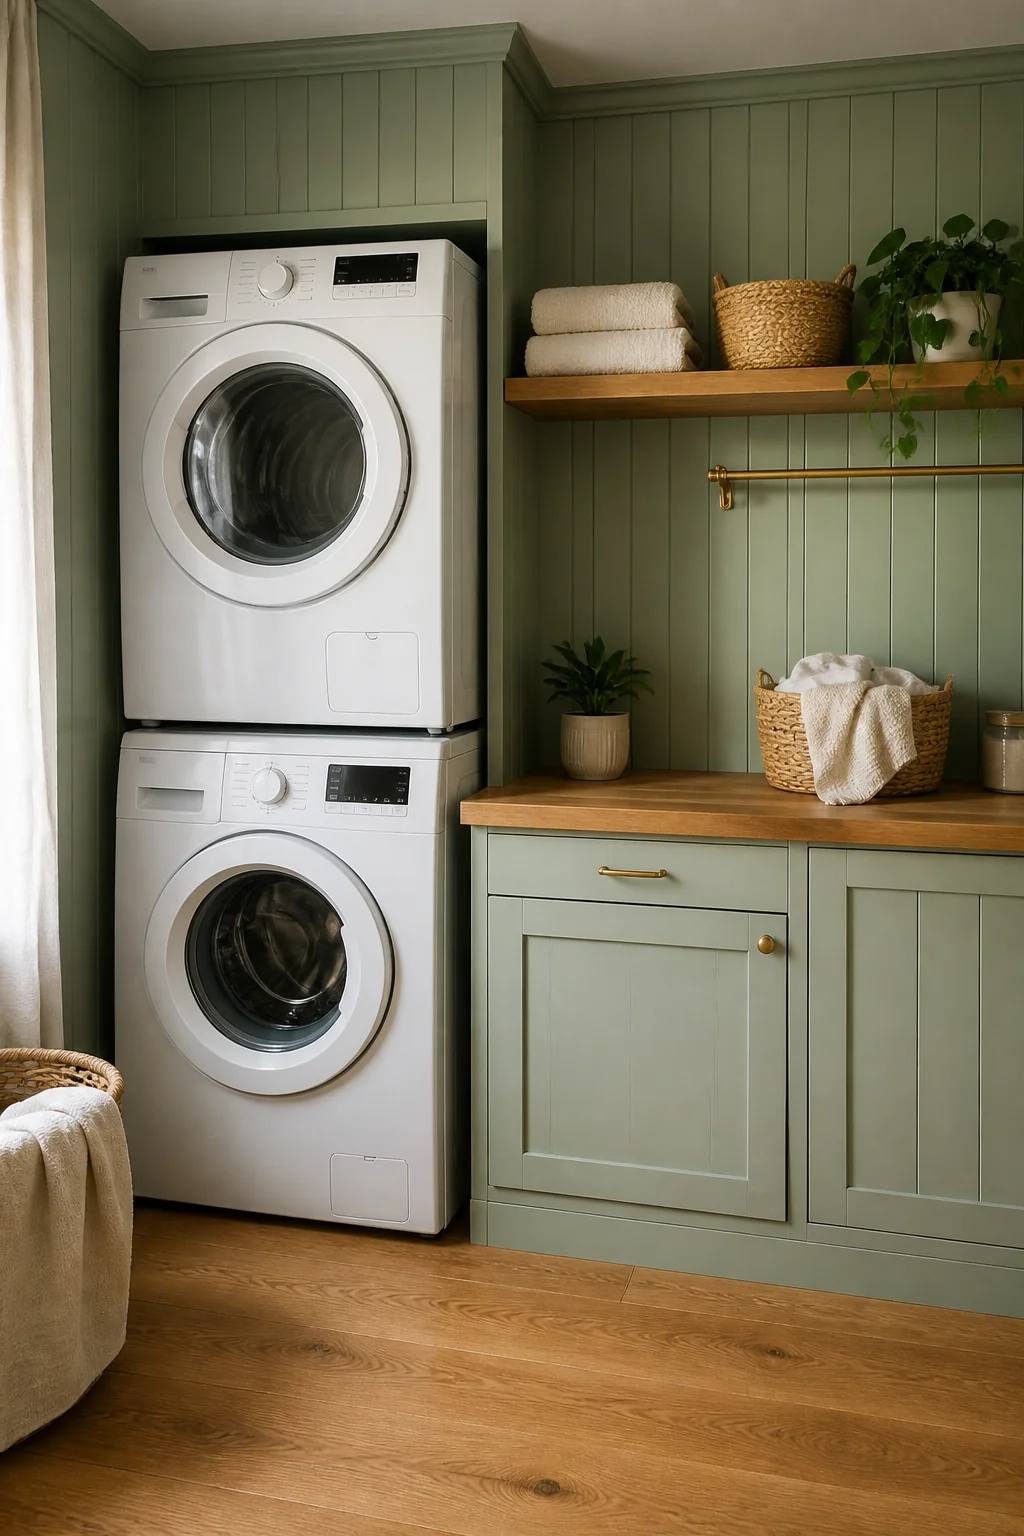 A full-size front loader is about 27 inches wide, so a side-by-side pair eats 54 to 56 inches of wall once you allow the 1-inch air gap between them. Stack them and that footprint drops to a single 27 inches, which usually hands you back a whole wall for shelving or a folding surface. A matched-set bracket kit from the manufacturer runs $30 to $60; a universal kit goes up to about $150. Two things to check before you commit. Height: a stacked pair stands 74 to 80 inches, and you need clearance above that for the dryer door, so a basement with 7-foot ceilings and a duct running through gets tight. And this only works with front loaders, since a top-load washer needs its lid free. Never stack without the bracket. A front loader hitting 1,200 rpm on the spin cycle will walk itself out from underneath the dryer.
2. Mount shelves above the machines
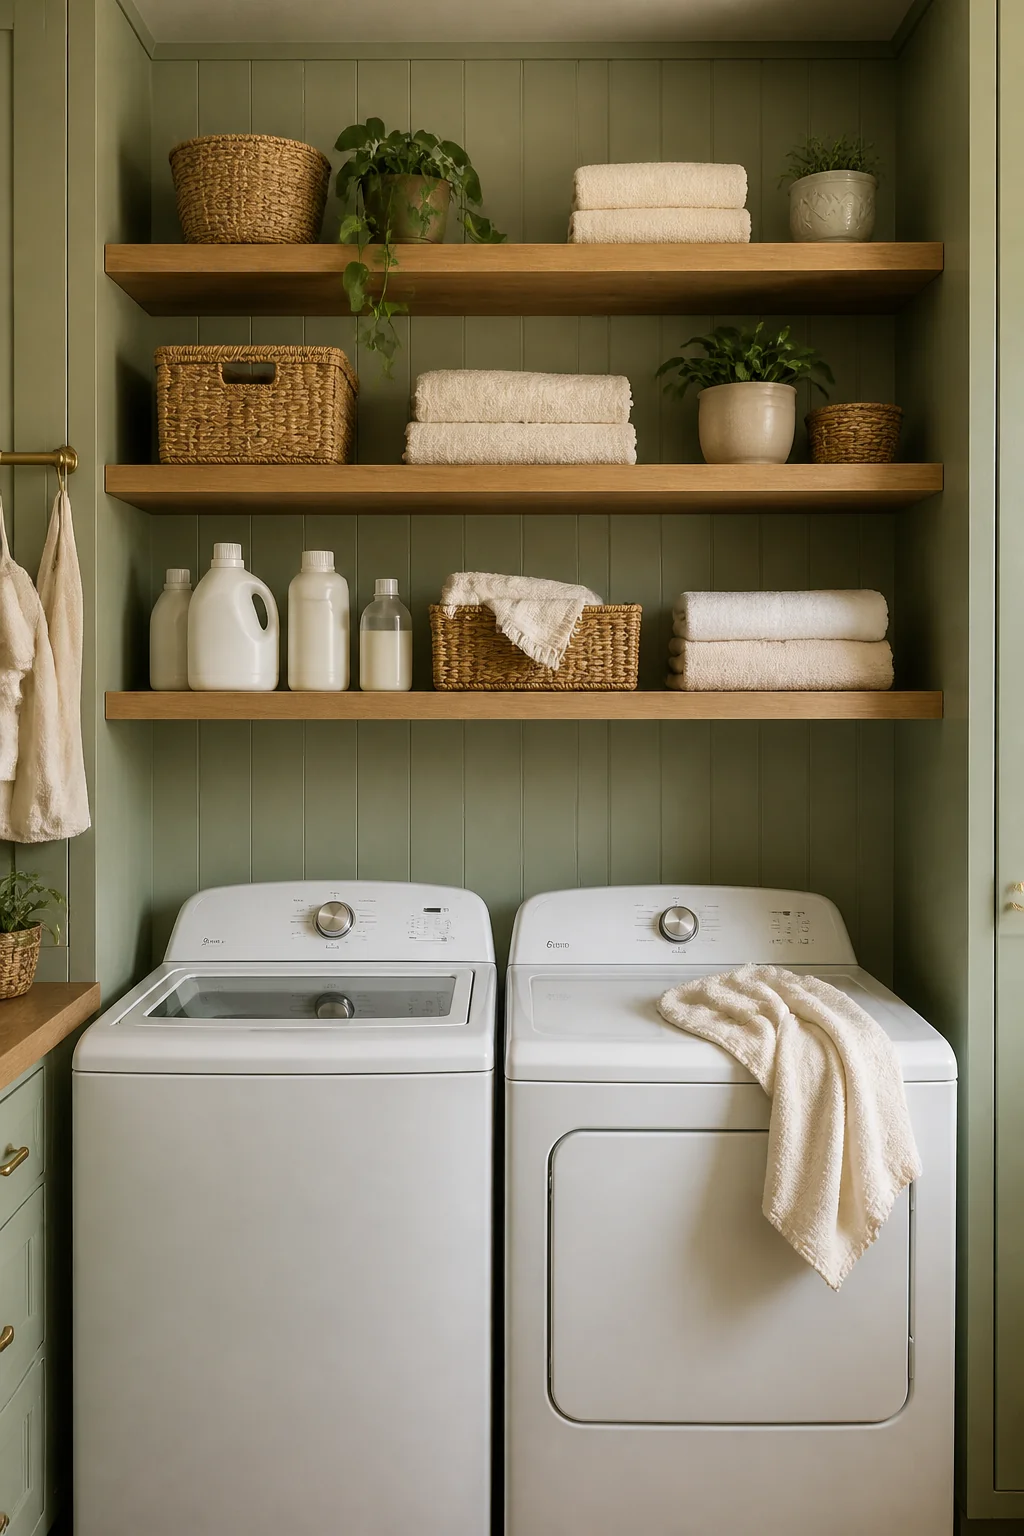 The wall above the machines is the cheapest storage in the house, but the height is fussier than it looks. Over a top-load washer, leave 16 to 18 inches of clear space above the closed lid or the lid won't swing all the way open. Over a stacked pair, drop the first shelf about 12 inches above the dryer top so you can still read and press the controls. Ten to twelve inches of depth is the sweet spot: a 150-ounce detergent jug is roughly 11 inches tall and 7 inches across, and it weighs close to 10 pounds full. That weight is why anchoring matters. Find the studs at 16 inches on center and drive into them, or use toggles rated at 50 pounds or more per point. Two 24-inch floating shelves cost $20 to $40 each. Skip anything deeper than 12 inches over a front loader, or you'll crack your head every time you bend to unload.
3. Install a fold-down wall desk
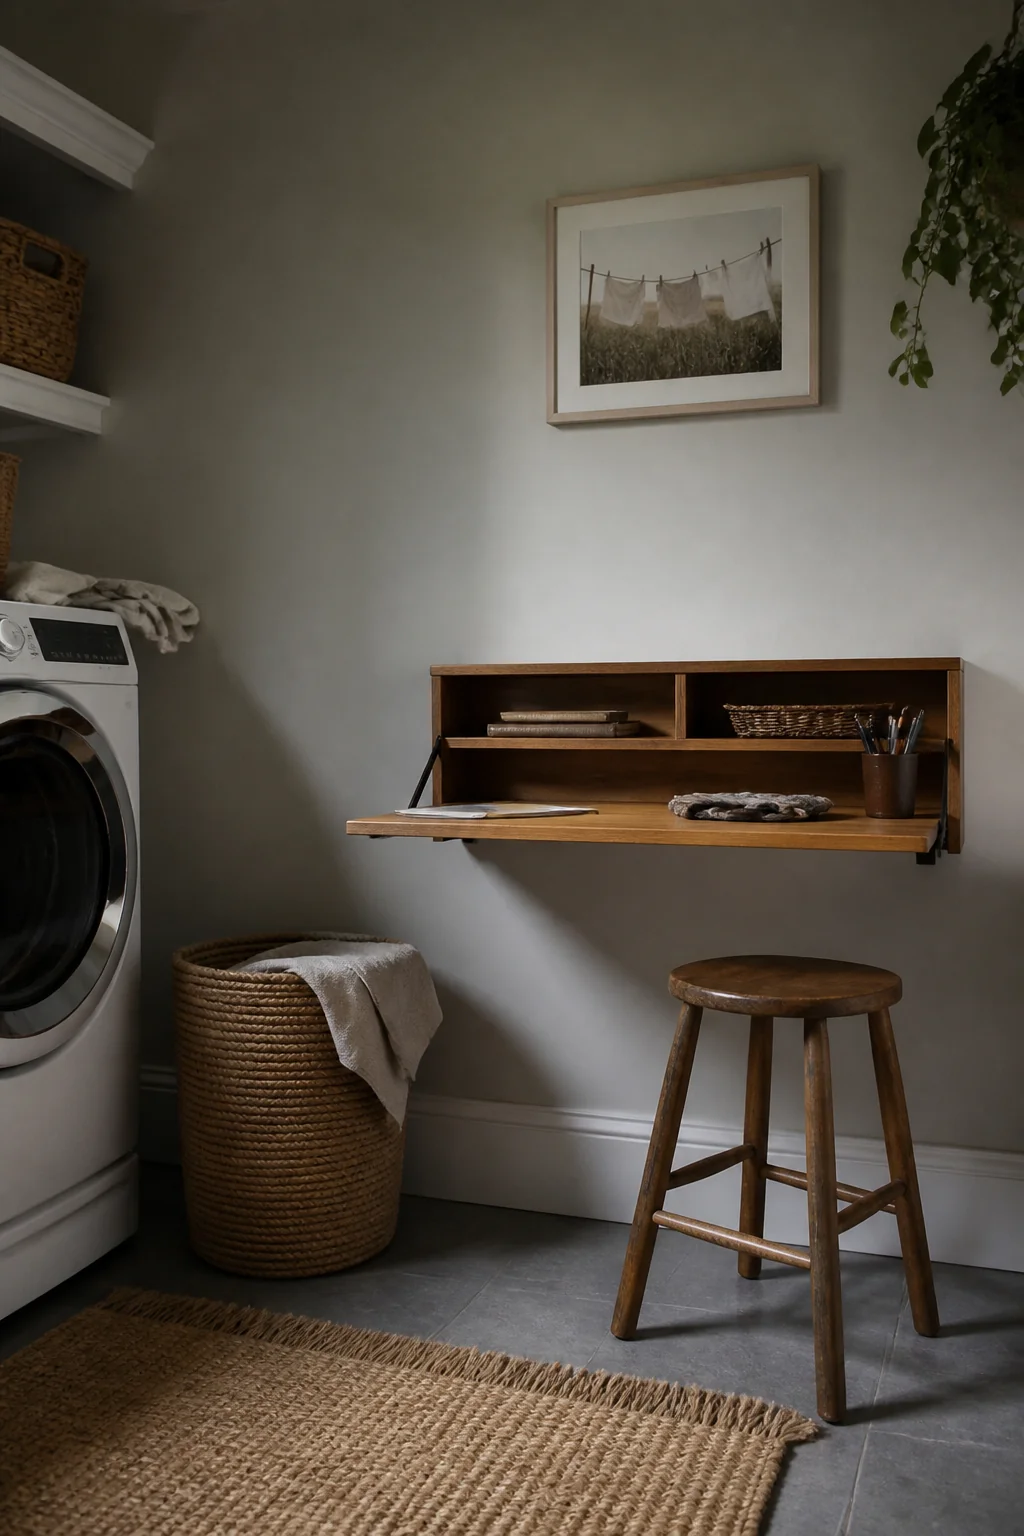
A hinged table drops flat against the wall between loads and gives you a real surface when you need one. Look for something around 36 by 20 inches, which runs $90 to $150 and is wide enough to fold a bath towel without it hanging off the edge. Mount the top at 36 to 38 inches from the floor, the same height as a kitchen counter, so you're not hunched over. Before you drill, check three clearances: 20 inches of projection when it's down, about 30 inches of floor to stand in, and the arc of the door, because a table that lands in the door swing gets folded up permanently out of frustration. Lag the mounting cleat into two studs. Drywall anchors will not hold this. Leaning on the front edge with a load of wet towels puts 40 pounds or more of leverage on the top screws, and brackets rated to 100 pounds are worth the extra $15.
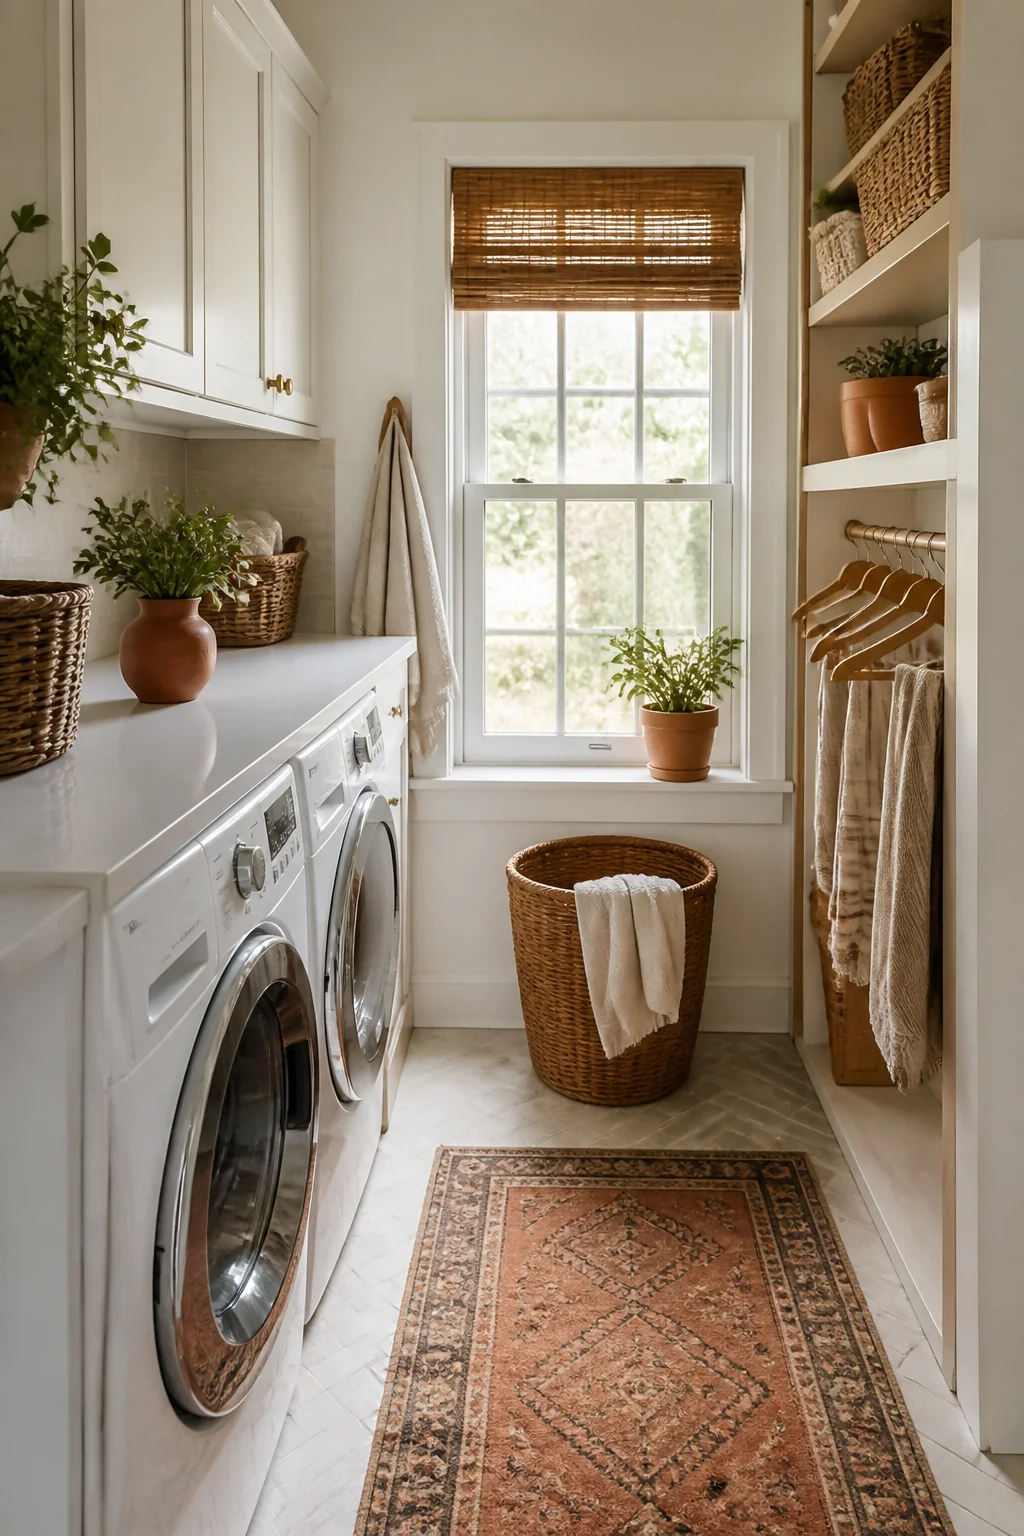
4. Use slim rolling carts between appliances
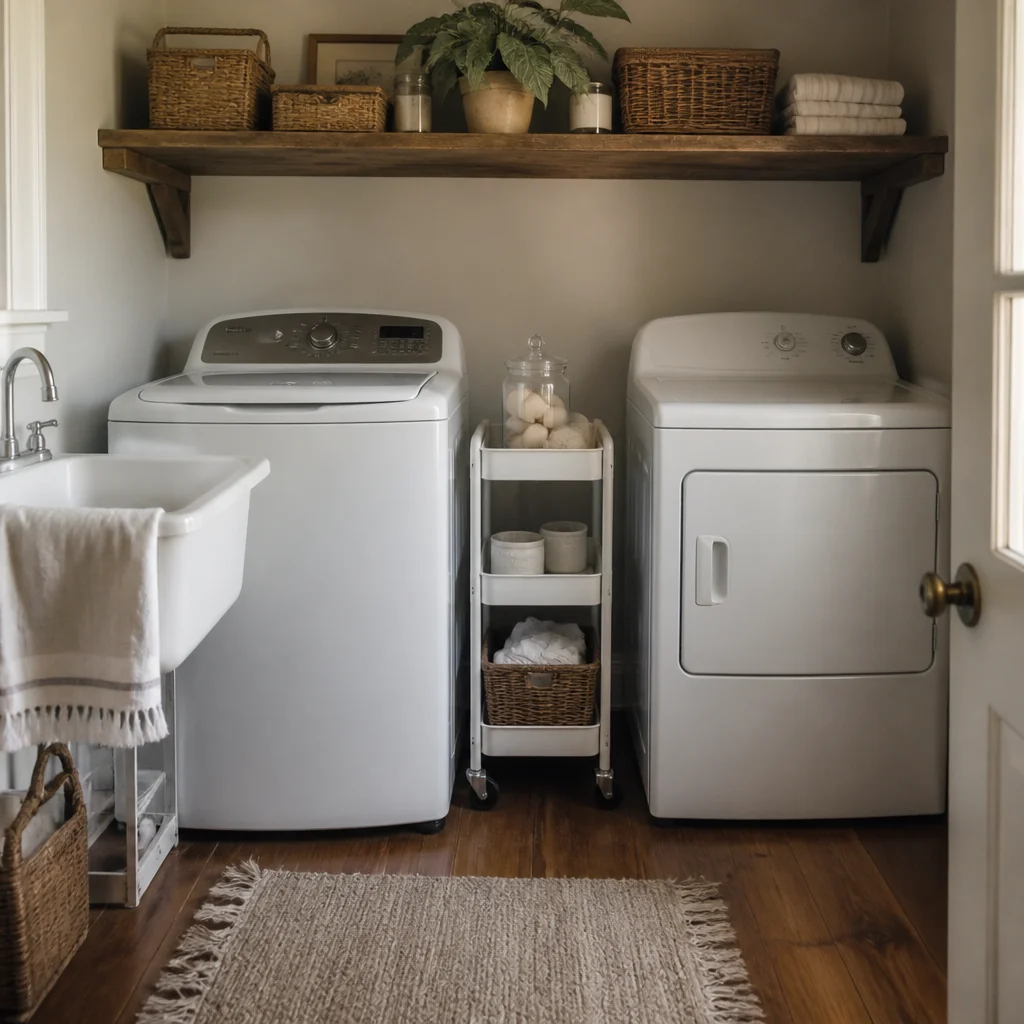
Slim rolling carts are sold as the fix for the gap between side-by-side machines, and they work, but only if you measure the alcove rather than the appliances. The machines themselves want a 1-inch air gap for vibration, so the cart lives in whatever is left over: 54 inches of appliances in a 66-inch alcove leaves you 12 inches. Carts in the 9 to 12 inch range cost $30 to $60 and usually come with three tiers, which is enough for hangers, lint rollers, a stain stick, dryer balls and a bottle of oxygen bleach. Get one with locking casters. Two situations where this backfires: an uneven basement slab or a carpeted floor, where a narrow cart with a tall load tips as soon as you pull it, and a cart parked over the washer's shutoff valves, which you'll resent the first time a supply hose starts weeping.
5. Add hooks on every wall
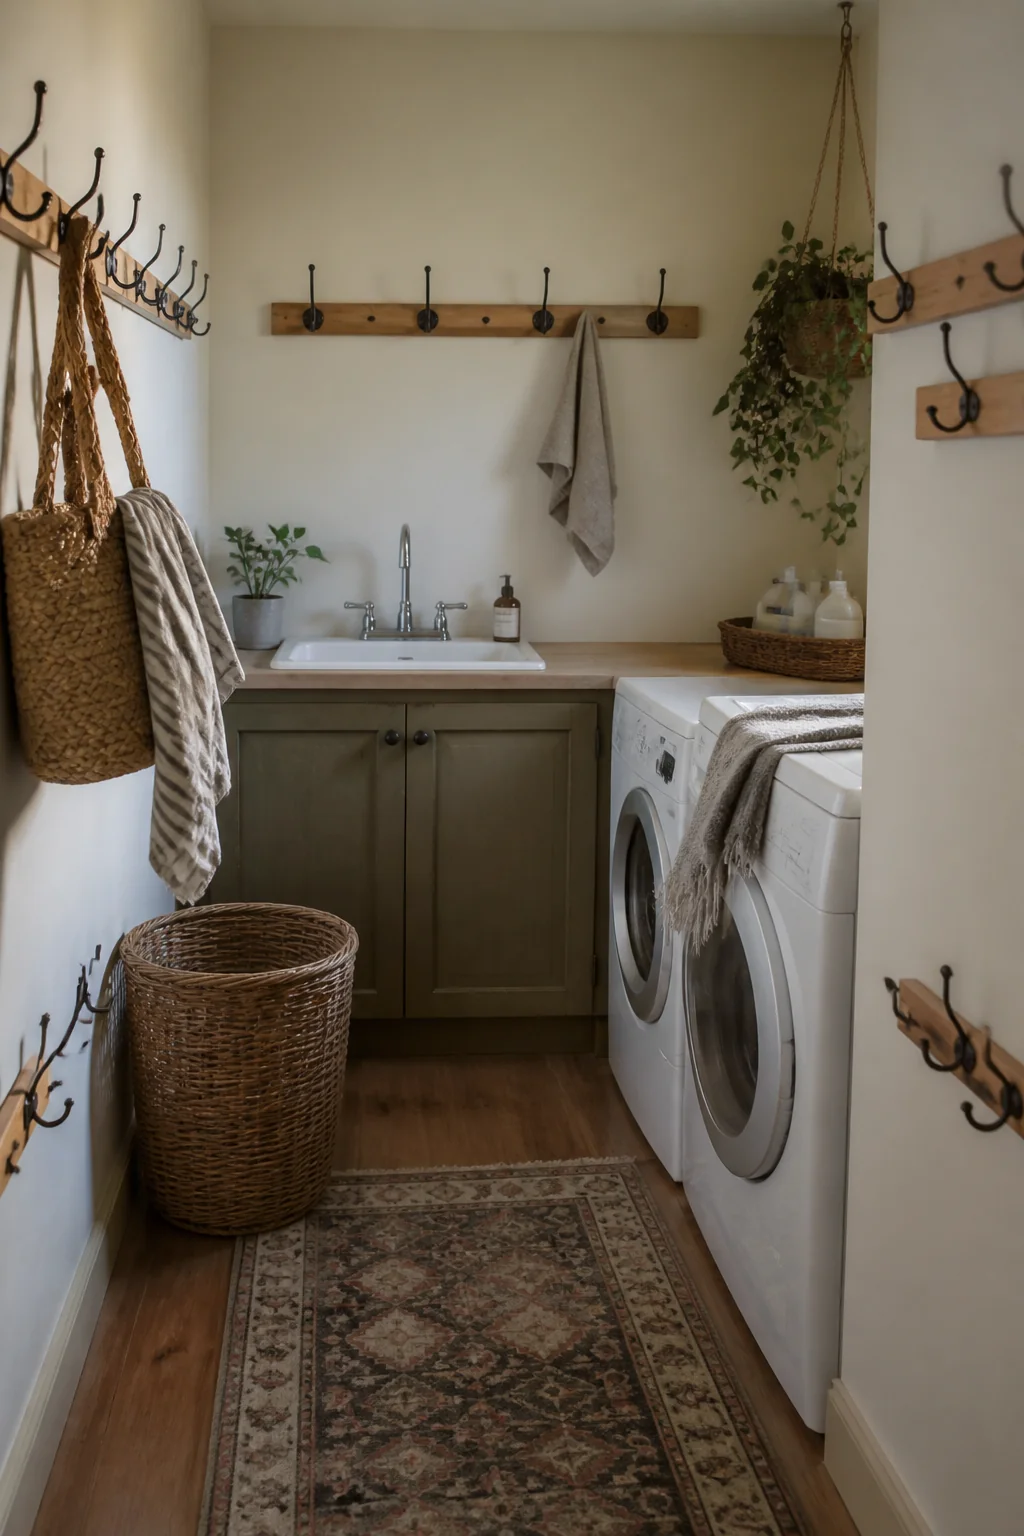
Hooks are the highest return per dollar in the room. Six of them, $3 to $8 apiece, give you somewhere to park a jacket, a hanger of drying delicates and a wet towel without any of it landing on the folding surface. Hang them at 60 to 66 inches so a long coat clears the floor, and space them 8 to 10 inches apart, because two damp things touching each other stay damp for hours and start to smell. For hardware, hit a stud where you can. Where you can't, a #8 self-drilling drywall anchor rated to 50 pounds is plenty, since a soaked bath towel is only 3 to 5 pounds and a wet robe not much more. One placement to avoid: the wall directly behind the door. It seems like dead space, and it is, right up until the door stops opening.
6. Choose a light, neutral paint color
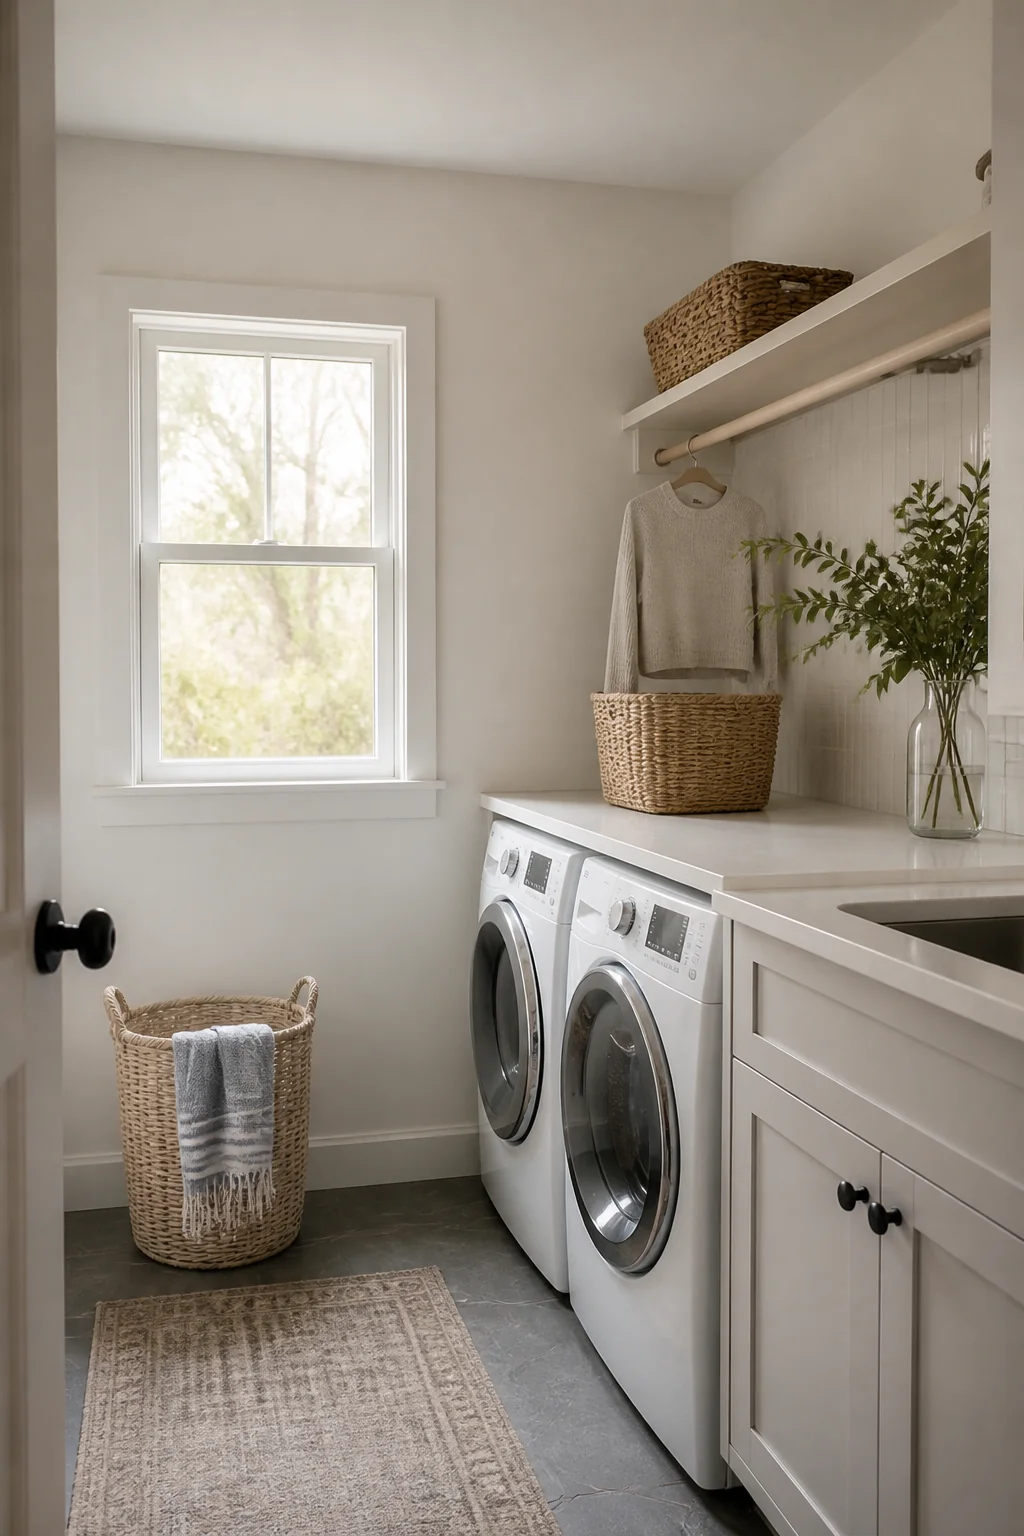
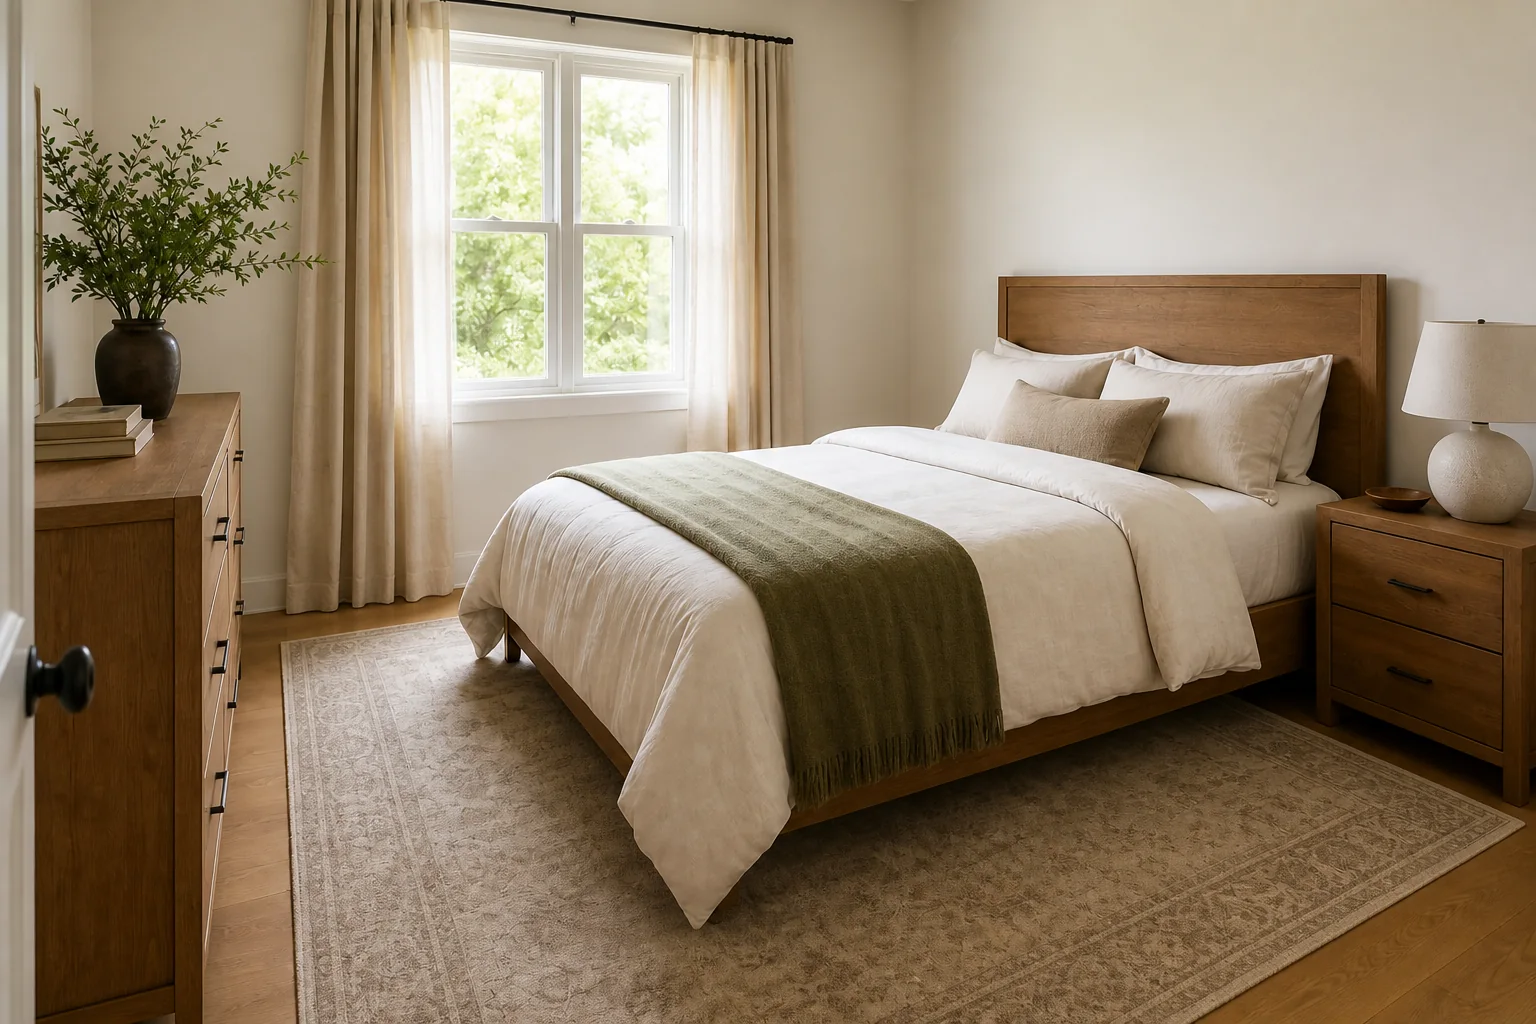
Pale walls bounce the light you already have instead of swallowing it, which matters in a room with one small window or none at all. Look for a soft white, a warm greige or a pale putty with a light reflectance value in the 70s or above; the LRV is printed right on the back of the fan deck chip. Sheen is where this room parts company with the rest of the house. A running dryer pushes heat and humidity into a small space, and flat paint drinks that in, then shows every detergent splash and every scuff from a laundry basket. Use a scrubbable satin or semi-gloss with mildew resistance. Coverage is not the constraint on a room this size: one can at $45 to $70 handles 350 to 400 square feet and a small laundry room is nowhere near that, so the money is better spent moving up to the tougher line than on a second gallon. Wipe the walls with a degreaser before you start: dryer sheet residue leaves a slick film that fresh paint will not grip.
7. Install a single bright overhead light plus task lighting
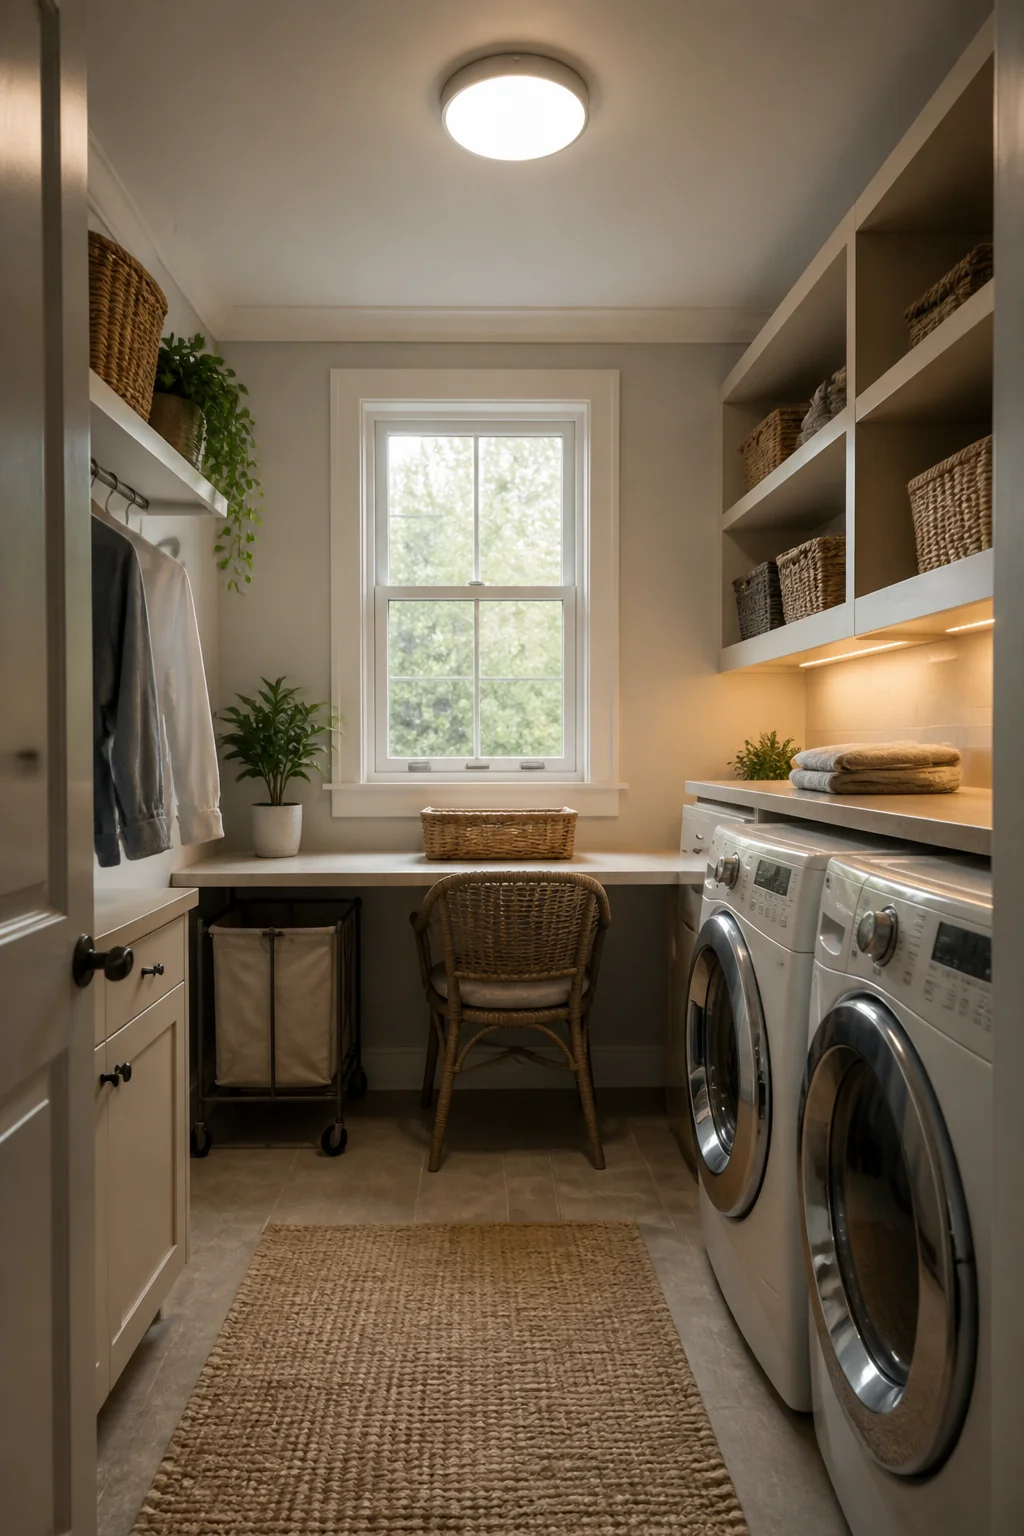
One fixture in the middle of the ceiling puts your own shadow exactly where you're working. Fix it in two layers. For general light in a 30 to 40 square foot room, aim for 800 to 1,100 lumens, roughly one good LED fixture. Then add a second, smaller light directly over the folding surface: an under-shelf LED strip or stick-on puck lights at $20 to $40, or a hardwired panel closer to $50. Bulb spec does the real work here. Choose 4000K to 5000K with a CRI of 90 or better, so you can tell a grease spot from a shadow and see whether the white shirt came out clean. Cozy 2700K bulbs cast a yellow wash over everything, which is lovely in a bedroom and useless over a stain. If the room has a window, put the task light on the side away from it so the two sources overlap.
8. Hang a pegboard for small supplies
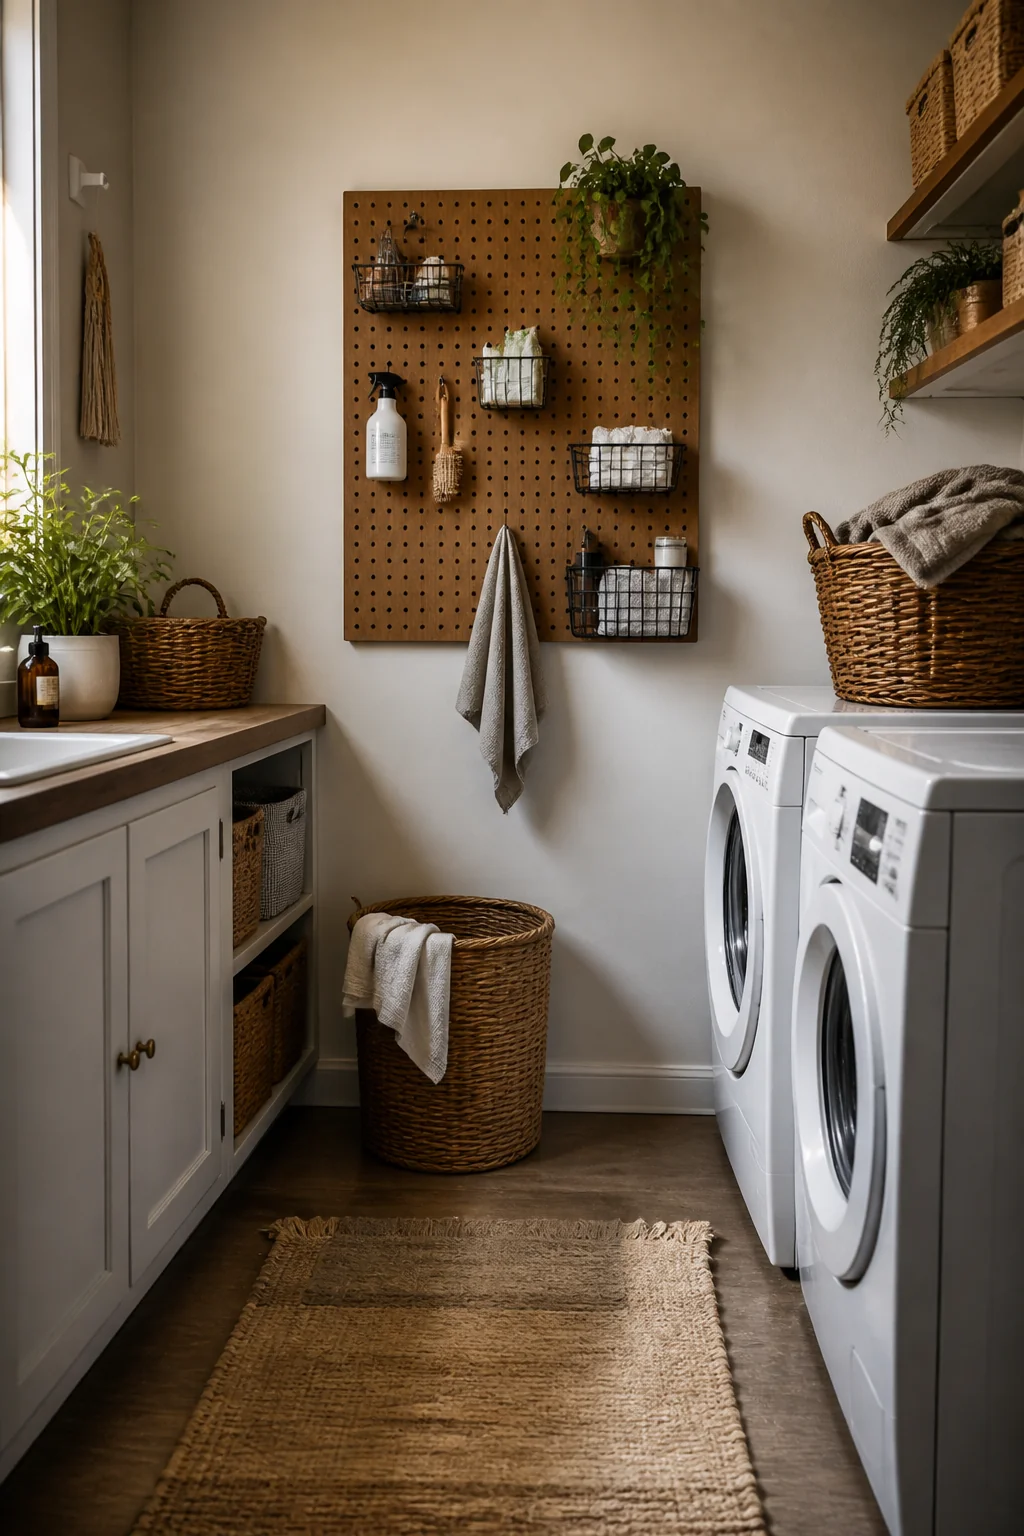
A 24-by-48-inch sheet of quarter-inch tempered hardboard pegboard costs $20 to $30, and a mixed hook assortment adds another $10 to $15. Here's the detail that gets skipped: pegboard has to stand off the wall, or the hooks have nothing to seat into and they pop out the moment you touch them. Run half-inch furring strips around the perimeter and one every 16 inches through the middle, or use the spacer washers that come in the mounting kit. Then hang the fiddly things that get lost in a drawer: scissors, clothespins, a measuring cup for detergent, a lint brush, a mesh delicates bag, a small travel iron. Everything is visible, which is the whole point in a room where you're usually carrying a basket in both arms. One caveat: hardboard swells if it gets splashed, so near a sink use a coated or metal panel instead.
9. Use a slim laundry sorter cabinet
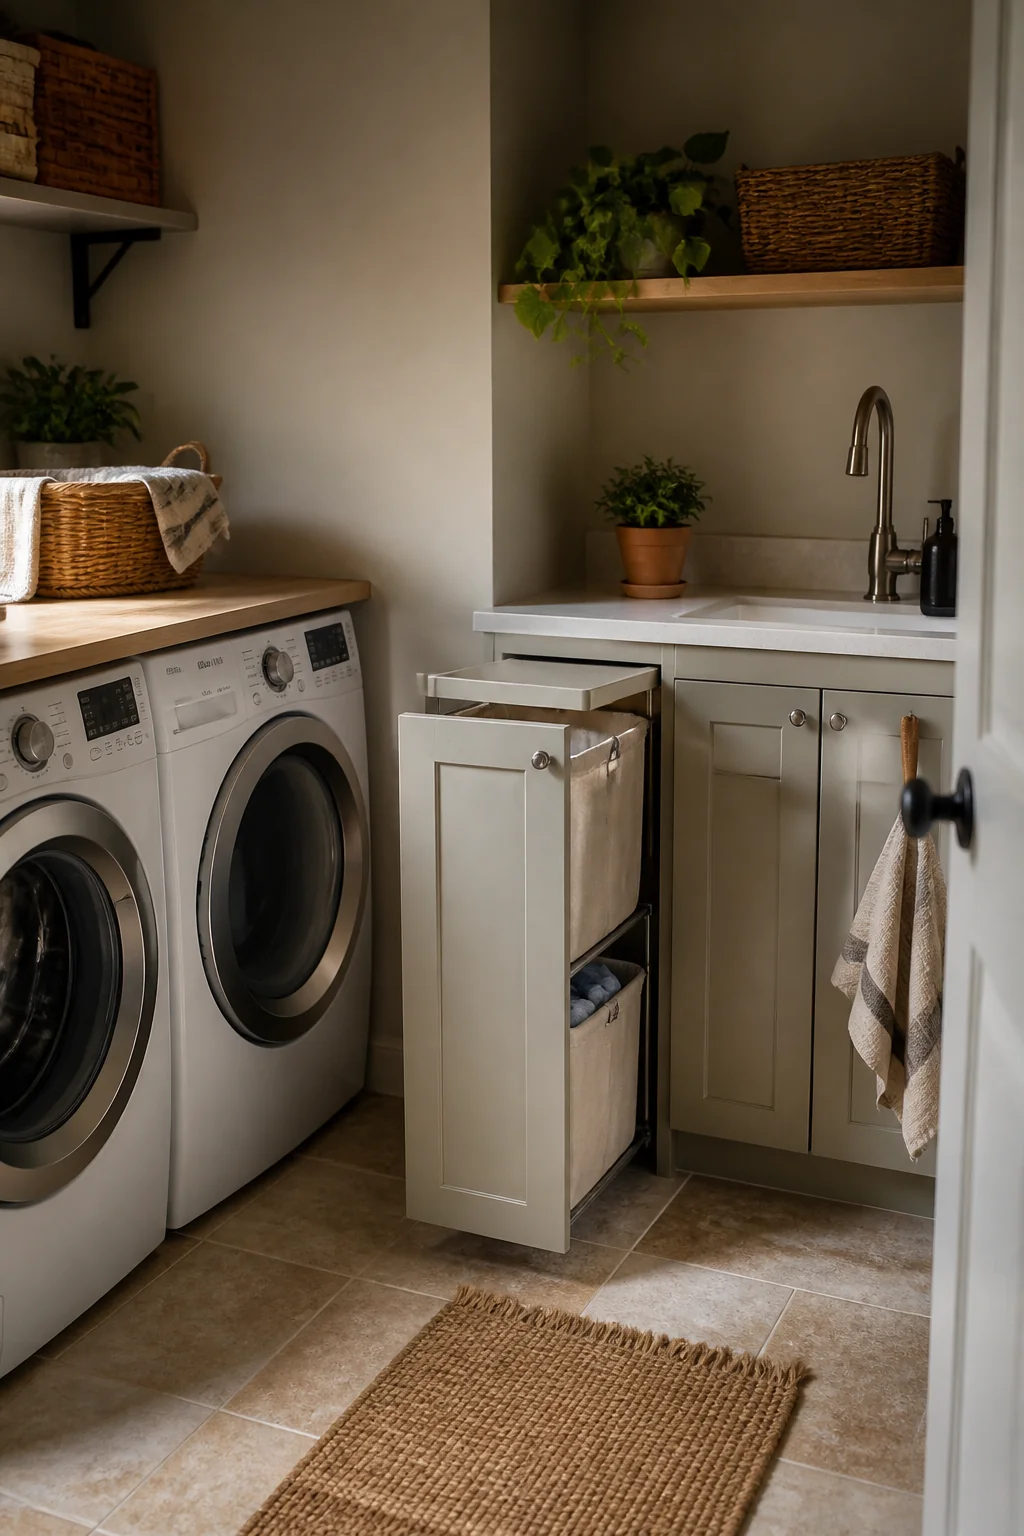
A standard three-bag rolling sorter is 30 to 33 inches wide, which is more than half the wall in a closet-sized room. A tall cabinet with two tilt-out or pull-out baskets does the same job in 12 to 16 inches of width at 32 to 36 inches tall, for $80 to $180, and it reads as furniture rather than as a laundry appliance. The trade-off is real: you drop from three sorting streams to two. Sort by wash setting instead of by color, so hot and warm go in one and cold or delicate in the other, and the darks question sorts itself when you load. Measure the swing before you buy. A tilt-out hamper needs 12 to 18 inches of clear floor in front of it to open, so a corner spot works, but the wall beside a door does not.
10. Add a rod across one wall for hang-drying
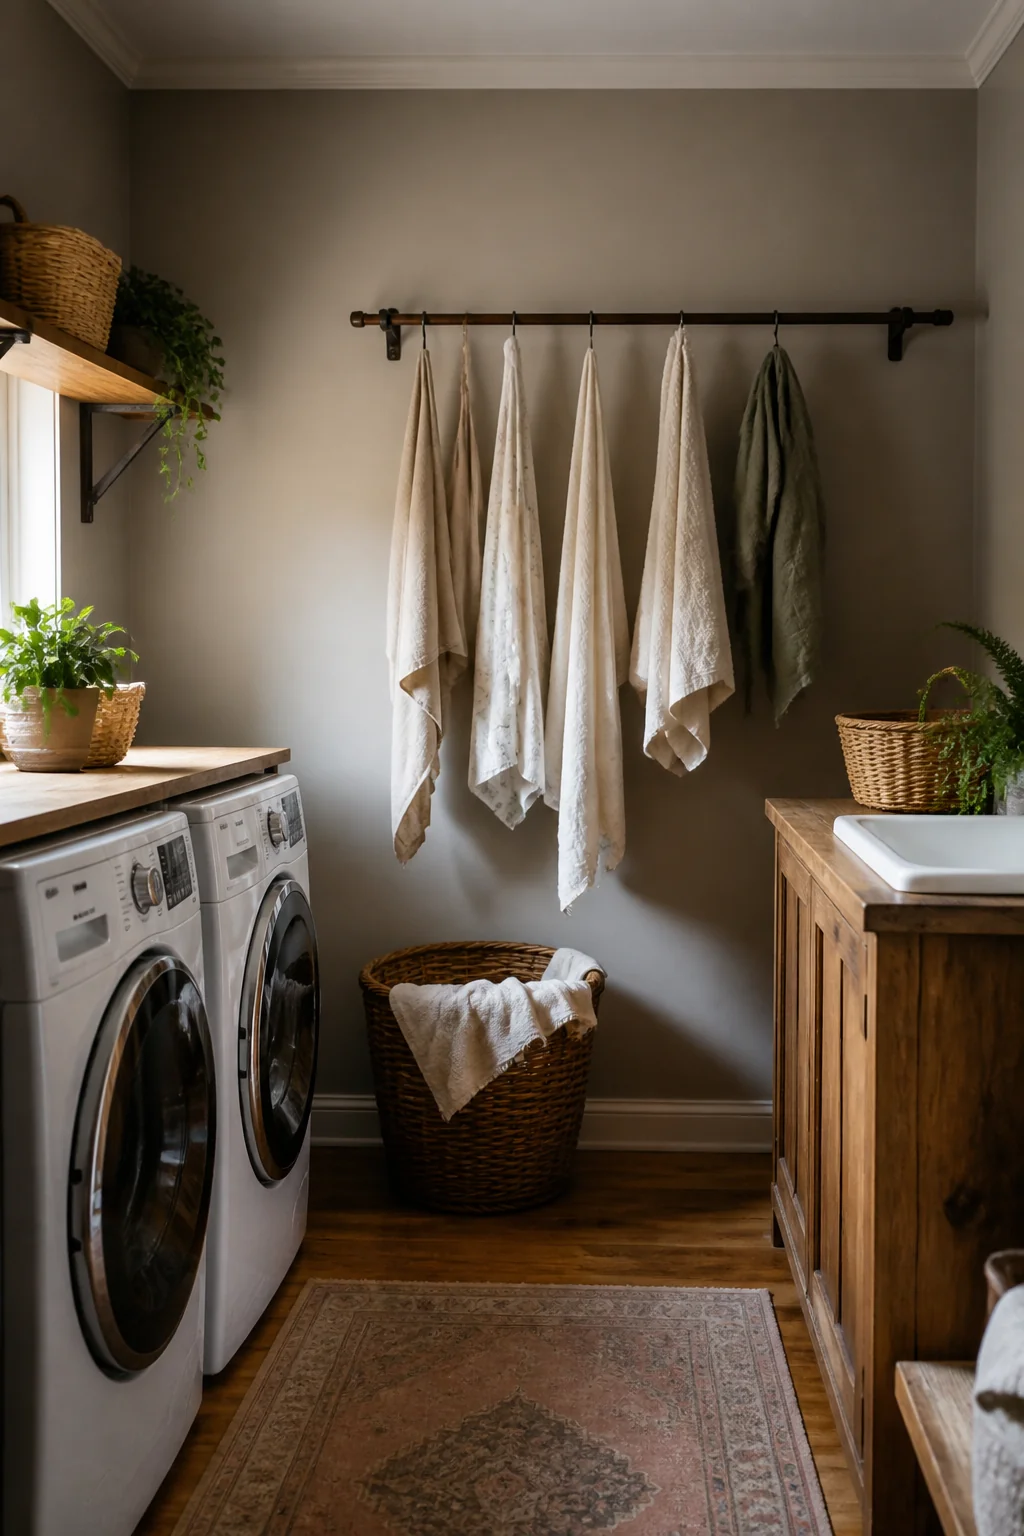
Anything knit, elastic or wool lasts longer off the heat, so a dedicated drying rod earns its wall. A shirt on a hanger hangs about 40 inches, which means the rod wants to be 60 to 66 inches off the floor for long items, lower only if you're drying sweaters flat elsewhere. A retractable wall rod of 24 to 36 inches runs $25 to $45; a plain closet rod on two flanges screwed into studs costs less and carries far more. Do not use a friction tension rod for this. A rack of wet laundry passes 20 to 30 pounds quickly and the rod drops the whole load. The other thing to plan for is the water. Air-drying a full load releases a couple of liters of moisture into a small closed room, so run an exhaust fan rated 50 to 80 CFM or leave the door open, otherwise you'll find mildew along the ceiling line by spring.
11. Mount a mirror to make it feel bigger
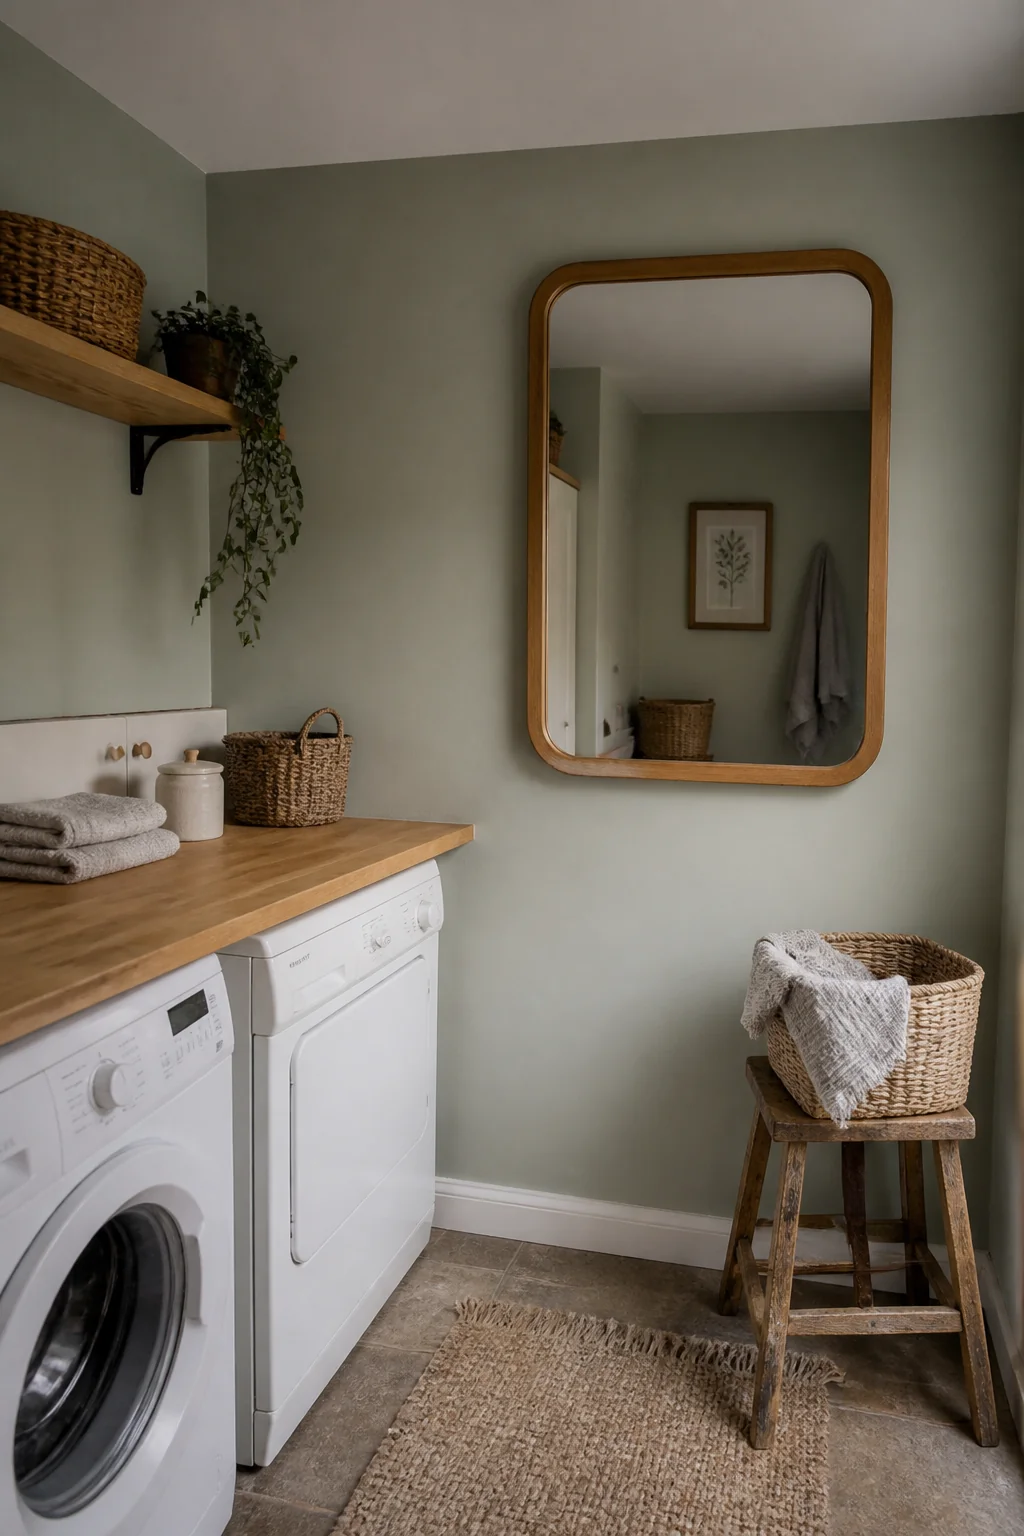
A mirror works by showing you more depth than the wall has, so what it reflects decides whether it helps. Face it at the window or down the length of the room toward the doorway and it reads as more space and more daylight. Face it at the front of the dryer and it reads as two dryers. A 24-by-36-inch mirror costs $35 to $70; hang the center at about 60 inches, which is roughly eye level for most people and also lets you check what you're wearing on the way out. Hardware: a French cleat, or two D-rings on anchors rated for 25 to 40 pounds, since glass that size is heavier than it looks. Two things to watch in a laundry room. Steam and splashes spot a mirror quickly, so keep it away from a sink or a dryer exhaust, and choose a framed one if the door swings anywhere near it.
12. Install a fold-away ironing board
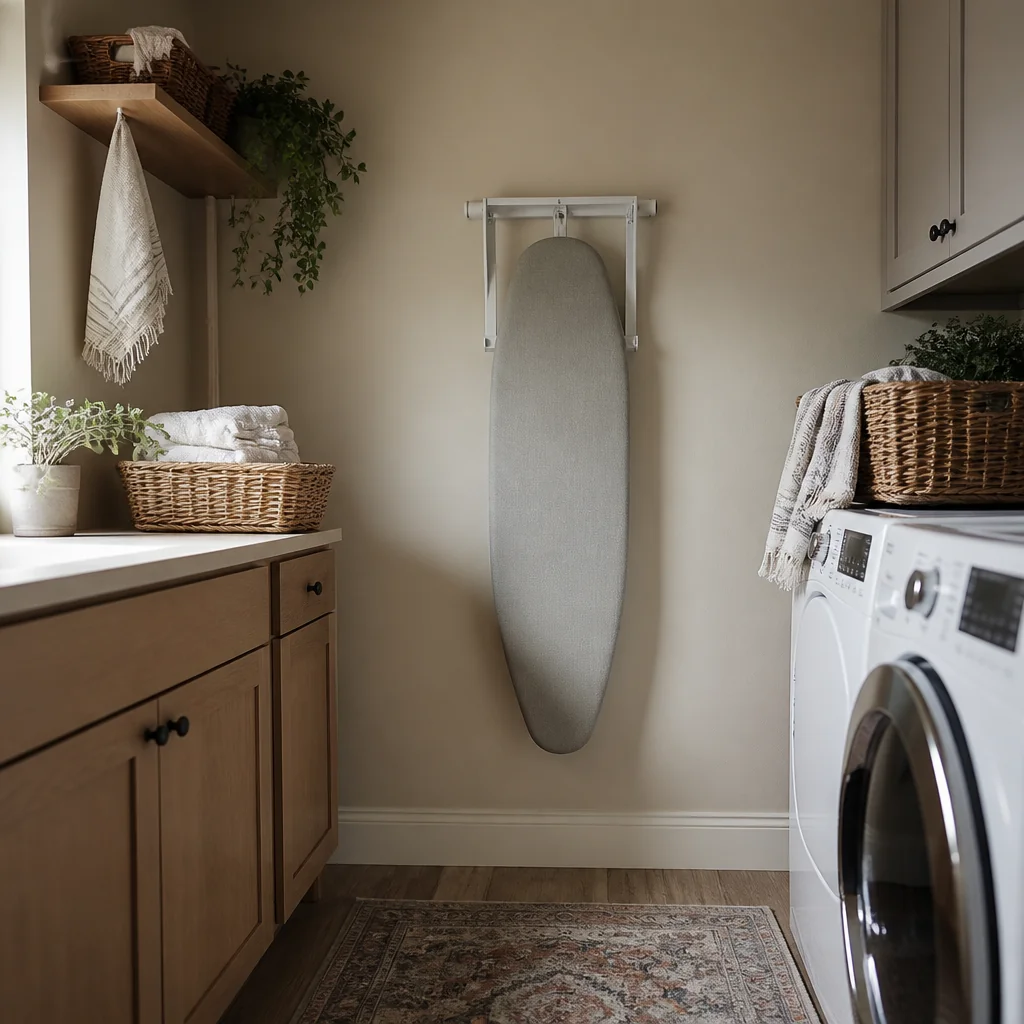
A wall or in-cabinet ironing unit is typically 15 inches wide by 45 to 50 inches long and costs $130 to $260 installed in a recessed box. Set it so the board sits at 32 to 36 inches when it's down, and buy a swivel model if the wall is short, since those rotate 90 to 180 degrees and let you iron parallel to the wall instead of jutting into the room. You need about 24 inches of clear floor at the open end, plus an outlet within cord reach. Put the iron on a circuit that isn't shared with the dryer: irons pull 1,200 to 1,800 watts and will trip a loaded breaker. If you iron a few times a month rather than weekly, the cheaper answer is a 12-by-18-inch pressing pad for about $25, laid straight on the fold-down table. It stores flat on a shelf and needs no wall at all.
13. Get a narrow under-sink cabinet for bottles
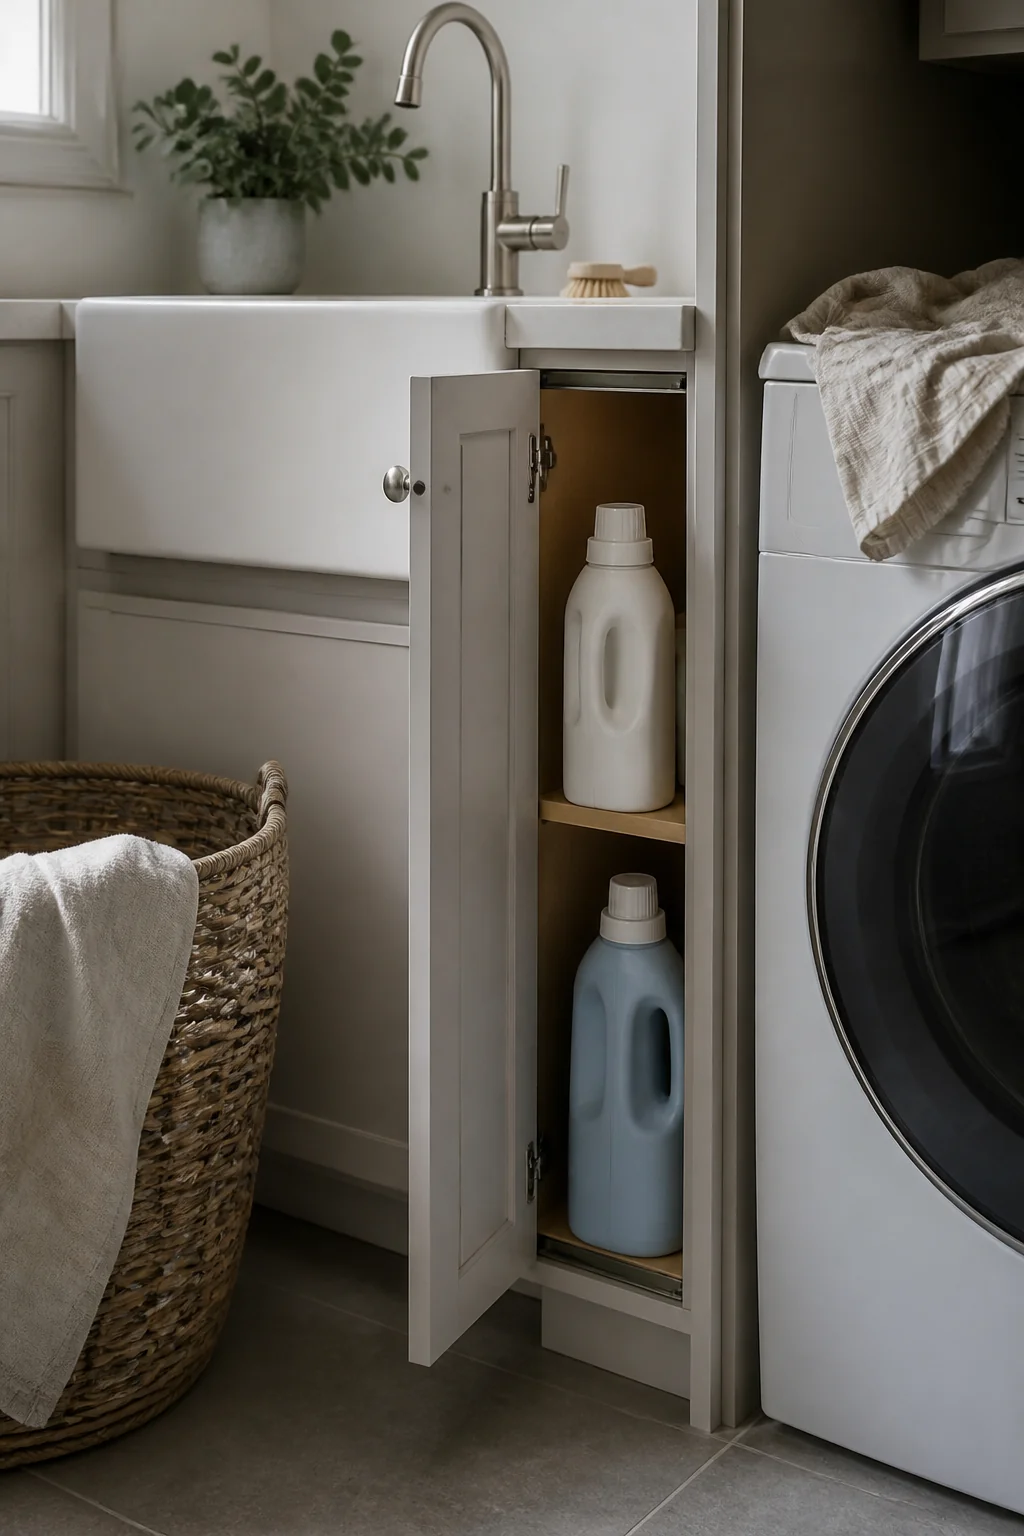
If you have a laundry sink, the cabinet under it is the one place in a small room where a 10-pound detergent jug isn't stealing prime shelf space. A 12 to 18 inch base cabinet runs $80 to $200, or you can buy a sink-and-cabinet unit already assembled. Plan around the plumbing, because the P-trap and the two supply stops occupy exactly the middle of that box. Half-depth pull-out trays on either side work better than a full shelf, or use one of the U-shaped organizers built to straddle a trap. Line the bottom with a peel-and-stick drip tray or a plastic mat before you load anything in. Supply connections seep slowly rather than dramatically, and by the time you notice the smell, an unlined particleboard floor has already swelled and delaminated. Keep bleach and any solvent-based spot remover in the sealed original bottles down here, not on an open shelf at eye level.
14. Use clear plastic bins for visibility
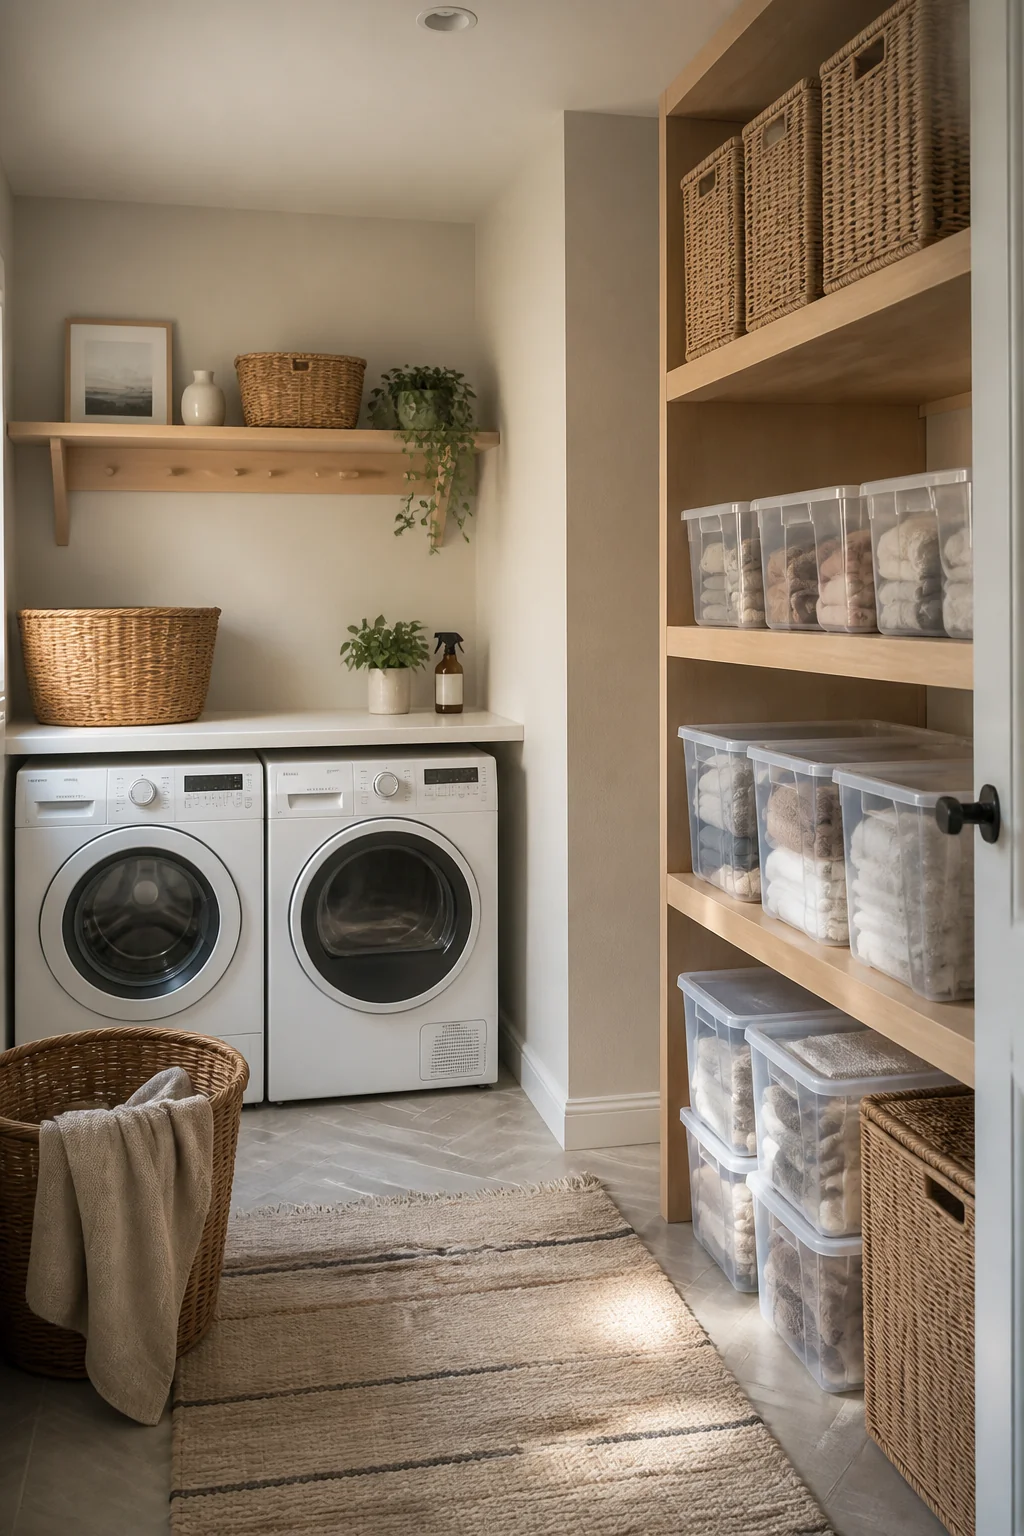
Clear polypropylene bins let you read the contents and the level without pulling anything down, which matters when the shelf is above your head. The 6-quart shoebox size is about 13.5 by 8.5 by 5 inches and costs $3 to $5, and two of them sit side by side on a 12-inch-deep shelf with room to grip the edges. Measure your shelf depth first, because a bin that overhangs the front by even an inch gets clipped by a passing laundry basket and comes down. Label them anyway. Clear stops being clear once a bin is backlit on a high shelf, and a basic label maker is $20 to $30 (a paint pen on masking tape does the same job for a couple of dollars). One thing not to decant: liquid detergent. It belongs in the manufacturer's bottle with the measuring cap, both for the dosing marks and because the jug is built for the weight.
15. Add a small window shade for privacy
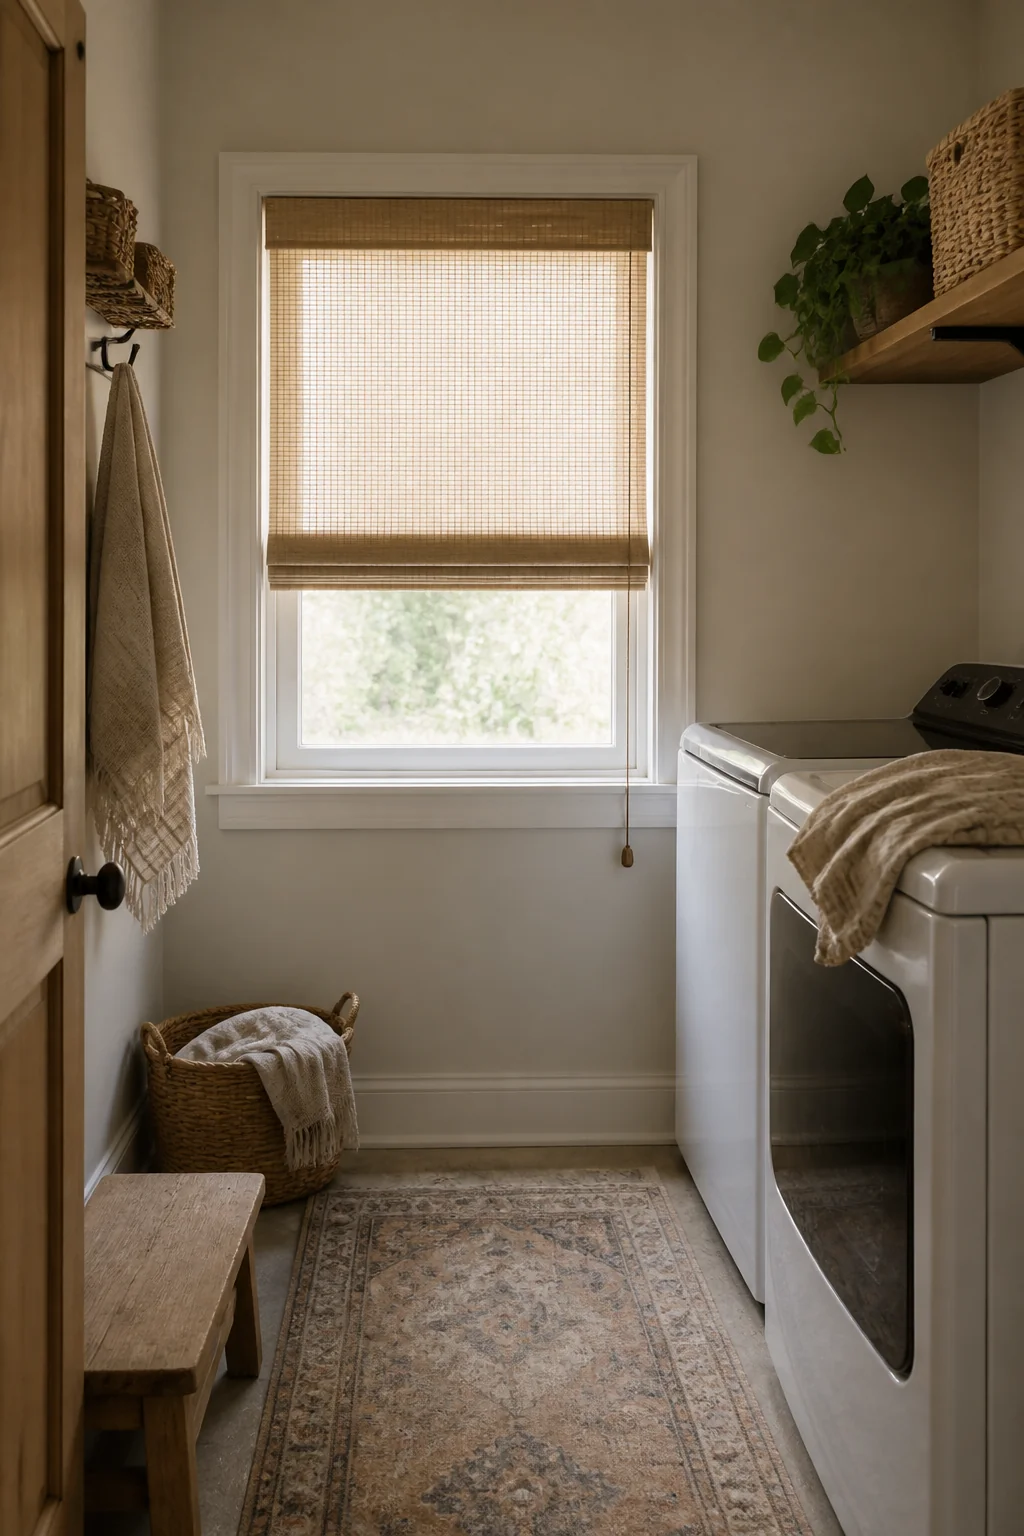
A cordless roller shade cut to size costs $20 to $45 and solves the privacy problem without eating any wall. Measure the inside of the frame at three points, top, middle and bottom, then order to the smallest of the three; older openings are rarely square, and a shade cut to the widest measurement binds. Material matters more here than in a dry room. A light-filtering vinyl or a solar screen wipes clean with a damp cloth and shrugs off the humidity a dryer throws off. A cotton or linen roman shade in the same window absorbs that moisture, then holds it in the folds and spots along the bottom hem within a season. Pale colors keep the daylight coming through while blocking the view in. If that window is your only ventilation, pick something that rolls fully clear of the sash so you can still open it wide.
16. Install a narrow cabinet door to hide appliances
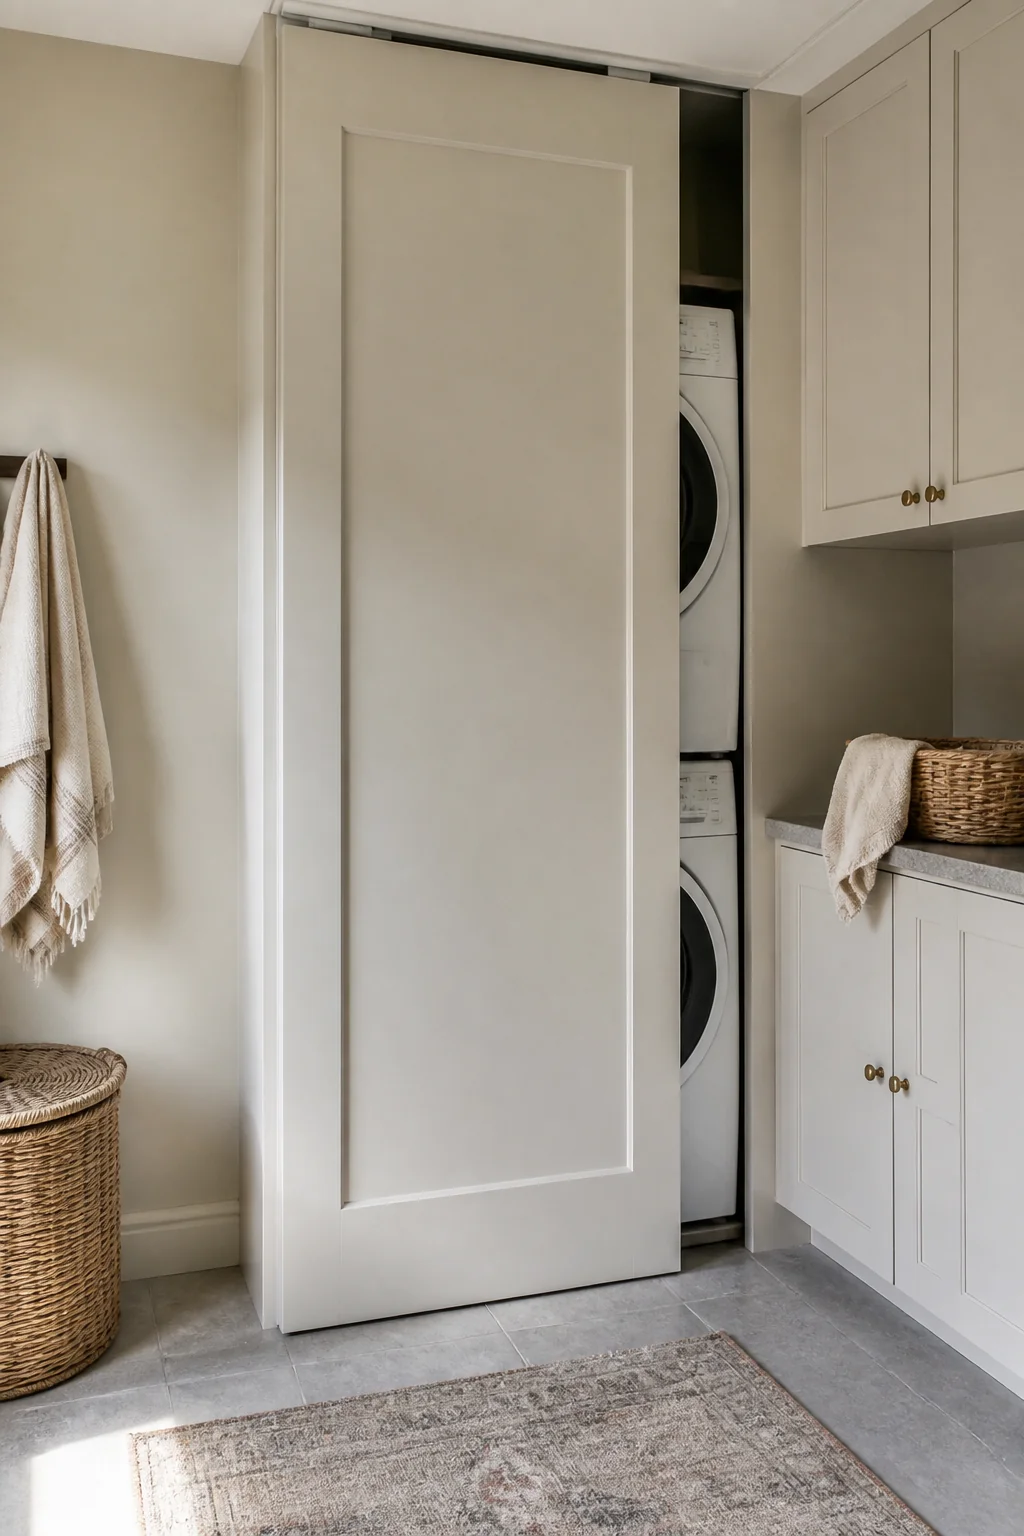
Closing off the machines makes a laundry nook read as part of the room it sits in rather than as an appliance wall. Bifold doors are the usual answer: on a 60-inch opening you get two 15-inch panels per side, and stacked open they cover about 5 inches of the opening on each end. A pocket door hides completely but needs an empty wall cavity to slide into. Barn-door hardware needs clear wall beside the opening plus a header to carry the track. Whichever you pick, the machines still have to breathe. A dryer pulls its air from the room, and sealing it into an airtight closet makes it run longer and hotter on every load, which is hard on the clothes and on the machine. Use louvered panels, or leave roughly 100 square inches of vent gap at the top and the bottom of the enclosure.
17. Mount a small shelf for a basket of folded items
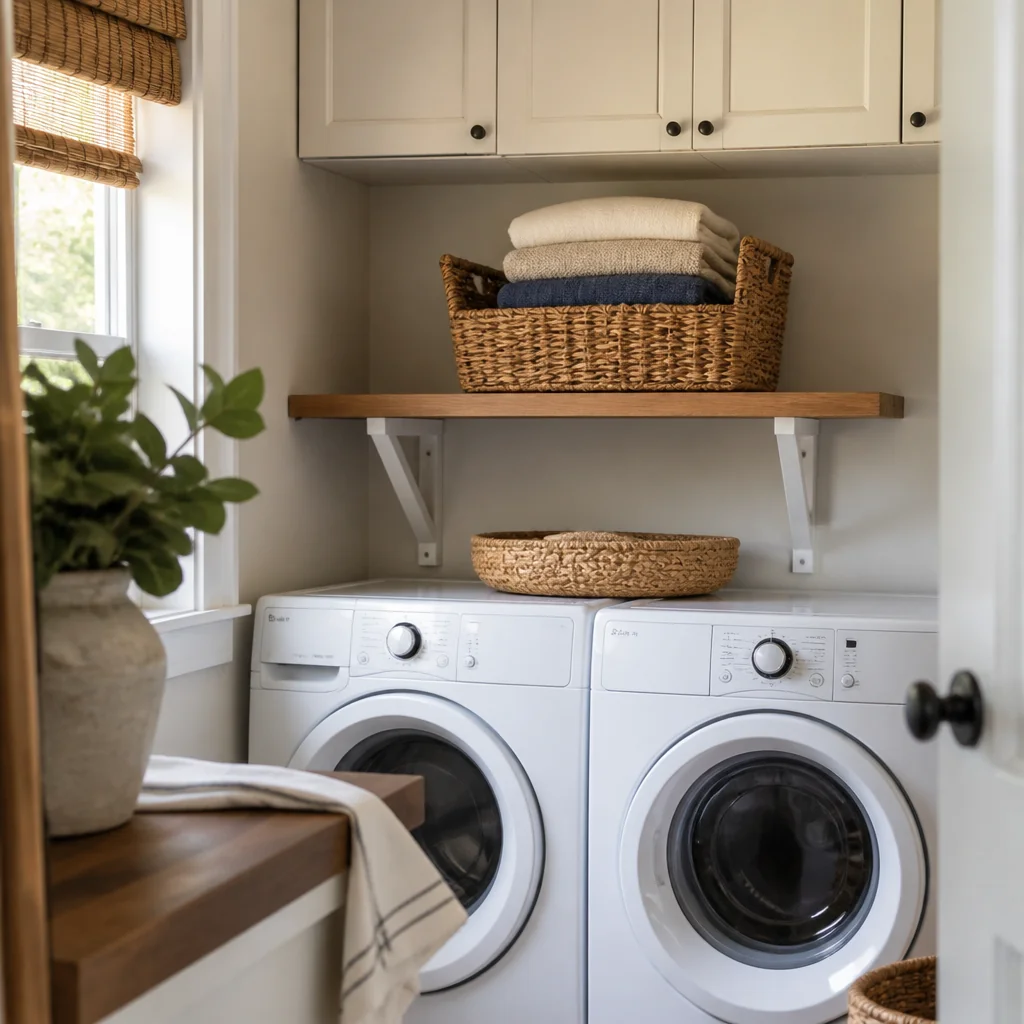
Clean folded clothes need a staging spot, or they live on top of the dryer until the next load evicts them. An 18-inch woven basket costs $25 to $45 and holds about one dryer load, roughly 12 to 15 pounds of folded laundry. Set the shelf at 48 to 54 inches so you can slide the basket on and off at chest height instead of pressing it overhead. Depth is the detail that decides whether this works: the shelf needs to be at least 14 inches deep, or an 18-inch basket sits proud of the front edge and tips the first time someone brushes past it. Rate the brackets at 50 pounds each and put them into studs. Two baskets side by side is the version that keeps the room clear, one holding clean laundry waiting to be folded and one holding folded laundry waiting to go upstairs.
18. Hang a rod at ankle height for a hanging hamper
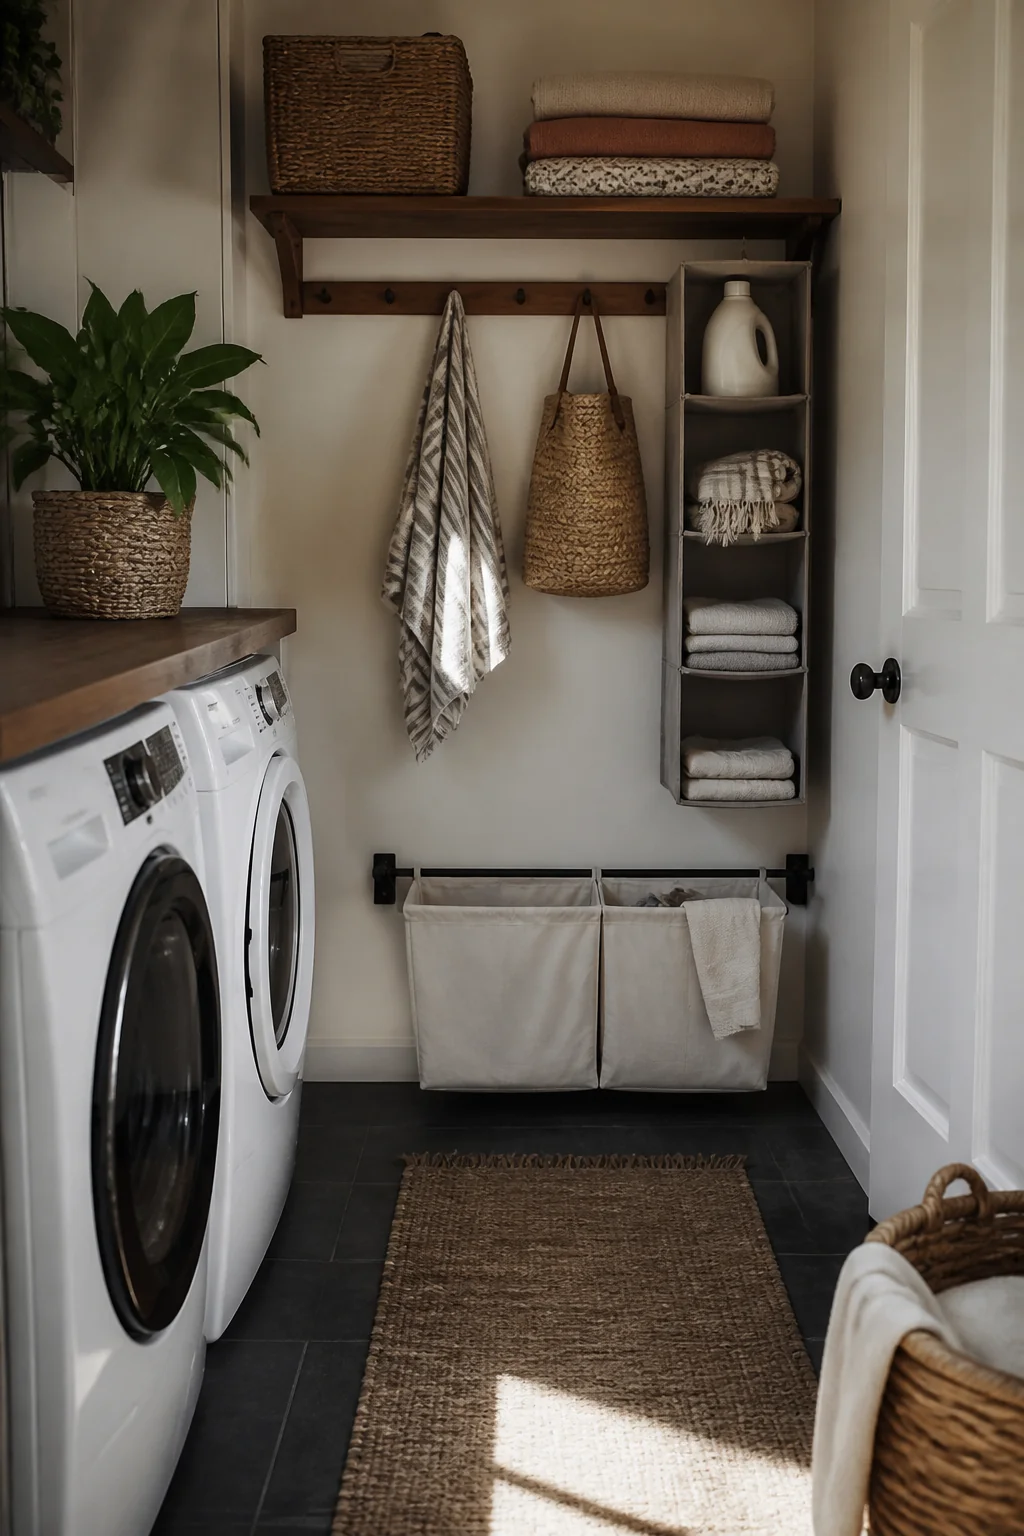
Hanging the dirty-clothes bag instead of standing it on the floor buys back the one thing a small laundry room never has, which is floor. A canvas hanging hamper on a rod at 30 to 36 inches costs $20 to $35 and lifts a full load clear of a damp floor, so nothing wicks. It also means you can sweep and mop underneath, which matters more here than anywhere else in the house: lint drifts, detergent gets sticky, and a floor drain collects both. Check the weight math before you mount anything. A full load of dirty laundry is 12 to 18 pounds, which is nothing for rod flanges screwed into framing and well past what a friction tension rod will hold, so this is a screws-into-studs job. If the hamper liner is machine washable, run it through with the towels once a month.
19. Add a tension rod inside a cabinet for hanging clothes
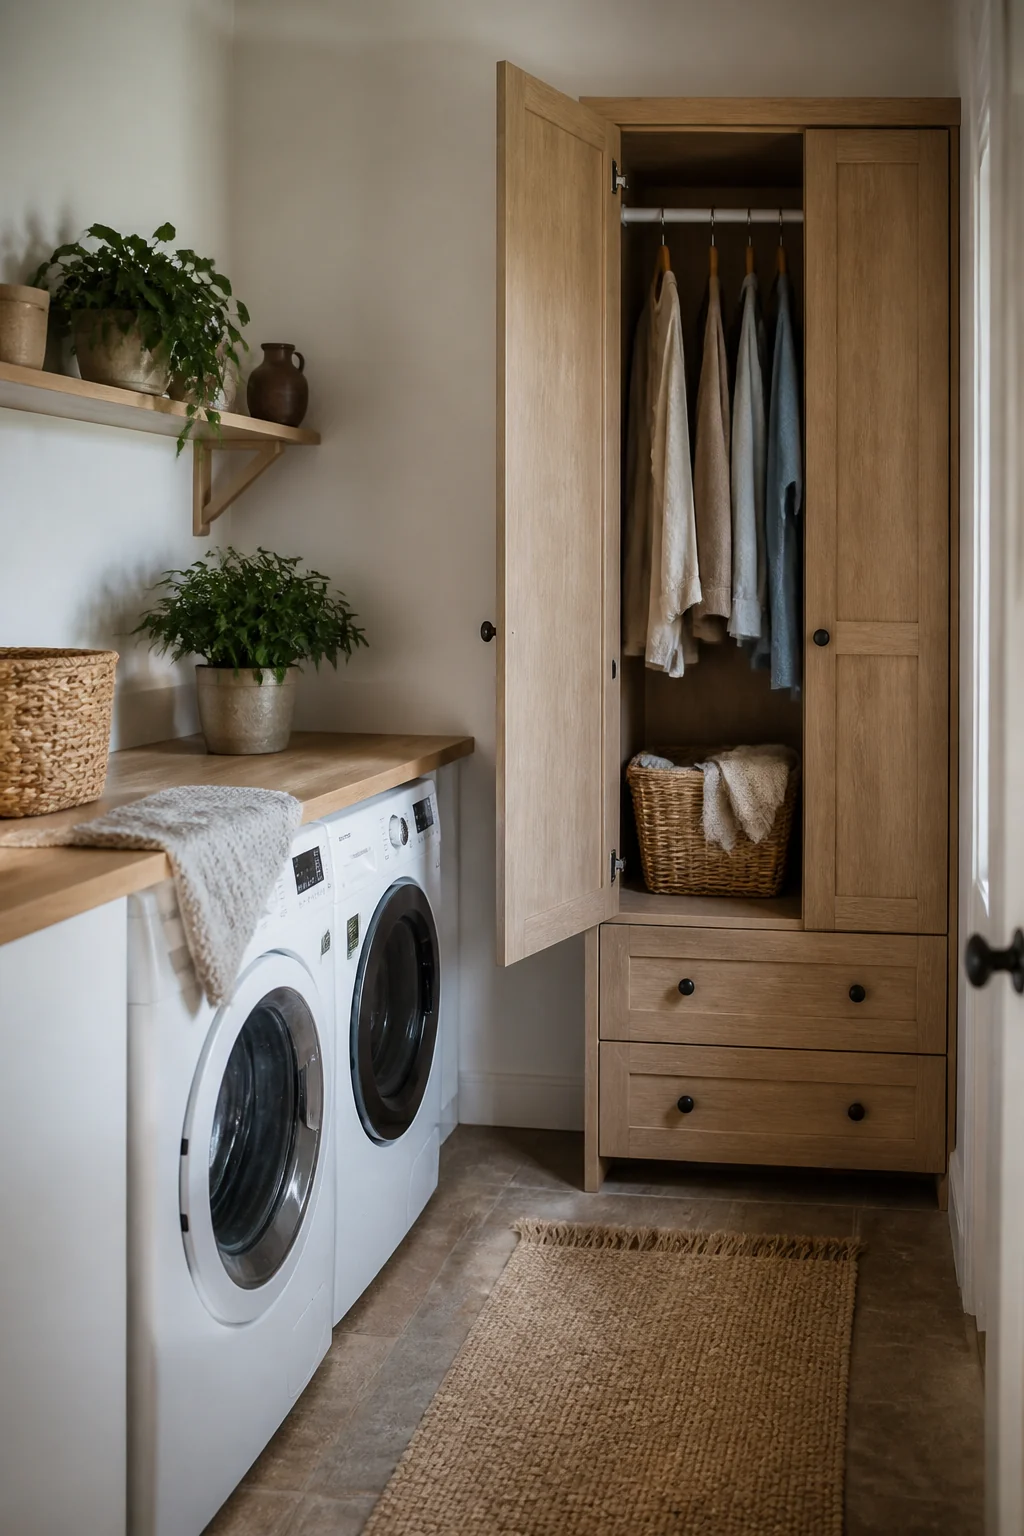
A short rod inside a tall cabinet gives freshly pressed shirts somewhere to wait without creasing, and it costs almost nothing. Measure before you buy, because a hanger sets the minimum: a standard shirt hanger is about 17 inches wide and needs 20 to 22 inches from the back wall to the face frame to hang square, so this works in a pantry-depth cabinet and not in a 12-inch one. Leave 4 inches above the hanger hook so you can lift a garment off without tilting it. Tension rods slip somewhere around 15 to 20 pounds, which is roughly six loaded hangers, so if you plan to fill it, use screw-in rod sockets on the cabinet sides instead. Wipe the interior first if the cabinet has been holding detergent, because a sticky residue on a cabinet wall will mark a clean sleeve.
20. Use the back of the door for an over-door organizer
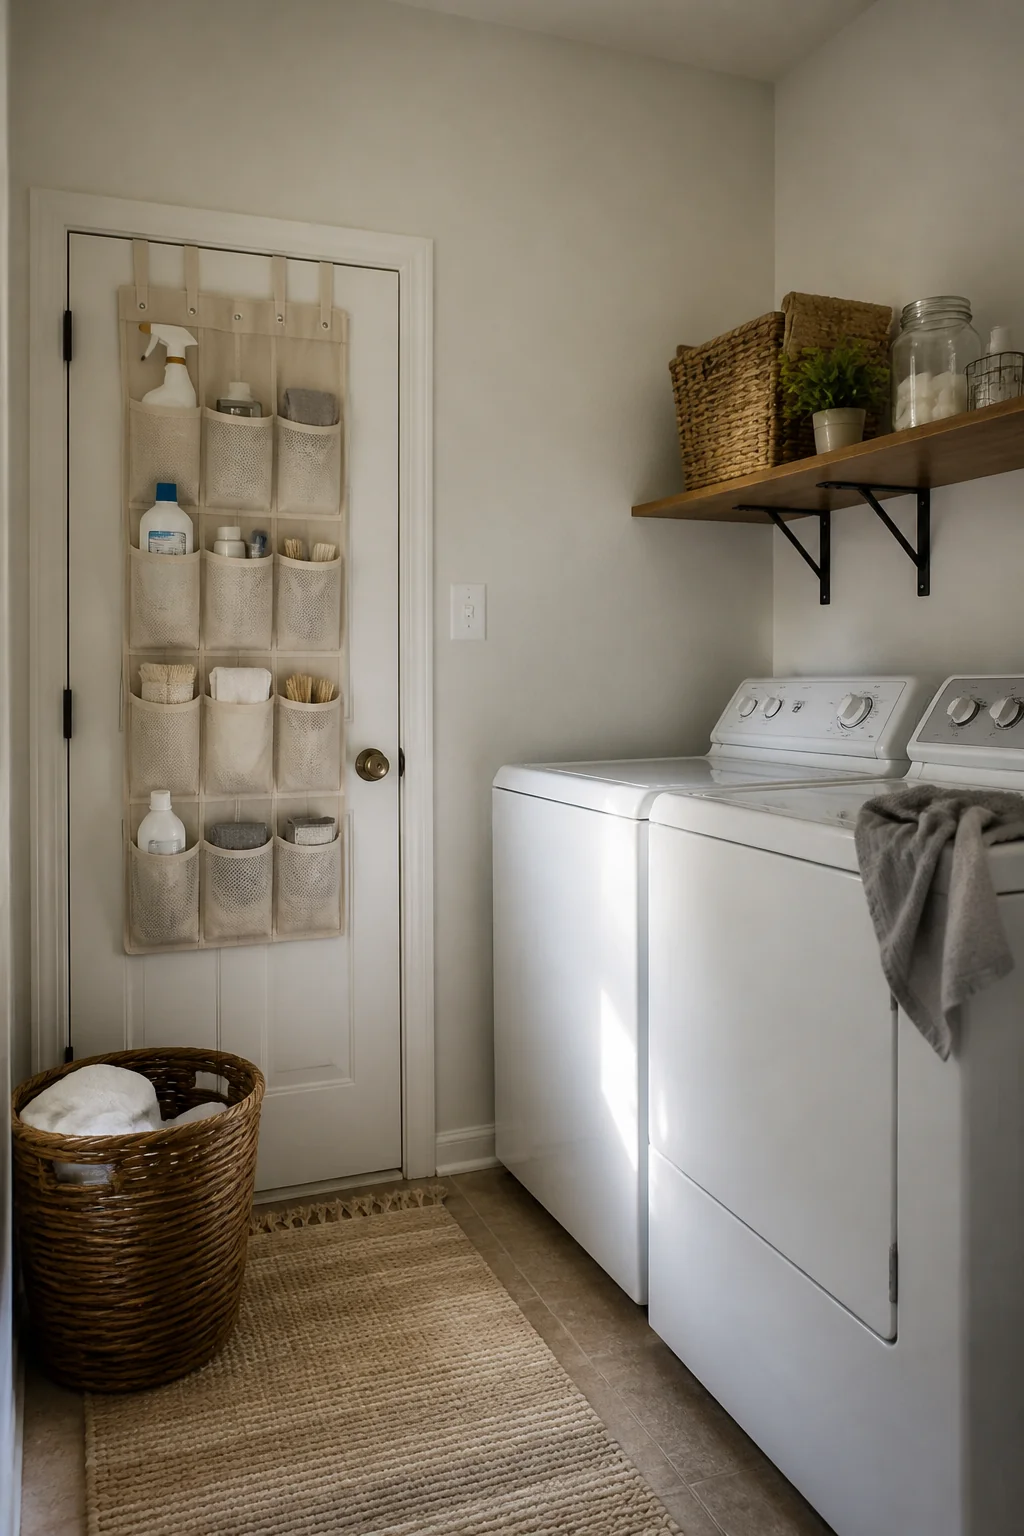
The back of the door is the last free wall in the room, and a 24-pocket shoe organizer at $15 to $25 turns it into shallow storage for everything that gets lost in a drawer: stain pens, dryer balls, spare buttons, mesh delicates bags, lint rollers, a small sewing kit. Loaded like that it weighs 8 to 12 pounds, well within what over-door hooks carry. Check the door before you order. The hooks are sized for a standard 1 3/8 inch interior door; a 1 3/4 inch exterior-weight door or a door hung with a tight jamb reveal will stop closing once the hooks are on. If yours won't latch, screw the organizer straight to the door face with short screws instead, or use a slim version with a self-adhesive backing. Keep the heavy items in the bottom row so the whole panel doesn't swing when the door does.
21. Install sconces for side lighting
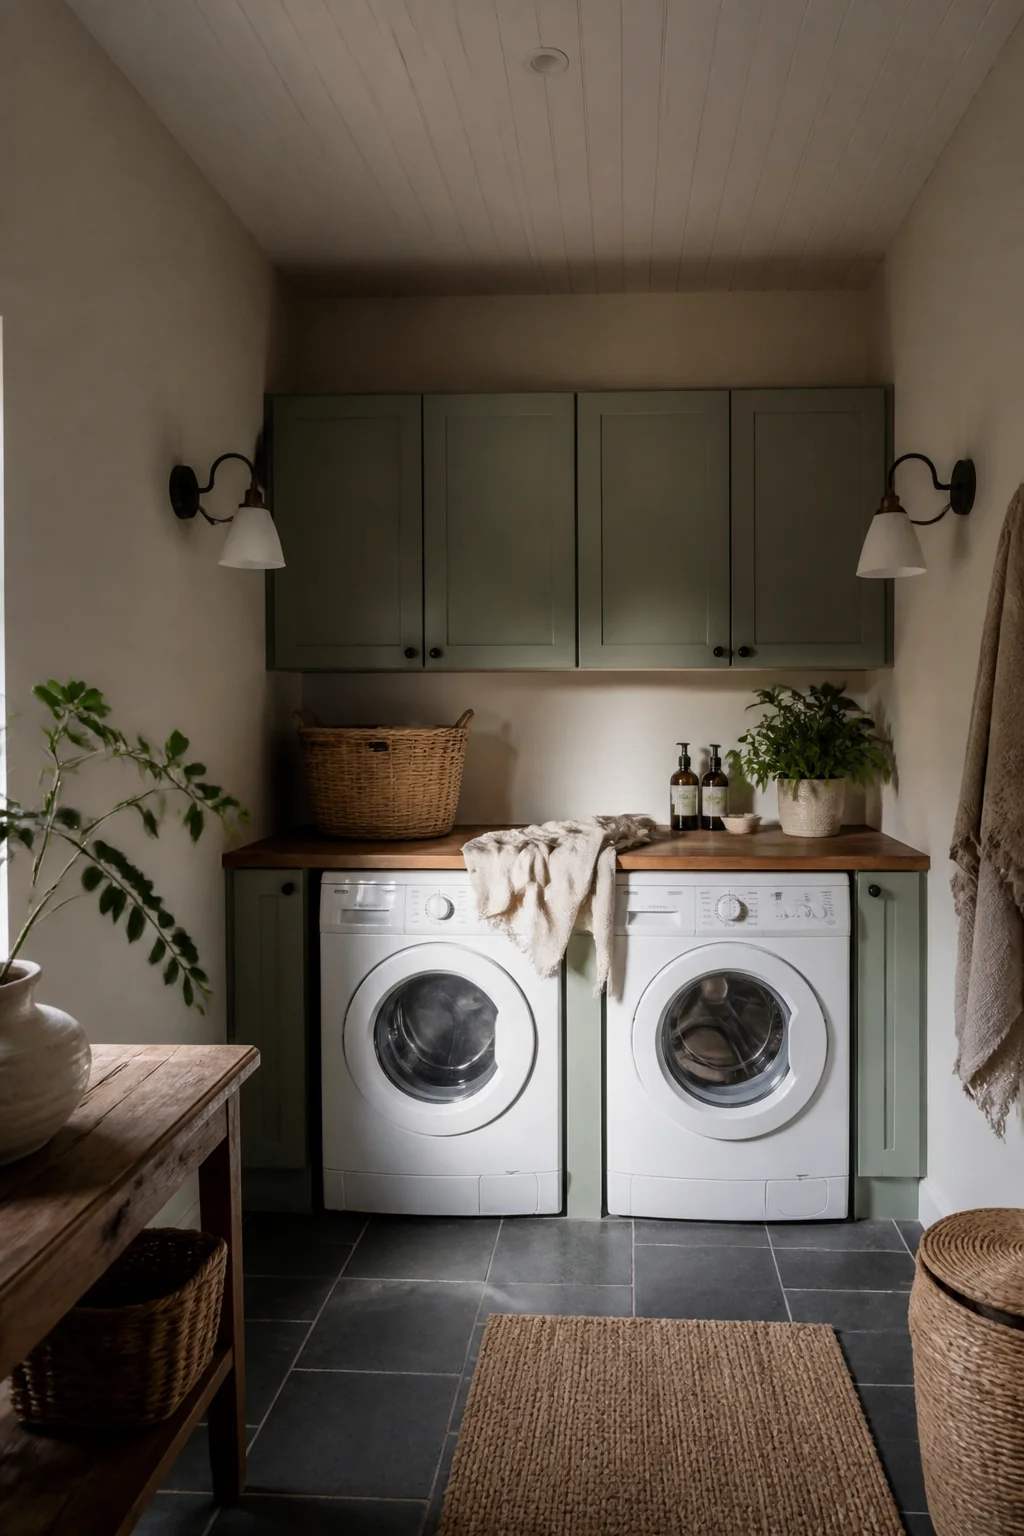
Light arriving from two sides at hand height cancels the shadow that a single ceiling fixture drops right onto whatever you're folding. Mount a pair of sconces at 60 to 66 inches, spaced 4 to 6 feet apart so they flank the work surface rather than crowd it. Plug-in sconces run $30 to $70 a pair and need no electrician, just a cord you can route neatly with adhesive channel; hardwired versions need a junction box in the wall. In a room under 40 square feet, 400 to 600 lumens per sconce is enough, and going brighter just puts a glare source at eye level. Choose shades that throw light down and forward instead of up at the ceiling. If the room already has a good overhead fixture, wire or plug the sconces on a separate switch so you can run one layer at a time.
22. Get a utility sink if you have room
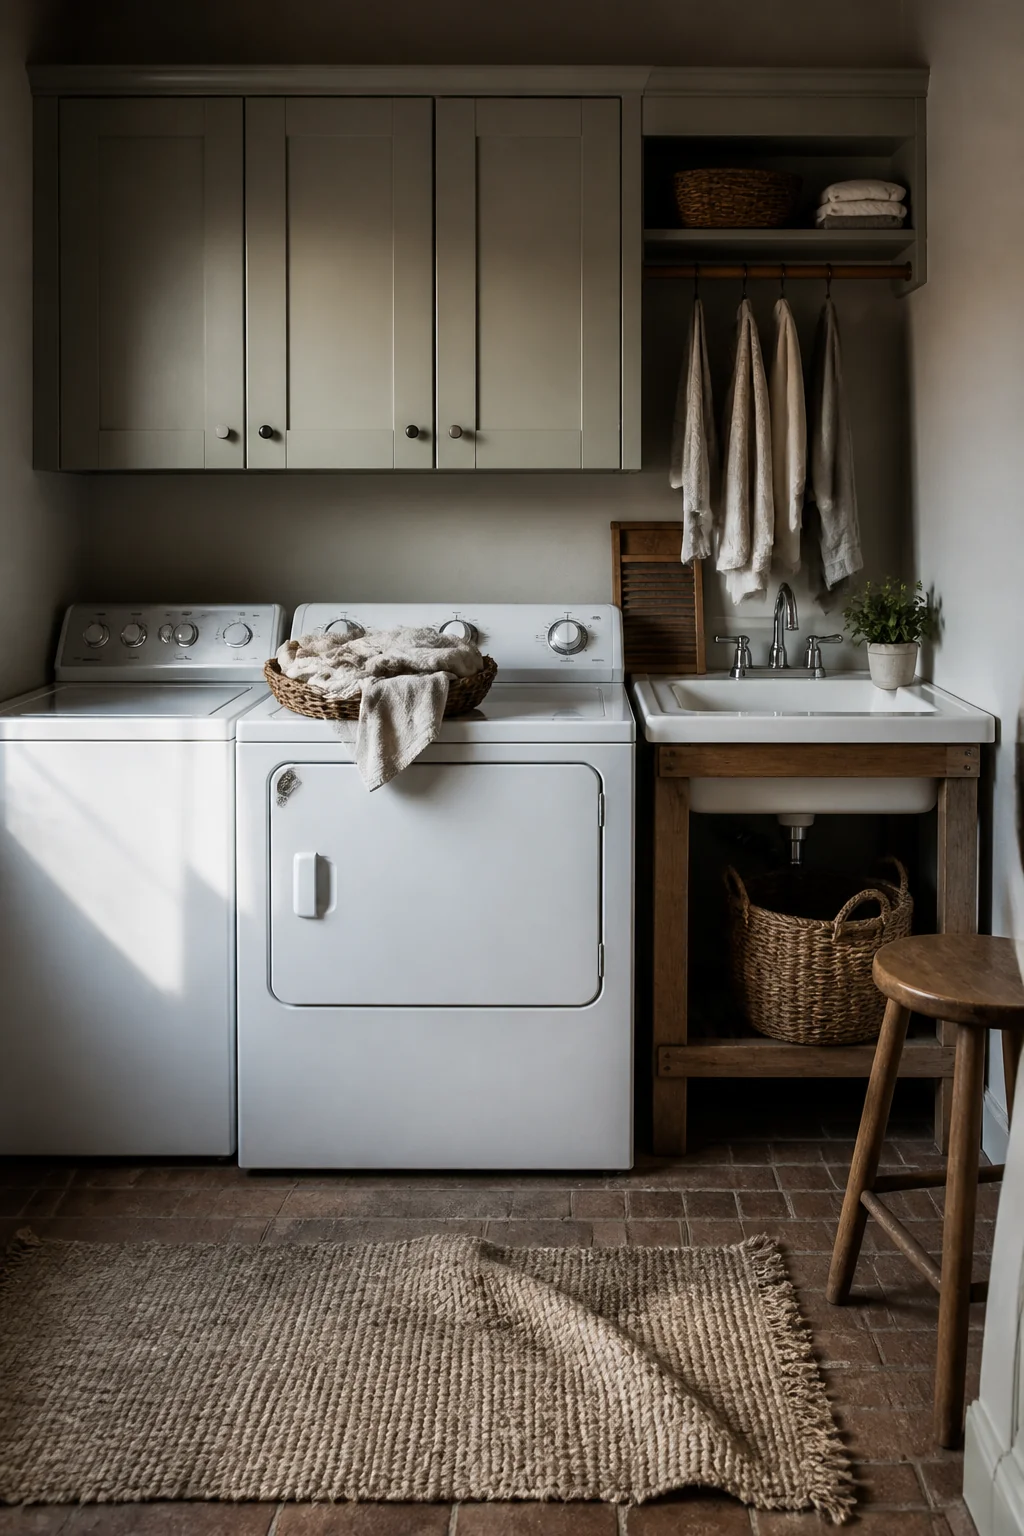
A utility sink earns its space if you pre-treat stains, hand-wash wool, fill buckets or rinse brushes. The fixture itself is the cheap part: a 24-inch molded or stainless basin is $120 to $400, plus $60 to $150 for a faucet. The plumbing is where the budget goes. You need a drain within reach of the existing washer standpipe, a P-trap, a vent and both hot and cold supply, and retrofitting that where none exists typically runs $400 to $1,200 with a plumber. Footprint is 24 inches wide by about 22 deep, plus room to stand in front. Here's the honest trade-off in a small room: if the only wall long enough for a sink is the same wall you'd use for a folding surface, the folding surface wins. You fold every single load. You hand-wash a sweater a few times a year.
23. Paint the inside of shelving units a bold color
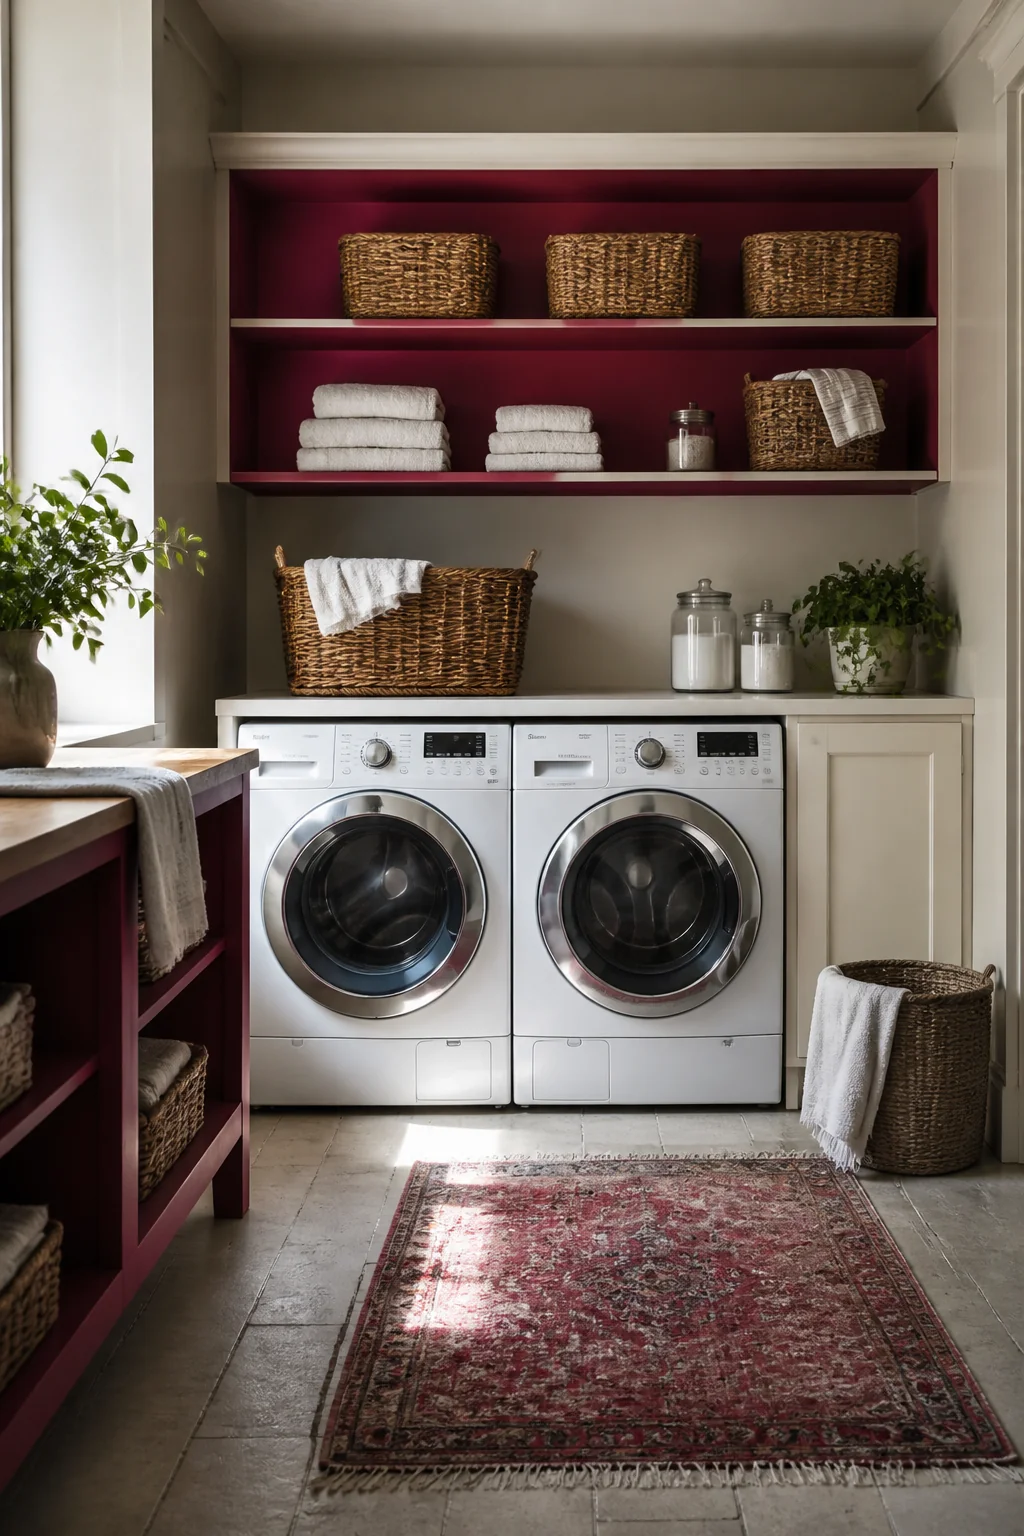
Paint the back panel behind open shelving a deeper color and the shelves finally have an edge to read against, so a row of white bottles and folded towels stops dissolving into a white wall. A quart is $18 to $25 and covers the back of a small shelf run twice over with paint left for touch-ups. Inky blue-black, warm clay and charcoal all hold up well; keep the undertone in the same family as your wall color so it looks deliberate rather than leftover. Use the same scrubbable satin you used elsewhere in the room, since this surface gets scraped by bottles and bins. If the shelving is raw MDF or unfinished pine, prime it first. Cut edges on MDF drink paint and swell, and pine knots bleed a yellow-brown stain through a light topcoat within weeks. Two thin coats beat one heavy one on a vertical panel.
24. Mount a towel bar for clean linens
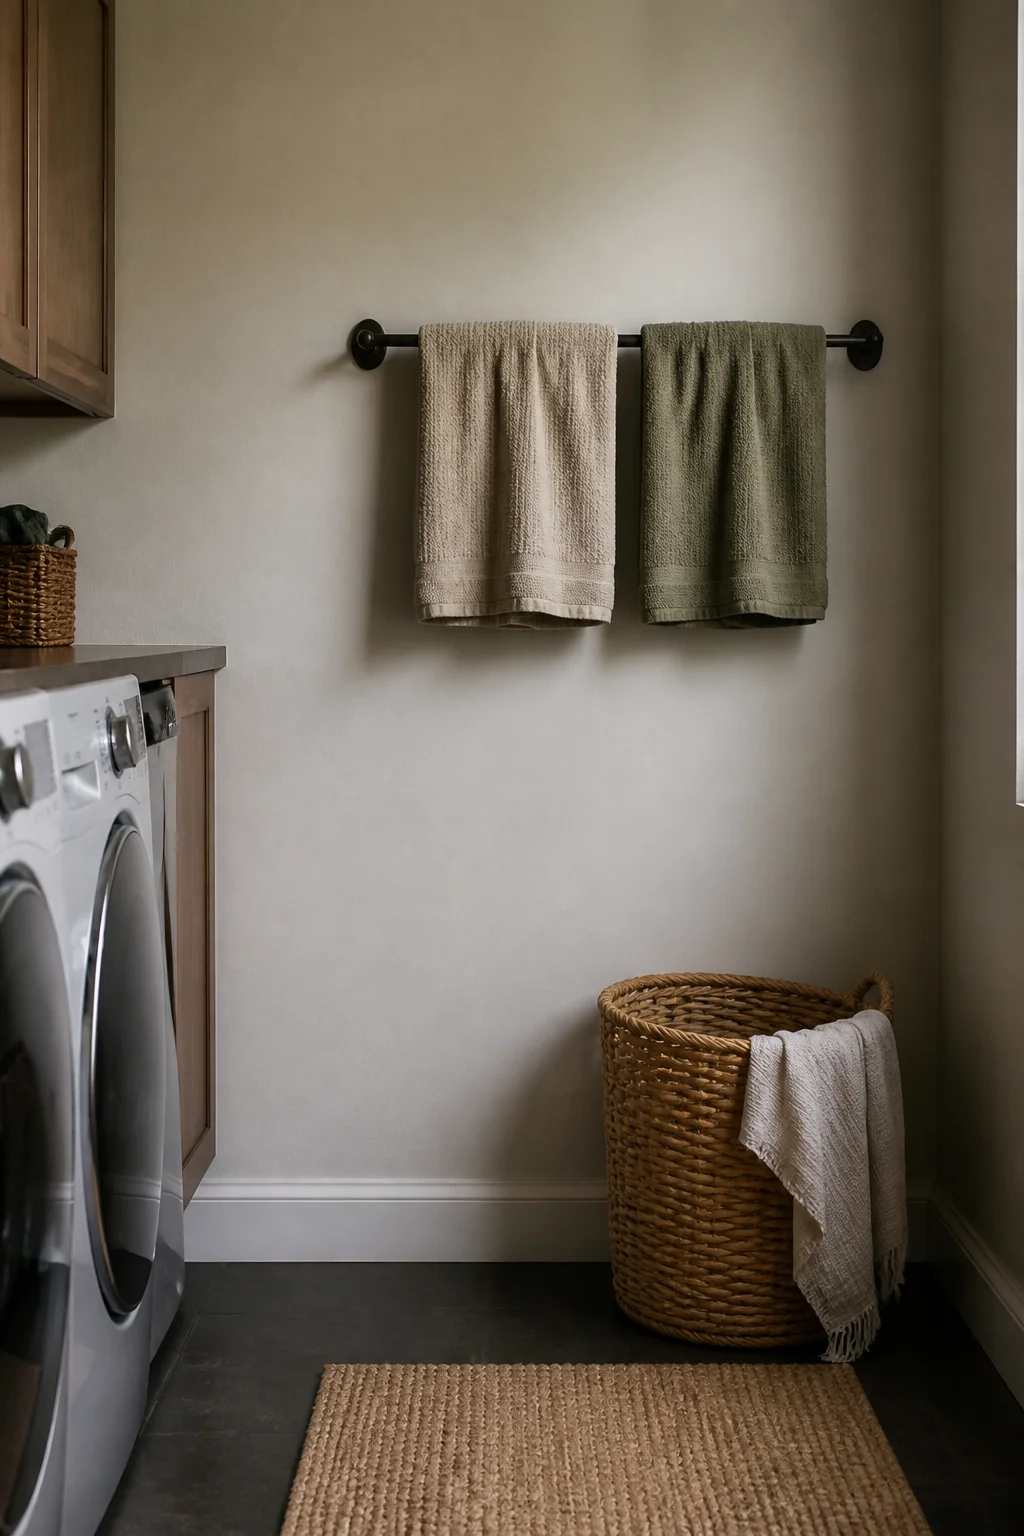
An 18 to 24 inch towel bar costs $15 to $40 and gives clean linens somewhere to hang while you work through the rest of the load. Mount it at 42 to 48 inches with 4 to 6 inches of clear wall below, so a full-length bath towel hangs without pooling on the floor. A bar beats a hook for anything that came out even slightly damp, because towels dry by air moving across the whole surface; folded over a single hook, the core stays wet for hours and picks up that sour smell by morning. Fix the bar into studs, or use toggles rated to 30 pounds, since a stack of wet towels plus the leverage of the bracket arm pulls harder than the weight suggests. Avoid the wall directly above the dryer. Exhaust heat and airborne lint both settle there, and clean towels catch every bit of it.
25. Add a small cart with wheels for sorting
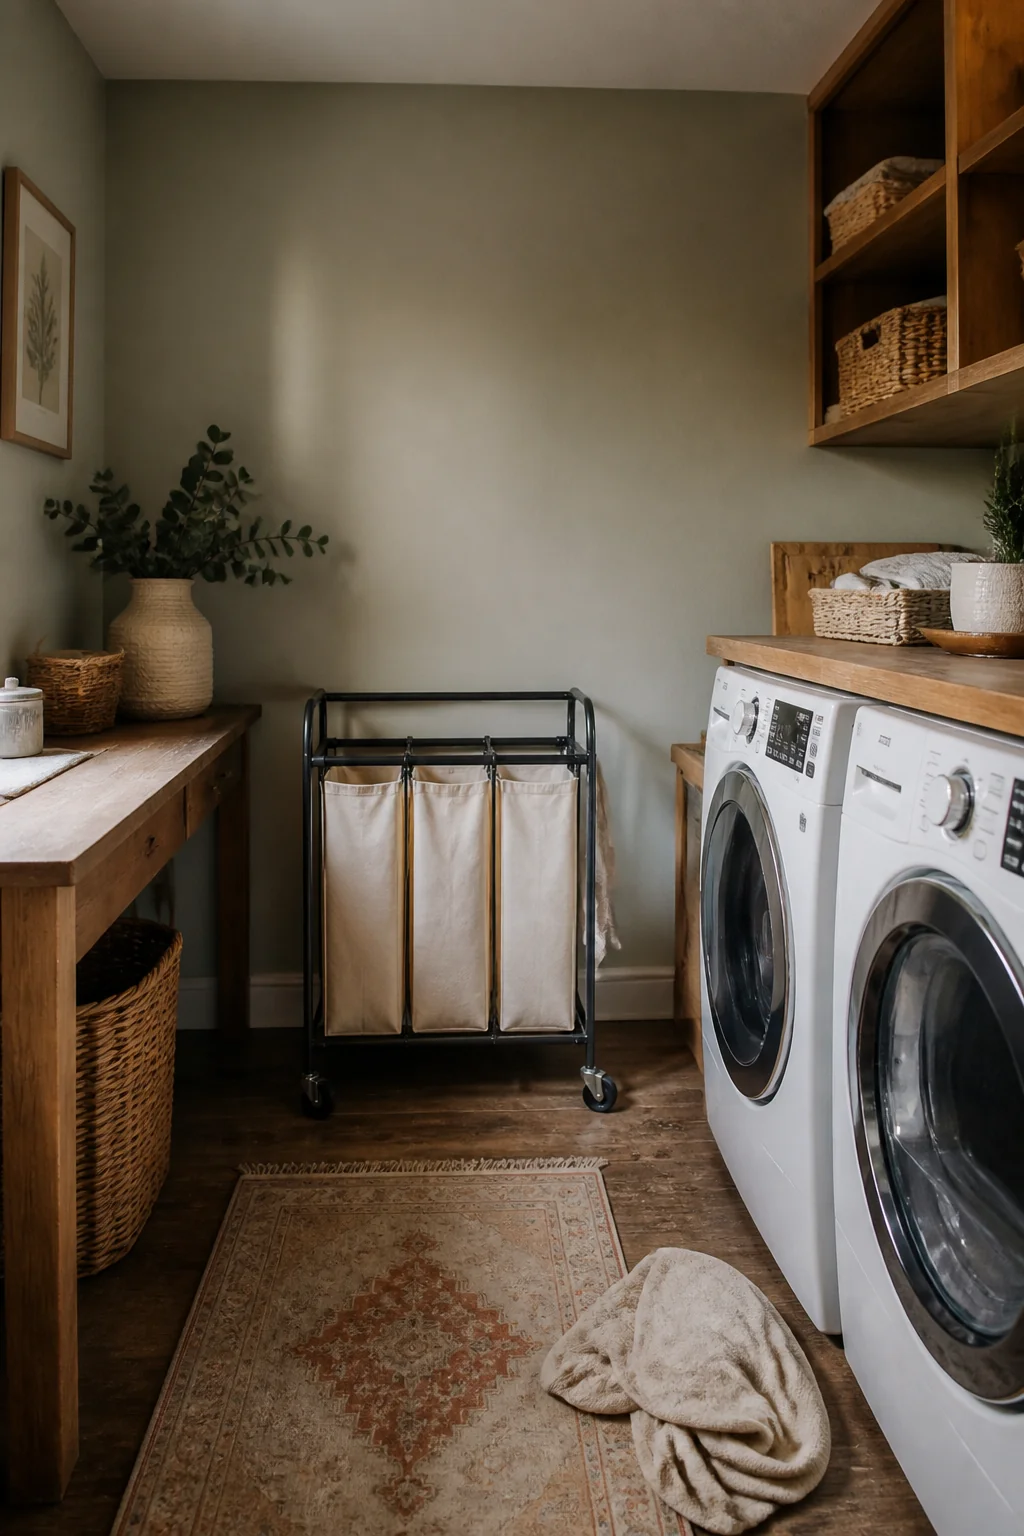
A three-tier rolling cart, 12 to 17 inches wide and $30 to $60, works less as storage than as a delivery vehicle: one tier per person or per room, loaded at the folding surface and wheeled out. That single trip is what stops folded piles from sitting in the laundry room for three days. Two specs decide whether you like it. Caster diameter first, because 2-inch wheels stall on a carpet transition strip or a threshold and you end up carrying the cart, while 3-inch wheels roll straight over. Then capacity, usually 20 to 30 pounds a tier, which is more than enough for clothes and not enough for stacked detergent jugs. Measure the narrowest doorway on the route rather than the cart itself, and add an inch on each side for your knuckles. A cart that fits the room but not the hallway is just a shelf on wheels.
26. Use vertical magazine holders for flat-folded items
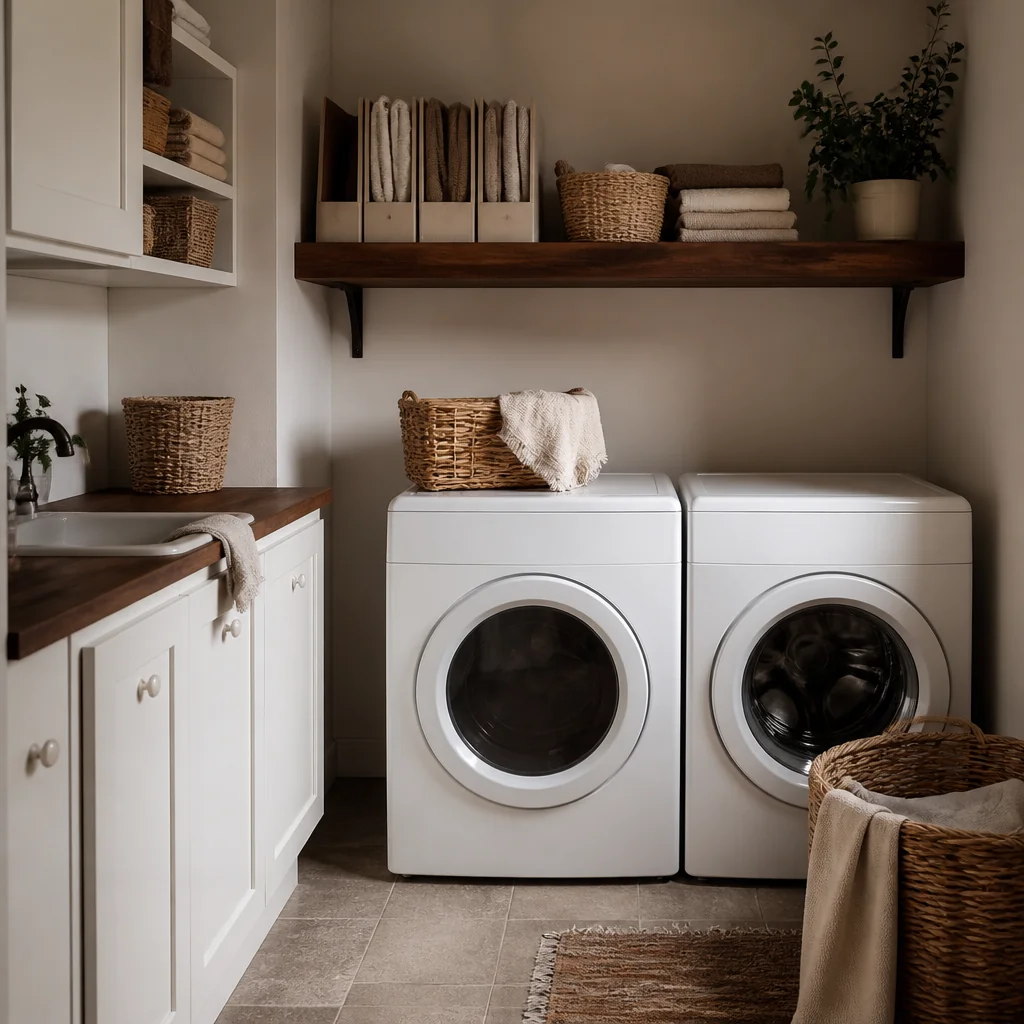
Standing folded items on edge instead of stacking them means you see the whole row at once, and pulling one out doesn't collapse the pile onto the shelf. Magazine files are about 4 inches wide by 9 to 11 inches tall and cost $4 to $10 each in clear acrylic or coated steel, so three or four fill a standard shelf run. Size the contents to the file: a folded t-shirt is roughly 9 by 12 inches and stands up fine, while a folded bath towel is too wide and too heavy and just splays the sides. Washcloths, cleaning rags, mesh laundry bags, flat-folded pillowcases and cloth napkins are the natural fit. Label the front edge, not the top, since the top is what you see least from below. Acrylic cracks if you drop it on tile, so the coated steel version is the better buy in a room with a hard floor.
27. Install a small ceiling light with a dimmer switch
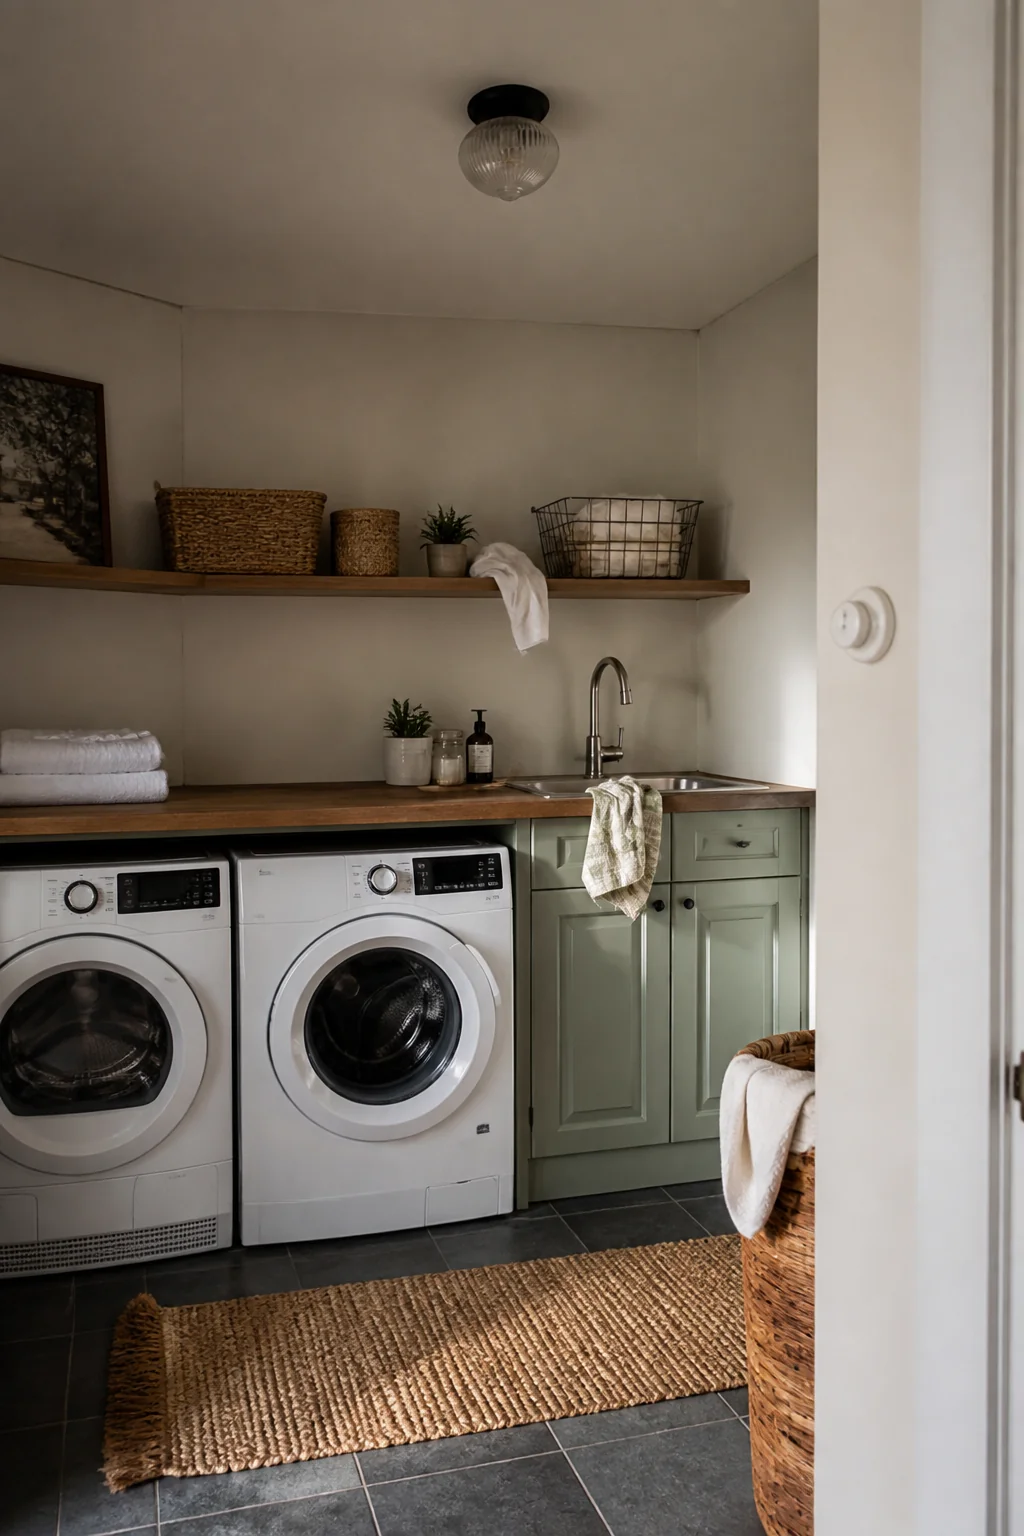
A dimmer is $15 to $30, and it lets one fixture do two jobs: low while you're throwing a load in at night, full brightness while you're checking a collar or matching socks. The part people get wrong is the pairing. Most LED bulbs sold as dimmable only behave properly on a modern LED-rated dimmer, the ones labeled ELV or C-L. Put them on an old incandescent dimmer and you get buzzing, flicker at the bottom of the range, or a bulb that drops out entirely instead of fading. Check the dimmer's LED load rating too, which is far lower than its incandescent rating printed alongside it. Smart dimmers additionally need a neutral wire in the box, which older homes often don't have at a switch. It's a 20-minute swap for an electrician if you'd rather not open the box yourself.
28. Hang floating shelves at different heights for visual interest
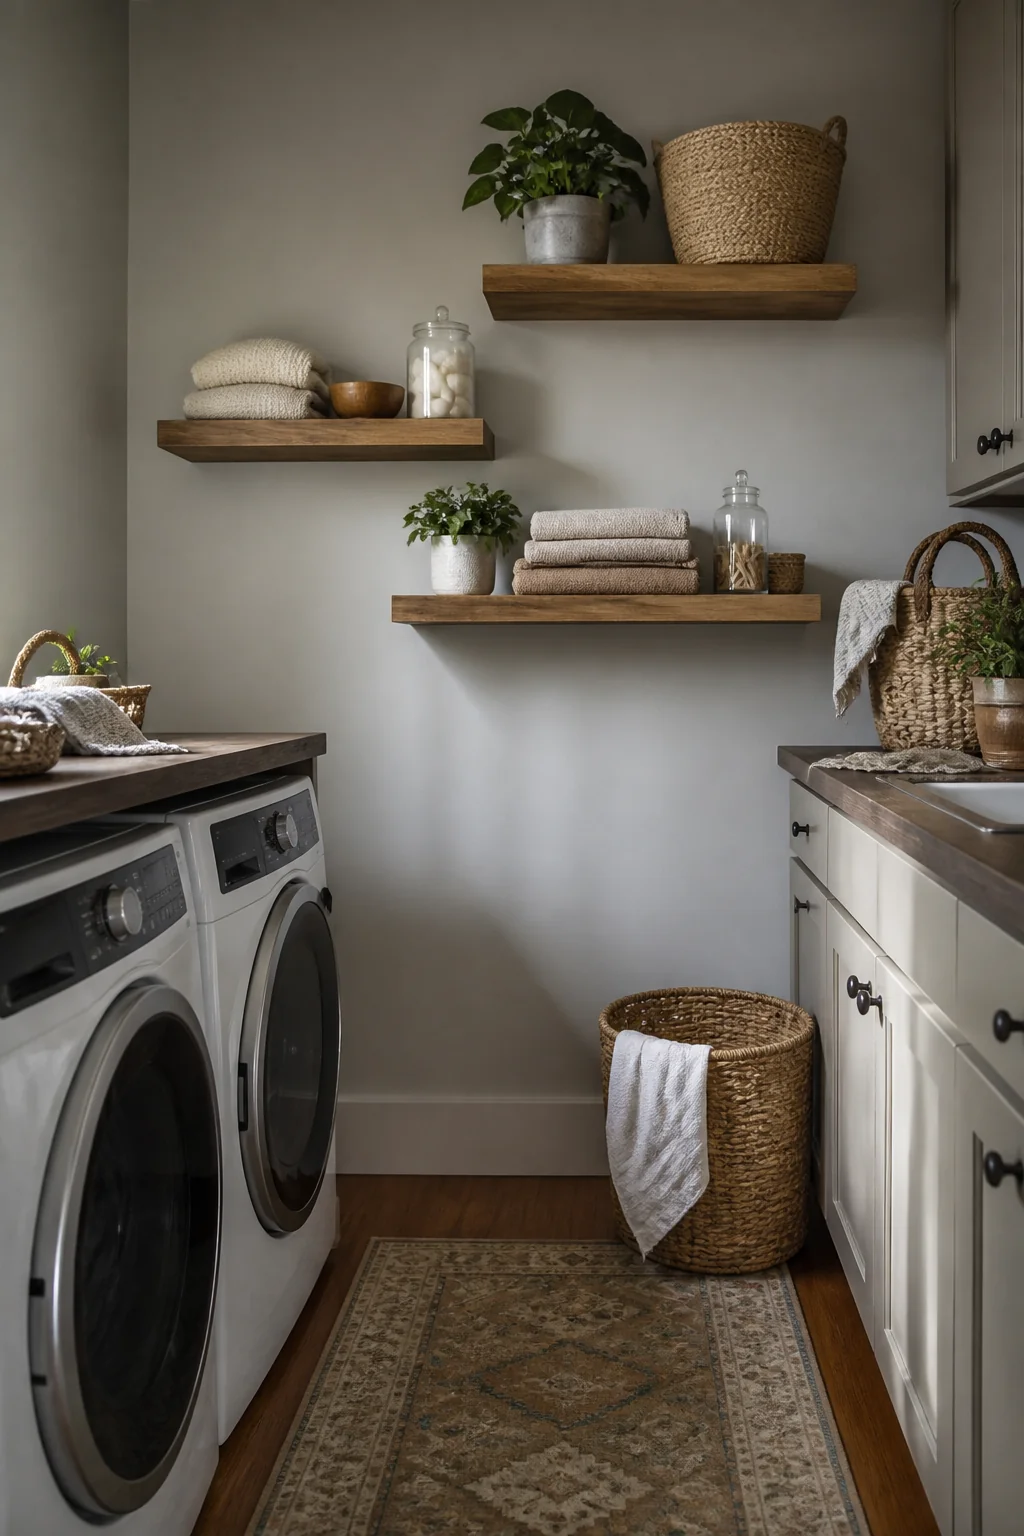
Staggering shelves is half a looks decision and half a storage one. A run at 48, 54 and 60 inches gives you one 6-inch bay for small bins and one taller opening that clears an 11-inch detergent jug upright, which a set of evenly spaced shelves usually won't. Keep the highest shelf under 72 inches so you can reach it flat-footed; anything above that becomes the place things go to be forgotten. Vary the depth as well as the height, 12 inches down low and 10 inches up top, so the upper shelf doesn't loom over your head while you're loading the washer. Two rules keep it from looking accidental. Level every shelf individually rather than eyeballing it off the one below, and line the left-hand ends up on a single vertical. Ragged heights with ragged ends read as a mistake, not a choice.
29. Add a trash bin and recycling bin for lint and packaging
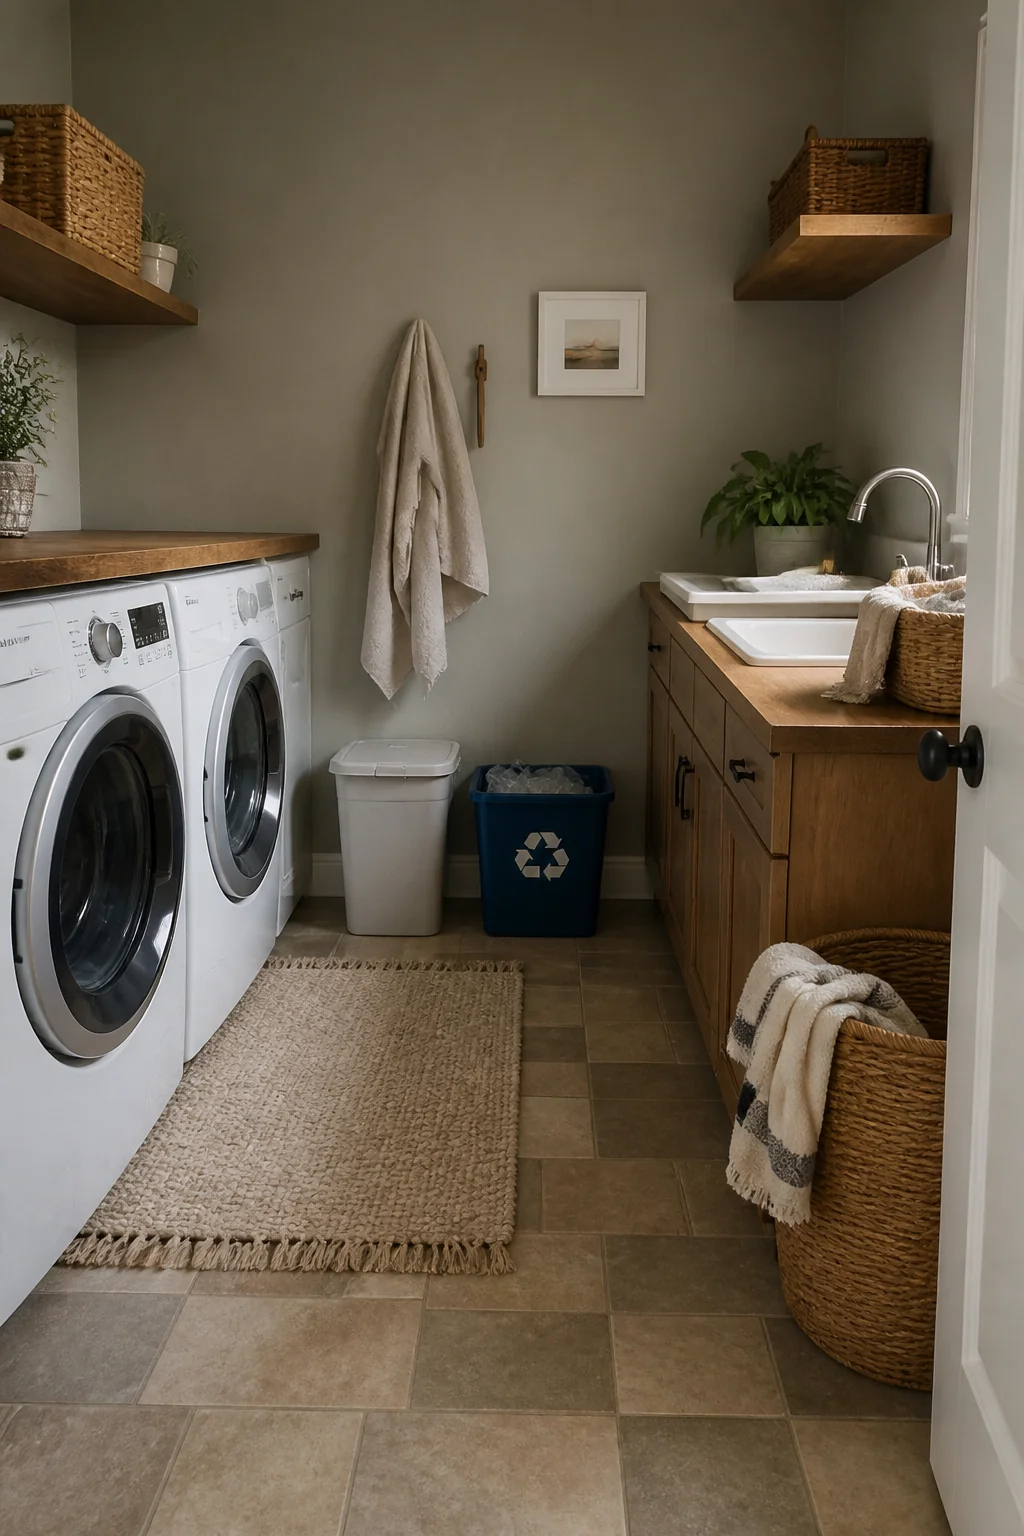
Laundry rooms generate a specific kind of small trash: lint, used dryer sheets, the plastic film off new packaging, empty detergent jugs and the cardboard they arrived in. Without a bin, all of it lands on the machine tops. A slim dual unit is about 10 to 12 inches wide, 15 deep and 24 to 28 tall, and a 30-liter double runs $35 to $70. Put it where you unload the dryer, since that's where lint and dryer sheets appear, not by the door where it blocks the swing. Choose a step-open or flip lid rather than an open top; an open bin in this room fills with airborne lint dust and needs wiping out constantly. One safety note worth taking seriously: dryer lint is fine, dry and highly flammable, so don't site the bin against the dryer cabinet or anywhere near the exhaust, and empty that side often.
30. Use a tension rod to hang cleaning tools
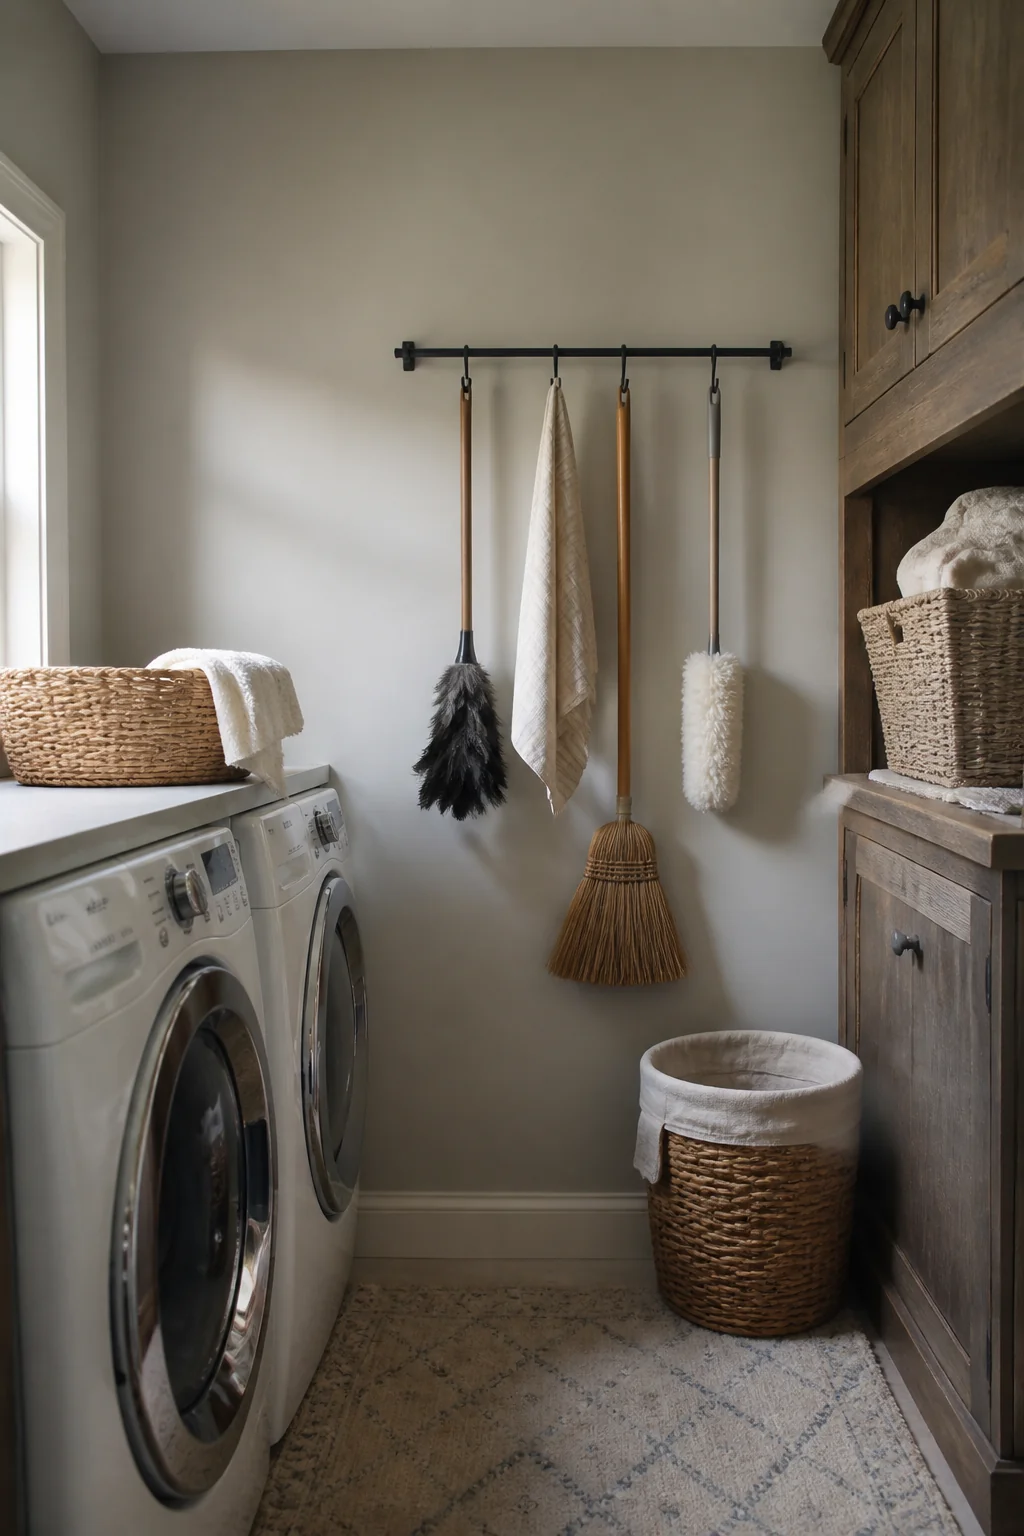
Set a tension rod across a narrow alcove or the inside of a cabinet bay and it becomes a hanging rail for cleaning gear: spray bottles hooked over it by their trigger heads, microfiber cloths draped to dry, a hand brush or duster on an S-hook. The rod costs $8 to $15 and leaves the shelf below completely free. Two measurements make or break it. Set the rod 3 to 4 inches out from the back wall so bottles hang clear instead of scraping, and respect the load limit, since friction rods give up somewhere around 15 to 20 pounds and let go much earlier than that if the rod isn't dead level or the surface is glossy tile or laminate. Test it with a hard tug before you trust it with glass bottles. If it slips twice, stop fighting it and screw in a pair of rod sockets.
31. Paint appliances a matching neutral if they're different colors
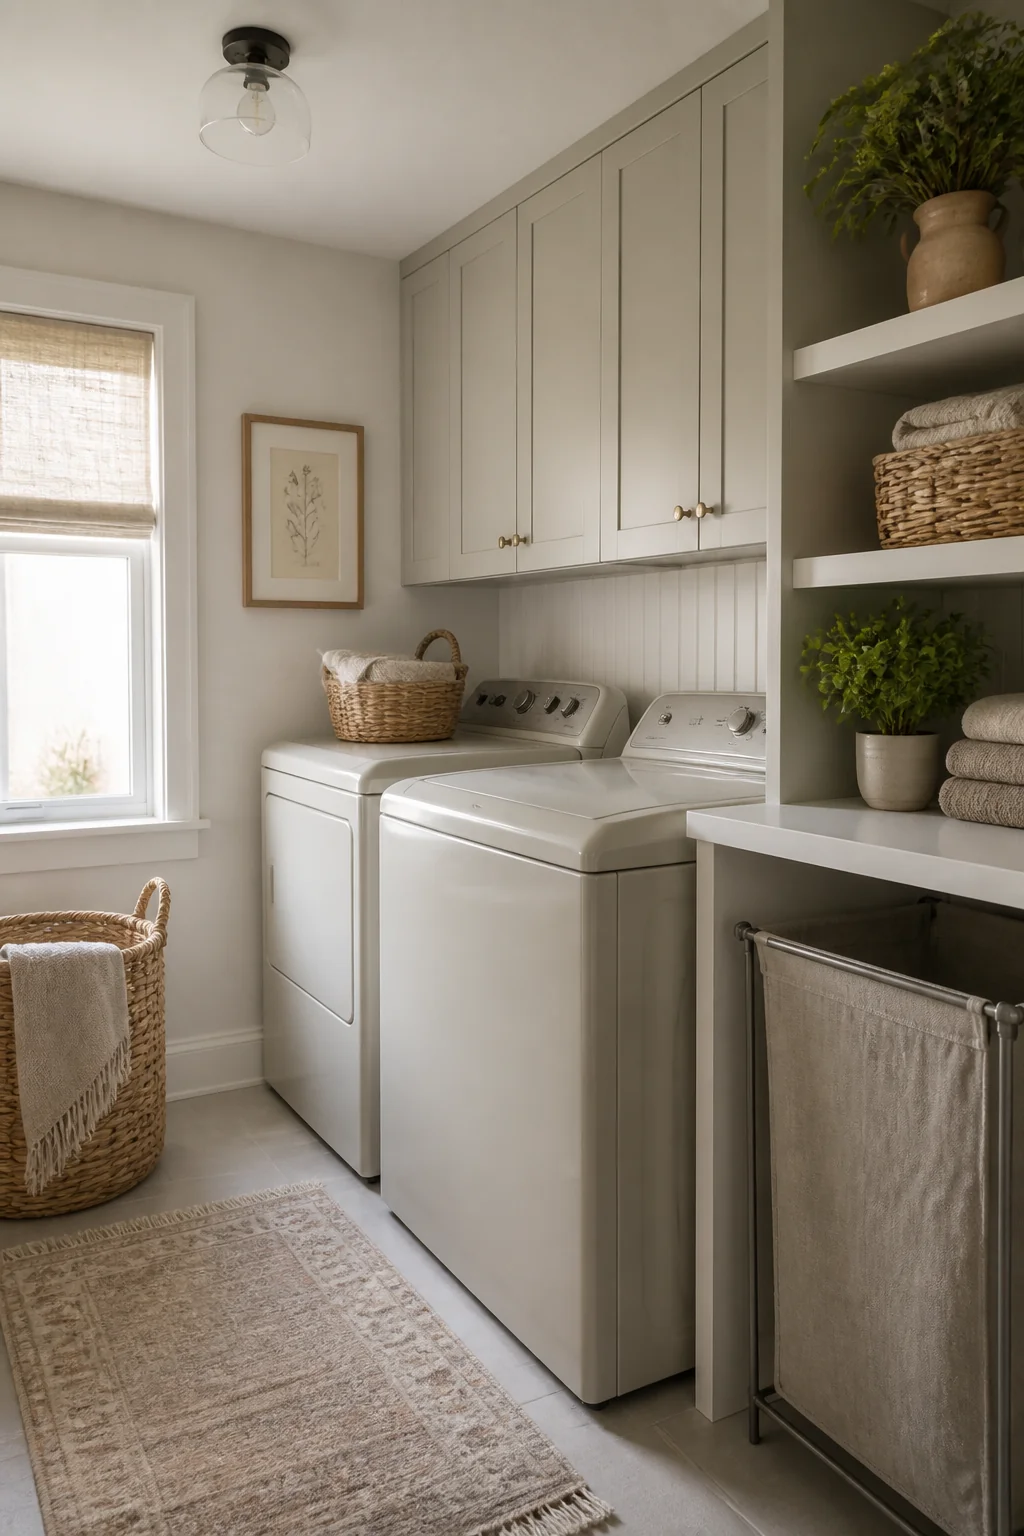
A white washer next to a stainless dryer reads as clutter in a room this size, because the eye counts two objects instead of one block. Appliance epoxy spray fixes it for $10 to $16 a can, and one can covers a dryer front and side. The procedure matters more than the paint. Unplug the machine, degrease the panel with a TSP substitute, scuff it with 220-grit so the epoxy has a key, then mask the vents, the badges, the control panel and the door gasket. Lay down two or three light coats about 10 minutes apart rather than one heavy pass that will run. Cure times are the trap: dry to the touch in an hour, safe to handle at 24 hours, but not fully hard for about a week, so keep baskets and bottles off it. Never spray near the exhaust or inside the drum, and skip this entirely on a machine still under warranty or in a rental.
Save this for your next project
One caution before you start drilling anything: the machines get their clearances first, and everything else fits around what's left. Keep the 1-inch air gap at the sides, leave 4 to 6 inches behind the dryer for a rigid metal vent duct (a recessed vent box brings that down to about an inch if you're desperate for depth), and make sure the shutoff valves and the plug stay reachable without moving an appliance. Flexible foil duct doesn't belong back there at all, and neither does a cabinet built tight to the wall. Shelves, hooks and a fold-down table can all be moved later with a patch of spackle and twenty minutes. A vent that can't breathe or a valve you can't reach in a hurry is a much more expensive mistake, and it's the one small laundry rooms make most often.
Ideas fade by Friday. A plan finishes the room.
You just read a full guide to your small space. Saving ideas will not change it; a plan will. The Home Decor Collection is every planning tool we make, for every room in the house, in one download, so the after photos below stop being other people's rooms.
- Six room Style Kits, each with layout, palette and shopping list$114
- The Gallery Wall Studio: 200 prints + 15 measured layouts$29
- The Room Makeover System: 40 solved room layouts + workbook$29
- The Color Palette Handbook: 60 palettes shown in real rooms$19
- The Whole-Home Reset: 40 printable organizing checklists$19
- The Decorator's Cheat Sheets: the 40 measurements that matter$9
- All eleven products, bought separately
$219$97
A single hour with an interior designer costs more than the entire Collection, and this one keeps answering for every room you will ever decorate. Free updates included as the products grow. And if it is not for you, the 14 day money back promise means you simply get a refund.