14 Timeless Rustic Kitchen Decor Ideas With Natural Wood and Stone
See 14 rustic kitchen decor ideas using natural wood beams, stone counters, and iron hardware that actually work in modern homes.
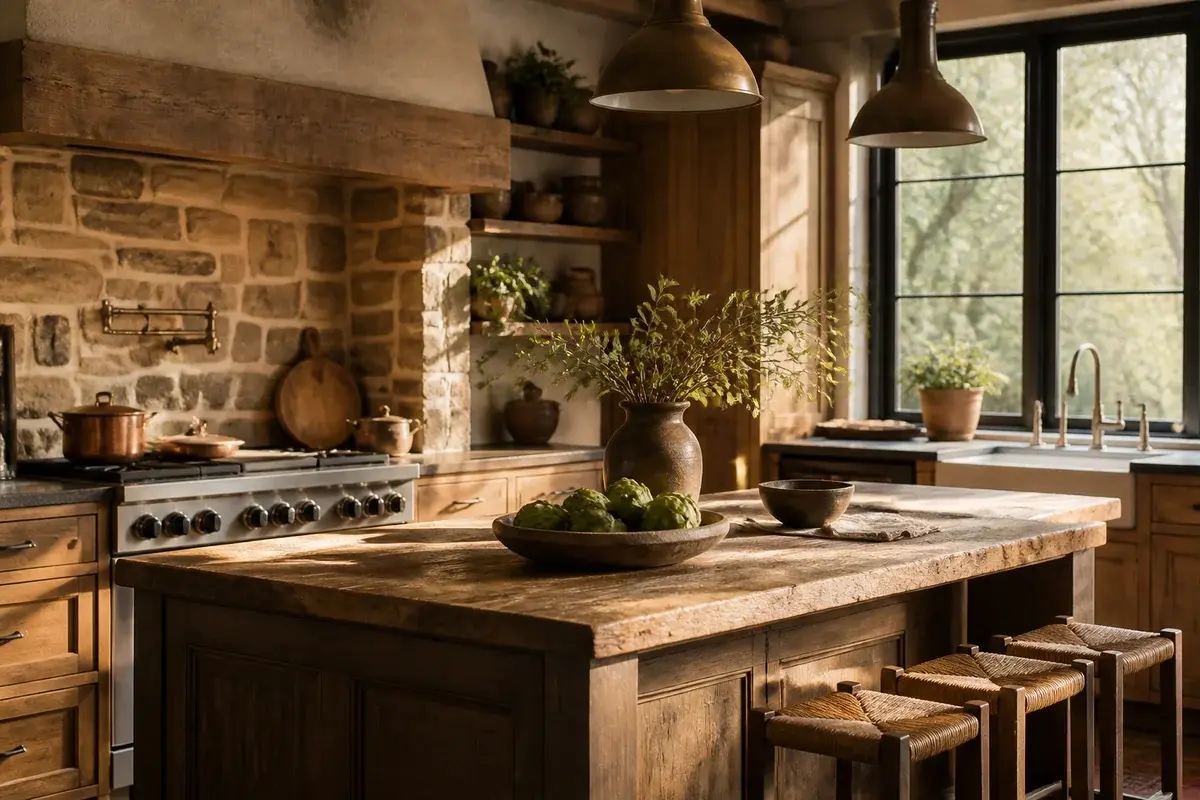
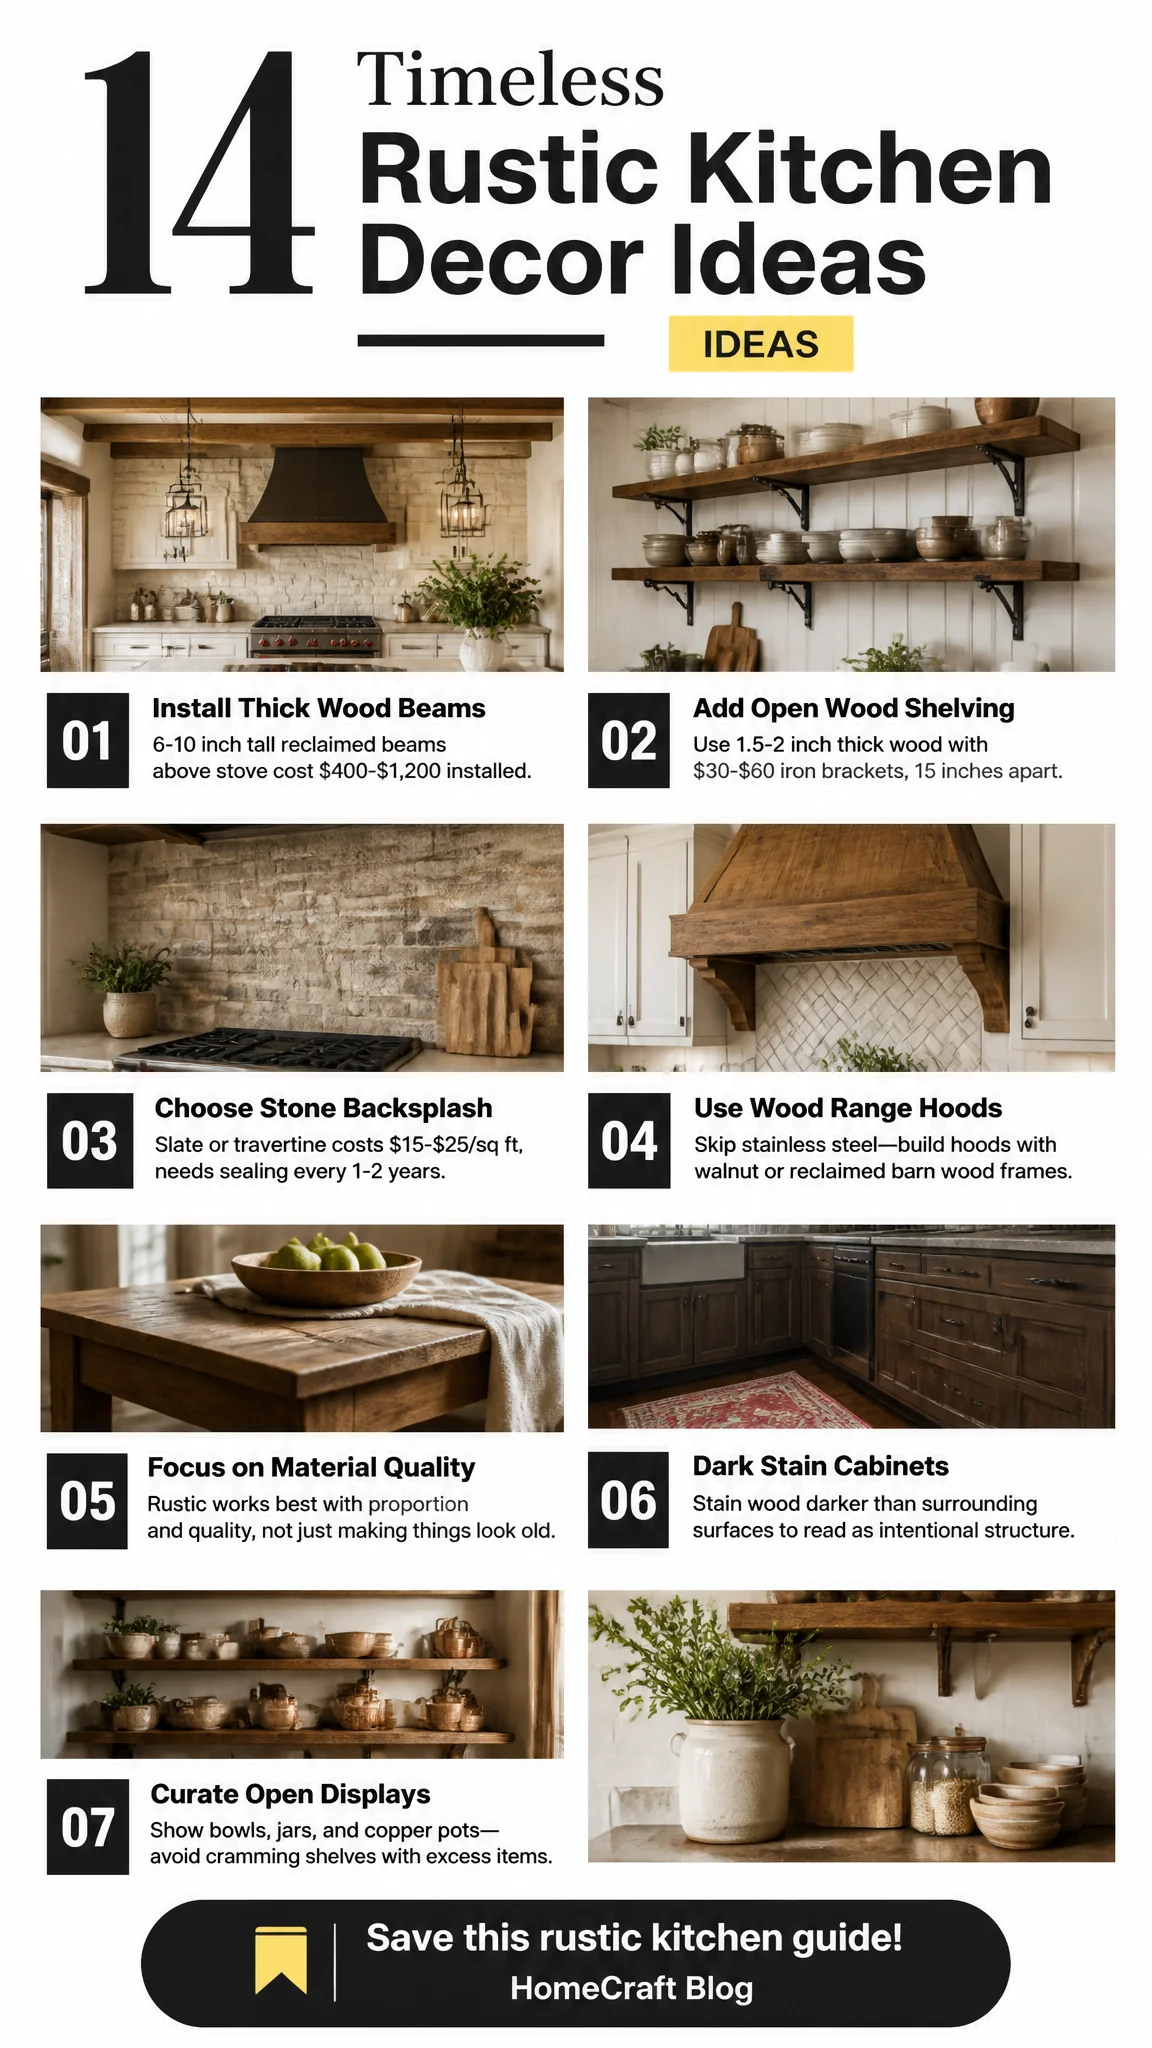
A real rustic kitchen has the weight of actual materials - thick wood beams overhead, stone counters that show their age, hardware made of iron. What usually stops you getting there is thinking rustic means shabby, or that you need to choose between it and the kitchen actually working. You don't. Rustic works best when it's built on proportion and material quality, not on making things look old for their own sake. Here are the fourteen ideas that hold up.
1. Install a thick wood beam as a focal point above the stove
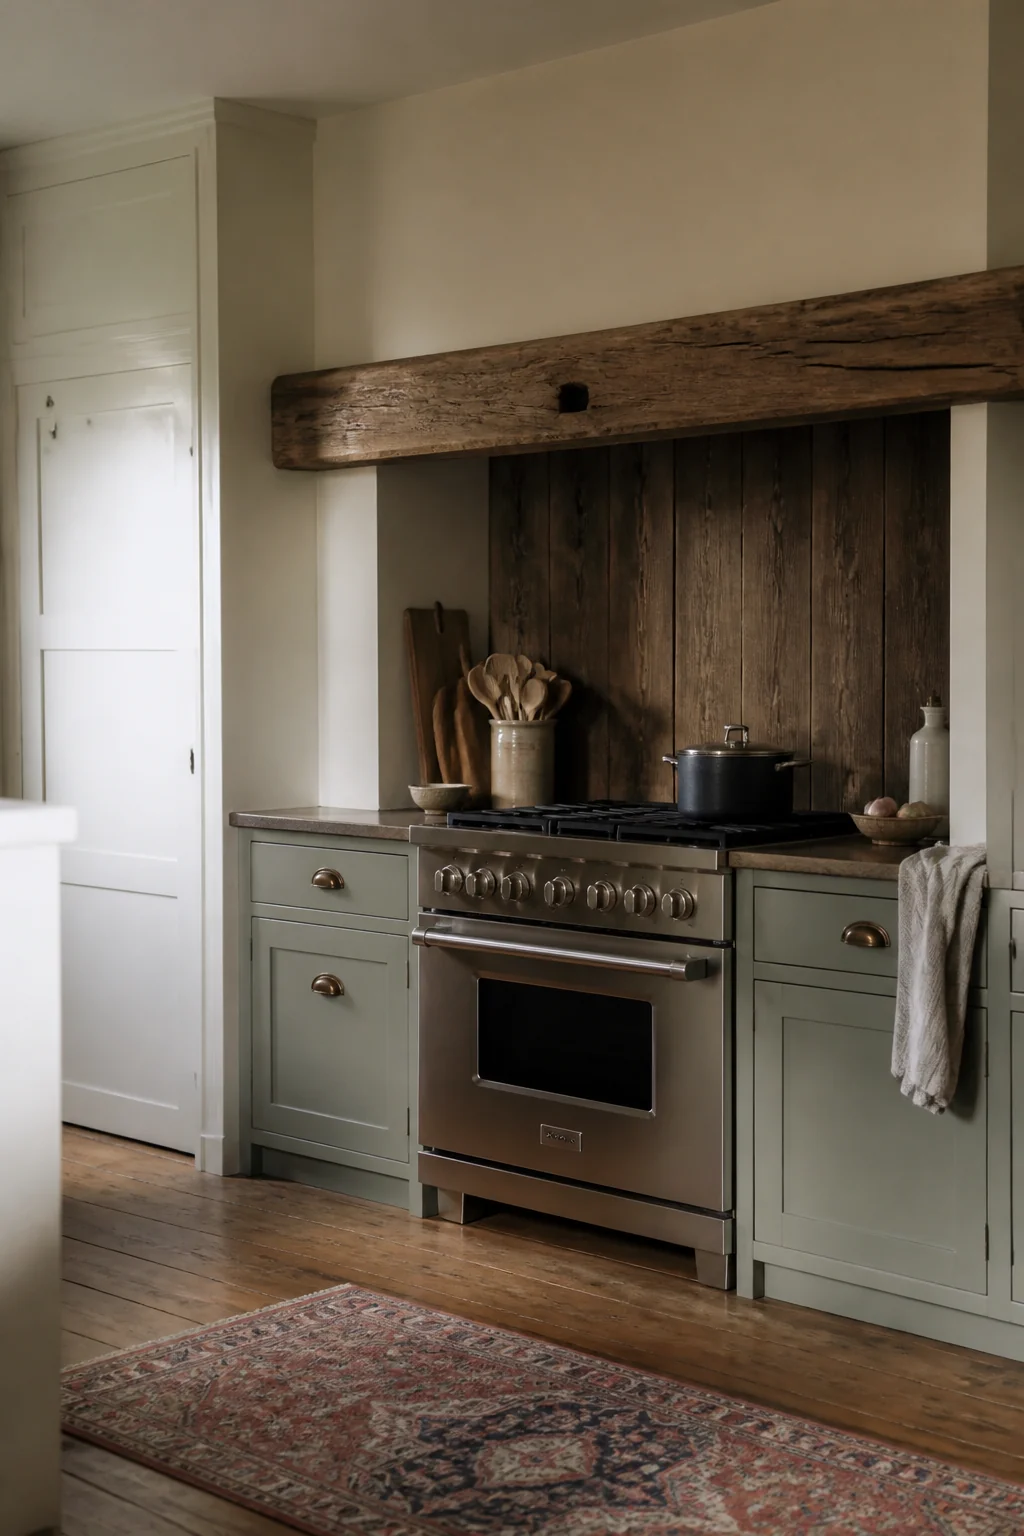
A beam running perpendicular to your stove wall gives rustic kitchens their strongest anchor. You want something substantial - reclaimed wood beams run roughly 6 to 10 inches tall and 10 to 14 inches deep, depending on the span. They cost between $400 and $1,200 installed, and you'll need a contractor to verify your ceiling can hold the load. The beam works best when it's a single continuous run rather than broken into sections. It reads as intentional, not like you ran out of material. Stain it darker than your cabinets so it reads as a structure, not trim.
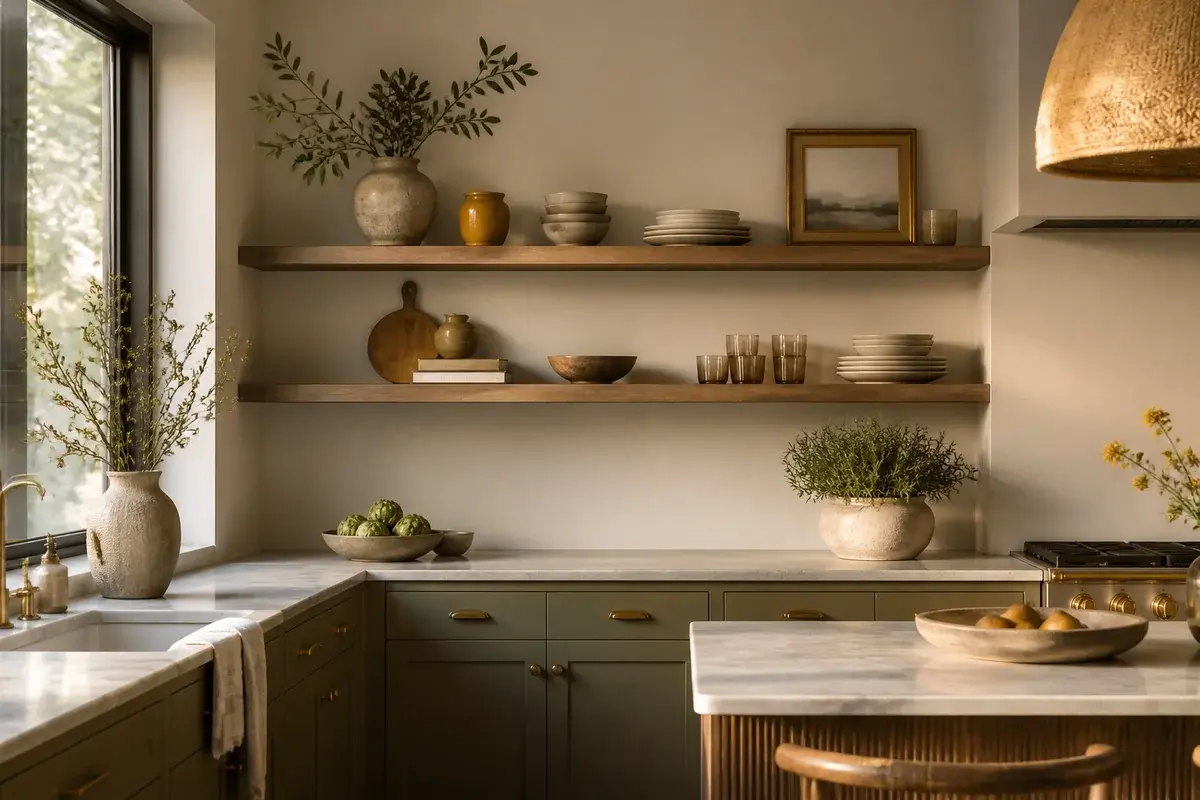
2. Use unfinished wood shelving with iron brackets for open storage
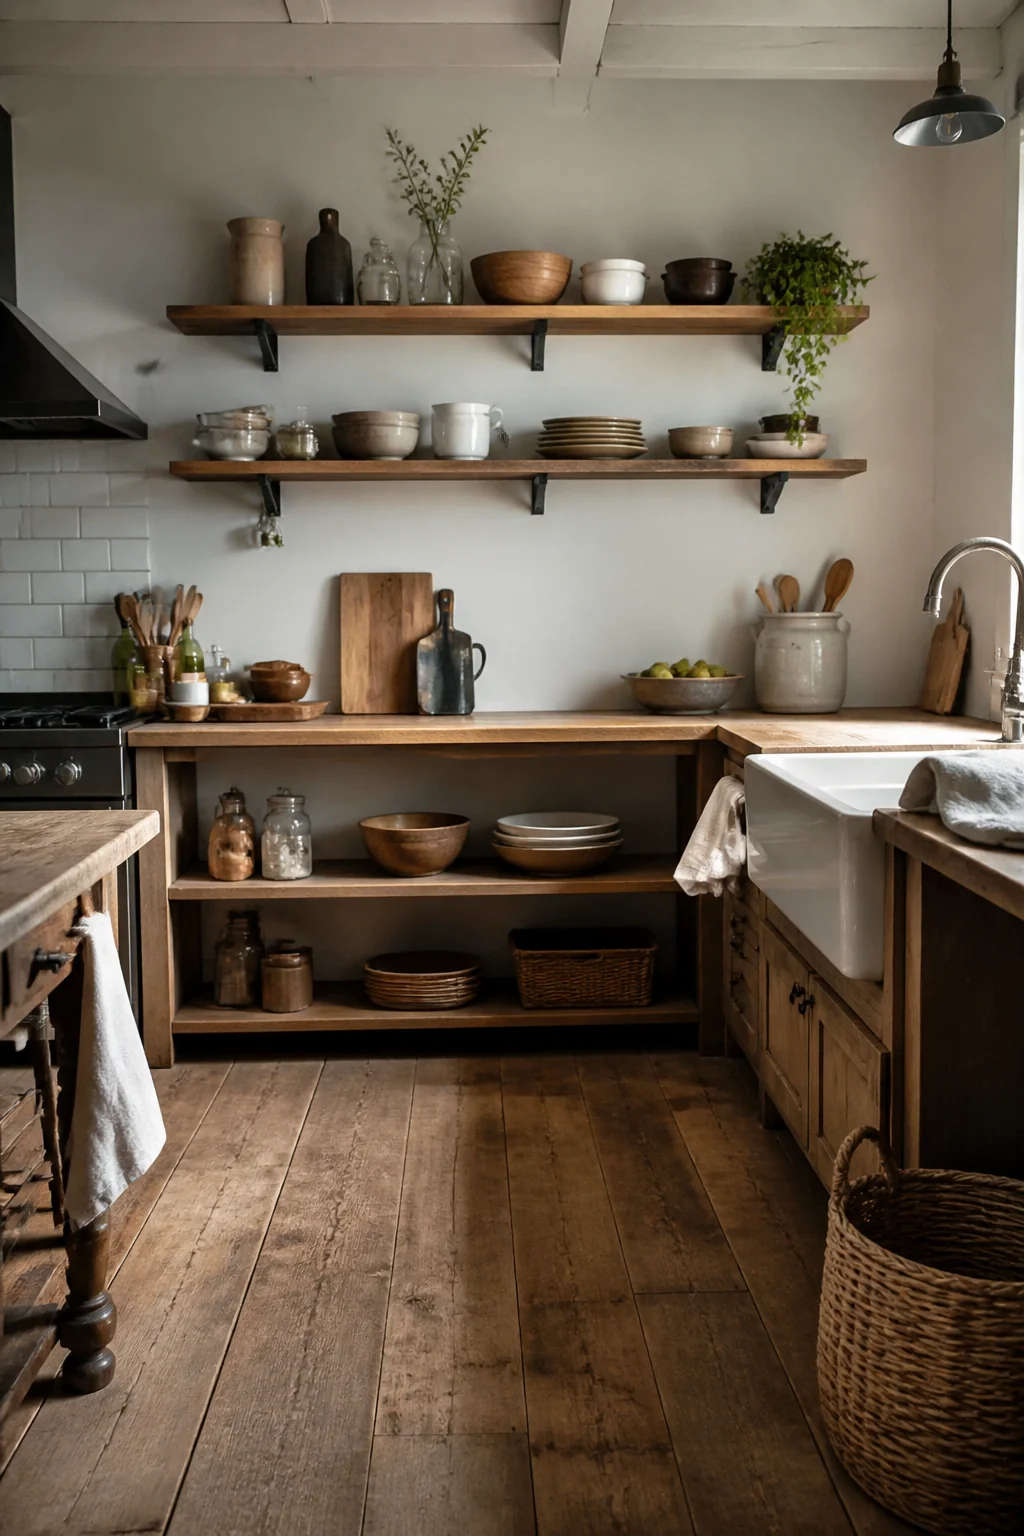
Open shelves above a counter let you show off your actual kitchen life - bowls, glass jars, copper pots. The wood itself should be 1.5 to 2 inches thick, in reclaimed or hand-planed finish (not sanded smooth). Iron brackets rated for the weight cost about $30 to $60 per pair and should span roughly 18 inches between supports. Install them at standard counter height, 36 inches from the floor, then mount shelves 15 inches apart. Keep only what you actually use on display; a shelf crammed with stuff reads cluttered, not curated. This works poorly in kitchens with high humidity or steam from the stove, since wood warps.
3. Choose a stone or slate backsplash instead of tile
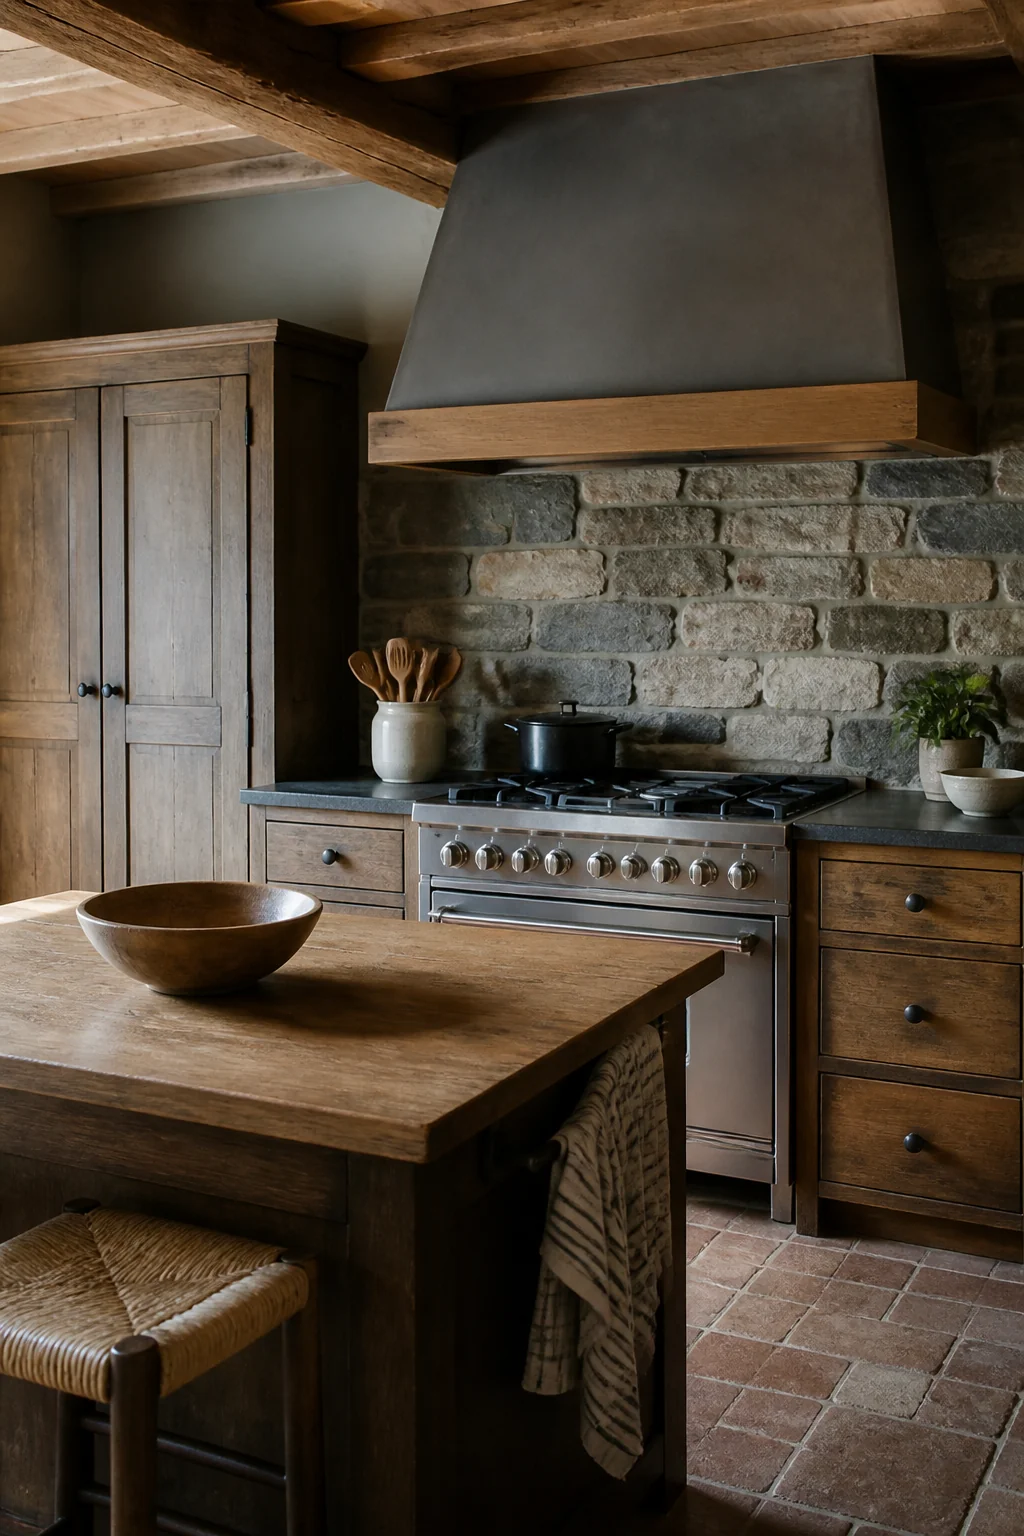
Stone backsplash - slate, travertine, or limestone - has an irregular, weighted feel that ceramic tile never quite matches. You're looking at roughly $15 to $25 per square foot installed, higher than standard subway tile but lower than hand-painted options. The irregular surface actually hides splatter better than smooth surfaces do, though you'll need to seal it every one to two years to prevent staining. Leave grout lines natural and thin rather than filling them with bright white - the contrast flattens the rustic effect. A light hand with grout lets the stone's actual color carry the room.
4. Install a large hood in wood and stone, not stainless steel
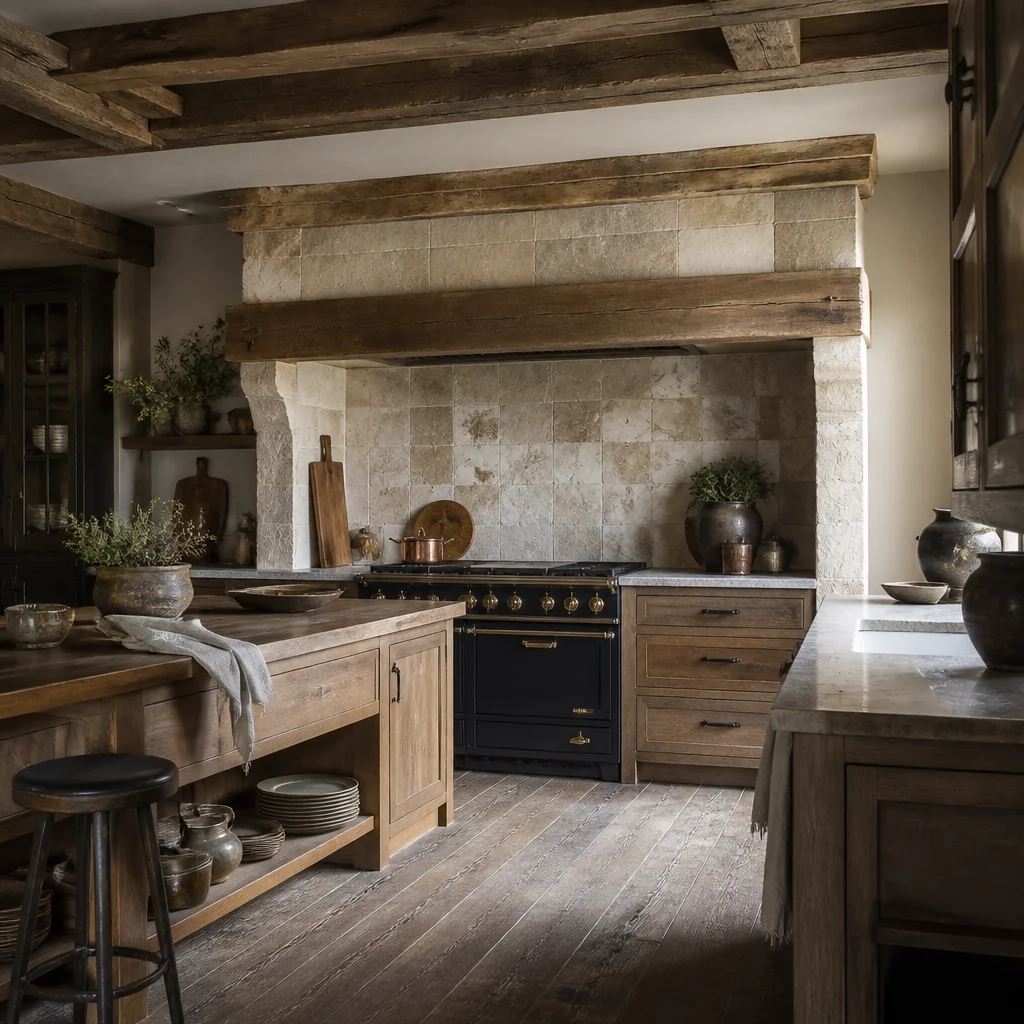
Range hoods in stainless steel clash with rustic materials no matter how you frame them. Build or buy one with a wood frame (usually walnut or reclaimed barn wood) and a stone surround in the same material as your backsplash. Custom hoods run $1,500 to $3,500, but they become the room's visual anchor and justify the cost by anchoring the whole design. A wood hood also handles scale better in kitchens with 9-foot ceilings - it won't read as harsh or industrial. If your budget is tighter, a simpler wood frame around a standard hood is a compromise that at least removes the stainless-steel problem.
5. Source real stone countertops - granite, slate, or soapstone
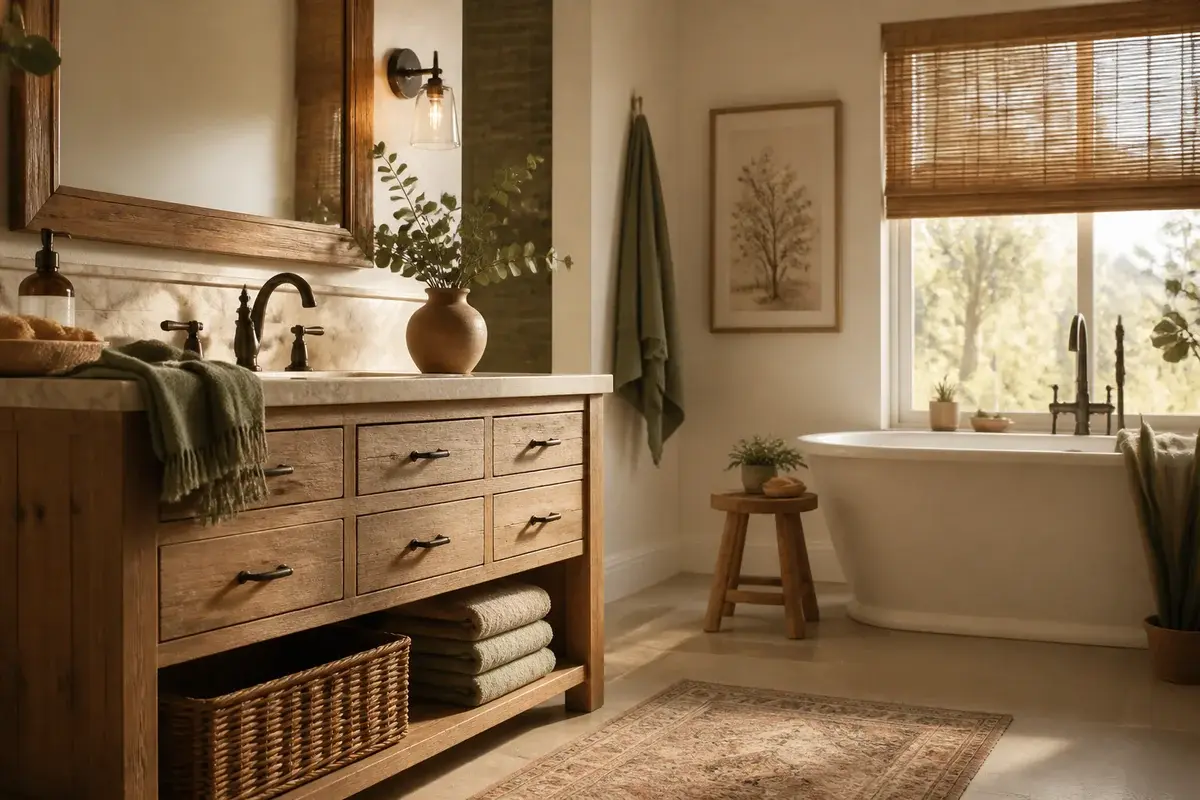
Granite counters run about $75 to $150 per square foot installed and come in colors with real variation - grays, creams, warm browns. Slate runs a bit higher and moves through deeper charcoals and blacks. Soapstone costs $100 to $150 per square foot and darkens over time with use, developing character you actually see. The key is picking stone with visible veining and variation, not uniform color - that's what reads as real material rather than generic. Edge profiles matter too. A simple eased edge or a 2-inch beveled edge works; ornate ogee profiles read too formal for rustic scale. Your stone supplier can show you actual samples.
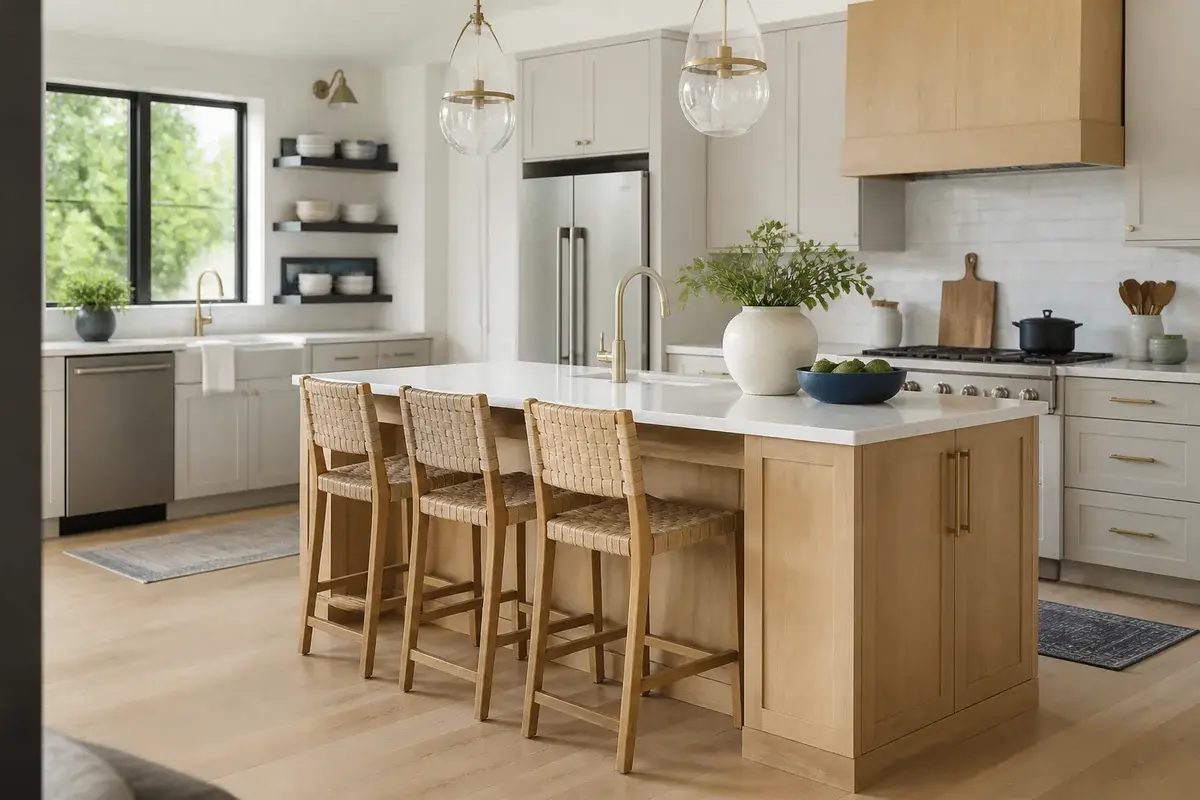
6. Add a wood kitchen island with a stone top and bar seating
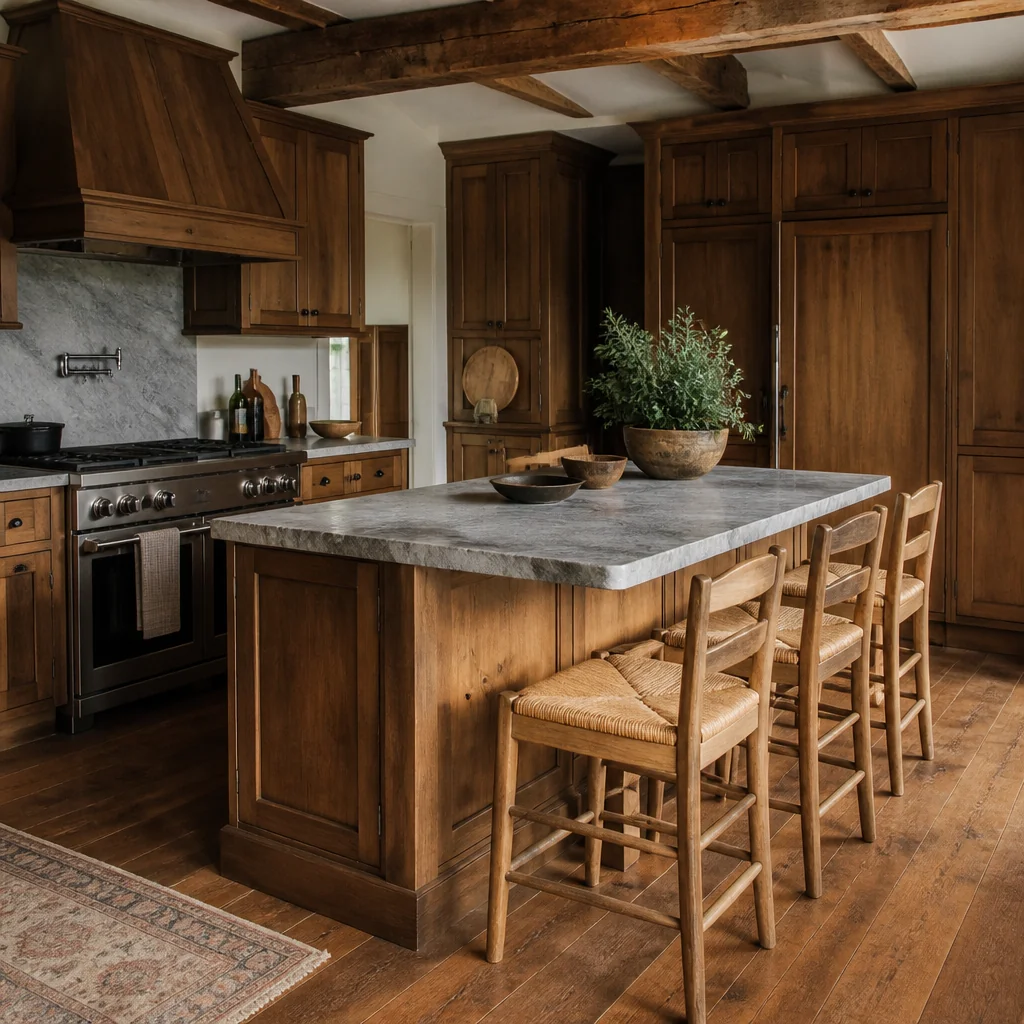
An island grounds a rustic kitchen and gives you actual workspace. The base should be solid wood - oak, hickory, or reclaimed timber - with thickness and visual weight. Aim for an island roughly 36 inches deep and 48 to 60 inches long, with a 15-inch overhang for bar seating (about $800 to $2,000 for a custom piece). Top it with the same stone as your counters so it reads as one material story, not competing surfaces. Bar seating with simple wood stools lets people sit and eat without feeling formal. An island that looks like a piece of furniture rather than a cabinet reads stronger in rustic space.
7. Paint cabinets in deep or muted tones, not stark white
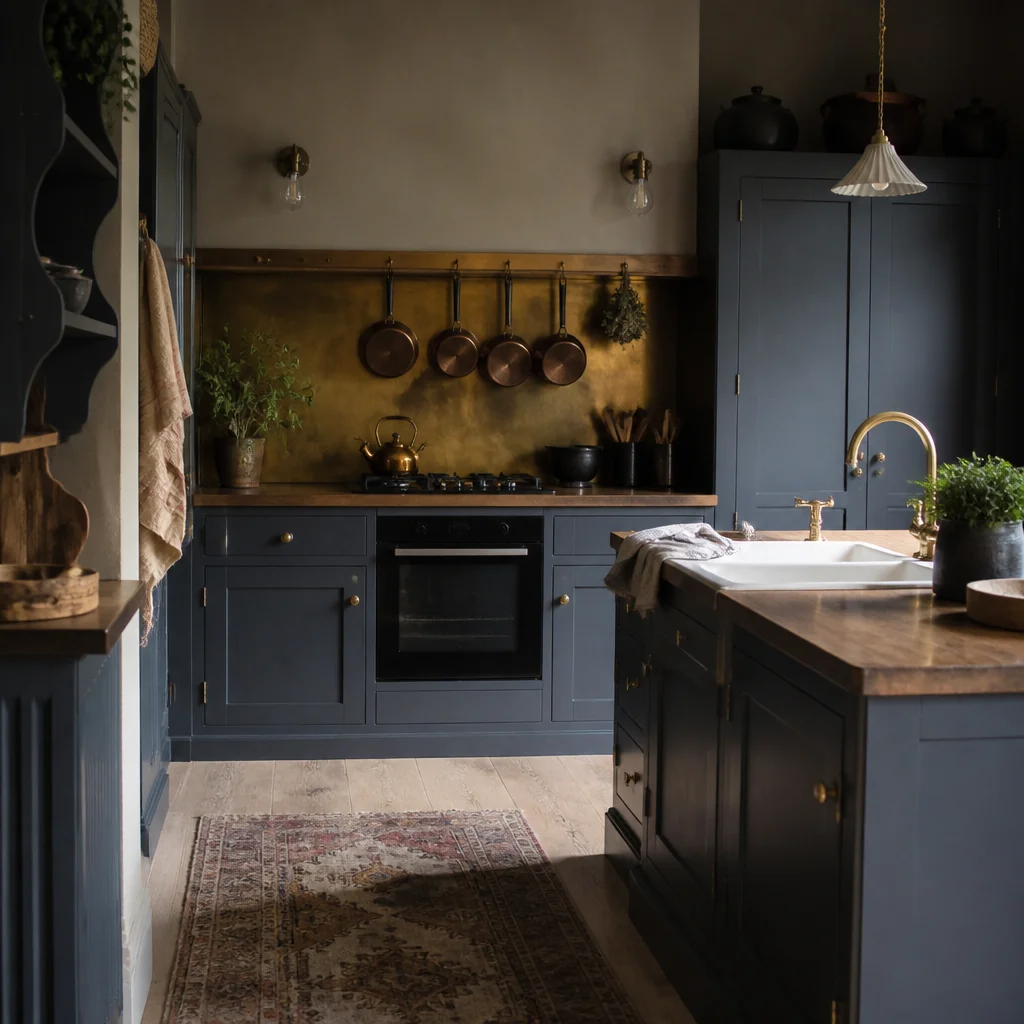
Cabinets painted in deep forest green, warm charcoal gray, or muted blue-gray hold rustic materials better than white. White cabinets read too clean, and contrast too sharply with wood and stone. The paint should be a matte or satin finish - not glossy - with real depth to it. Aim for colors that have some warmth, not cool undertones (think warm gray rather than cool gray). Keep hardware simple and dark - oil-rubbed bronze, forged iron, or blackened steel in simple pulls or cup handles. This is where you resist brass, chrome, or anything that catches light sharply. A cabinet painted in the right color becomes a neutral backdrop for your stone and wood.
8. Hang a drying rack or pot rail above or beside the stove
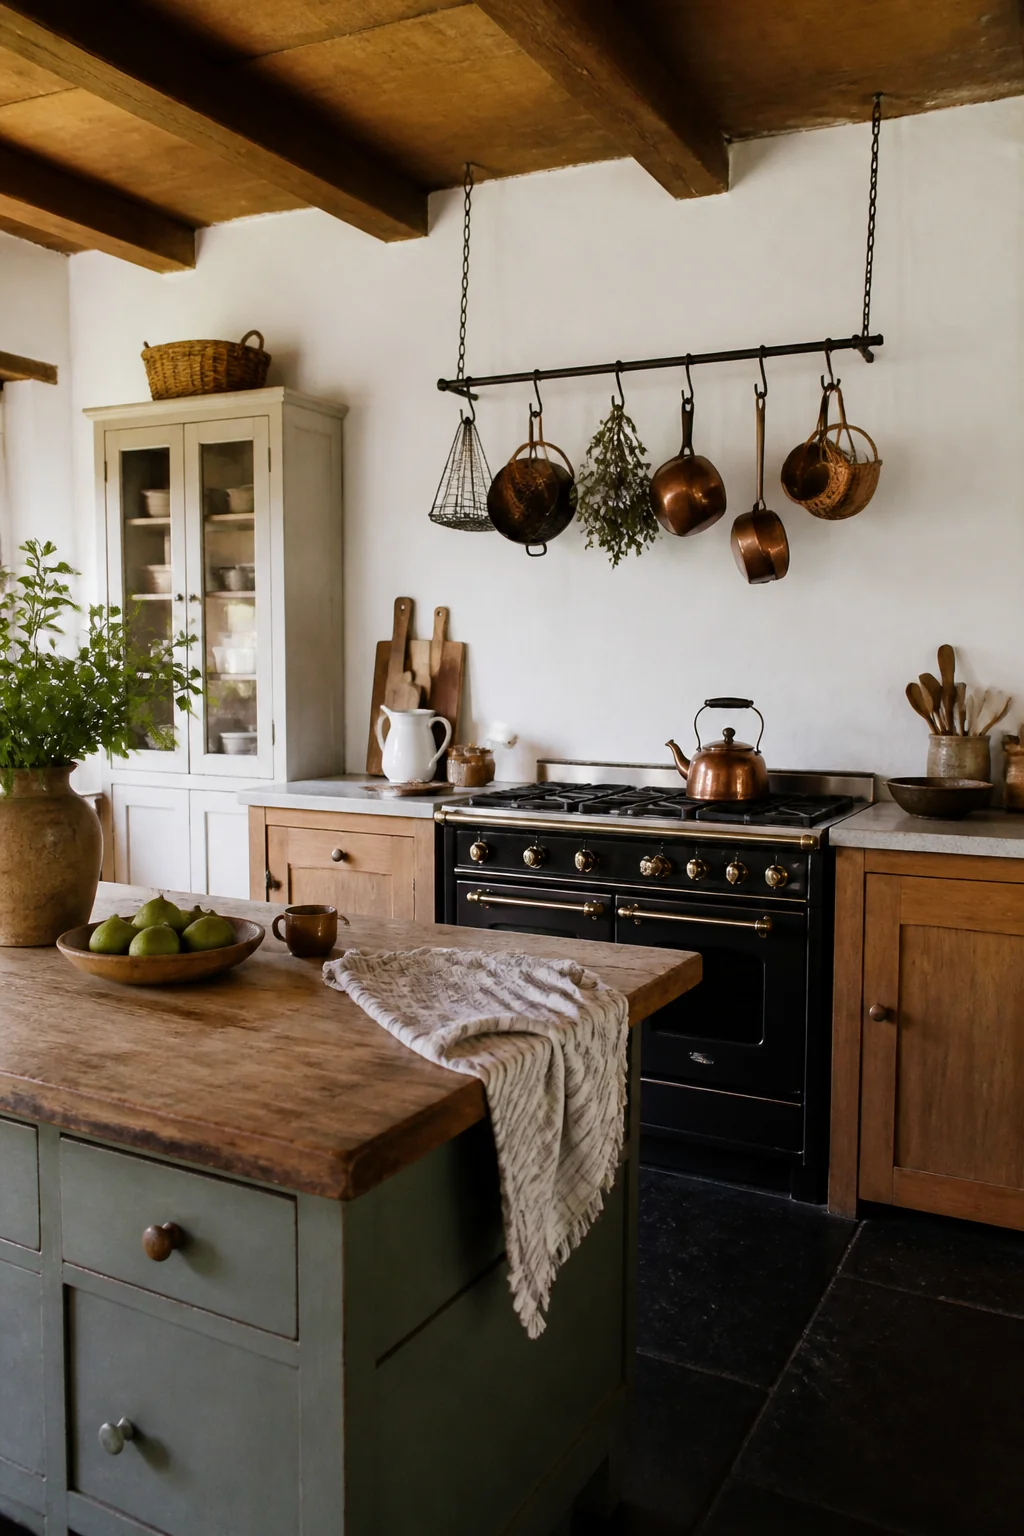
A wrought-iron pot rail or wooden drying rack hung at ceiling height does real work and looks intentional. Wrought-iron rails run $300 to $600 installed and can hold both pots and ladles without looking overdone (just don't hang 30 things on it). A wooden drying rack - usually hardwood with wooden pegs - costs $150 to $400 and sits at the edge of the counter. Both work because they're functional pieces that actually anchor your kitchen's working side. This is not decoration; it's a tool that happens to look good. The rail works best when it's in proportion to your wall - a 4-foot span in a 10-foot wall reads right, while a tiny 2-foot rail gets lost.
9. Use terra cotta or ceramic for your everyday dishes and serving
Rustic kitchens look best when the things you use are also part of the design. Keep your everyday dishes in handmade-looking terra cotta or ceramic - warm earths and creams rather than white. Large serving bowls in rustic shapes sit better on open shelves than modern minimalist pieces do. The texture and slight irregularity read as honest. Vintage or vintage-style pieces cost less than new artisan work - check local thrift stores or online secondhand options for real pieces at $5 to $15 per bowl. When you cook and eat from materials that match your kitchen's language, the whole space feels coherent rather than styled.
10. Install a large window or multiple windows with no heavy frames
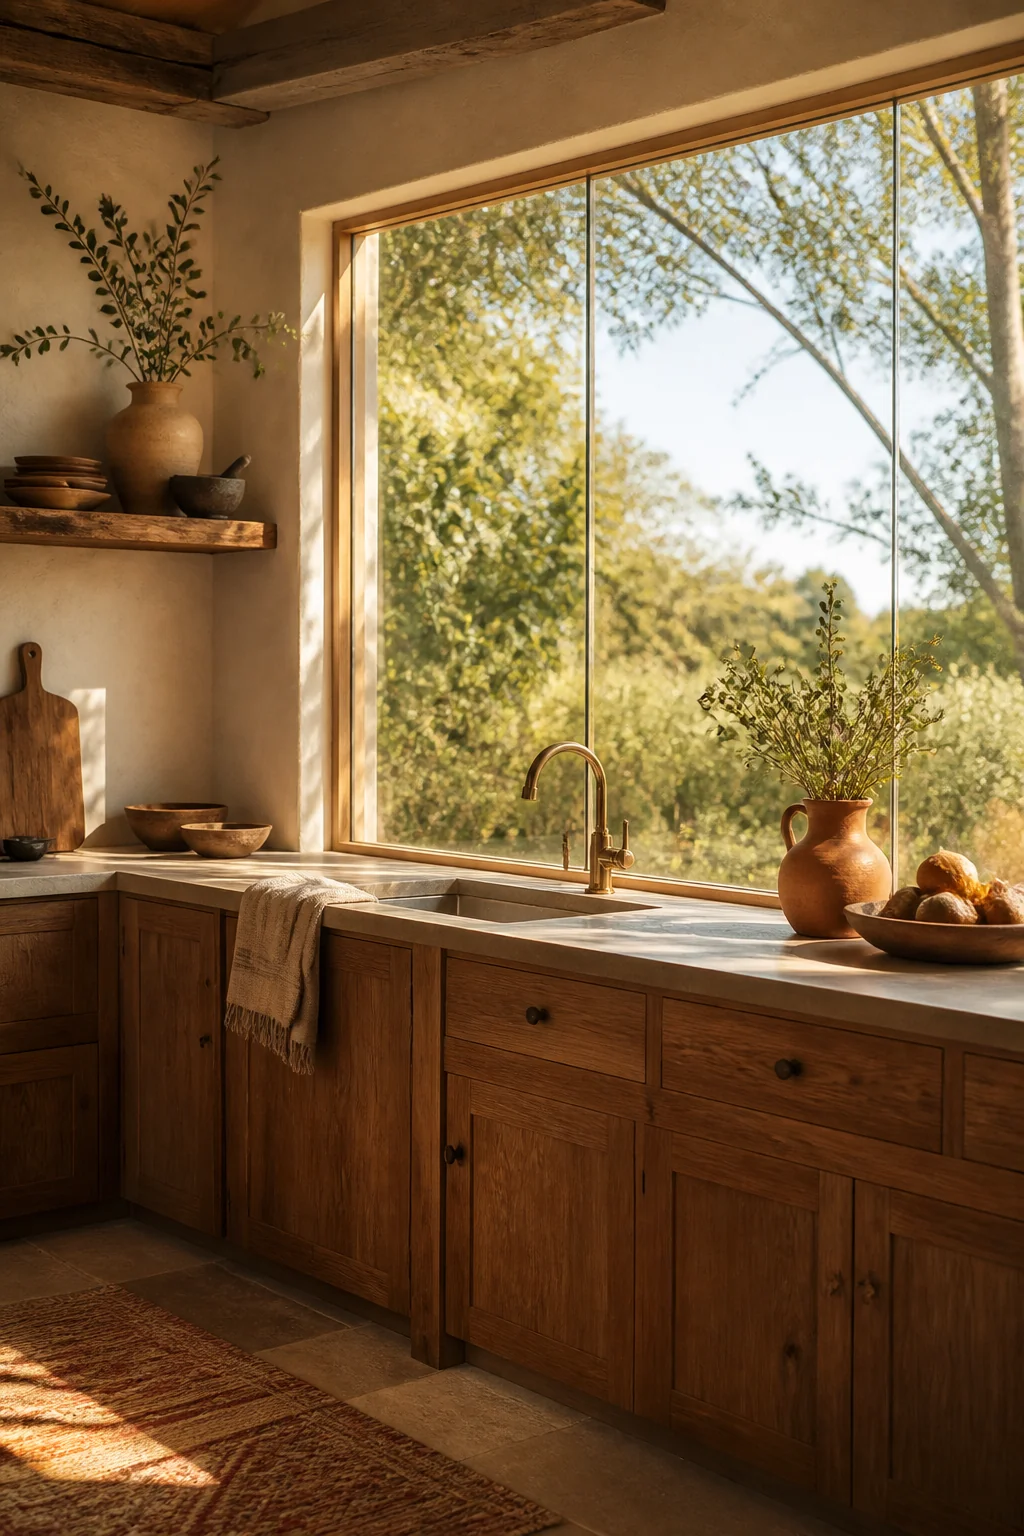
Light on wood and stone is what makes rustic materials actually sing. If you have the option to add windows or expand existing ones, do it. A large single window above the sink - say 36 inches wide by 42 inches tall - costs roughly $600 to $1,000 installed and lets you see outside while working. Multiple smaller windows with wood frames work too, as long as the frames are simple and let light through rather than blocking it. Heavy arched windows or ornate trim reads medieval and undercuts the whole effect. Simple straight lines let the materials carry the visual weight. North-facing light is steadier; south-facing light shows off warm stone colors better.
11. Add task lighting with simple iron or wood fixtures, not pendants
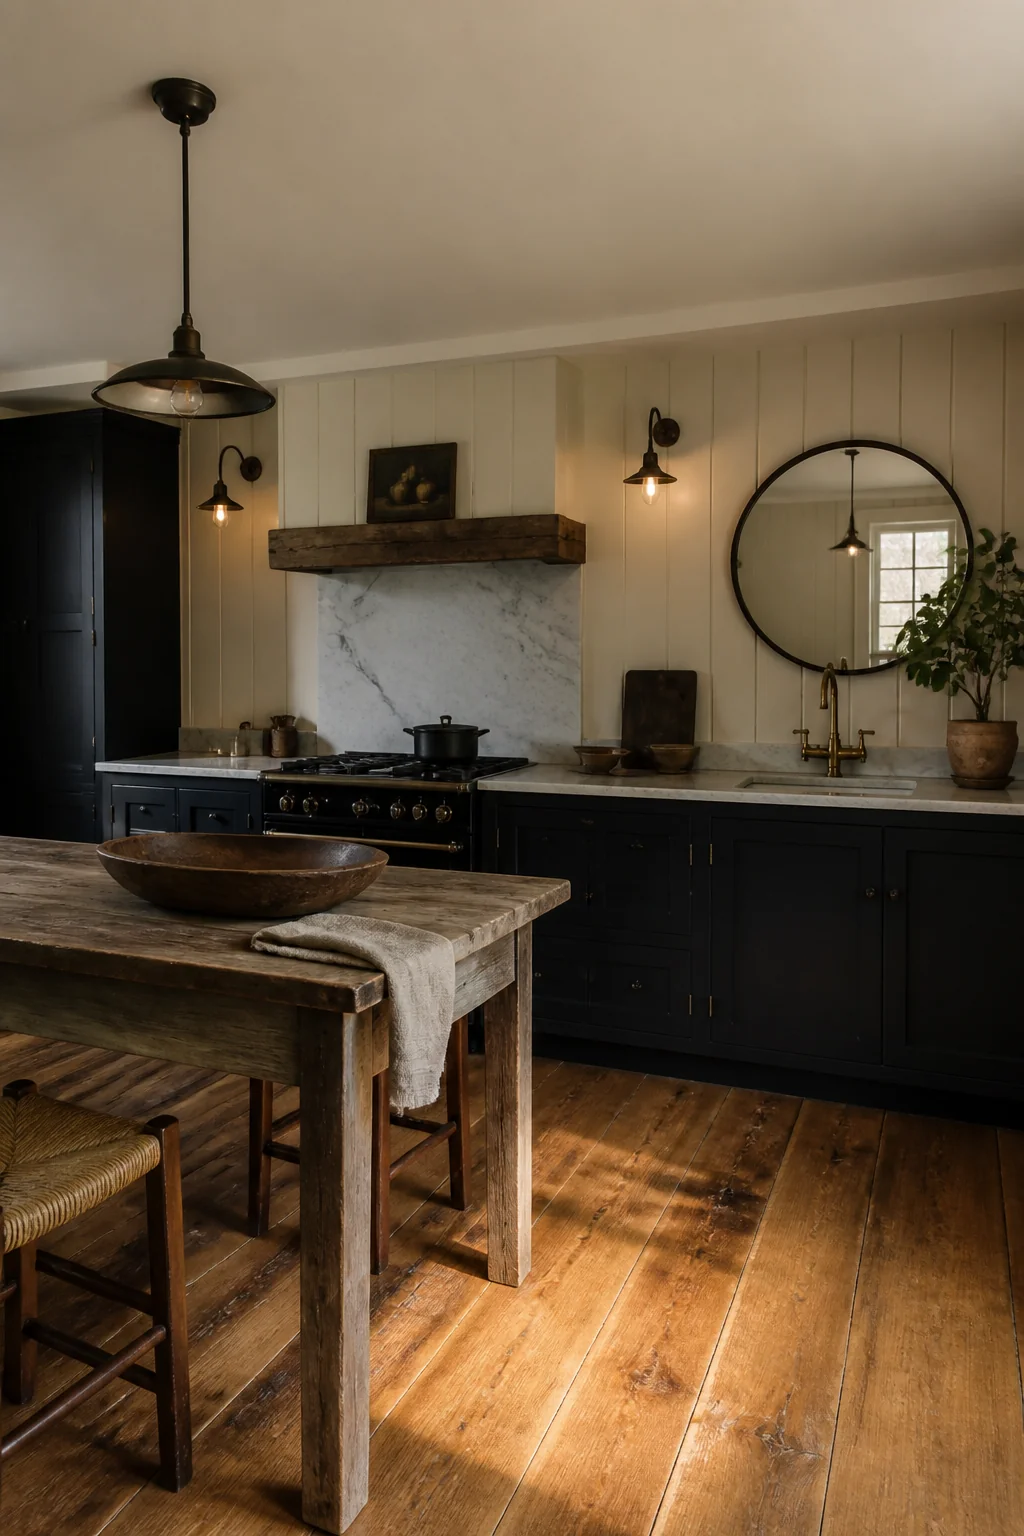
Pendant lights read too casual for rustic kitchens. Instead, use iron sconces mounted on either side of your mirror (if you have one), or simple track lighting in blackened metal. A wrought-iron chandelier or lantern-style fixture over your island - something with visible ironwork and real weight - costs $200 to $400 and anchors the space. The fixture should look like something that could hang in a farmhouse, not a bistro. Avoid anything shiny or brushed stainless; matte black, oil-rubbed bronze, or raw iron all work. Lighting that has actual structure and substance matches stone and wood better than minimal modern fixtures do.
12. Lay wood flooring in a simple pattern, or keep existing stone floors
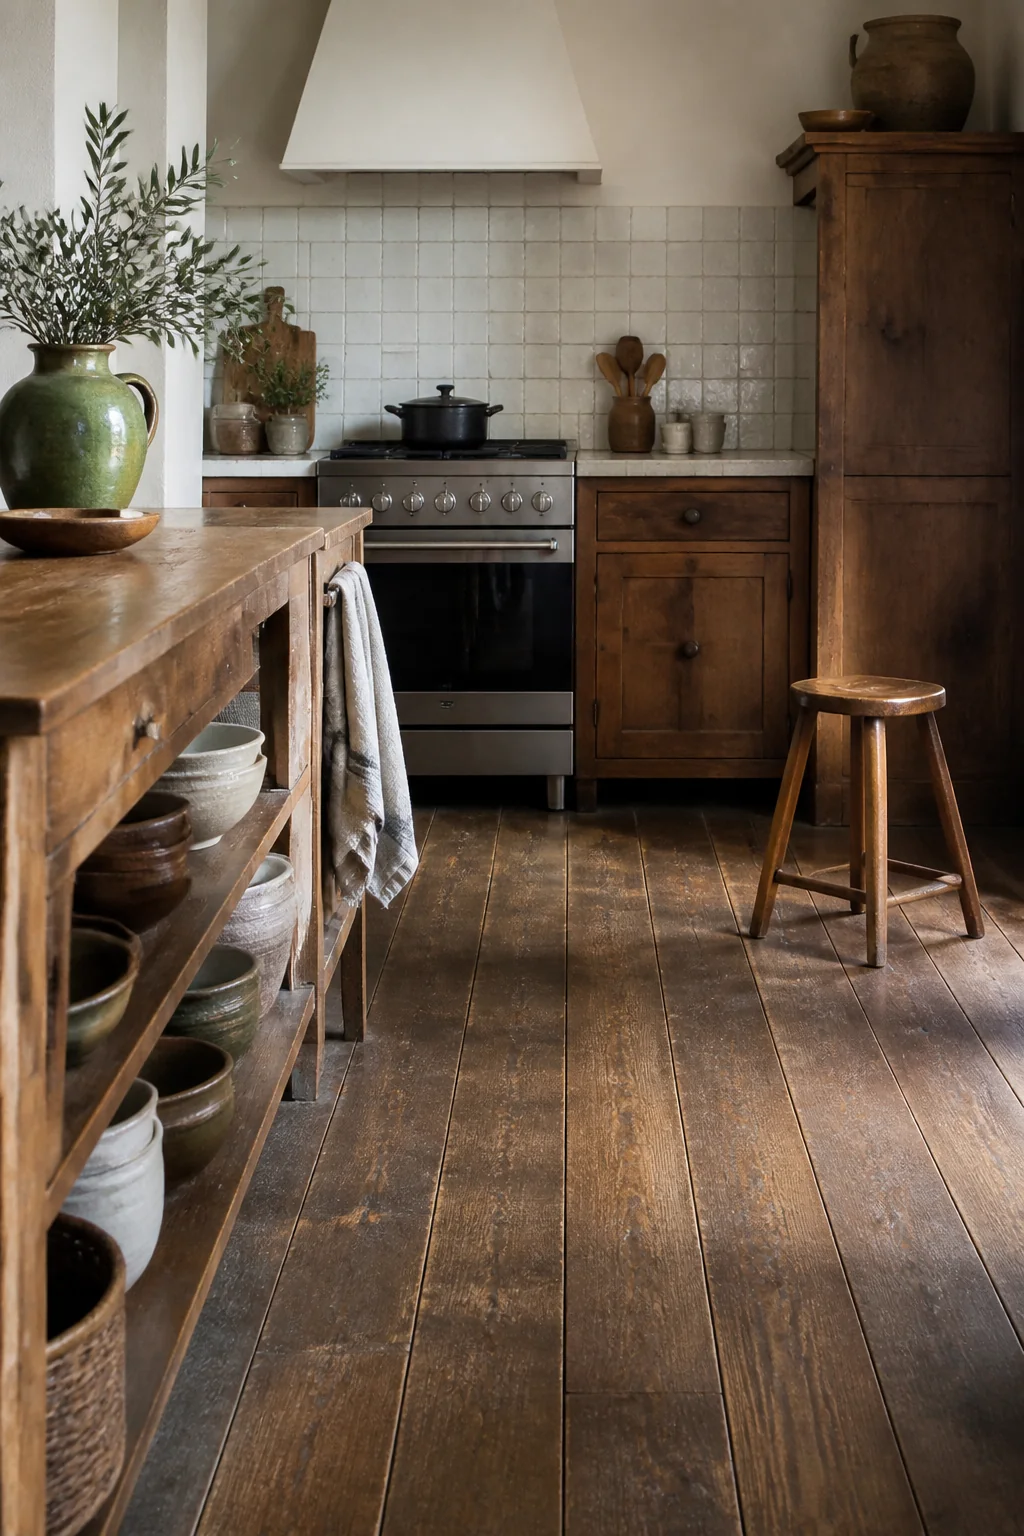
Wood floors in a rustic kitchen should be thick and substantial - aim for hand-scraped hardwood at least 3/4 inch thick, installed in a straight or herringbone pattern. Herringbone costs more to install (roughly $8 to $12 per square foot labor versus $4 to $8 for straight), but the pattern reads stronger in a rustic space. If you have existing stone or tile floors, keep them - they're honest and practical, and they ground the room. Avoid light-colored or glossy finishes; matte or satin looks more rustic and wears better under actual kitchen use. The floor should feel like it can take a lifetime of work, not like it needs babying.
13. Store bulk items in glass jars with metal lids on open shelving
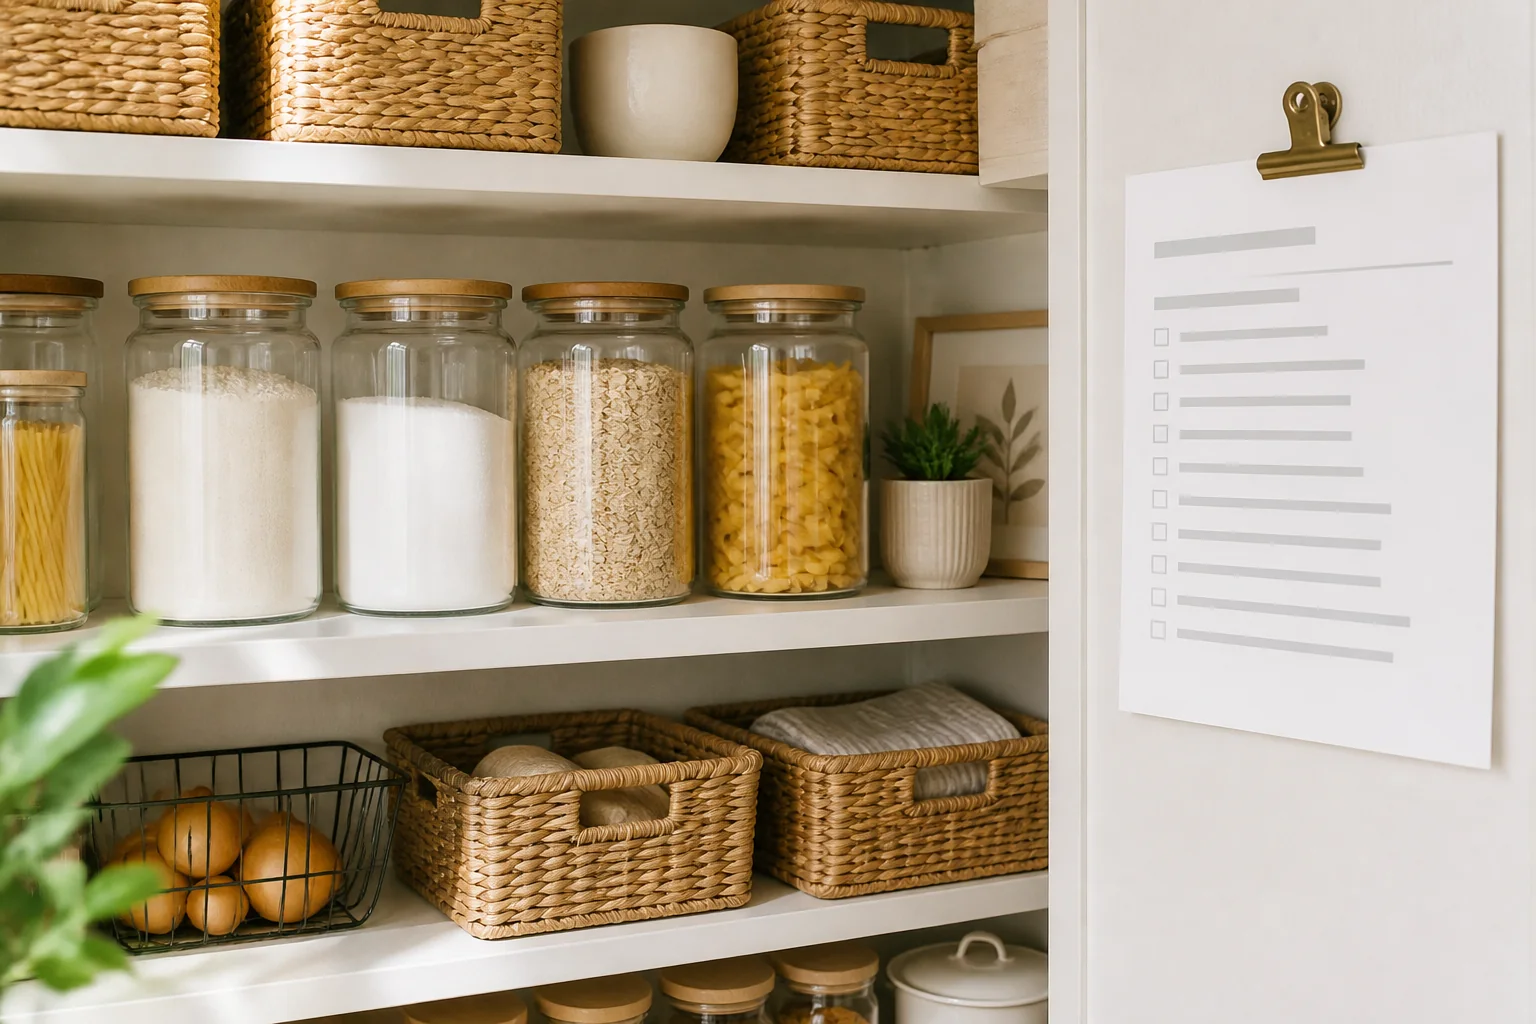
This isn't about aesthetics alone - glass jars actually work better than sealed containers for flour, sugar, pasta, and grains. Clear glass with a metal lid (clip-top Fido jars, ball jars with proper lids) costs about $3 to $8 per jar. Arrange them on your open shelves in rough groups by type, not by strict height or color order. Real working kitchens aren't styled; they're organized by use. Seeing your staples in glass jars on open shelves makes the kitchen look functional and honest, not dressed up. This works best when you actually cook from scratch and refill the jars regularly. A shelf of empty jars for show reads false.
14. Use a large wooden table or farm table for dining, attached or separate
The whole guide in one image
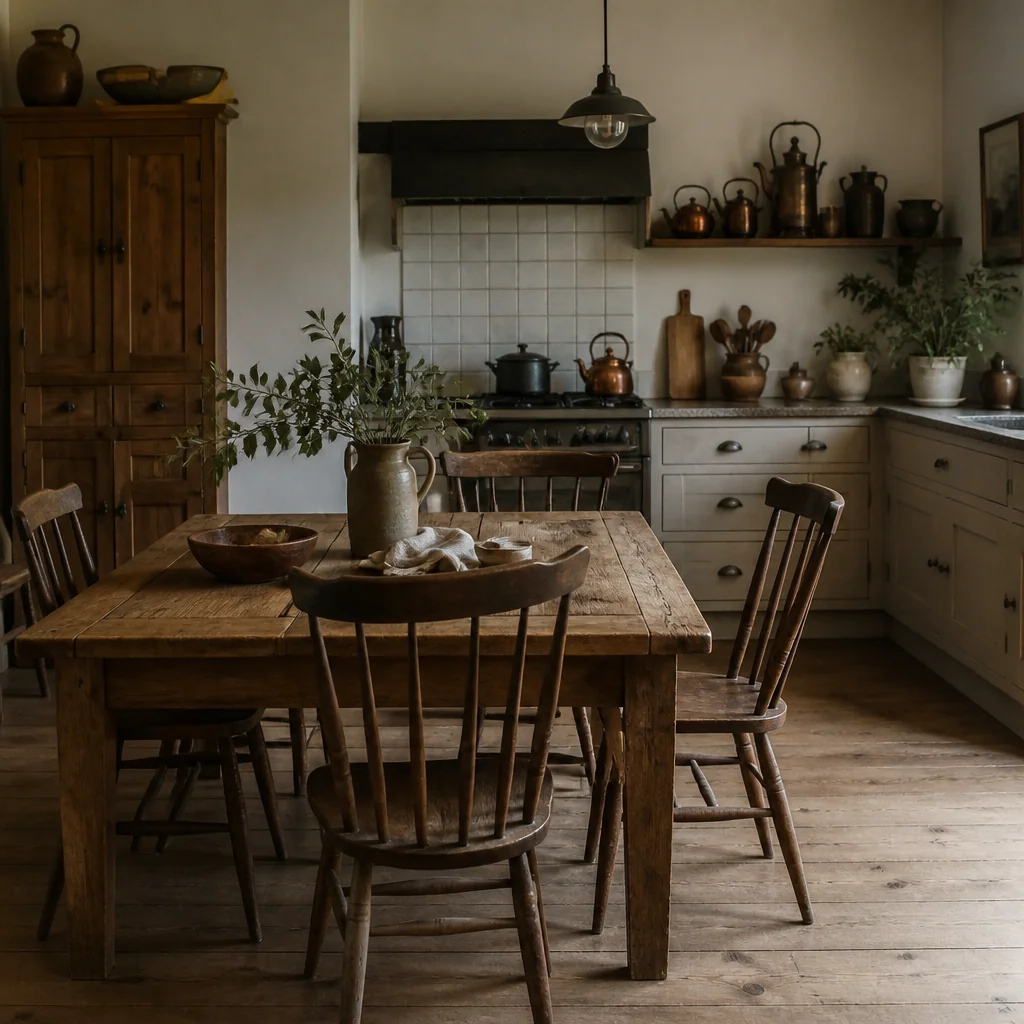
A wooden dining table right in the kitchen - or just off it - is the heart of a rustic kitchen. A solid wood farm table in oak or reclaimed wood, roughly 36 inches tall by 48 inches wide by 72 inches long, runs $800 to $2,000 depending on the wood and finish. You don't need seating for twelve; a table that seats four to six with simple wood or rush-seated chairs is more honest. Finish it with a matte stain that shows the wood grain, not a glossy varnish. The table becomes your prep surface, your eating surface, your work surface. It should show signs of use - scratches and stains are features in a working kitchen, not flaws. This is where family actually happens, so the table should be built to withstand it.
Ideas fade by Friday. A plan finishes the room.
You just read a full guide to your kitchen. Saving ideas will not change it; a plan will. The Home Decor Collection is every planning tool we make, for every room in the house, in one download, so the after photos below stop being other people's rooms.
- Six room Style Kits, each with layout, palette and shopping list$114
- The Gallery Wall Studio: 200 prints + 15 measured layouts$29
- The Room Makeover System: 40 solved room layouts + workbook$29
- The Color Palette Handbook: 60 palettes shown in real rooms$19
- The Whole-Home Reset: 40 printable organizing checklists$19
- The Decorator's Cheat Sheets: the 40 measurements that matter$9
- All eleven products, bought separately
$219$97
A single hour with an interior designer costs more than the entire Collection, and this one keeps answering for every room you will ever decorate. Free updates included as the products grow. And if it is not for you, the 14 day money back promise means you simply get a refund.