9 Neat Kitchen Pantry Organization Ideas Where Every Can Stays Visible
Shallow tiers, can dispensers, and over-door racks make these nine kitchen pantry organization ideas work well. Every label faces you from the doorway.
This post contains affiliate links. As an Amazon Associate I earn from qualifying purchases. If you buy through our links, we may earn a commission at no extra cost to you.
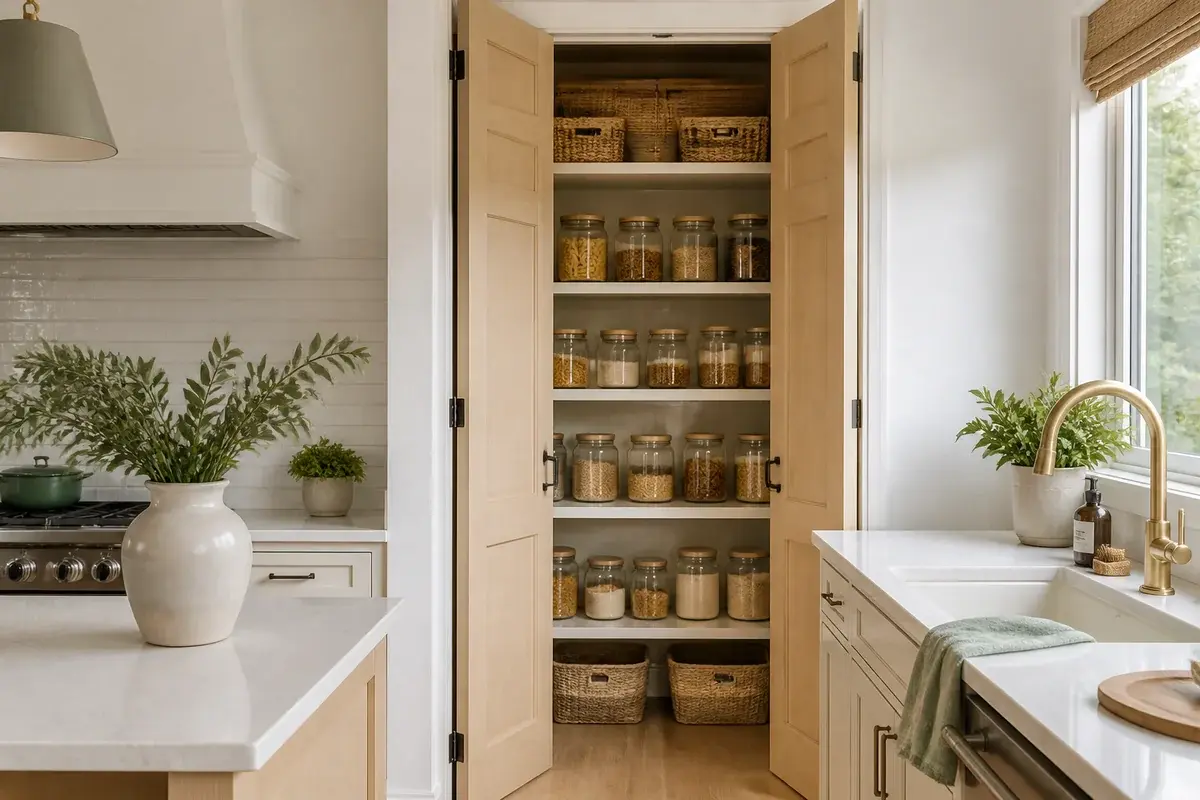
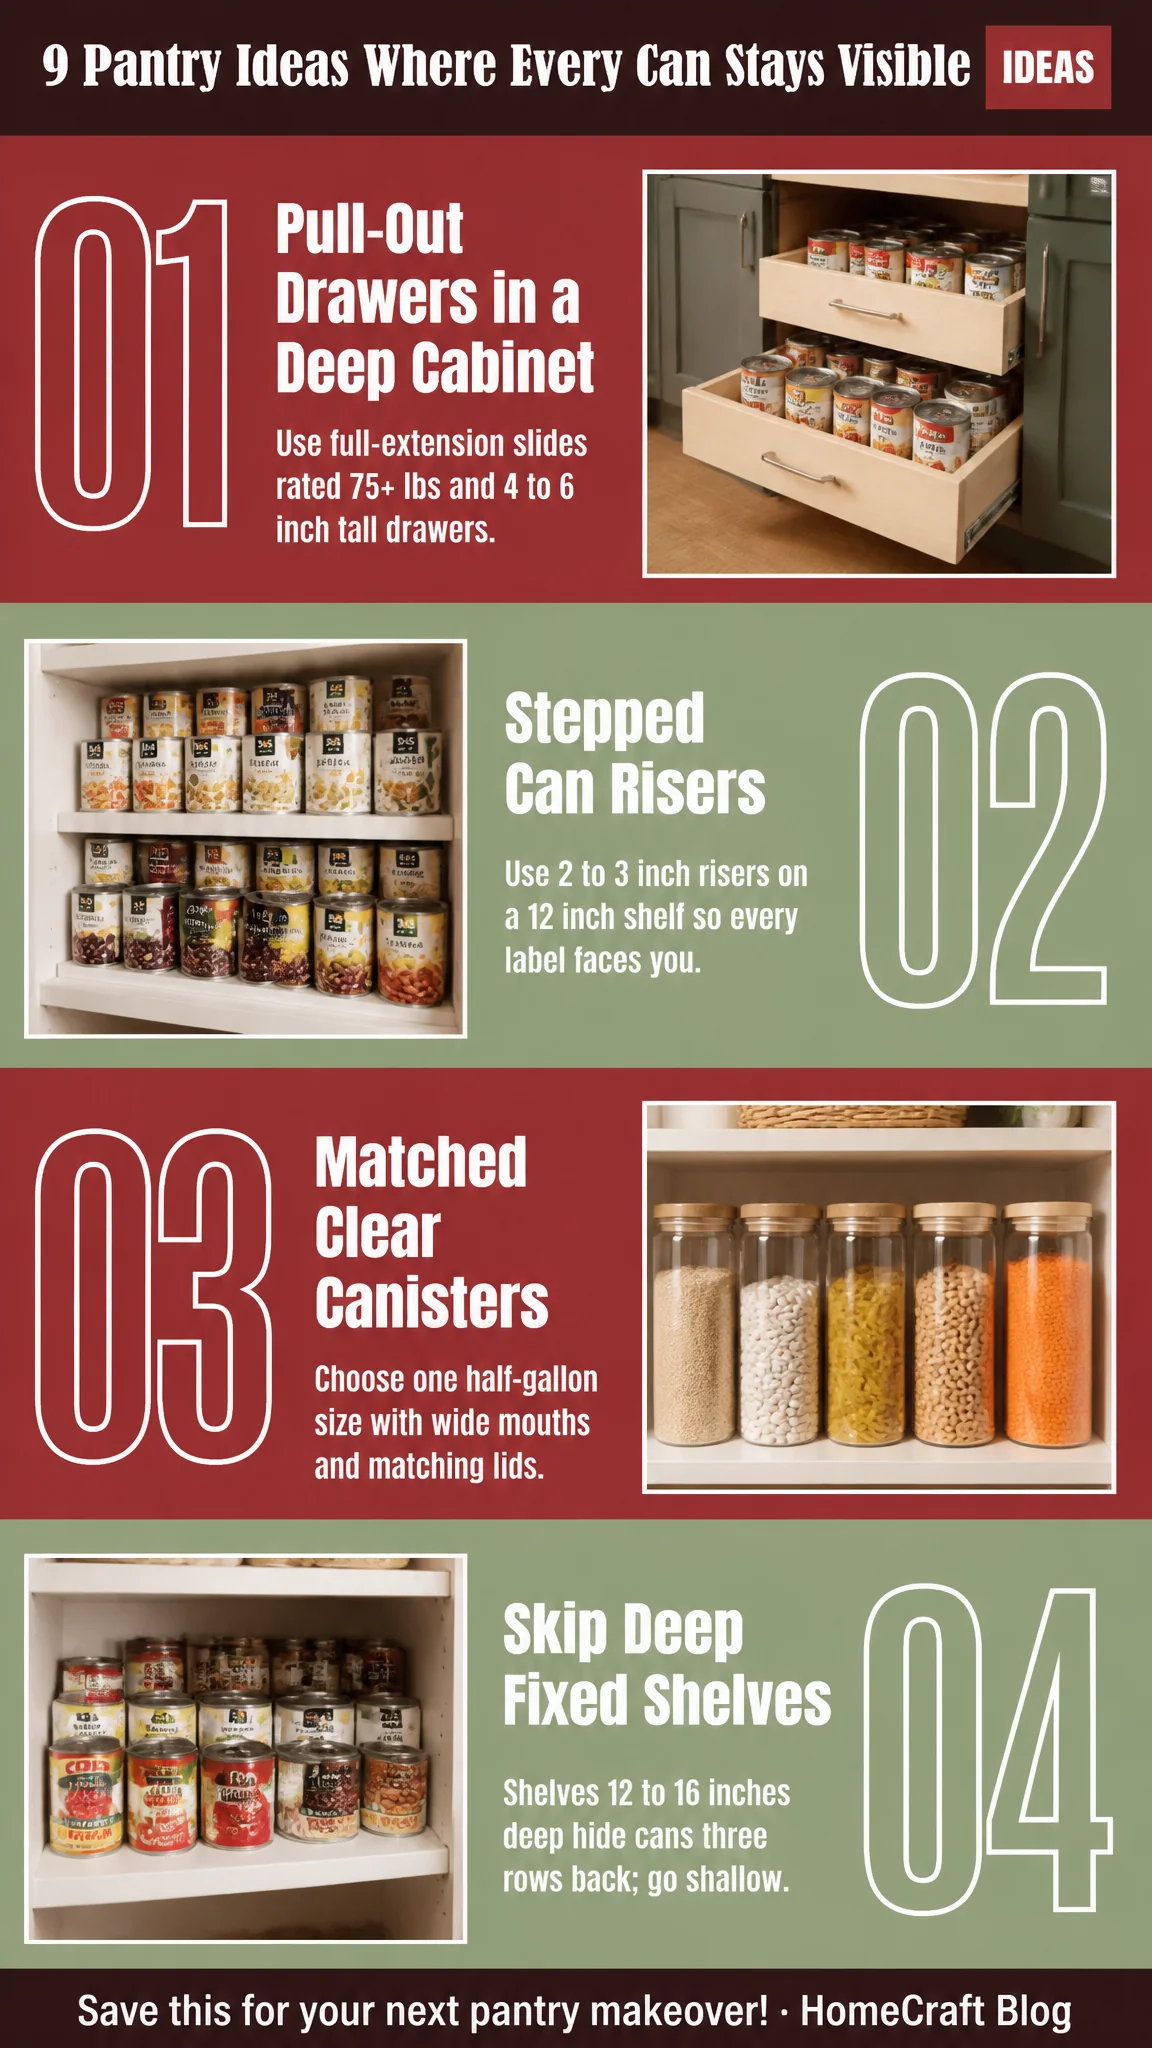
A pantry with 12 to 16 inch deep fixed shelves, where cans sit three rows back, is the version that fails. The front row hides everything behind it, so you buy a second can of tomatoes because you couldn't find the first. The version that works is shallow, layered, and built so every label faces you from the doorway. Shelf depth, can height, and a few hardware choices decide whether that happens. We would skip deep fixed shelves in any pantry you use every day. Below are nine ideas we think are worth the effort, each with the look, why it works, and how to get it in an ordinary space.
1. Pull-out drawers in a deep cabinet
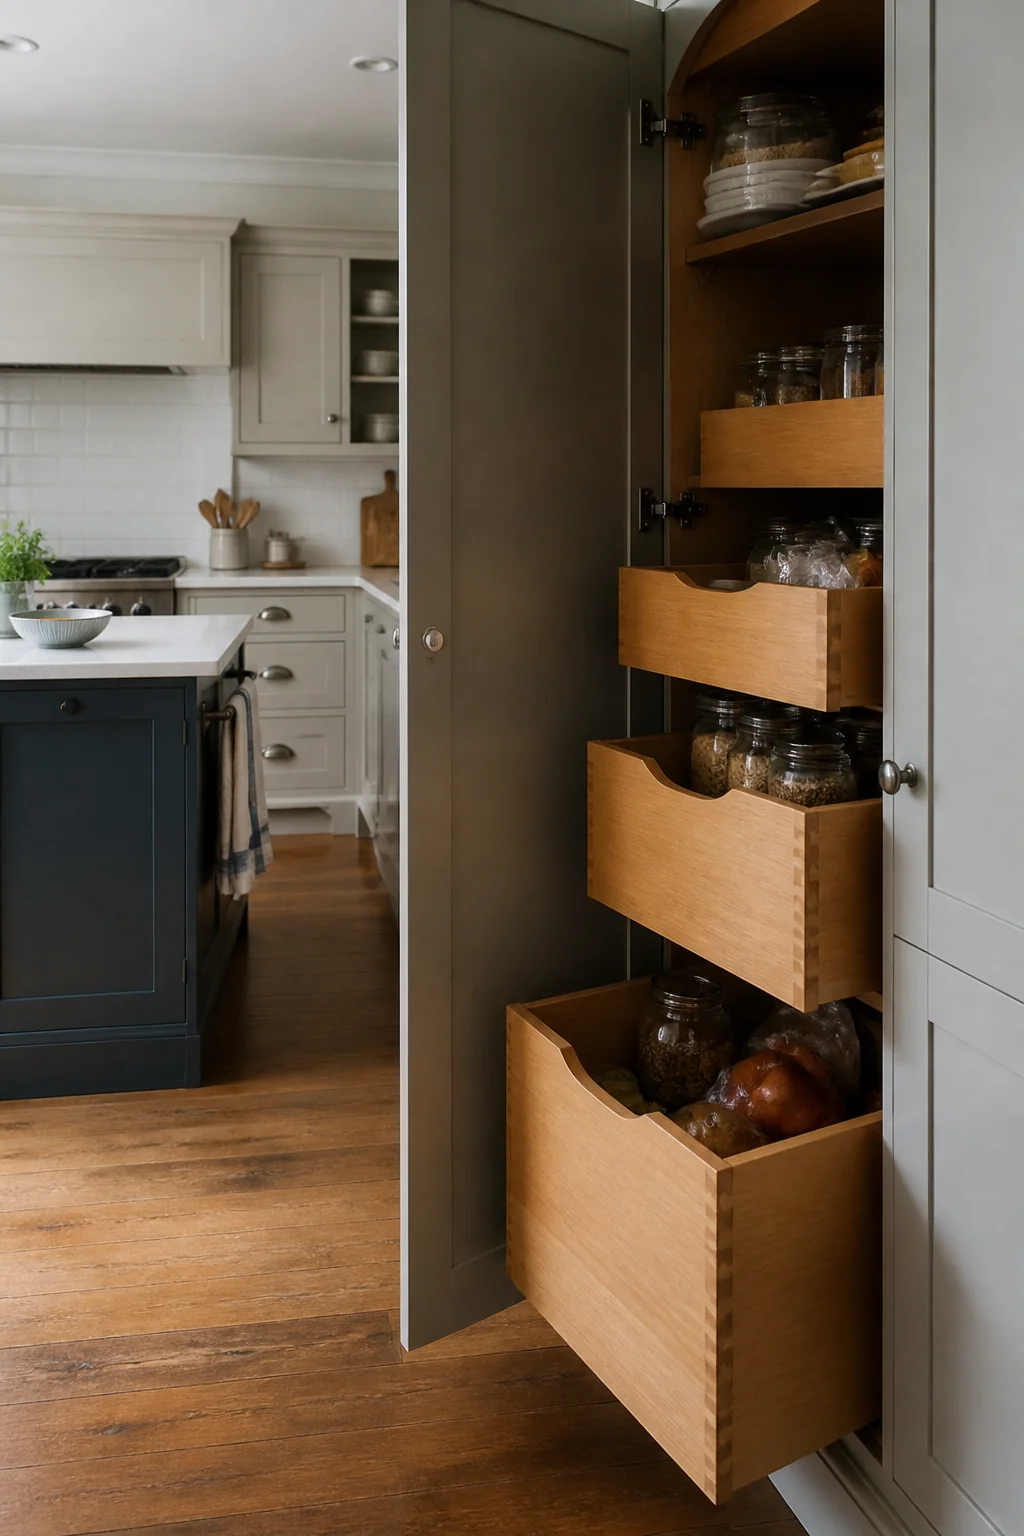
Pull-out drawers turn a deep cabinet into shelves you can see all at once. Picture a tall pantry cabinet in white or oak with three slim drawers where fixed shelves used to sit, each holding one row of cans on the left and jars on the right. Nothing sits behind anything else, so the whole cabinet reads as one calm surface. To get this at home, measure the interior width of your cabinet opening and buy full-extension slides rated for at least 75 pounds. Keep the drawer fronts flush so the lines stay clean. A common mistake is ordering drawers too tall for the cans, which leaves each one holding a single row and wasting height. Drawers about 4 to 6 inches tall suit most standard cans.
2. Stepped can risers so every label faces you
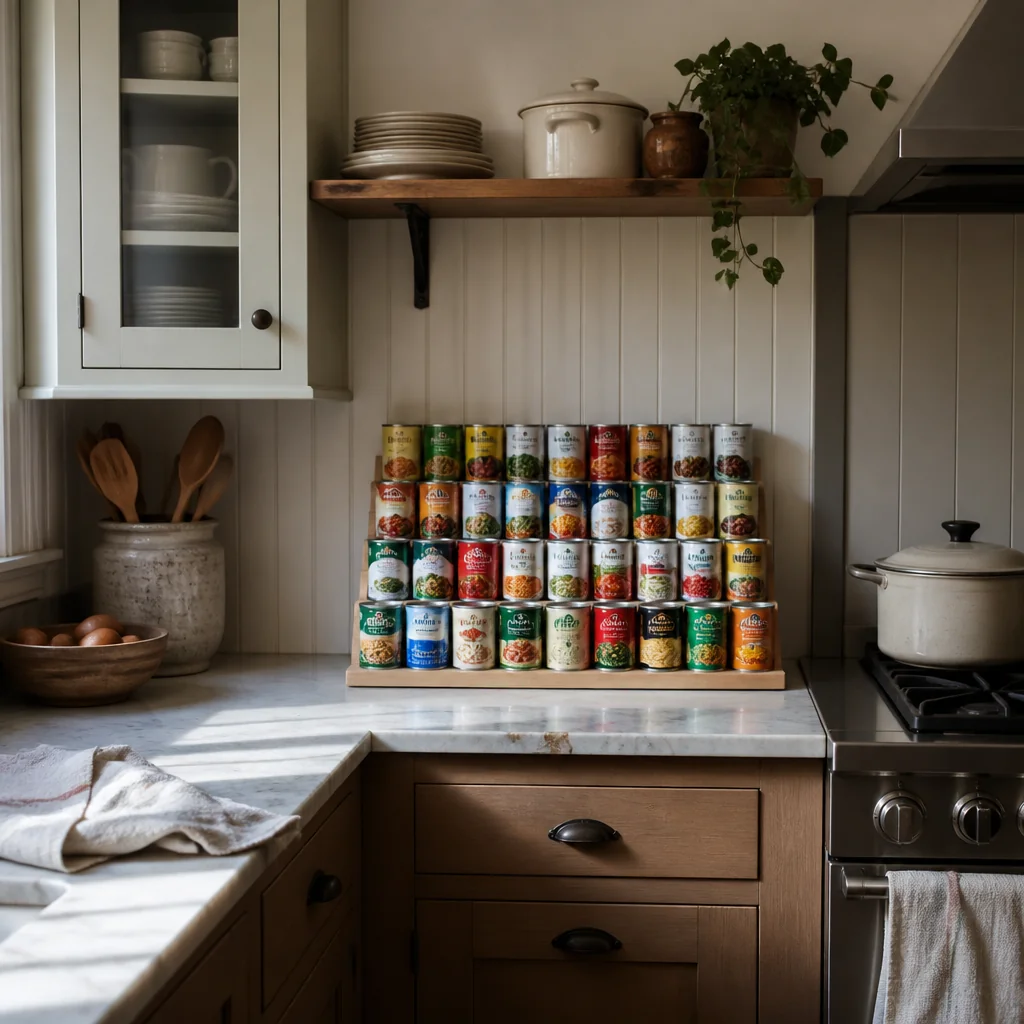
Stepped risers lift each row of cans so the back row sits higher than the front. The look is a neat staircase of labels, all readable from the doorway, with no tower of tomatoes hiding the peanut butter. Each can is visible at the same time, so your eye reads the whole shelf instead of just the front edge. Use metal or clear acrylic risers about 2 to 3 inches tall. On a 12 inch deep shelf, a riser about 10 inches wide leaves room for the labels to show. Put the heaviest jars on the lowest step so the stack doesn't tip. Risers work best with cans of the same size, since mixed tall and short jars need a different approach.
3. Clear canisters in one matched size
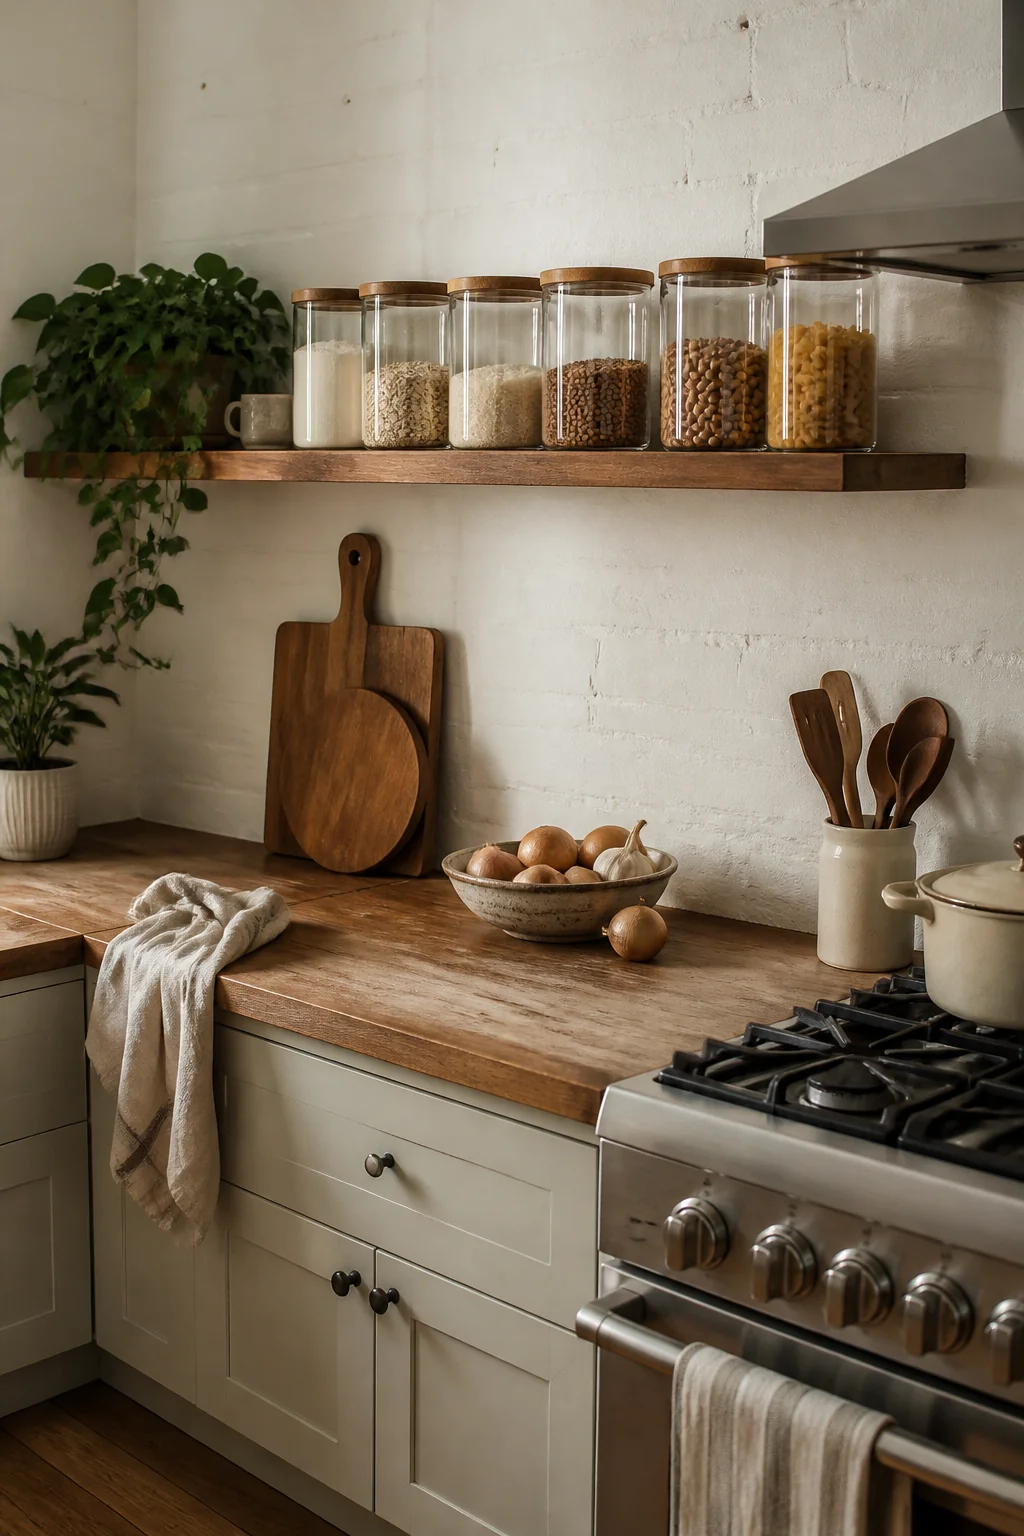
Matched clear canisters give dry goods a shelf that looks like a single product line. Choose one size and shape, around a half gallon, in glass or BPA-free plastic with a wide mouth and a tight lid. Line them up with the lids in the same color and the labels in one font, and the wall reads as one calm block. Repeated shapes create rhythm, and uniform heights stop your eye from jumping around. Measure the shelf height, then subtract 2 inches so the lids clear the shelf above. (A wide mouth matters more than you'd think when you're pouring a 5 pound bag of flour.) Mixing sizes is the mistake here: a tall pasta jar beside a squat sugar jar breaks the line.
4. A rack on the back of the pantry door
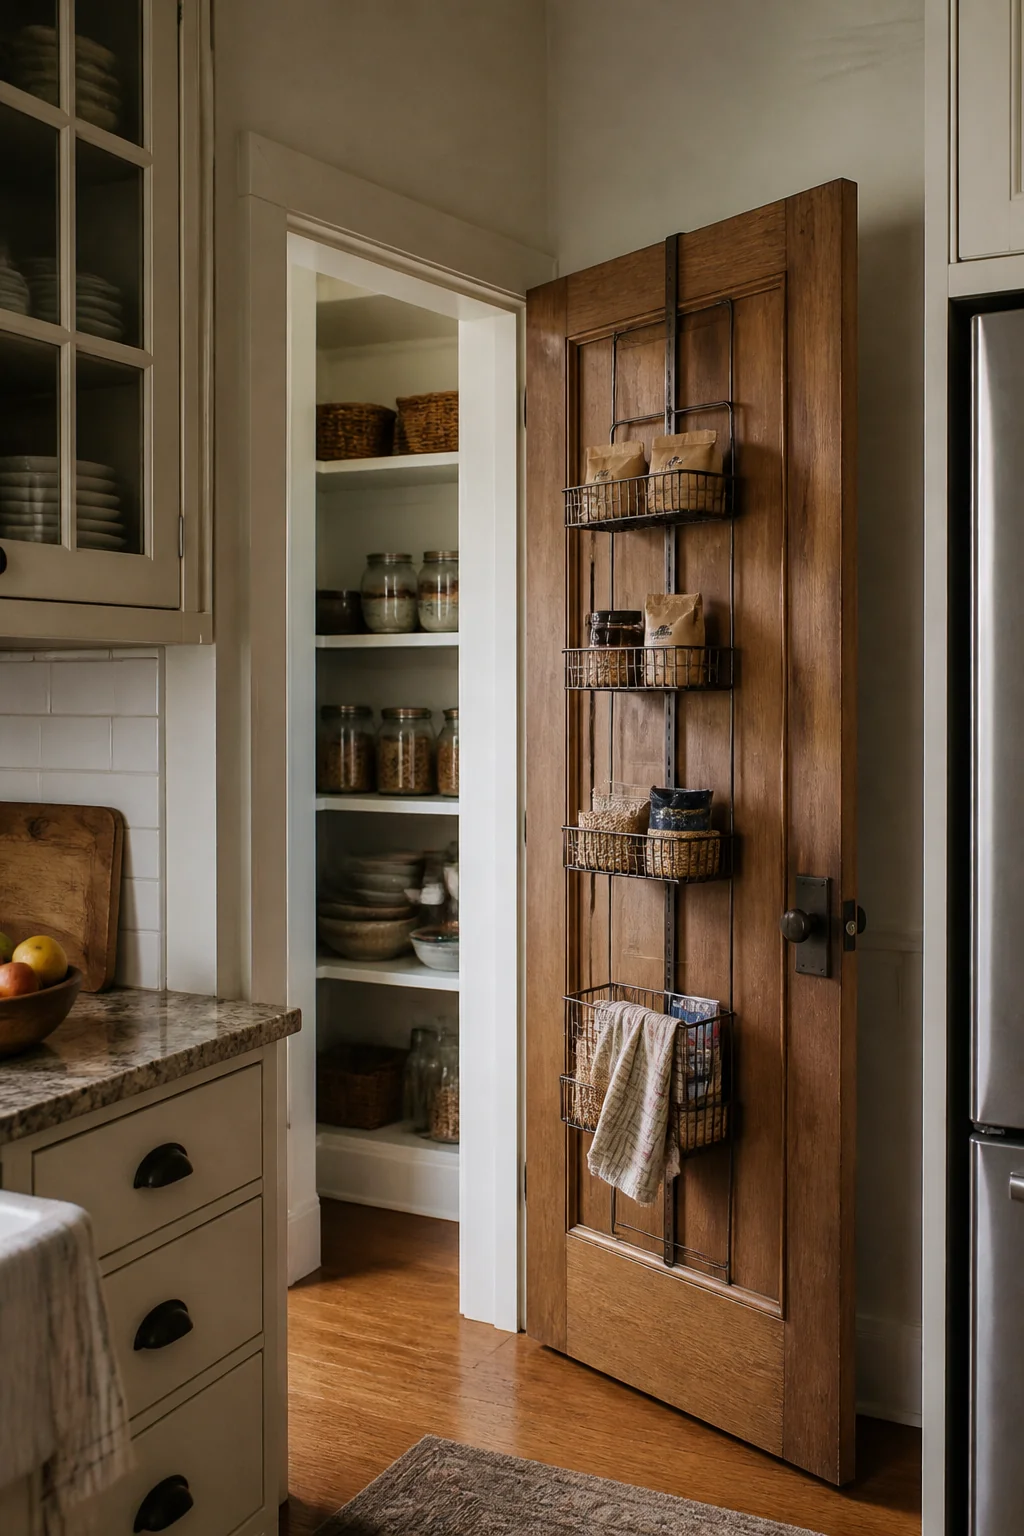
A rack on the pantry door puts spices and small jars on a surface you see the moment you open it. Picture a narrow wire or wood rack, 4 to 6 inches deep, with three or four tiers of spice jars all facing the same direction. The door is otherwise wasted space, and small things get lost on deep shelves. Measure the door thickness and the clearance to the frame, since most over-door racks need about 1 inch of room to close. Use screws into the door itself when the rack holds glass, not just adhesive. Keep oil bottles and anything heavy on the bottom tier, because a rack loaded with 2 pound jars will pull on the hinges.
5. A corner lazy Susan that brings the back forward
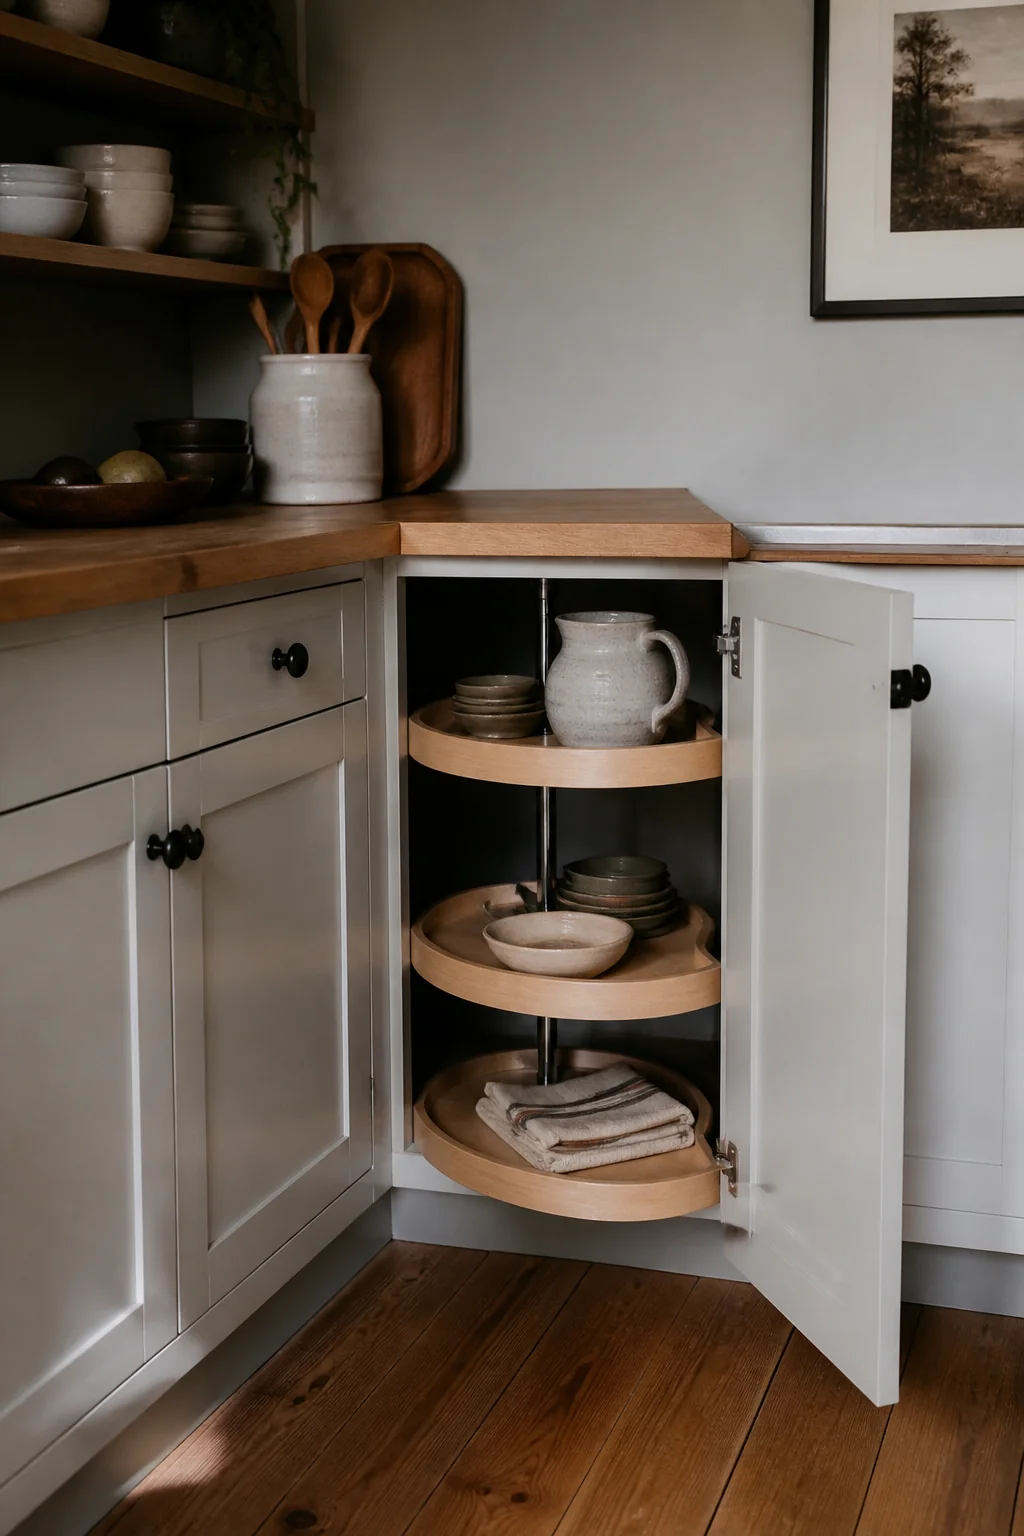
A corner lazy Susan turns the dead space in an L-shaped pantry into a rotating tray. Picture two round tiers, each about 18 inches across, with oils, vinegars, and baking extracts lined up around the edge. A rotating surface lets you see every item without reaching past the front row, which is where most corner shelves fail. Check the opening first, because a corner unit needs roughly a 36 inch clear square to spin without catching on the frame. Choose a finish that matches the cabinet, usually white melamine or birch. Set the tray height so the top tier clears the shelf above by at least 2 inches.
6. Lipped trays sorted by category
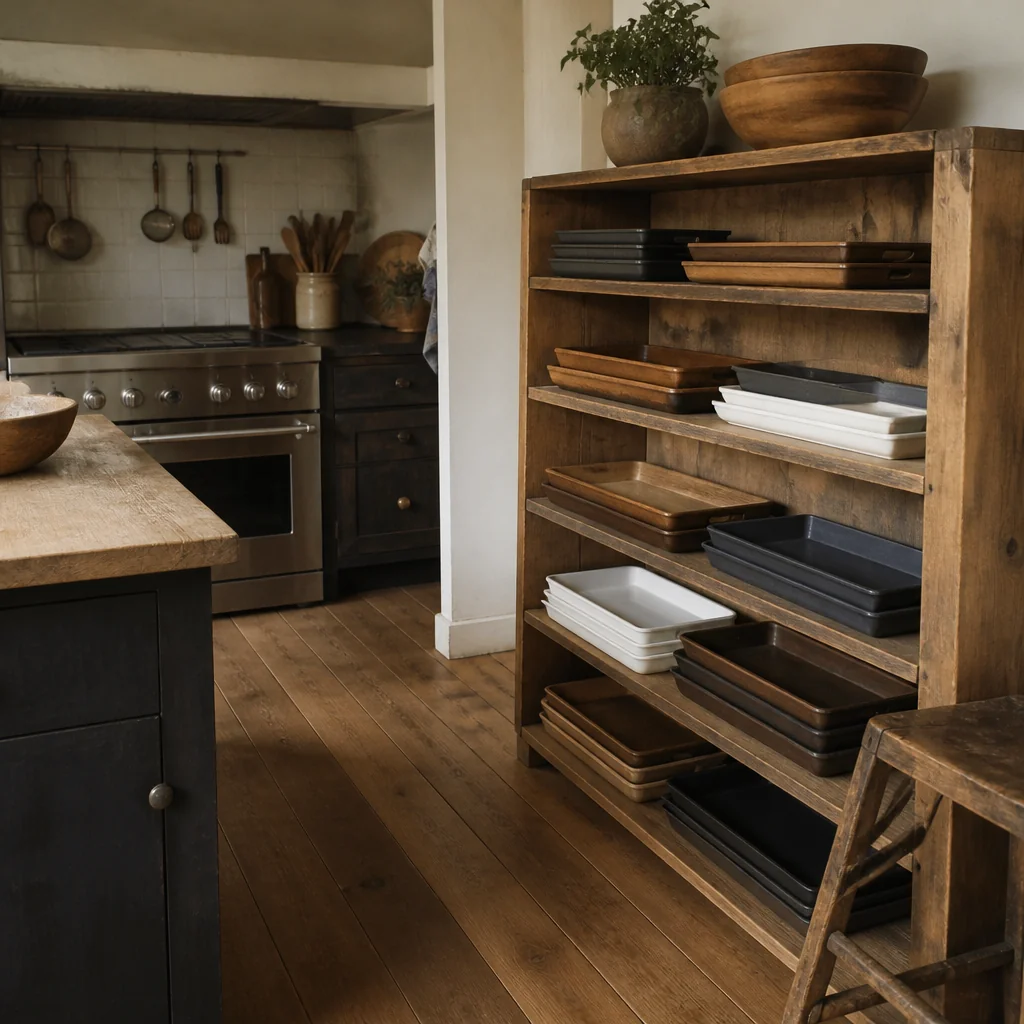
Shallow trays with a raised lip group the pantry by job: baking, breakfast, snacks, dinner sauces. The look is a row of wood or white-painted trays, each the same width, sliding out like drawers. The tray keeps a category together, so when you pull it forward the whole group comes with it. Nothing spills over the shelf edge. Look for trays 12 to 14 inches deep to suit a standard pantry shelf, with a lip about 1 to 2 inches tall. Keep it to one tray per shelf, or two per 24 inch shelf, so each tray stays within easy reach. The mistake to avoid is buying trays with no lip, because one bump sends a bag of chocolate chips onto the floor.
7. A pegboard wall in a walk-in pantry
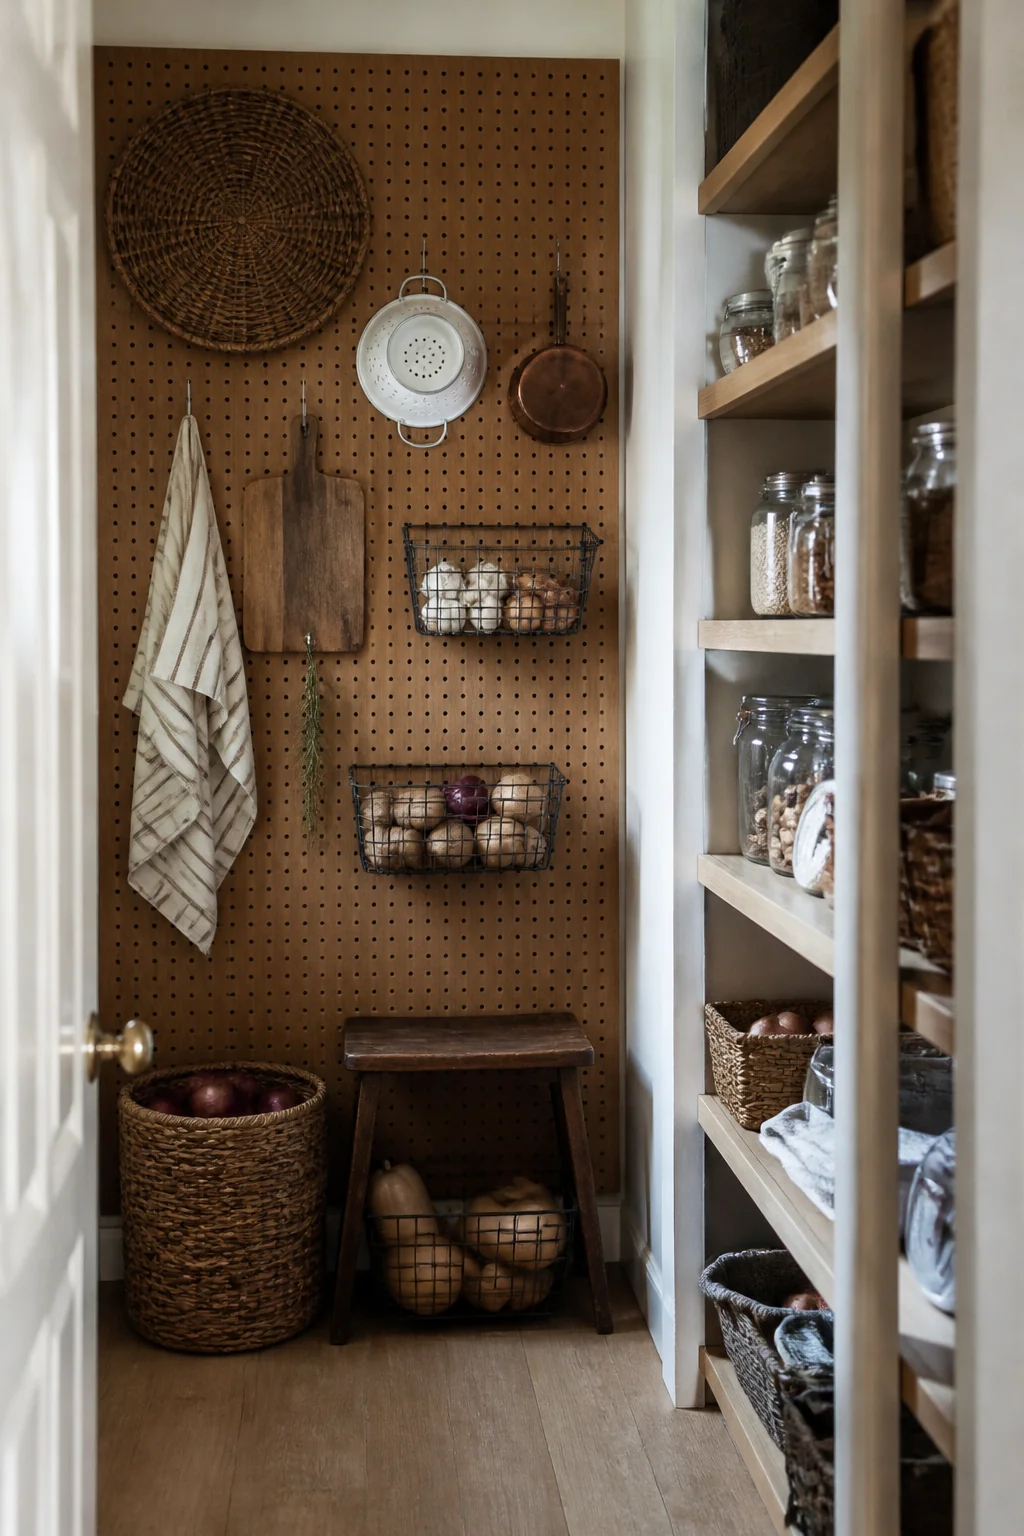
A pegboard wall gives a walk-in pantry a surface for hooks, baskets, and small tools, so the shelves stay free for food. Picture a white or matte black pegboard panel with wire baskets at eye level and a row of hooks for measuring cups and a broom. The vertical wall becomes storage, and the shelves hold only the things that need a flat surface. Anchor the board into wall studs or use anchors rated above the total weight, since loaded baskets add up fast. (Metal bins on pegs are the easiest to swap as your stock changes.) Leave about 2 inches between the board and the wall so the hooks seat properly. A common mistake is mounting the board over the light switch, which blocks the plate.
8. One color on the back wall and shelf fronts
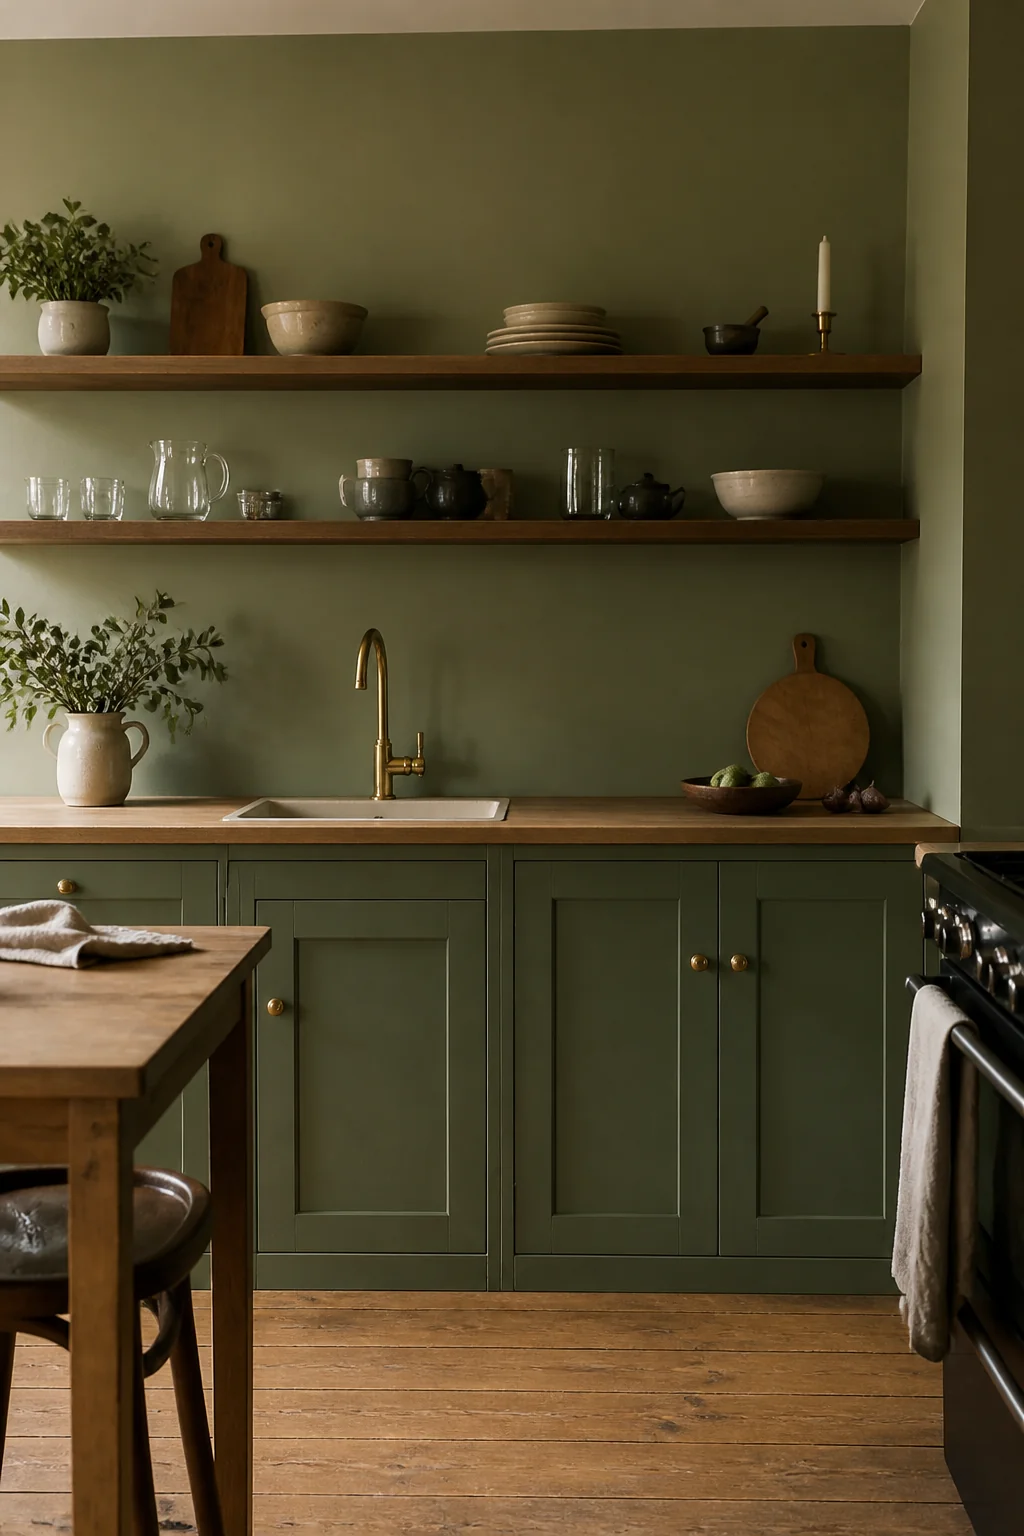
Painting the pantry back wall and shelf fronts one color makes the space read as a single surface, so the cans and jars become the only contrast. The look is warm white or soft sage on the wall, matching the shelf edges, with packaging the only color in the room. Low contrast behind the goods lets labels stand out, and one tone makes a small pantry feel larger. If you like this quiet palette, our japandi kitchen ideas go further with it. Use a satin or semigloss finish on the shelves so they wipe clean. Paint the wall first, then the shelf edges, and tape the edges for a sharp line. Skip dark paint in a windowless pantry, since it swallows the labels under a single bulb. If the house was built before 1978, test the existing paint for lead before you sand.
9. Bulk bins on the floor-level shelf
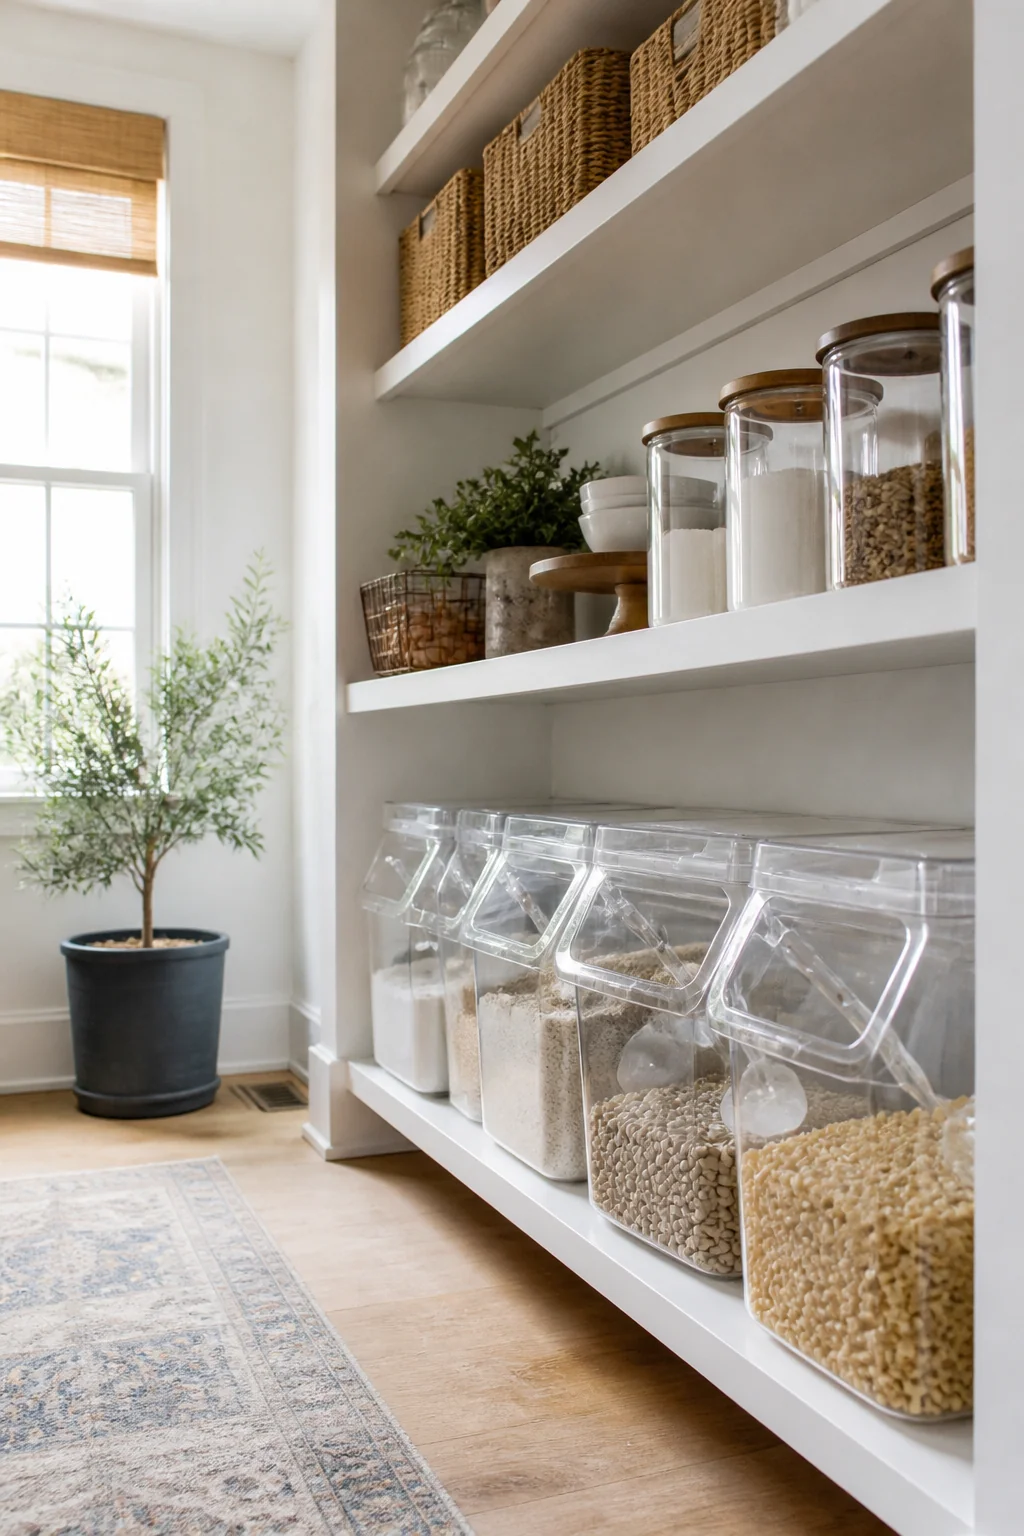
A bottom shelf holds flour, rice, oats, and pet food in lidded bins you can lift without bending. Picture four to six clear or opaque bins, 15 to 20 inches tall, lined up with the labels on the front lip. Heavy bags stop sliding on upper shelves, and the lowest row takes the weight with no reaching. Measure the floor-to-shelf height and the bin width, leaving about 1 inch of clearance on each side. Store the heaviest bags, like a 25 pound flour sack, on the bottom row only. If the pantry runs damp, lift the bins on a 2 inch plinth. The common mistake is filling the bottom shelf with snacks, which makes your most-used items the hardest to reach.
Pin this for later
Before you buy anything for this pantry, measure three things: the shelf depth (12 inches is standard in most pantries), the height from shelf to shelf, and the tallest jar or box you own. Add 2 inches of clearance above that tallest item so its lid clears the shelf above. Those numbers decide which of these ideas fit your space and which will leave you with bins that are the wrong size.