27 Clever Staircase Wall and Landing Decor Ideas
27 staircase wall and landing decor ideas with the measurements behind them: hanging heights, stair clearances, paint costs and runner widths.
This post contains affiliate links. As an Amazon Associate I earn from qualifying purchases. If you buy through our links, we may earn a commission at no extra cost to you.
Most staircases sit ignored: you climb them every day and treat them like hallways that happen to go vertical. A staircase wall and landing is one of the biggest blank canvases in your home, though, and the usual advice to either go bold or do nothing misses it. The strongest moves come from proportion, light, and the angles the stairs already give you, more than from drama or cost.
One thing to keep in the back of your mind as you read: a stairwell has rules a living room doesn't. Stairs need about 36 inches of clear width, 6 feet 8 inches of headroom measured from the tread nosings, and a handrail sitting 34 to 38 inches above those nosings with at least an inch and a half of space behind it for your fingers. Anything you hang on a stair wall has to stay out of that walking line. Every idea below is written with that in mind. Here are twenty-seven of them.
1. Hang a gallery wall that climbs with the stairs
Start by finding the line. Run a strip of painter's tape from the nosing of the bottom tread to the nosing of the top one, and that diagonal is what your frames follow. Each piece hangs with its center 57 to 60 inches above the tread directly below it, which keeps every frame at eye level as you climb rather than sliding out of view. That line also caps what you can buy: a climbing band that narrow suits nine ready-made 8 by 10s far better than the three oversized pieces you would hang in a living room, so shop small and shop in quantity. Leave 3 to 4 inches between frames, tighter than you think, so the group reads as one object.
Cut kraft paper templates and tape them up before you drill. Once the layout looks right, use two hooks per frame on anything larger than 11 by 14 inches: a single hook lets the frame pivot every time a shoulder brushes it, and on stairs shoulders brush. Keep the frames shallow, under about 2 inches deep, so nothing intrudes on the walking line. Nine ready-made frames run roughly $90 to $200.
2. Paint the wall one shade darker than adjacent rooms
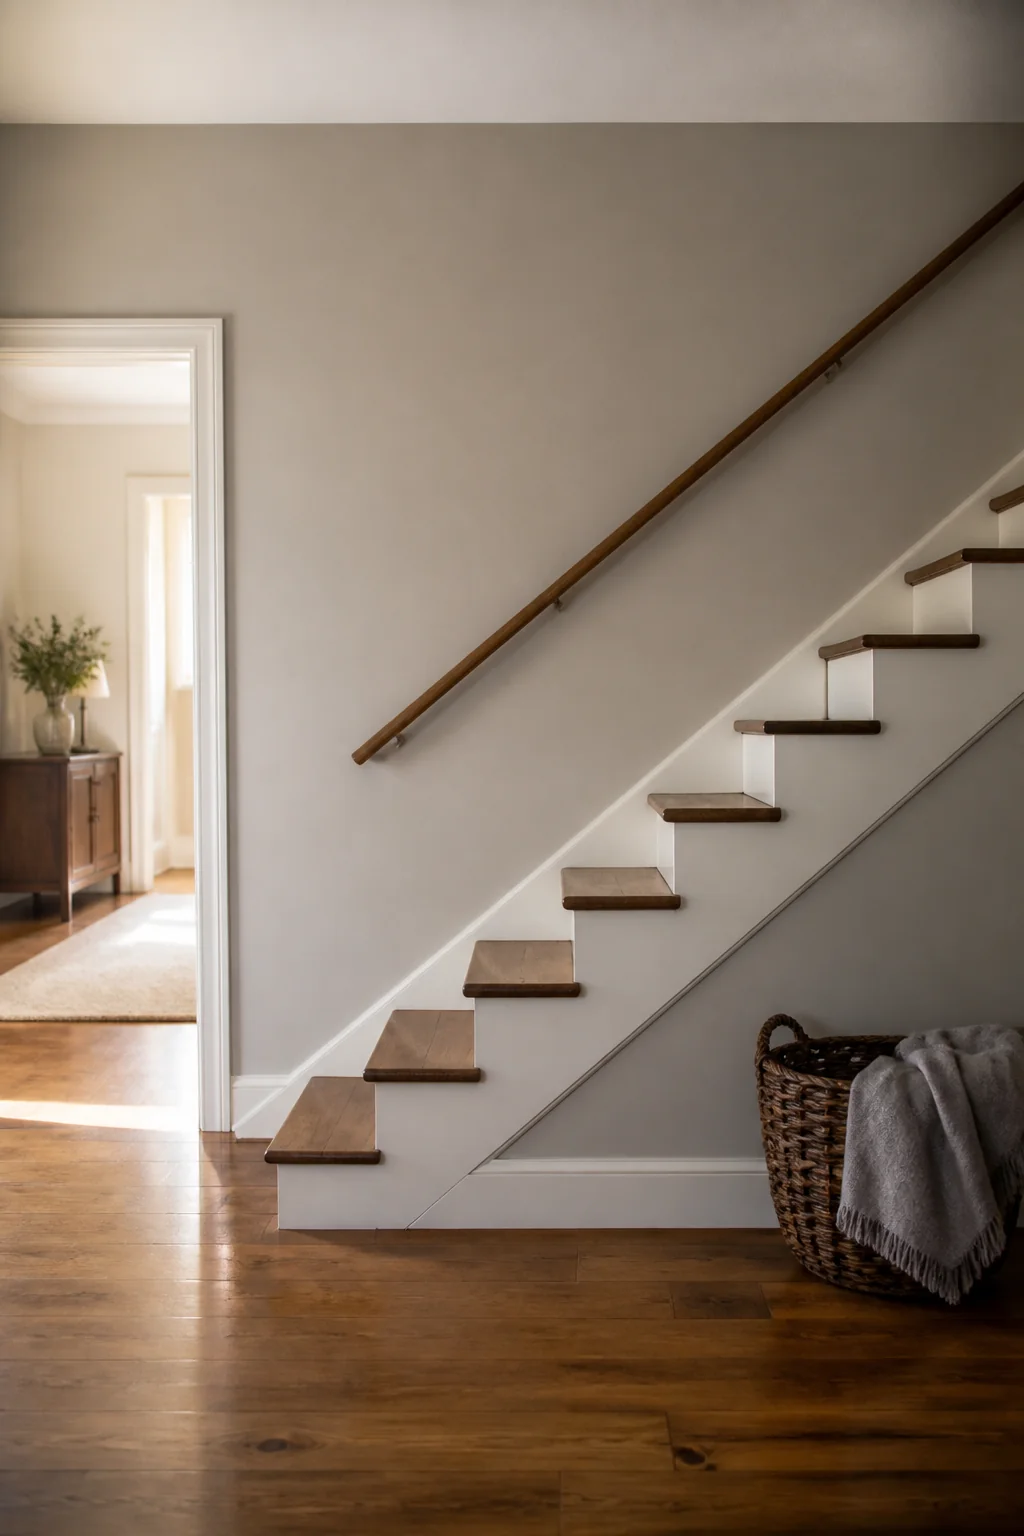 Go subtle. If your hallway is warm white, try greige or soft charcoal on the staircase wall. It grounds the space without looking separate from the rooms on either end. The number worth checking on the paint chip is the light reflectance value: somewhere around 45 to 55 keeps a windowless stairwell readable. Drop below about 30 and the tread nosings stop reading as distinct edges in low light, which is a safety problem, not just a mood one.
Tape two large samples to the wall and look at them at night under the fixture you actually use, since stairwell light is almost always artificial and raking. Two coats is the honest answer for a color shift this size. Most painters charge $200 to $400 for a three-wall staircase, and you're mostly paying for the ladder work over the treads. If you do it yourself, rent an adjustable stair ladder rather than balancing a plank.
3. Install floating shelves at landing level
A 30-inch shelf on the upper landing gives you somewhere to put a trailing pothos and two or three objects. Keep it 8 to 10 inches deep and no more. A landing is a place you pivot, often carrying laundry, and a 14-inch shelf at shoulder height becomes something you catch an elbow on twice a week. Height matters too: 48 to 54 inches off the landing floor sits above a console but below anything you'd walk into.
Mounting is where these fail. Find studs, which are typically 16 inches on center, and drive 2.5-inch lag screws or structural screws into at least two of them. Drywall anchors alone will hold for a season and then let the shelf tip forward, usually at the outer end where the load is. Look for brackets rated to 50 pounds and put the heaviest object nearest a bracket, not floating in the middle of the span. Expect $25 to $80 per shelf.
4. Apply a bold wallpaper to one accent wall
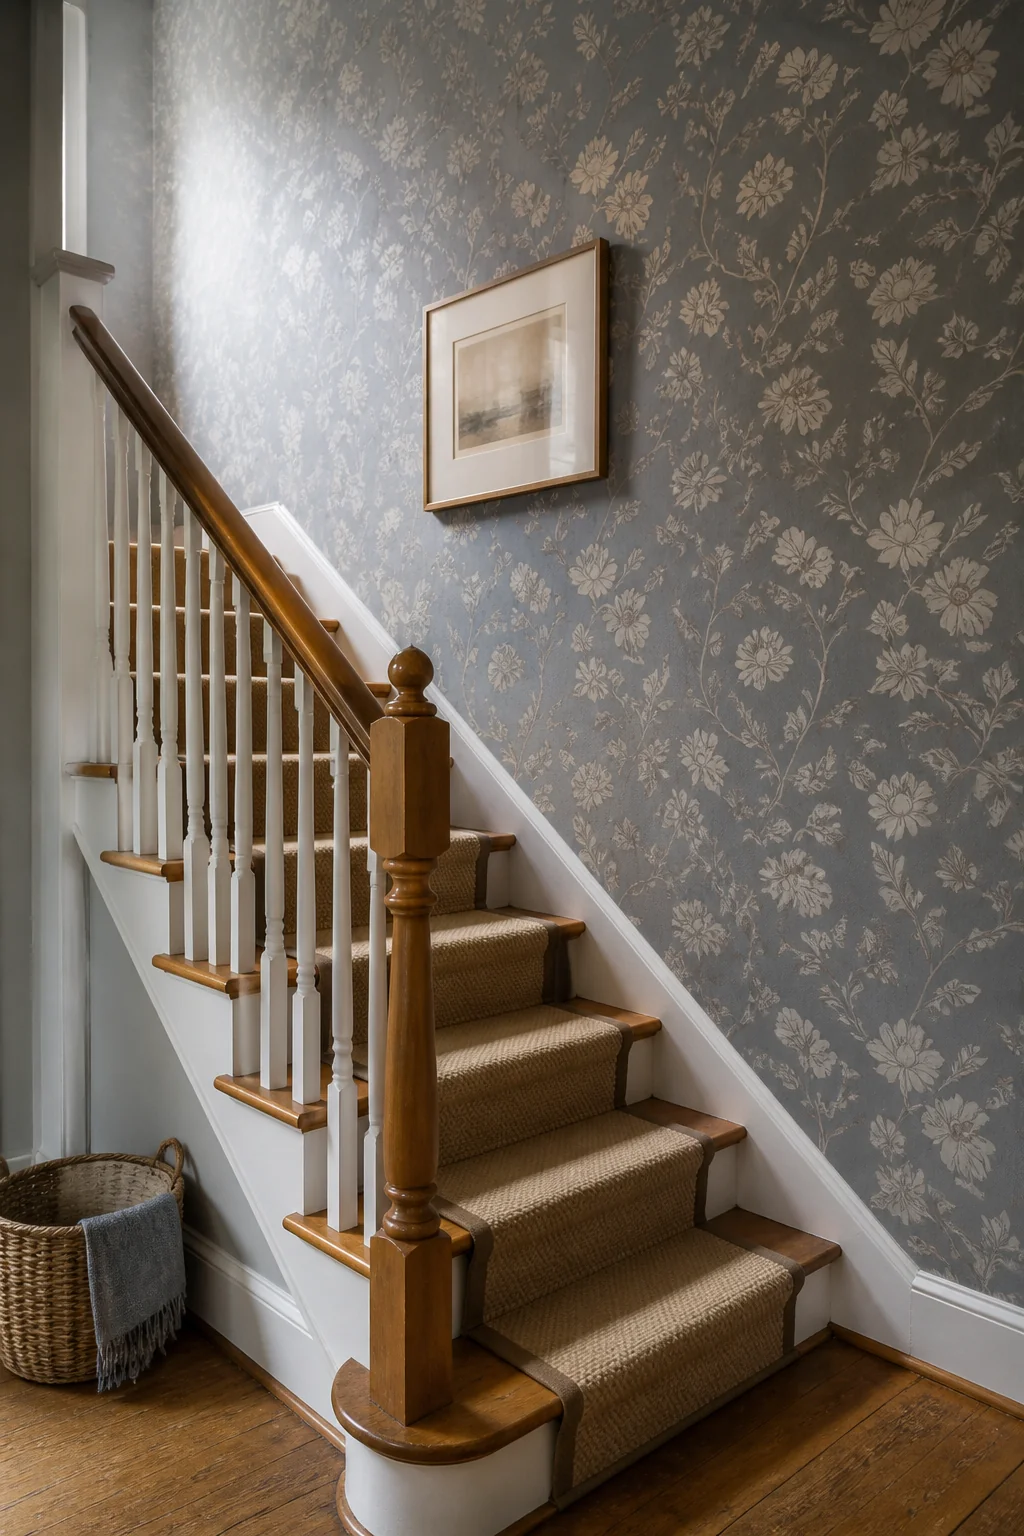 Pick the wall opposite your entry at the bottom of the stairs, the one you face rather than the one you brush past. A geometric or floral print in two or three colors reads as intentional, not precious. Peel-and-stick wallpaper runs $25 to $60 per roll, and a standard roll covers roughly 28 square feet, so measure at the tallest point: stairwell walls often run 12 to 16 feet, and that number is what decides your order.
Two things sink this job. First, pattern repeat. A 25-inch repeat can eat close to a full extra roll on a tall wall, so a repeat under 12 inches is the friendlier choice. Second, surface. Peel-and-stick refuses to grip flat or matte paint, so prime with a wallpaper primer or an eggshell coat first and let it cure a few days. Order every roll in one batch to keep the color matched, and work with a second pair of hands on a stair plank.
5. String cafe-style lights along the landing
Drape warm bulbs across the upper landing on a long wire and the landing stops being a pit stop. About 20 feet of commercial-grade strand costs $30 to $70, and the outdoor-rated versions with molded sockets last years longer indoors than the thin seasonal ones.
Hang it on brass cup hooks screwed into ceiling joists, never adhesive clips, which give up the first warm week. The height rule is the important one: keep the lowest bulb above 6 feet 8 inches from the landing floor, and never let the strand sag across the stair opening itself, where someone coming up meets it face first. Choose LED filament bulbs at 2 to 4 watts and 2200K to 2700K instead of true Edison incandescents, which run 40 watts, get genuinely hot, and turn a landing into a warm spot in July. A $15 plug-in dimmer lets you drop them to a low glow at night, which is when this idea earns its keep.
6. Lean a tall mirror against the landing wall
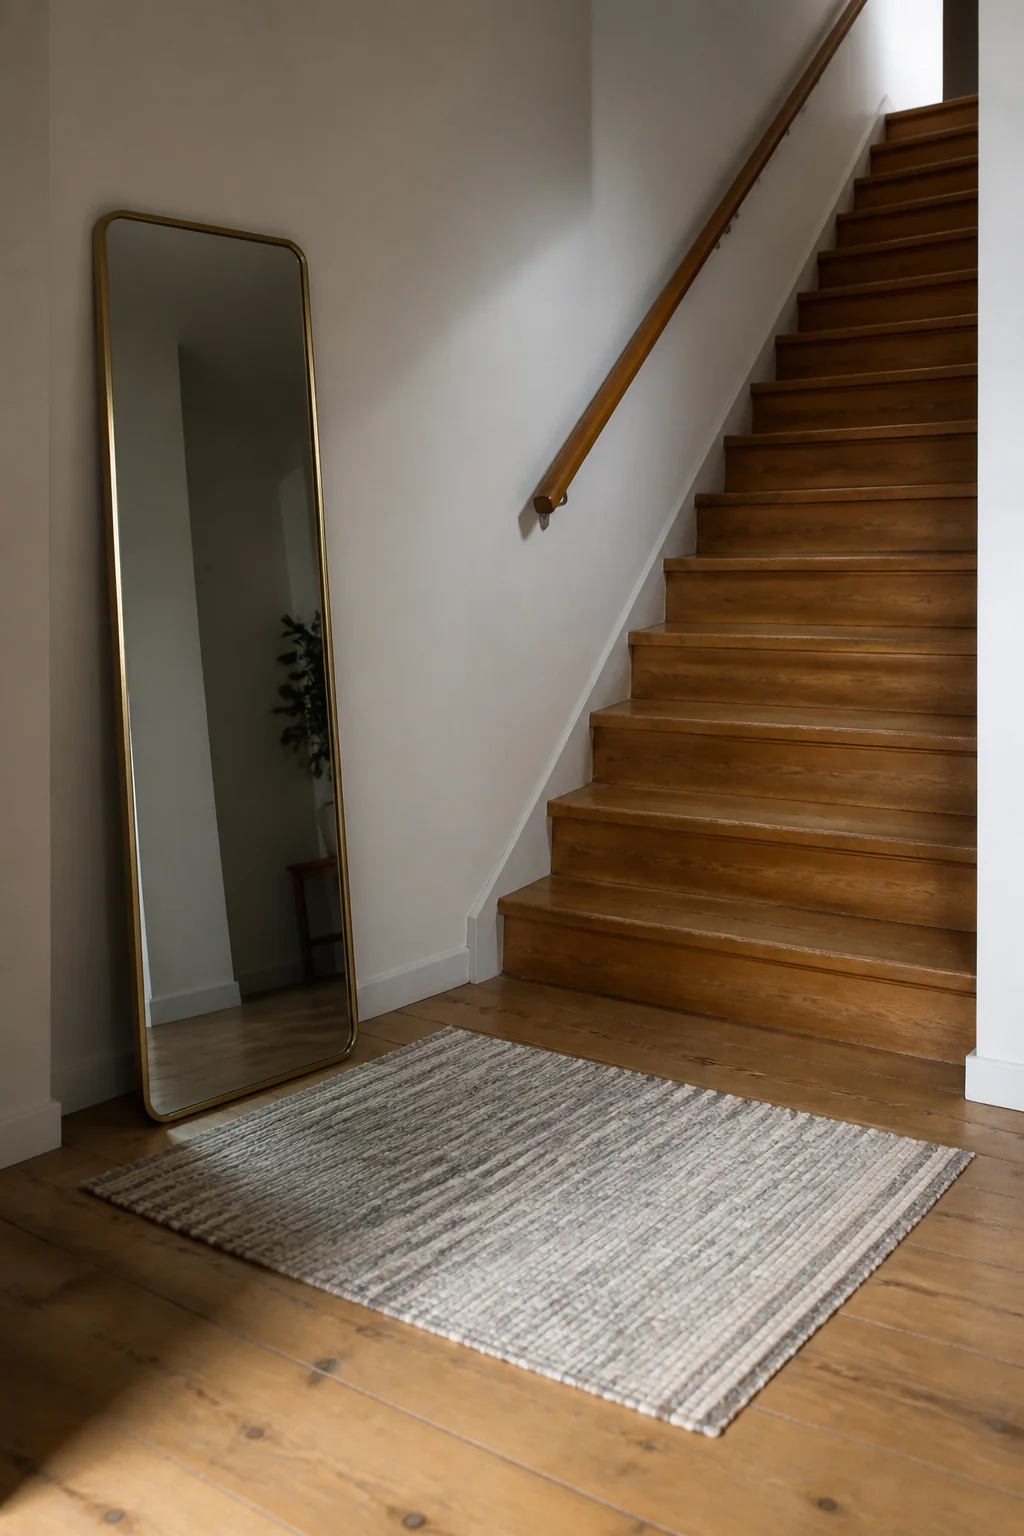 A full-length mirror, roughly 24 inches wide by 60 tall, bounces light into a stairwell that usually has none of its own and gives the eye somewhere to go at the top. Expect $80 to $250, and expect it to weigh 25 to 45 pounds, which is the part people underestimate.
Leaning is easier than hanging, but on a landing it is not automatically safer. Set the base 4 to 6 inches out from the wall so the lean is stable, then anchor the top with a mirror safety strap or two D-rings into a stud anyway. A mirror that slides on a landing has a flight of stairs underneath it. Put it against the wall you face when you reach the top, never within a step or two of the opening. Aim it so it catches a window or a fixture: a mirror pointed at a blank wall or a bathroom door doubles the wrong thing.
7. Mount a sculptural wall sconce at mid-staircase
Choose an asymmetrical brass or ceramic sconce and mount it between the fourth and sixth step, about 60 inches above the tread directly below it so the light lands on the steps rather than in your eyes. Sconces run $60 to $200.
The measurement that matters more than height is projection. On a stair wall, pick a fixture that stands less than 4 inches off the plaster. Anything deeper starts eating into the 36 inches of clear width the stairs need, and a hard shade at head height on the wall you pass closest to is a bruise waiting to happen. Wiring is the other cost: a new box on a stair wall usually means $100 to $250 per fixture for an electrician, since the wall cavity has to be fished. Plug-in sconces with a fabric cord and a tidy cord cover skip that entirely, and rechargeable puck sconces skip it twice. Aim for 400 to 600 lumens at 2700K, on a dimmer.
8. Stencil a repeating pattern on the staircase wall
Use a geometric stencil in black or deep gray on a white or light wall and work from the landing down, so you're never reaching over wet pattern. Supplies stay cheap: a reusable mylar stencil is $12 to $25, a dense foam roller and a sample pot add another $15.
Technique decides whether this looks custom or homemade. Load the roller, then offload most of the paint onto a paper towel until it feels nearly dry, and tap rather than press. Almost every bleed under a stencil edge comes from too much paint, not a bad stencil. Register the pattern to a plumb line, not to the stair rake: follow the stairs and the pattern drifts visibly by the third repeat. Tape the stencil at all four corners each time. Budget 4 to 6 hours for a wall around 6 by 10 feet, and know the trade-off going in, which is that touching up a scuff later means re-registering the pattern.
9. Hang a single large woven textile as art
Mount one oversized woven piece, about 48 by 60 inches, on the wall facing the staircase at landing height. Good ones run $80 to $250, and the reason to choose one over framed art is acoustic: a stairwell is hard surfaces stacked in a box, and wool has enough mass to take the ring out of footsteps and voices carrying between floors.
Hang it from a wood dowel or a flat batten rather than pinning the fabric itself, and spread the load across at least three hooks. A single center hook slowly tears the weave at that point, and you won't notice until it drops. A piece that size weighs 5 to 15 pounds, so studs or 30-pound anchors are plenty. Set the bottom edge above the handrail line so hands don't drag across it as people climb. One caution: keep it off a wall that gets hours of direct sun, or the exposed half fades a shade lighter within a season.
10. Paint the staircase risers in contrasting color
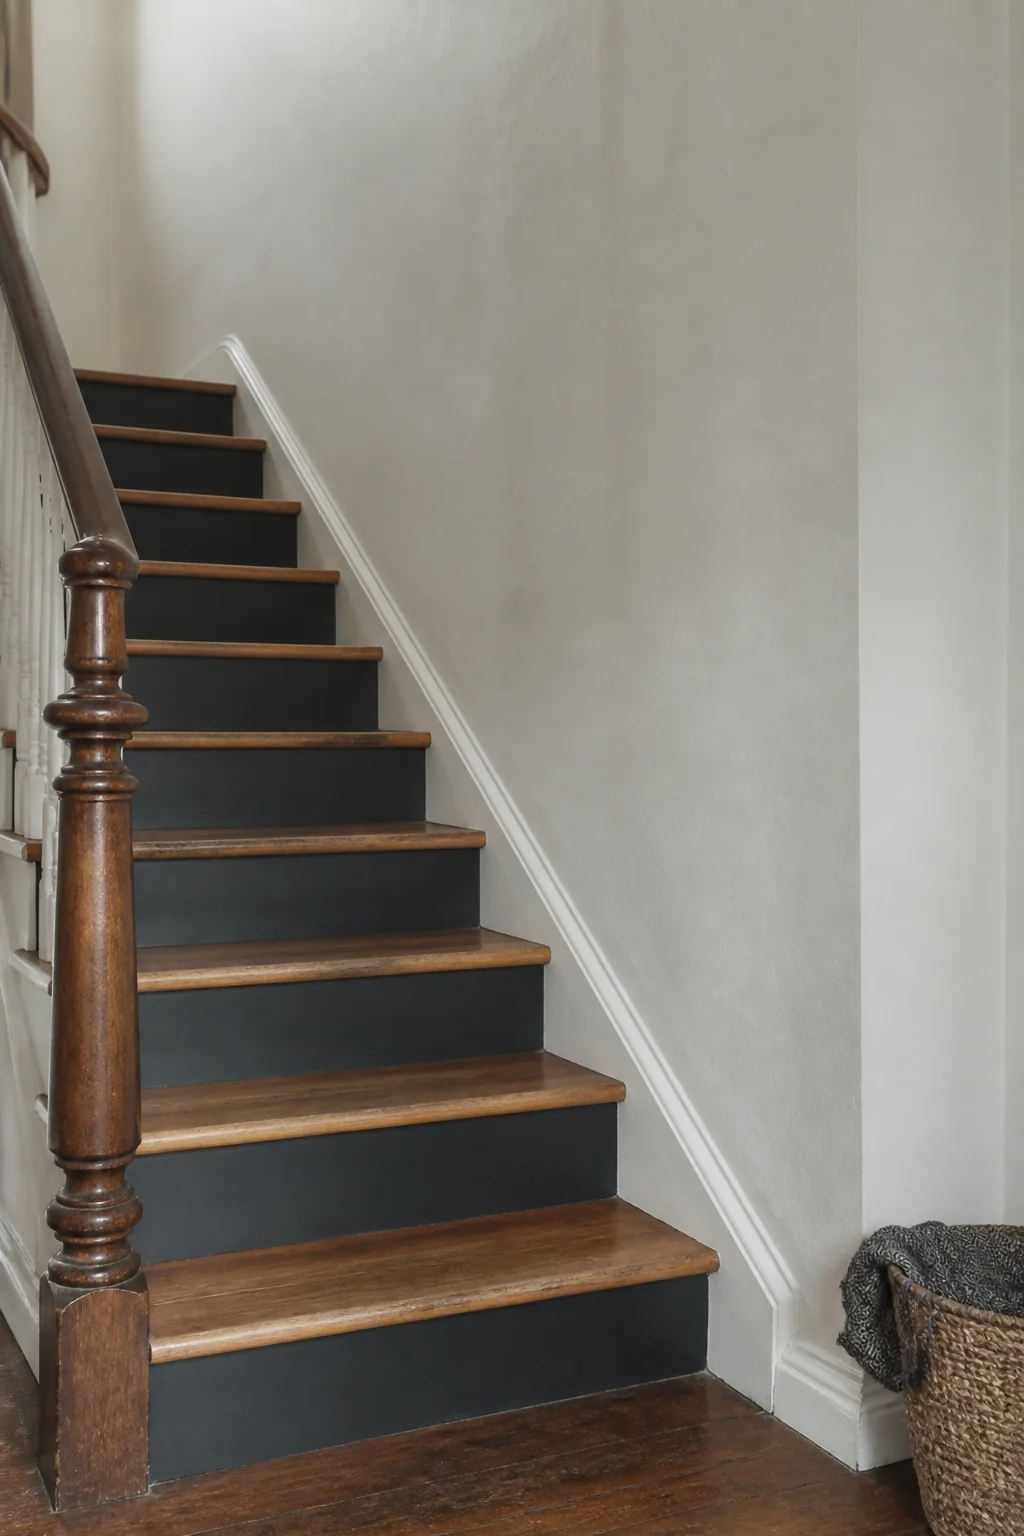 Keep the wall neutral and paint the vertical face of each riser, the part you see from below, in a contrasting shade. White risers on dark stairs or navy risers on pale stairs create rhythm without touching the wall at all. Risers usually run 7 to 7.75 inches tall against a 10 or 11-inch tread, so you're painting a lot of small identical rectangles: a quart at $25 to $45 covers about fourteen of them.
Use porch and floor enamel rather than wall paint. Shoe toes hit risers constantly, and wall paint scuffs down to primer in a year. Tape the front edge of each tread and burnish the tape with a putty knife so paint can't creep under. Paint every other riser first, let them dry four hours, then do the rest, and you can keep using the stairs the whole time. The side benefit is safety: contrast between tread and riser makes each step edge easier to read on the way down.
A staircase gets decorated as though it were one flat wall, and it never is. The risers, the underside, and the wall itself all sit at different angles and take light differently through the day. Work with the angles, not against them.
11. Add a runner rug with a strong border or pattern
Lay a wool or natural fiber runner down the center of the stairs in a solid or a strong stripe. Twenty-seven inches is the standard width, which leaves about 4.5 inches of finished tread showing on each side of a 36-inch stair. Wool wears best and hides grit; sisal looks right but is brutal on bare feet and shows every spill. Expect $200 to $600 for something that survives a decade.
Measure by adding one tread depth plus one riser height for every step, then add a few inches for the landing return: thirteen steps at 10 inches and 7.5 inches works out around 19 feet. The non-negotiable part is fastening. A loose runner on stairs slides, and that is how people fall. Either staple it into the crotch of every tread and riser, or run traditional stair rods through every step. Cut the pad an inch narrower than the runner so no padding peeks out at the edges.
12. Mount a thin floating desk on the landing
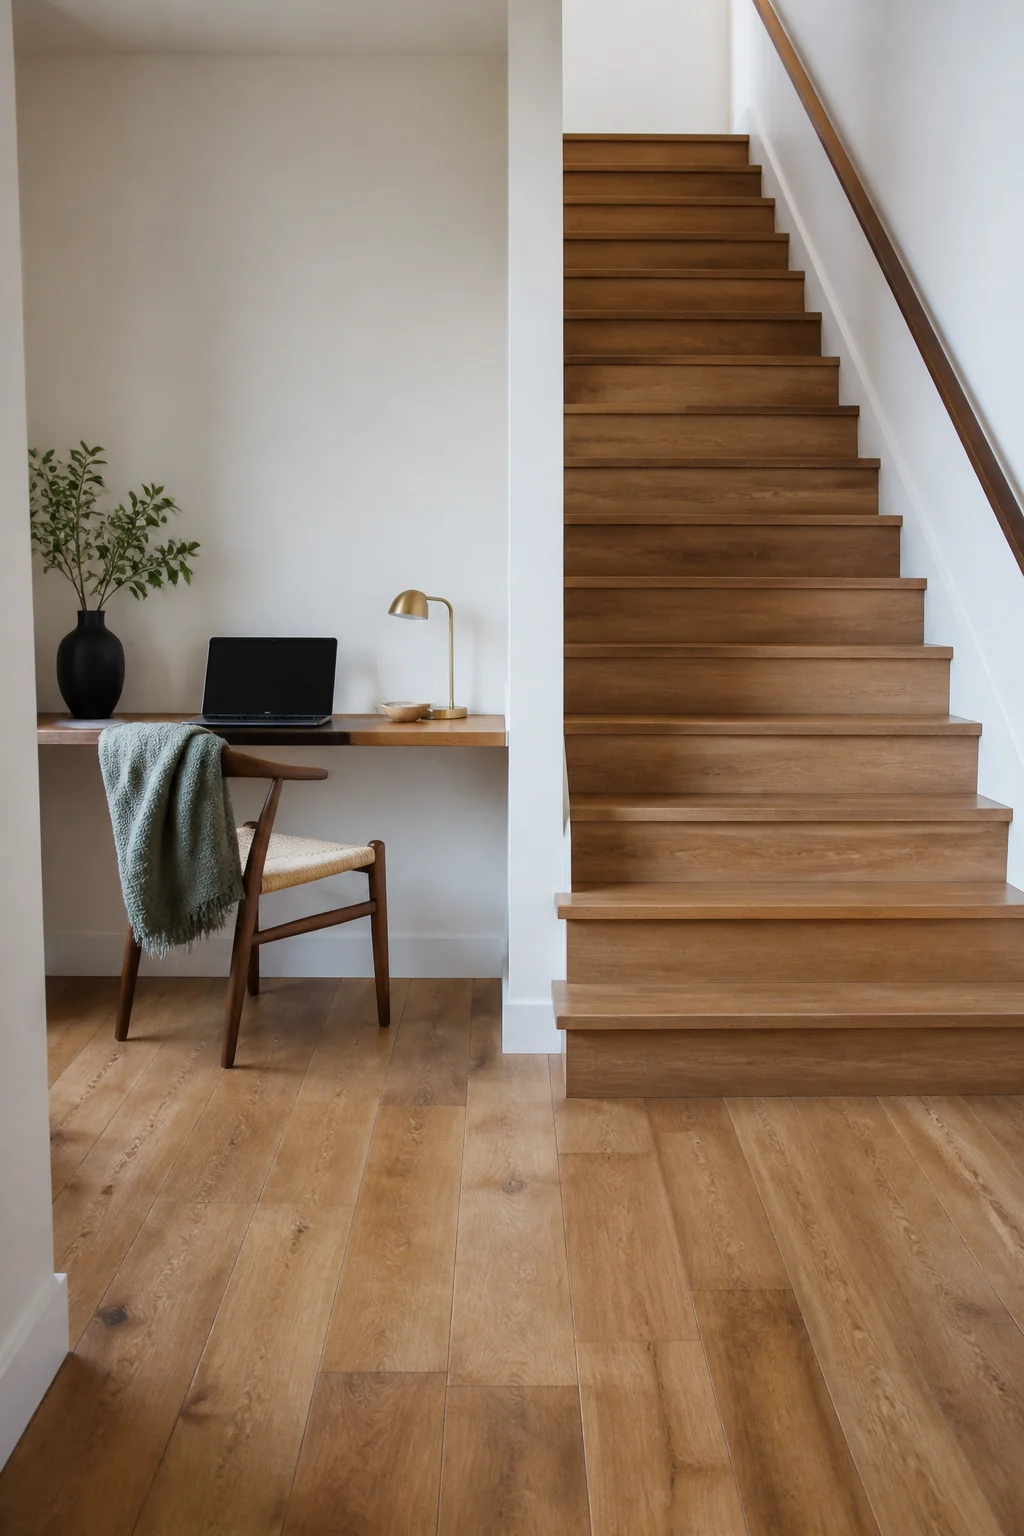 If your landing is roughly 6 feet wide, a 36-inch desk turns dead circulation space into somewhere you can pay a bill or answer an email. Mount it at 30 inches, standard writing height, and keep it 18 to 20 inches deep, which is enough for a laptop and a mug and little else. Check the leftover passage before you commit: with a stool tucked under, you still want 36 inches of clear walking width past it.
Fixing it to the wall is the whole job. A wall-hung desk works like a lever, so a French cleat routed into two studs beats a pair of L brackets by a wide margin, with 3-inch structural screws into framing. Landings almost never have an outlet, so plan for either a surface-mounted raceway or $150 to $300 to have one added. A clamp task light at 400 to 500 lumens finishes it, since overhead stairwell light falls behind you and throws a shadow across the desk.
13. Paint the staircase itself in a contrasting wood stain
Refinish the visible treads in a stain that departs from the rest of the floors instead of trying to match them. Natural oak going to walnut or near-ebony gives the wall above something to sit against. Sand through 80, then 100, then 120 grit, vacuum twice, and wipe with a tack cloth: dust in the grain is what makes a dark stain look blotchy.
Test on the underside of one tread first, because red oak and white oak drink the same stain very differently. Then use a penetrating oil stain and three coats of water-based polyurethane, which dries in two to four hours and won't amber over a pale stain. Keep windows open and a fan running while the stain goes on, and lay the stain rags flat outdoors or seal them in a water-filled metal can, since oil-soaked rags can ignite as they dry (NFPA on oily rags). Do every other tread so the stairs stay usable, and give the finish 48 to 72 hours before heavy traffic. The real caution: a glossy dark tread is slick in socks. Add a grip additive to the final coat or set clear anti-slip strips near each nosing. Materials run $80 to $150; a pro flight is $600 to $1,500.
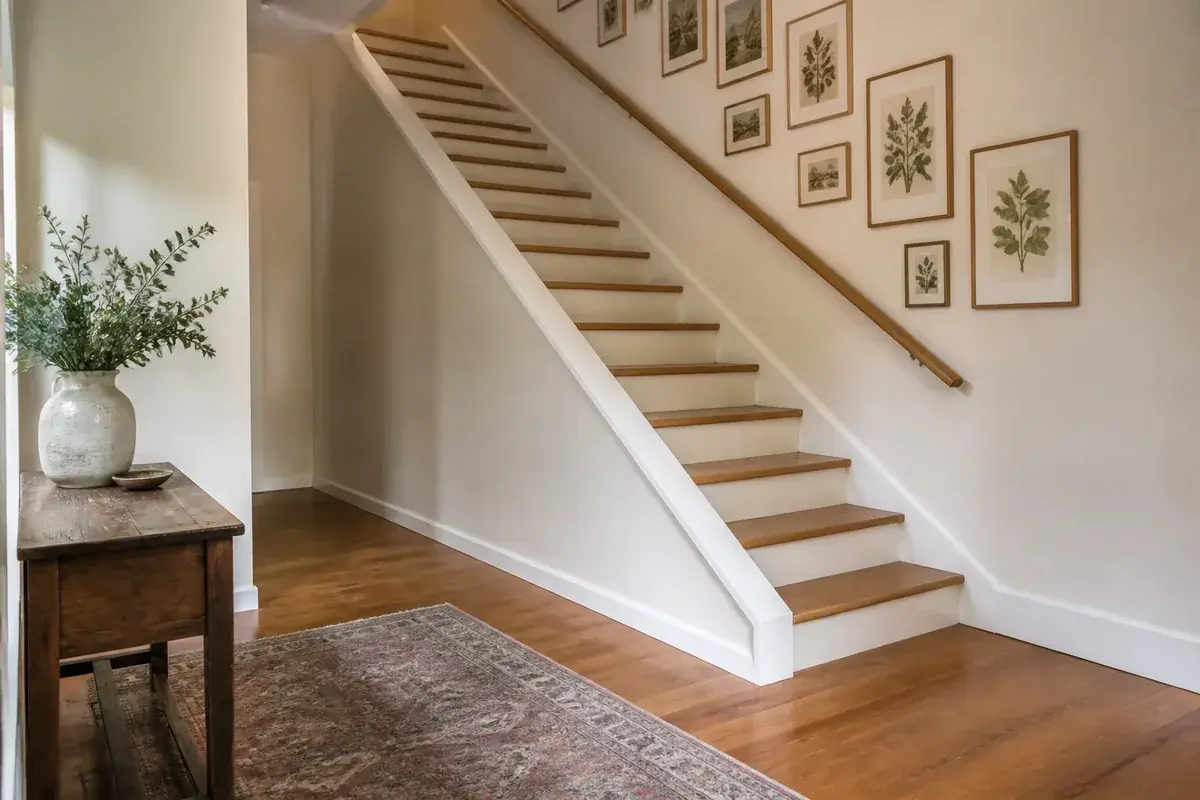
14. Hang a series of framed botanical prints in a vertical line
Choose five to seven frames in one style, around 8 by 10 inches each, and stack them in a single column with 6 inches between. Six frames plus five gaps gives you a 90-inch column, so measure your ceiling height before you order: on a low landing, five frames is the honest number.
Center the column at 57 to 60 inches above the tread or floor beneath it, and hold a laser level or a plumbed chalk line for the whole run, since a column magnifies any drift. Repetition is the entire effect here, so identical frames and identical mats matter more than the prints do. A 2-inch mat around an 8 by 10 keeps each piece from looking small. Frames run $15 to $40 each, and botanical plates from public-domain archives print at 8 by 10 for $2 to $5. Mixing frame finishes is the one thing that kills it.
15. Install picture rail molding at the landing
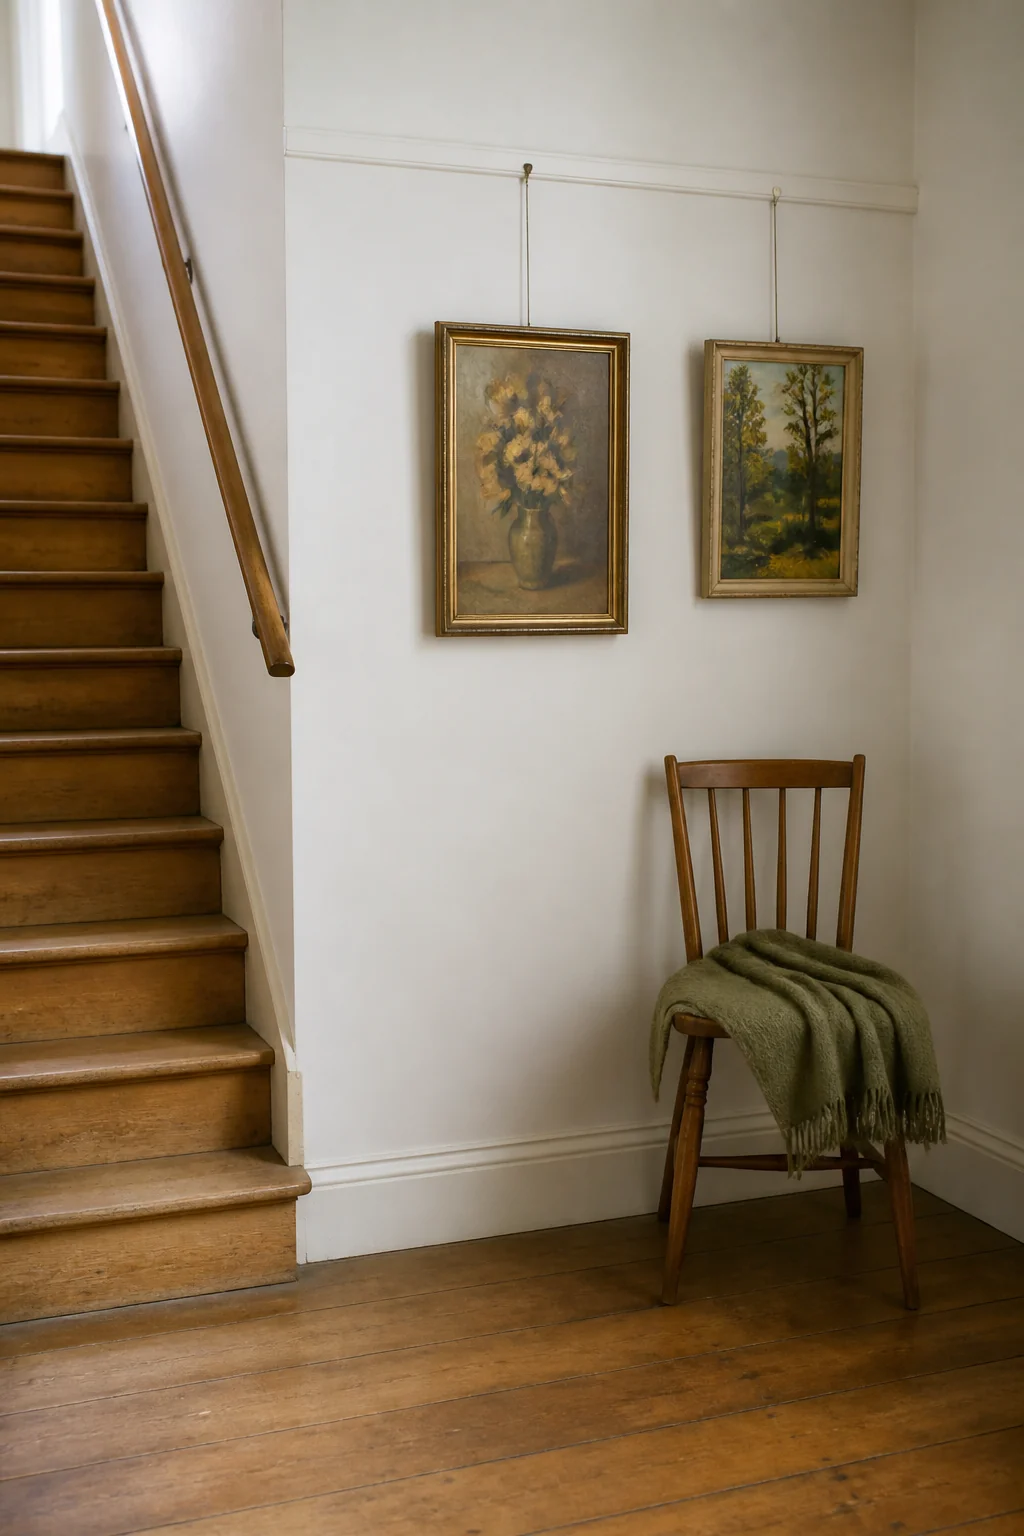 Run horizontal molding around the upper landing 6 to 12 inches below the ceiling, or line it up with the top of the nearest door casing, which usually looks more deliberate than an arbitrary drop. Art then hangs from hooks and cords off the rail, so you can swap pieces or slide them sideways without opening a single new hole.
Nail it into studs with 2-inch finish nails, predrilling near the ends of each length so the molding doesn't split, and miter the outside corners rather than butting them. Standard picture rail hooks carry 20 to 40 pounds each, and cords let you drop a piece to whatever height the wall wants, which is useful when a stair rake means no two pieces sit level. Painting the rail the wall color makes it disappear; painting it the trim color makes it architecture. Figure $3 to $6 per linear foot plus $6 to $12 per hook, or $150 to $400 installed.
16. Create a two-tone paint effect: darker bottom, lighter top
Paint the lower band of the staircase wall in a deeper tone and switch to a lighter shade above. Chair-rail height, 32 to 36 inches, is the traditional split; taking it to 48 inches reads more modern. A dark blue base under light cream stays polished without closing the stairwell in, and it hides the scuffs that land exactly where hands and bags do.
The decision a stair wall forces on you is what the split line does when the floor starts climbing. Either hold it dead level all the way through, which reads as architecture and lets the stairs cut across it, or run it parallel to the stair rake so it stays a fixed distance above each nosing. Both work. Mixing them looks like a mistake. Snap a laser line and mark it lightly in pencil. Tape, then seal the tape edge with a coat of the lighter color before applying the darker one: that trick is what gives you a crisp line. Two gallons runs $60 to $120.
17. Mount open shelving in a staggered pattern on the landing
Install three shelves at different heights and lengths on the landing wall and let the asymmetry do the work. Keep depth between 8 and 12 inches, though: 18 inches is furniture, and on a landing you turn on it becomes something you clip with a shoulder. Stagger them 14 to 18 inches apart vertically, and vary the lengths too, say 36 inches, 24 inches, and 30 inches, or the stagger reads as a mistake rather than a plan.
Confirm what's left of the walkway before you drill. You want 36 inches of clear passage past the deepest shelf, measured from the opposite wall or the guard. Anchor into studs, not drywall toggles, because open shelves collect heavier things than you plan for. When you style them, work in odd numbers, vary object heights within each shelf, and leave roughly a third of each shelf empty so the group reads as composed. Expect $30 to $90 per shelf.
18. Hang textile art in a single large frame
Frame a vintage kilim fragment, a suzani, or a contemporary woven panel inside a plain frame around 30 by 40 inches. Framing changes how a textile reads: loose on the wall it looks like a throw, but behind glazing with a margin around it, the eye files it as art. Vintage fragments turn up at $60 to $200; custom framing at that size runs $250 to $600.
Ask for the textile to be float-mounted, stitched with fine stainless pins to a linen-covered board, never glued. Adhesive stains natural dyes permanently and makes the piece unsellable later. Then ask for UV-filtering acrylic rather than glass. Acrylic weighs about half as much and, more to the point, it doesn't shatter down a flight of stairs if the piece ever comes off the wall. Even in acrylic, a framed 30 by 40 lands around 12 to 18 pounds, so use two hooks into a stud or anchors rated to 50 pounds each.
19. Paint the landing ceiling a soft color
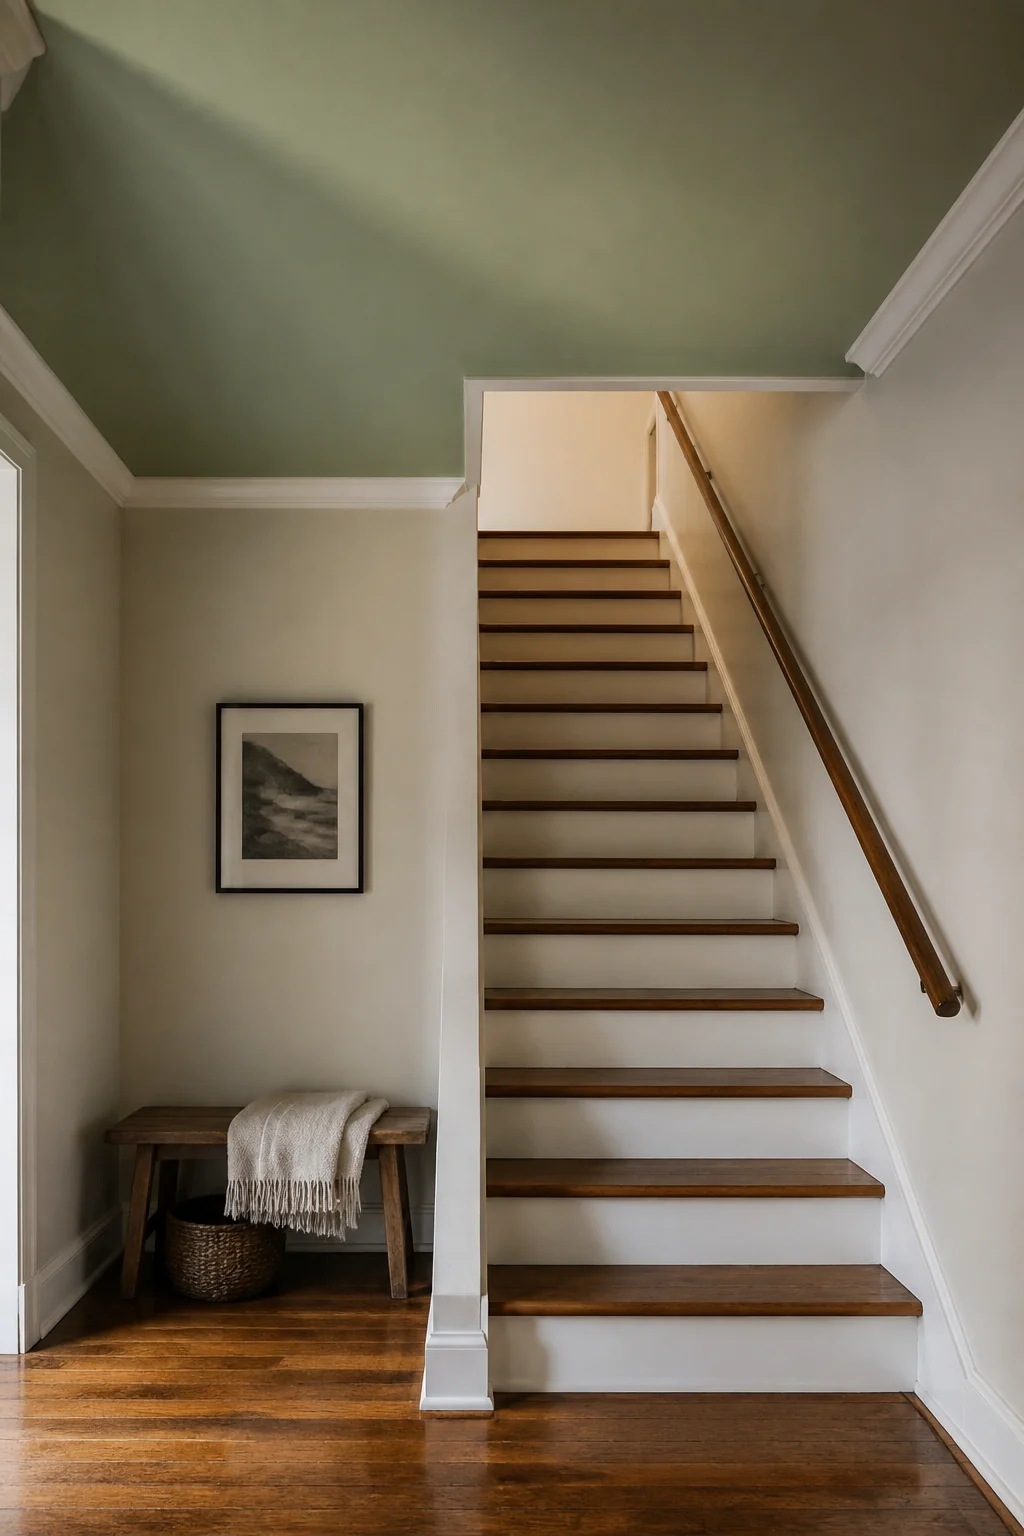 Most people leave staircase ceilings plain builder white and never look at them again. A warm gray or a light sage overhead pulls the eye up and gives the landing a top edge, so it feels like a small room instead of a wide spot in the stairs. Buy the quart. Ceiling paint is sold by the gallon at around 350 square feet of coverage and a landing ceiling is a small fraction of that, so $18 to $30 in the smaller can is the entire materials cost.
Use flat ceiling paint, not eggshell. Stairwell light rakes across a ceiling at a shallow angle and eggshell will show every taped seam and roller lap mark. Keep the color one or two steps off white; go saturated and the ceiling reads low, which is the opposite of what a stairwell needs. Cutting in is the hard part. If the ceiling sits directly over the flight, 12 or more feet above the treads, a 6-foot extension pole from the landing is safer than any ladder gymnastics, and a painter will do it for $250 to $500.
20. Install a narrow console table on the landing
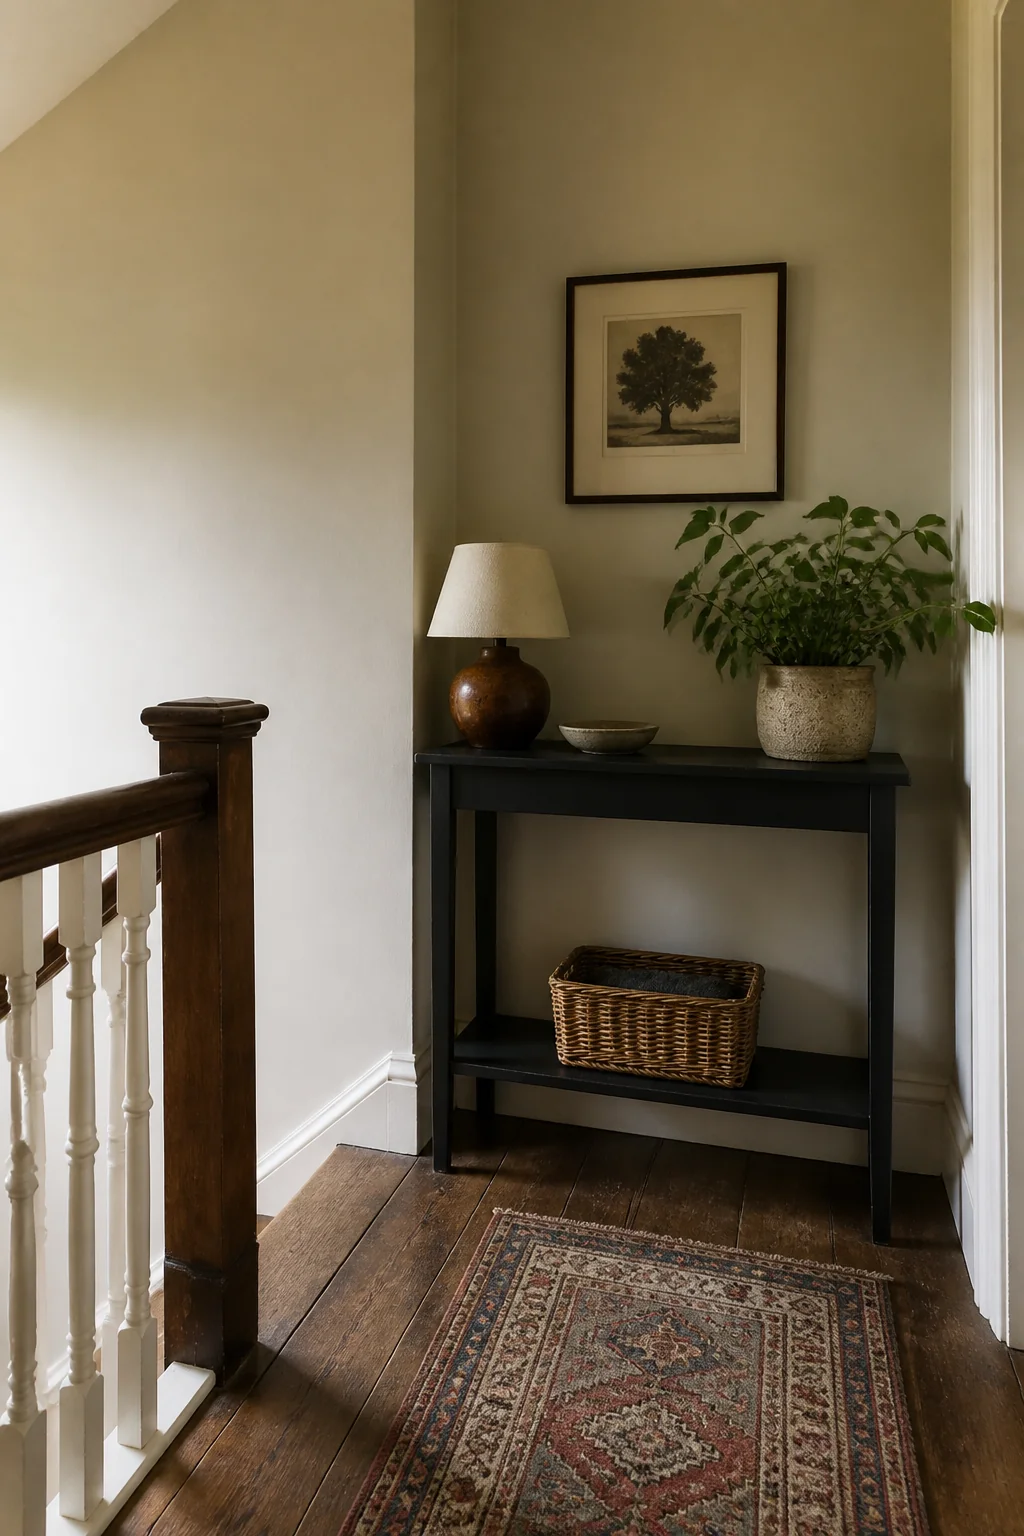 A console 36 inches wide by 14 deep, roughly $150 to $400, gives the landing a reason to exist beyond passing through. Standard height is 30 to 32 inches. Fourteen inches is the deepest you should go on most landings, since you still need 36 inches of clear passage behind it, and that number gets tight fast once a basket appears underneath.
Strap it to the wall with an anti-tip kit if the stair opening is anywhere near it. A console is exactly the height a toddler grabs to pull up on, and the landing is the worst possible place for something to come over. Most landings have no outlet, so a rechargeable cordless lamp at $40 to $90 solves the light without a cord snaking across the floor, which is a trip hazard at the top of stairs. Add a small tray for keys and the surface stops collecting clutter sideways.
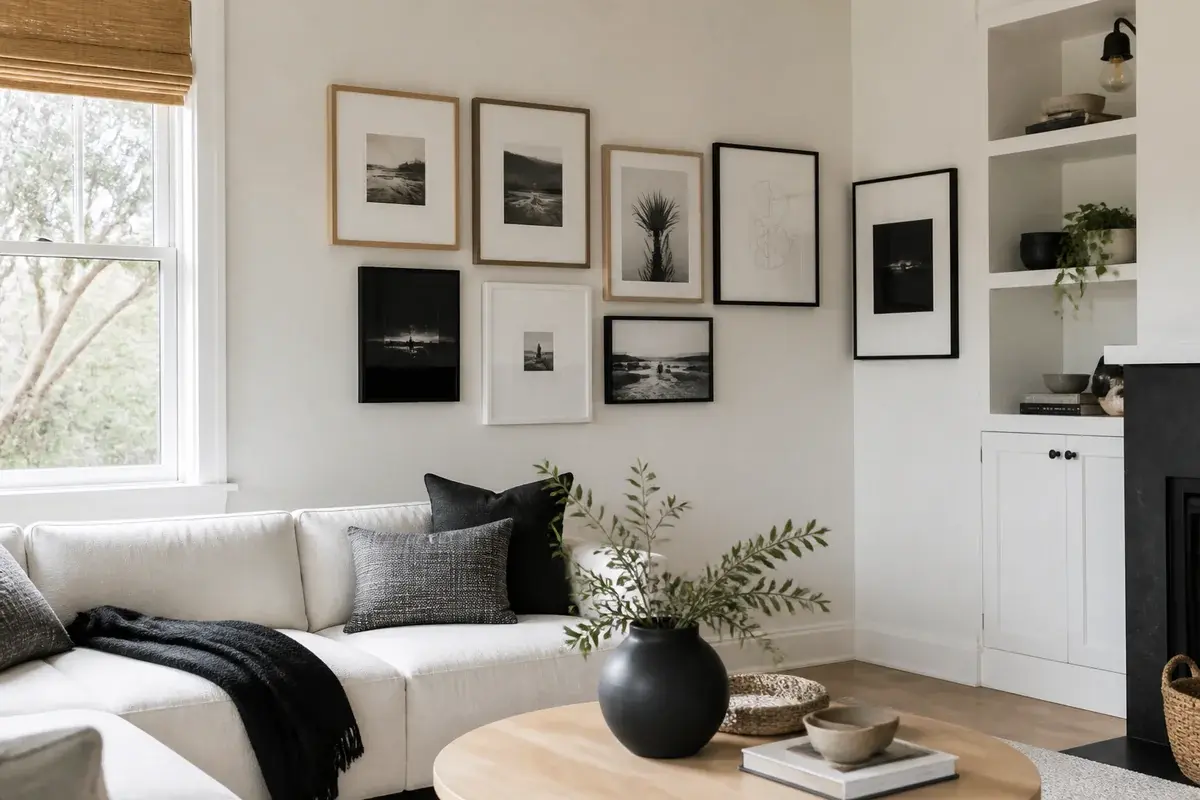
21. Hang oversized black and white photography in a grid
Mount five to nine black and white prints, 16 by 20 inches each, in a tight grid on the wall facing the landing. Monochrome reads calm and architectural because there's no color competing with the stair rail, the treads, and whatever else is already going on in the space.
Do the arithmetic before you order the frames. Nine verticals in a three-by-three grid with 2-inch gaps occupies 52 inches wide by 64 inches tall, and centering that block at eye level puts its bottom row around 25 inches up from the floor you view it from and its top row near 89, so check that against your ceiling before you buy nine of anything. Keep the gaps identical to a sixteenth of an inch; in a grid, an uneven gap is the only thing anyone sees. Order every print from one lab in a single run, because black and white varies between labs and a warm-toned print hung beside a cool-toned one looks like a printing error. Prints run $15 to $30 each, frames $25 to $60.
22. Add recessed lighting inside shelving on the landing
If you install floating shelves, run thin LED strip underneath each one. It lights whatever sits below and washes down the staircase wall at night, which is genuinely useful: a low warm glow at the landing means nobody flips on a hard overhead at 2 a.m. Strips cost $15 to $40 per shelf.
Buy a 24-volt strip at 2700K to 3000K with a color rendering index of 90 or better, and set it inside an aluminum channel with a frosted diffuser. Skip the channel and you get a row of visible dots reflected in every glossy tread below, which looks cheap from the bottom of the stairs. The channel also solves the failure everyone hits, which is bare adhesive tape letting go after a year as the strip warms and cools. Hide the driver behind the shelf or inside a nearby cabinet, and wire it to a dimmer or a small motion sensor so the landing lights itself as you reach the top step.
23. Paint the accent wall with a matte finish for soft light
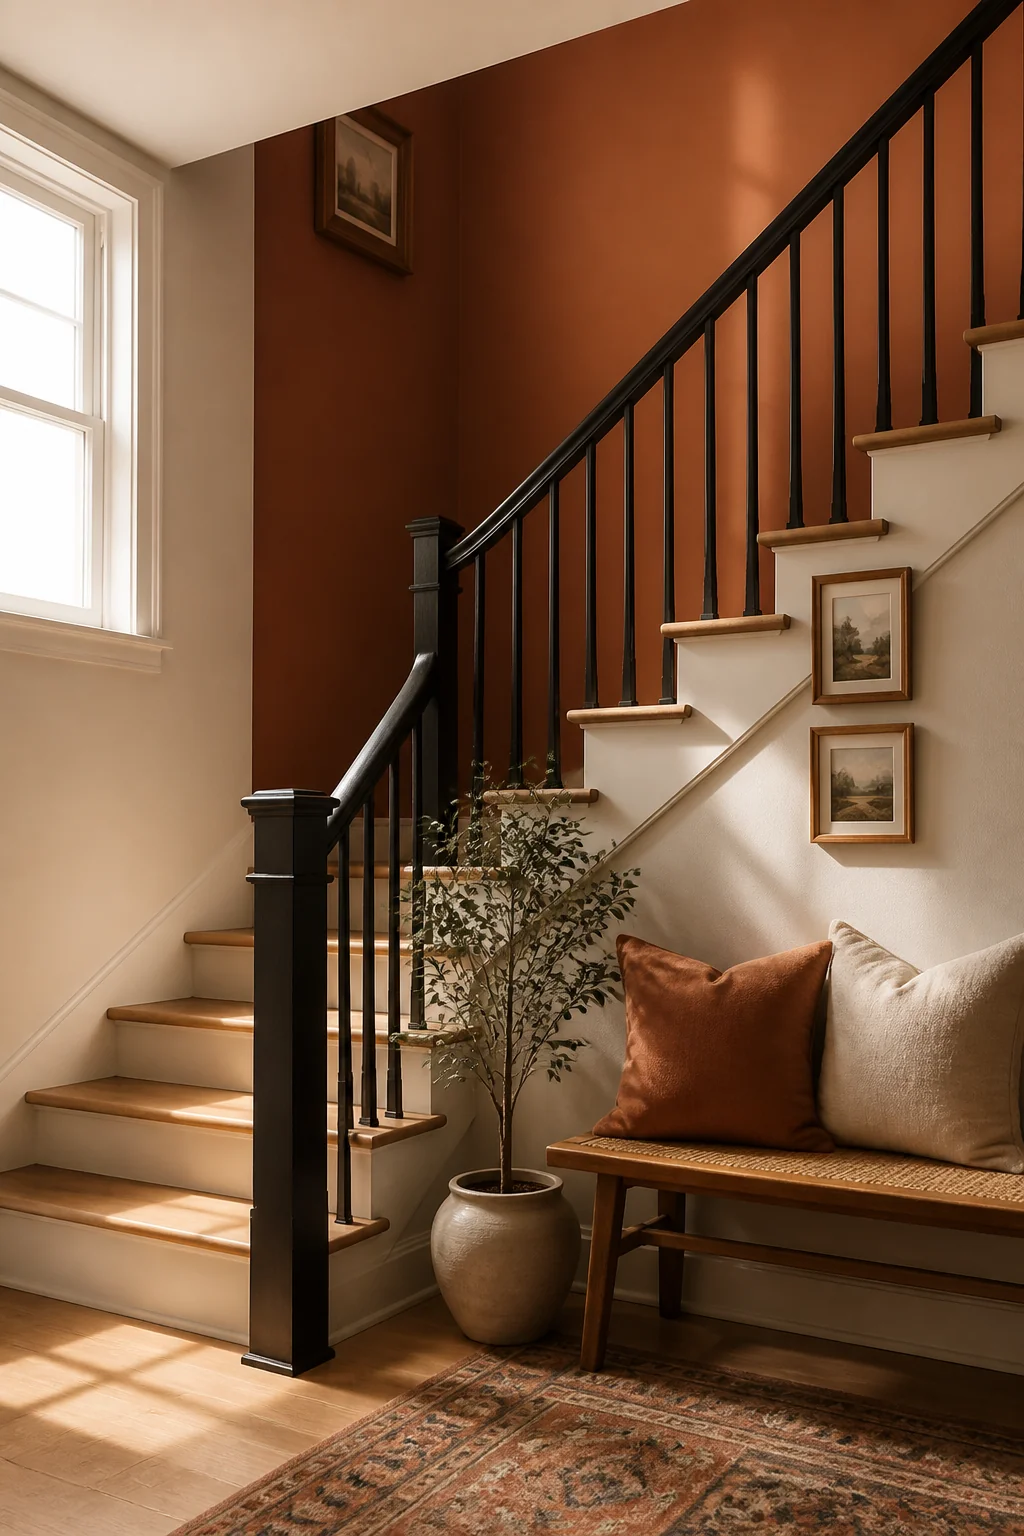
The usual advice sends you to eggshell or semi-gloss everywhere outside a bedroom, but a stairwell argues for flat. Light rakes across these walls at a shallow angle, and any sheen turns every drywall patch, seam and nail pop into a shadow you notice on the way up. Matte scatters that light instead of bouncing it, so the wall reads as one clean plane.
The trade-off is real. A stairwell wall is precisely where hands, hips and laundry baskets land, and standard flat paint burnishes to a shiny spot when you scrub it. Two ways around that. Buy one of the scrubbable matte lines, $50 to $80 a gallon against $35 to $50 for standard flat. Or run eggshell up the first 40 inches and matte above it, which is the two-tone split doing double duty. Either way, keep a labeled quart: flat touches up invisibly, and eggshell almost never does.
24. Hang a tall, narrow vertical print or scroll
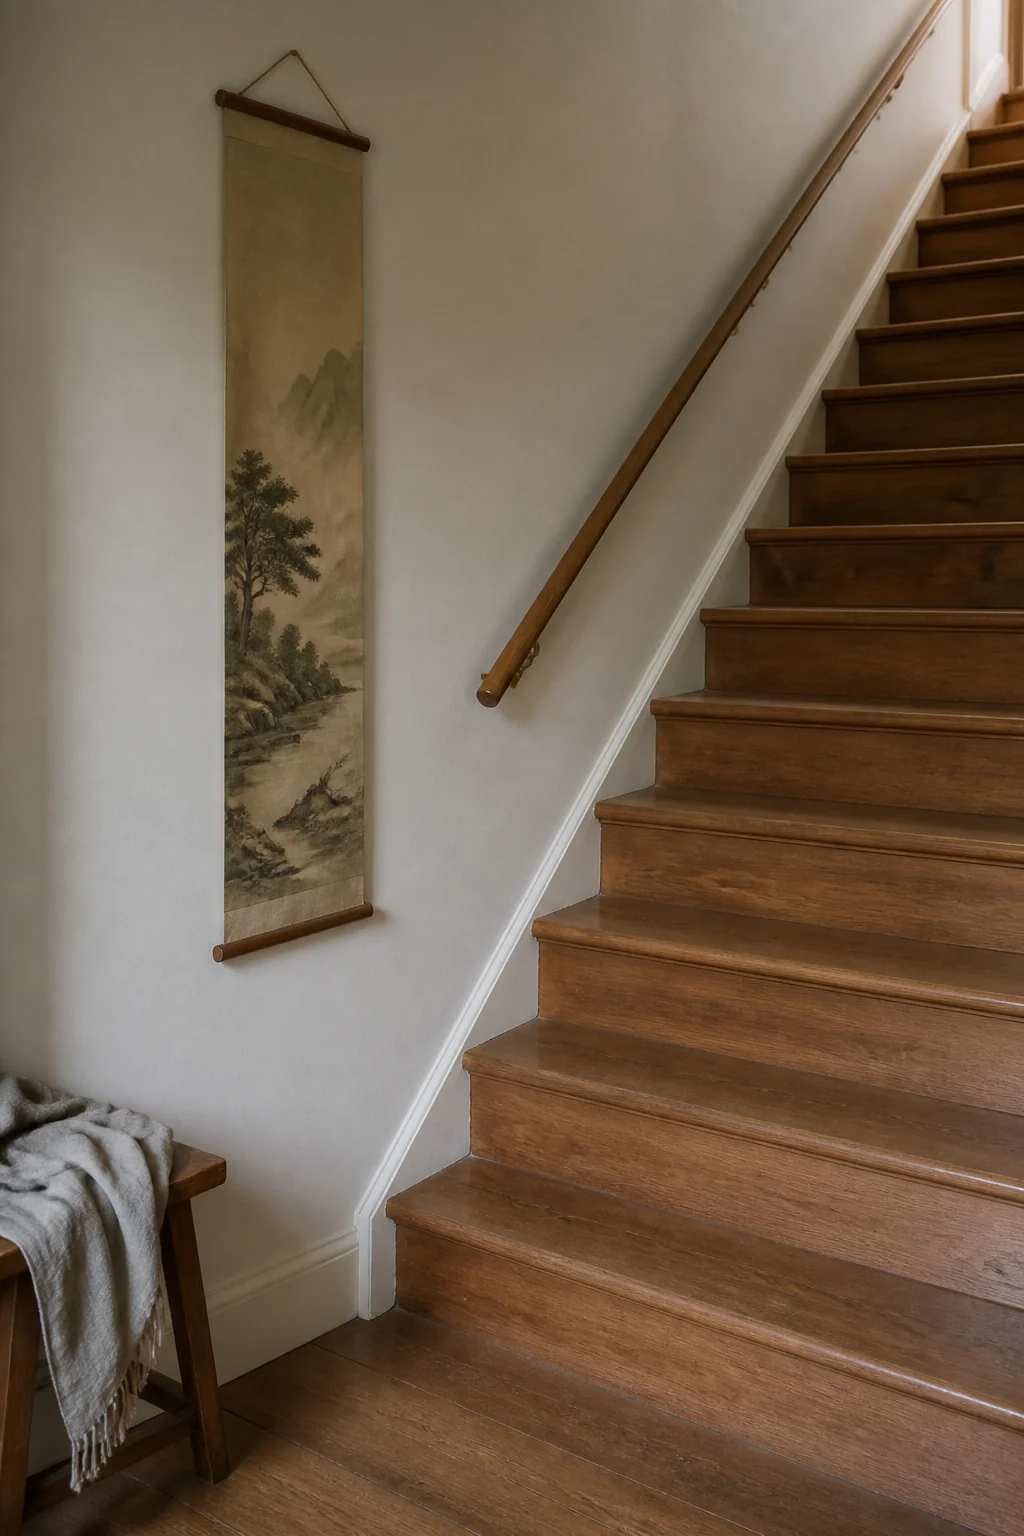 Mount a single elongated piece, about 20 inches wide by 50 tall, to echo the vertical of the stairwell itself. Scroll paintings, tall botanical plates and long abstract panels all work, and one piece this size settles a wall that a scattering of small frames would only make busier. Figure $40 to $150 for a printed scroll, more for anything original.
A tall wall tempts you to hang high, and then the piece floats above everyone's sightline, so settle the height before you order rather than after it arrives. The center wants to land 57 to 60 inches above the surface you actually stand on, or the bottom edge 8 to 12 inches above the handrail so the two lines relate. Run that arithmetic against your own stairwell and it often rules out the longest scroll in the shop and sends you back to the 50-inch one. Fabric scrolls need a weighted bar at the bottom to hang flat, and they will ripple in a humid stairwell near a bathroom, so a framed print is the steadier choice there. Two hooks, not one, or the piece will slowly rotate.
25. Install metal artwork or wall sculpture at mid-staircase
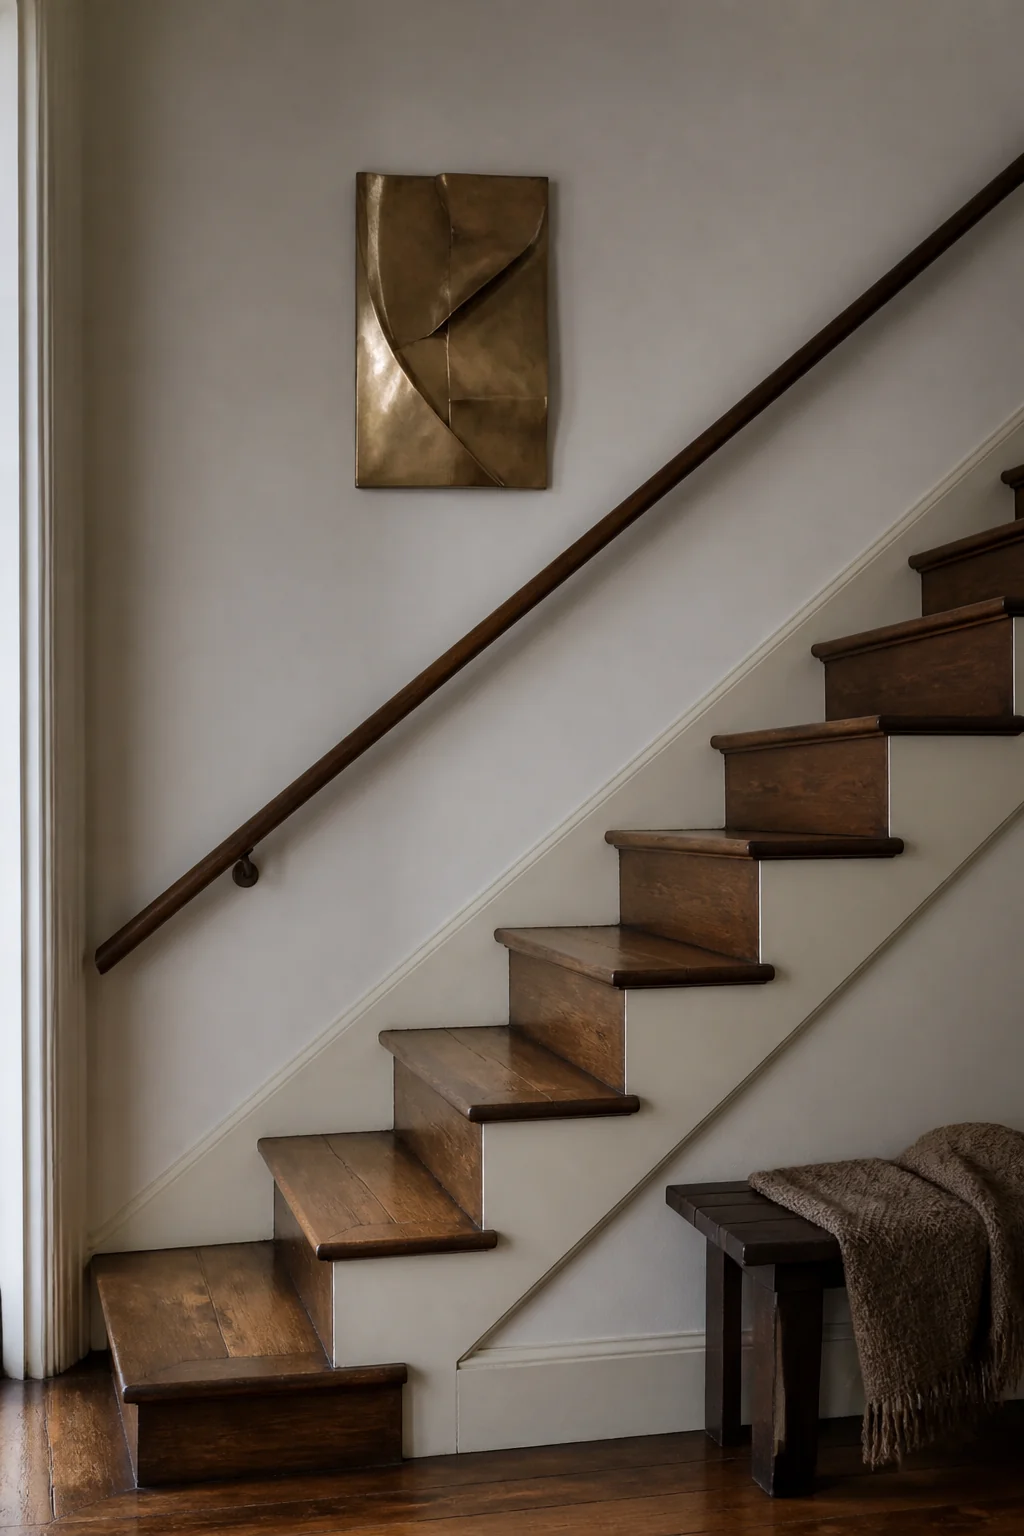 Mount a single abstract metal piece, roughly 24 by 36 inches, at eye level on the mid-staircase wall you face rather than the one you pass within inches of. Iron, copper and brass all bring texture and a bit of reflected light without touching your floor space. Expect $80 to $300.
Weight is the practical issue. A forged iron piece that size can run 10 to 30 pounds, so hit a stud with a 3-inch lag screw, or use toggle bolts rated to at least three times the weight, and hang from two points so it can't swing. Keep the projection under about 4 inches and skip anything with sharp radiating spokes on a stair wall: at head height along a flight, that's not a style question. Raw brass and copper will patina unevenly where hands touch them, which some people want. If you don't, a coat of clear lacquer holds the finish. Dust with a soft brush, since cloth snags on textured welds.
26. Create a color block with paint at the landing entrance
Paint one large geometric shape, a rectangle, a trapezoid, or a soft arch, in a bold color on the wall you meet as you step off the landing into the hallway. Somewhere around 40 to 60 inches wide is the range where it reads as a decision rather than a patch. A single sample pot at $8 to $12 covers a shape that size with two coats.
Anchor the shape to something already on the wall. Align its bottom edge with the top of the baseboard, or its top with a door header, and it looks placed; float it in the middle of nowhere and it looks like leftover primer. For the edge, use delicate-surface tape, brush a thin coat of the existing wall color over the tape line first and let it dry, then paint your color over that. The base coat seals the tape so nothing bleeds. Pull the tape at a shallow angle while the paint is still tacky. For an arch, a pencil on a string pinned at the center draws it in one sweep.
27. Layer multiple small framed pieces in a salon-style arrangement
Mix frame sizes, mat colors and print types in a loose salon hang: no grid, no repeat, just balanced variety. Range your frames roughly between 4 and 12 inches on the short side, so there's a clear largest piece and a clear smallest one. Anything in between and the arrangement looks indecisive rather than collected.
The trick that makes a salon wall work is holding the gaps constant while the frames vary. Pick 2 or 3 inches and keep it everywhere, including the diagonal steps between pieces. Lay the whole thing out on the floor, photograph it, then cut paper templates and tape them to the wall for a day before drilling. Put the largest piece slightly off center and a little below the visual middle so the group feels grounded, and keep the outer edges of the arrangement inside an imaginary band that follows the stair rake. Thrifted frames run $3 to $15 each, and spray-painting a mismatched batch one color, outside or in an open garage, is what turns a pile into a collection.
Save this for your next project
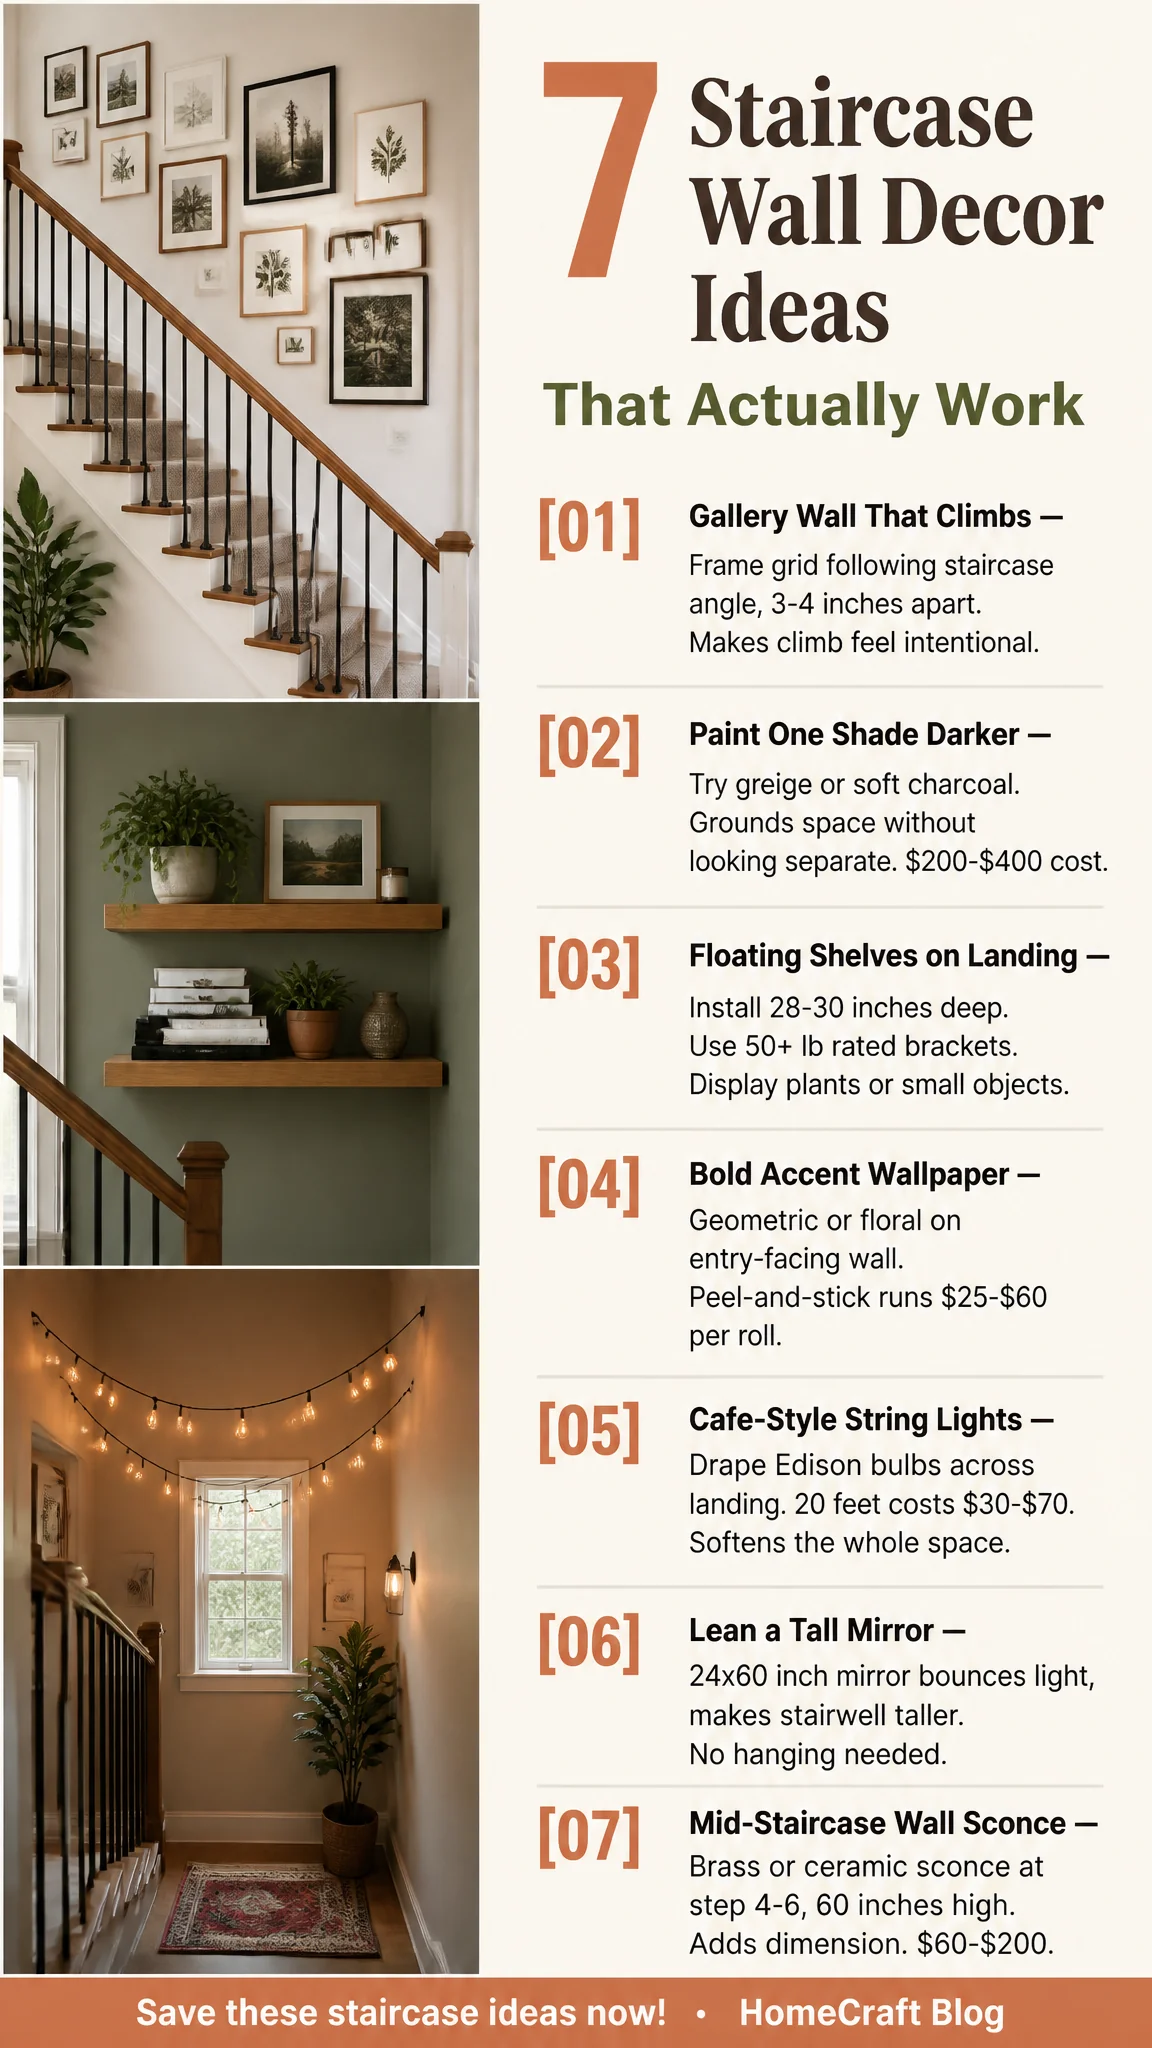
The staircase wall gets overlooked because it isn't a room you sit in. But you pass through it several times a day, and once there's light, pattern, or one good object on it, the whole house reads as more considered. If there's one thing to be fussy about here, it's the walking line: keep the 36 inches of stair width clear, keep anything mounted shallow, and fasten down whatever could fall. Past that, a stairwell forgives more than most walls. It's seen in motion, from a changing angle, for a few seconds at a time, which means a slightly imperfect gallery hang reads as charm here when it would read as a mistake in a living room.