12 Dreamy Corner Wall Gallery Ideas for Any Room
Corner wall gallery ideas with real frame sizes, spacing in inches, prices, and hanging steps for bedrooms, living rooms, and hallways.
Corner walls are the forgotten real estate of most rooms. You've got this odd, hard-to-furnish space that catches the eye when you walk in, but most people leave it blank or shove a plant there and call it a day. The truth is, corner walls are perfect for a gallery setup, but the layout matters more than you'd think. A messy, random cluster doesn't work. A thoughtful arrangement with real intention? That's when a corner wall becomes the thing people notice first. Here are 12 gallery ideas that actually fill the space instead of making it look sparse.
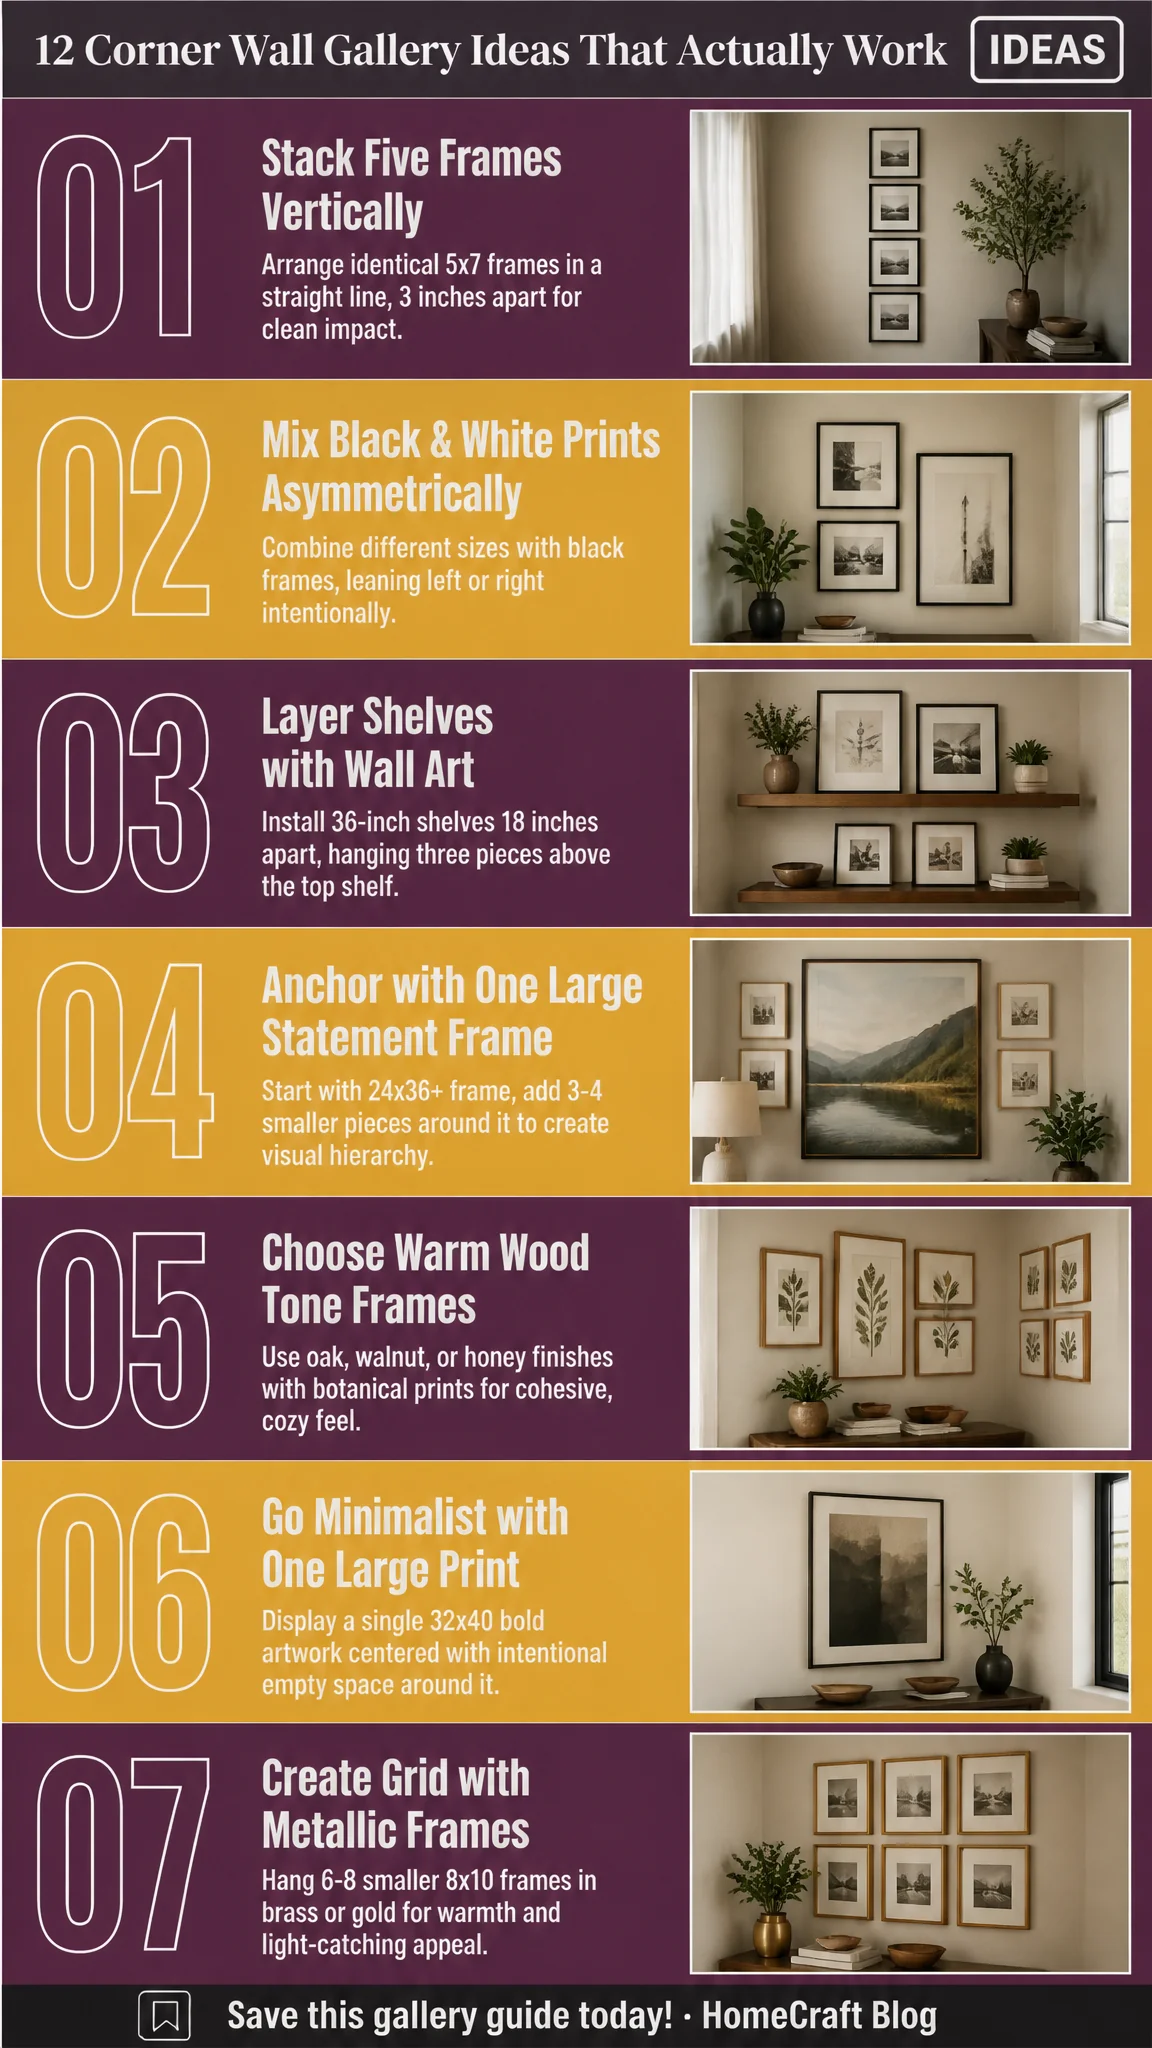
1. Vertical Line of Five Small Frames
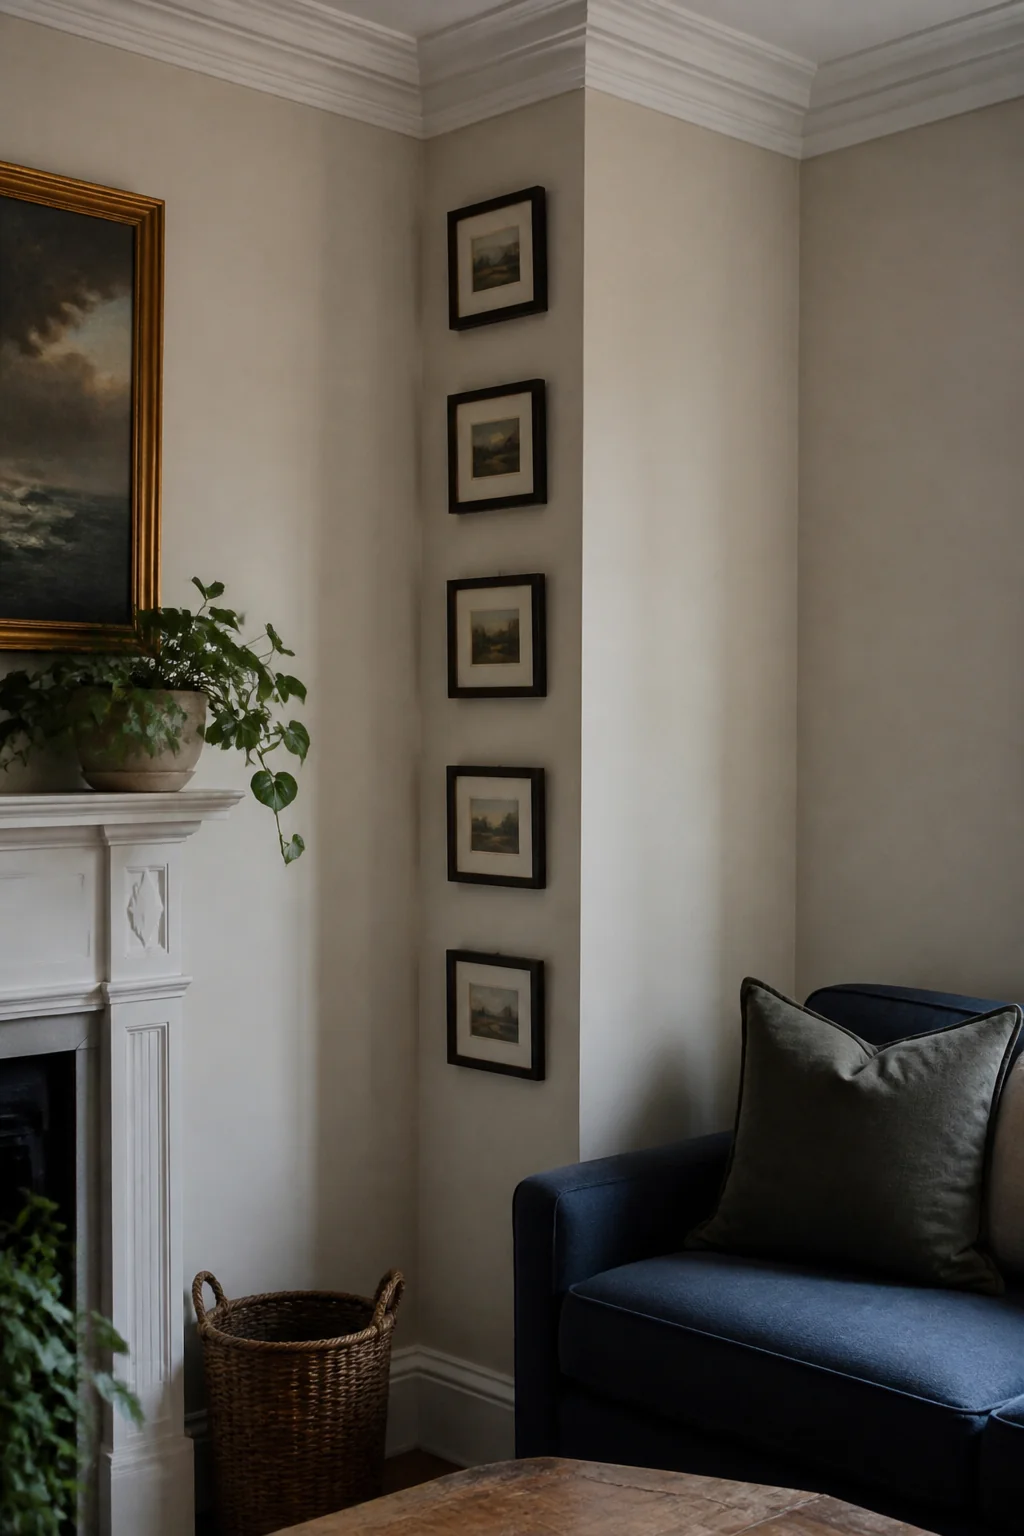 Stack five identical 5x7 frames in a straight vertical line, about 3 inches apart. That column comes to roughly 47 inches from the bottom edge of the lowest frame to the top of the highest, so if you center it around 60 inches off the floor, the stack runs from about hip height to just above a standard door top. On a 96 inch ceiling, leave a foot of bare wall above the top frame or the whole thing looks jammed against the ceiling line.
Pencil a plumb line first and set it 5 to 6 inches off the inside corner, otherwise the frames crowd the return wall and the column looks like it slid sideways. Hang from the top down so any measuring drift lands at the bottom, where nobody's eye goes. Plain 5x7 frames run about $4 to $12 each. One caveat: if a door casing sits near the corner, align to the trim instead, since your eye reads trim as the true vertical and any disagreement with it shows.
2. Asymmetrical Mix of Black and White Prints
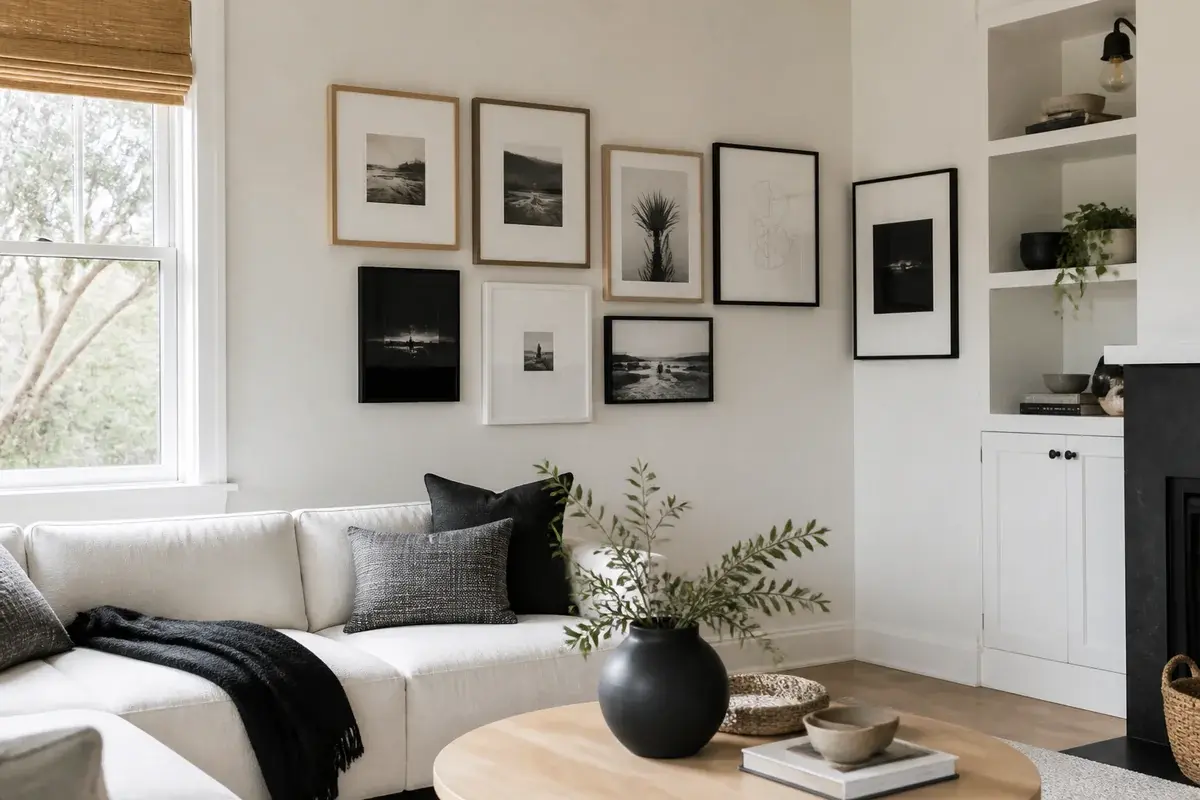
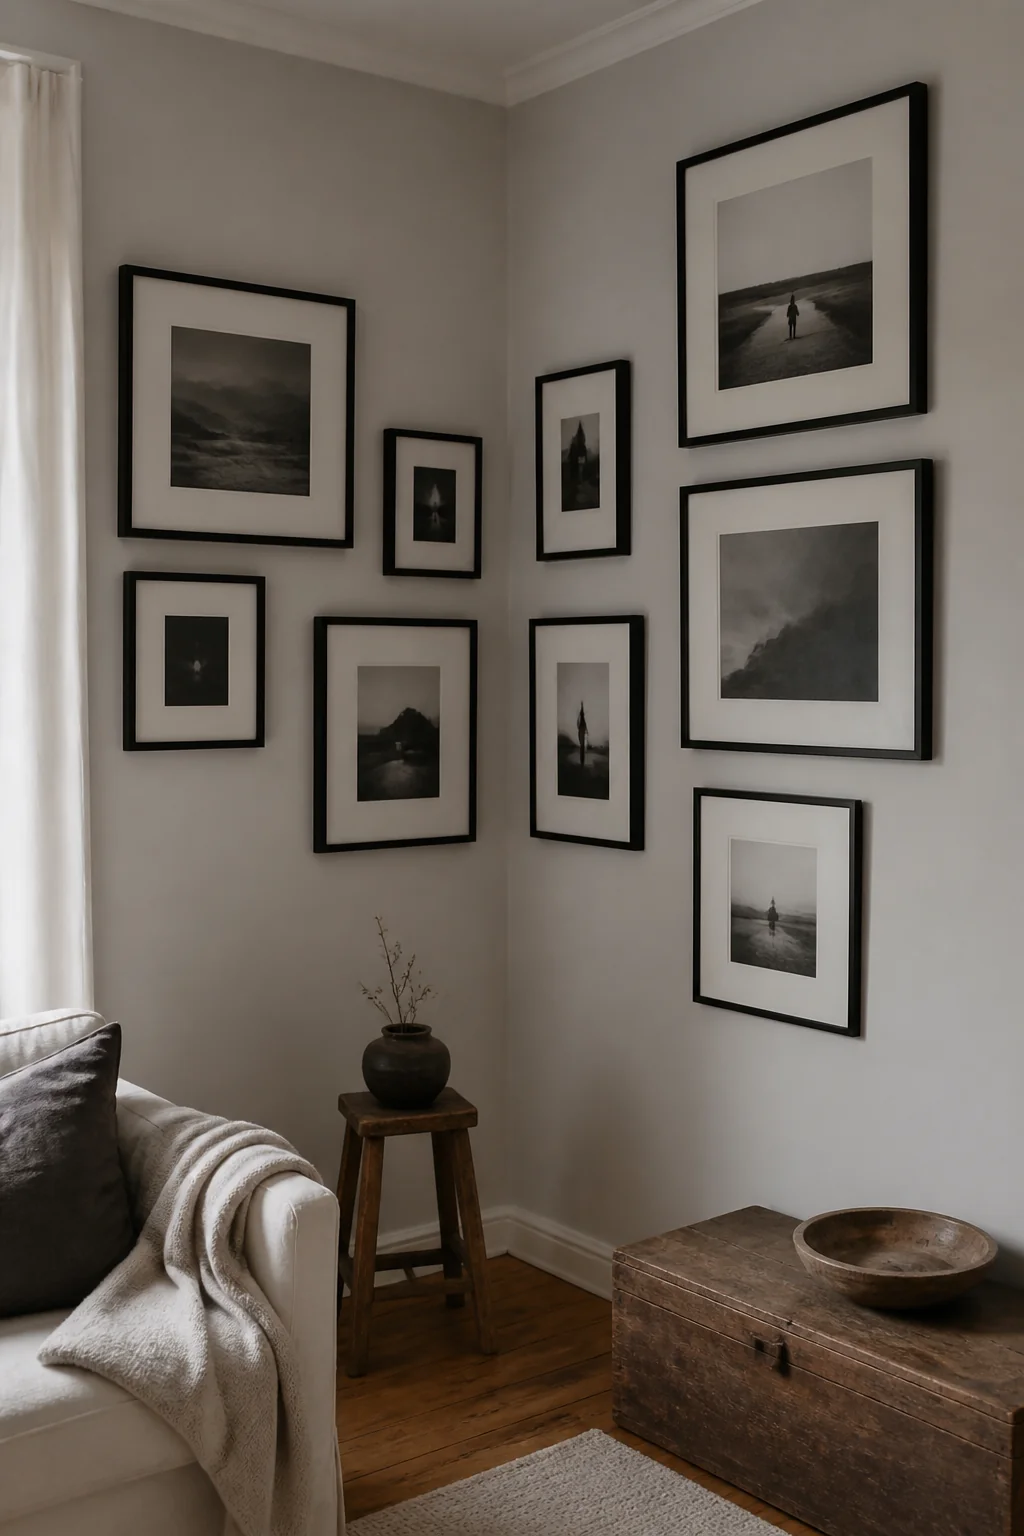 Black and white photography and line art belong together, and black frames let you mix 8x10, 11x14, and one 16x20 without the group fragmenting. What you want is an obvious largest piece and an obvious smallest. No two frames have to match in profile or width. Pick one invisible vertical line, usually the edge nearest the corner, and align every frame to it; the ragged side then faces out into the room, which is what makes the group lean without looking dropped.
Hold the gaps at 2 to 3 inches. Go wider and the pieces stop behaving as one object and start reading as separate decisions. A 2 inch white mat inside an 11x14 frame gives a small 5x7 print enough presence to sit beside the 16x20 without vanishing, and frame shops charge $8 to $15 to cut a mat to a custom opening. Frames in these sizes run $10 to $20. The layout falls apart when four pieces are all roughly the same size, because then nothing leads and the eye keeps circling.
3. Floating Shelves with Framed Art Above
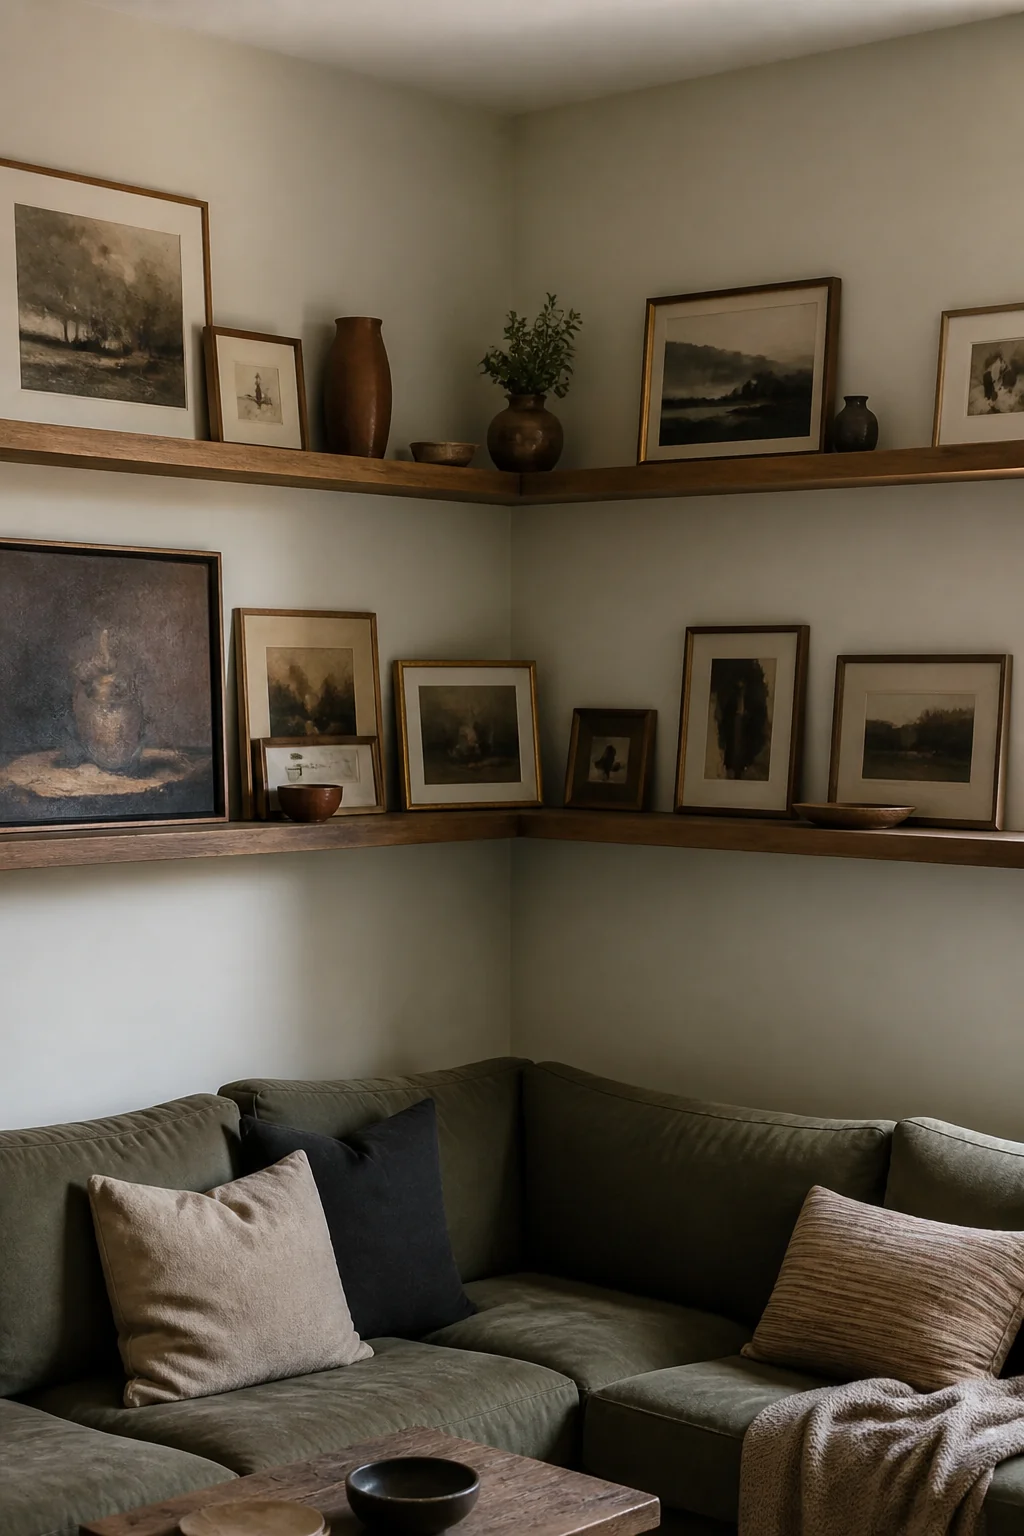 Install two floating shelves, about 36 inches wide, spaced 18 inches apart, then hang three framed pieces above the top one. The mix of shelf and wall art turns the corner into a display zone for flat and three-dimensional things at once, which a frames-only wall can't do.
Studs sit 16 inches on center, so a 36 inch shelf usually catches two of them. Where it doesn't, use toggle bolts rated around 30 to 50 pounds rather than the plastic anchors that came in the box. Depth is the call people get wrong: 4 to 6 inches holds frames, a small vase, and a short stack of books, while an 8 inch shelf starts catching shoulders in a tight corner. Leave 15 to 18 inches of clear wall above the top shelf for the art. Shelves in solid wood or veneered MDF run $18 to $35 each. The failure mode is loading a plastic-anchored shelf with hardcovers. It doesn't snap; it tilts slowly, and you find out when something slides off the end.
4. Single Large Statement Frame with Smaller Pieces
Start with one oversized frame, 24x36 or larger, as the anchor, and set its center around 57 to 60 inches off the floor. Add three or four smaller frames around it in a loose cluster, keeping each of them no wider than about half the anchor. That size gap is the whole trick: it's what makes the wall read as a hierarchy rather than a pile, and it's why so many corner clusters look busy instead of composed.
Hold the satellite frames 2 to 3 inches off the anchor's edges. A 24x36 print behind glass weighs 8 to 12 pounds, more than a single picture nail should carry, so put it on a stud or on two hangers rated for 20 pounds each. On price, a ready-framed 24x36 runs $60 to $150, though a $25 poster in a $35 store frame gets you the same anchor for less. Where this goes wrong is satellites nearly as large as the anchor, since two competing focal points cancel each other out.
5. Gallery Wall in Warm Wood Tones
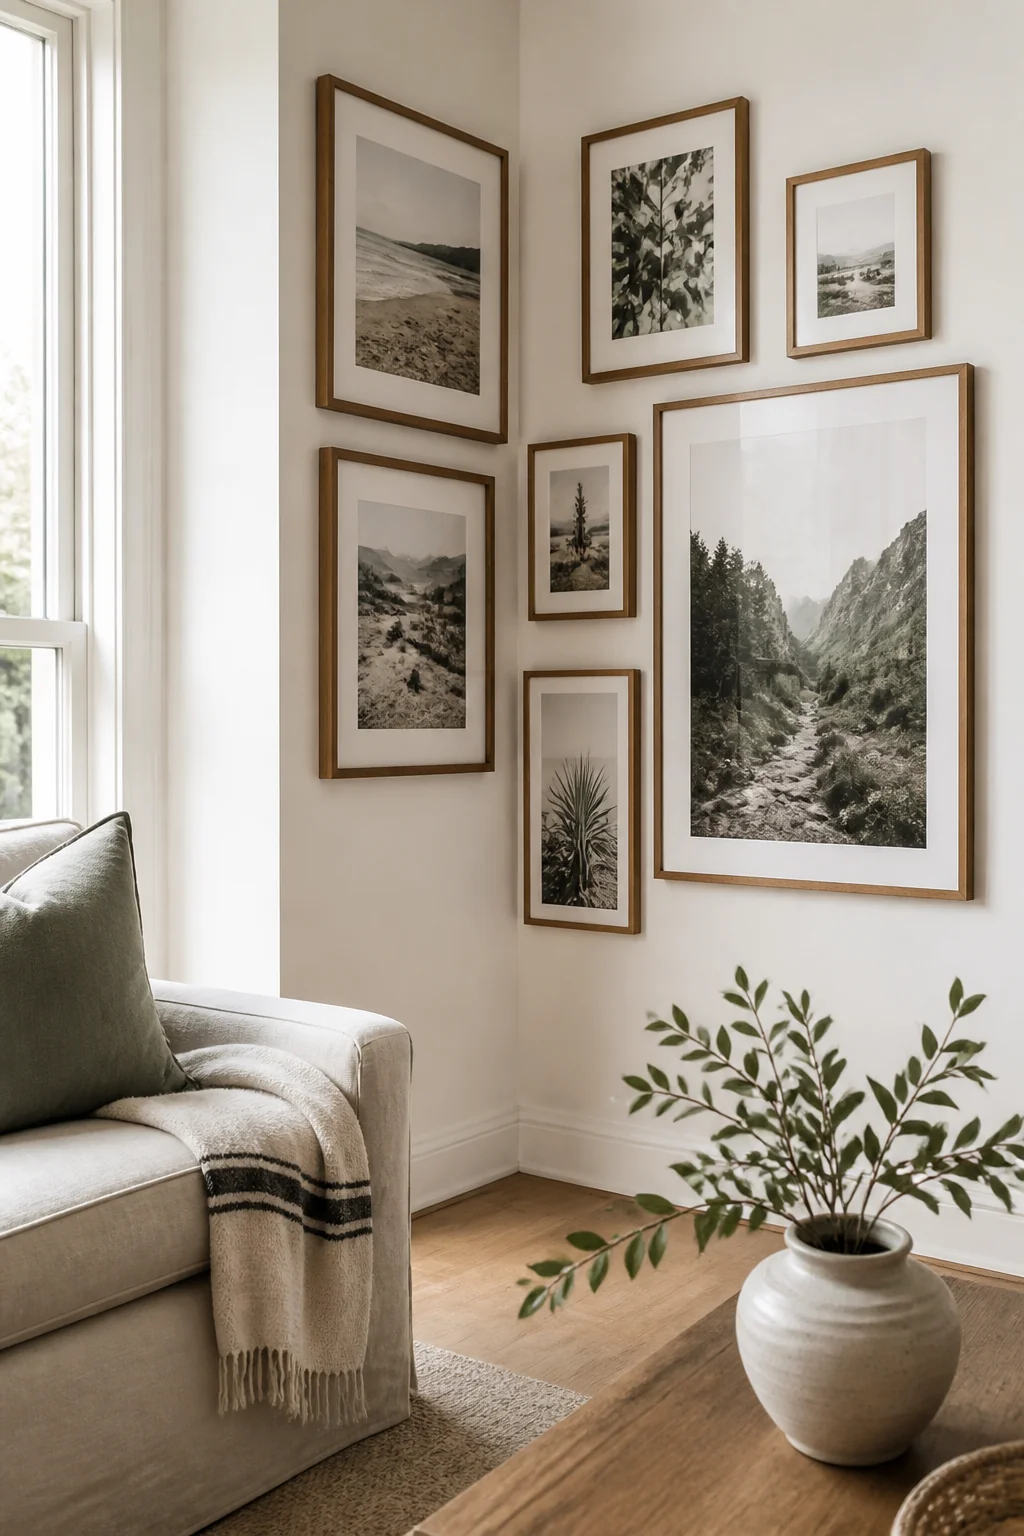
Natural oak, walnut, and honey finishes all sit in the same warm family, so widths and profiles can vary as much as you like provided the tone agrees. Fill them with botanical prints or travel photography. Undertone is what trips people up here. White oak reads blonde and slightly cool, red oak carries a pink cast, walnut goes deep brown, and unfinished pine ambers noticeably after a year or two of daylight, so a pine frame will drift away from a stained one you hung beside it.
Buy the set in one trip, ideally from a single product line, and hold your candidates together near a window before committing. A warm 2700K bulb flatters everything at night and will hide a mismatch until morning shows it to you. An 11x14 print runs $10 to $25, and wood frames that size sit around $12 to $30. We'd skip this scheme entirely in a room with strongly orange laminate flooring, since the frames will either match it too closely or argue with it.
6. Minimalist Corner with One Large Print
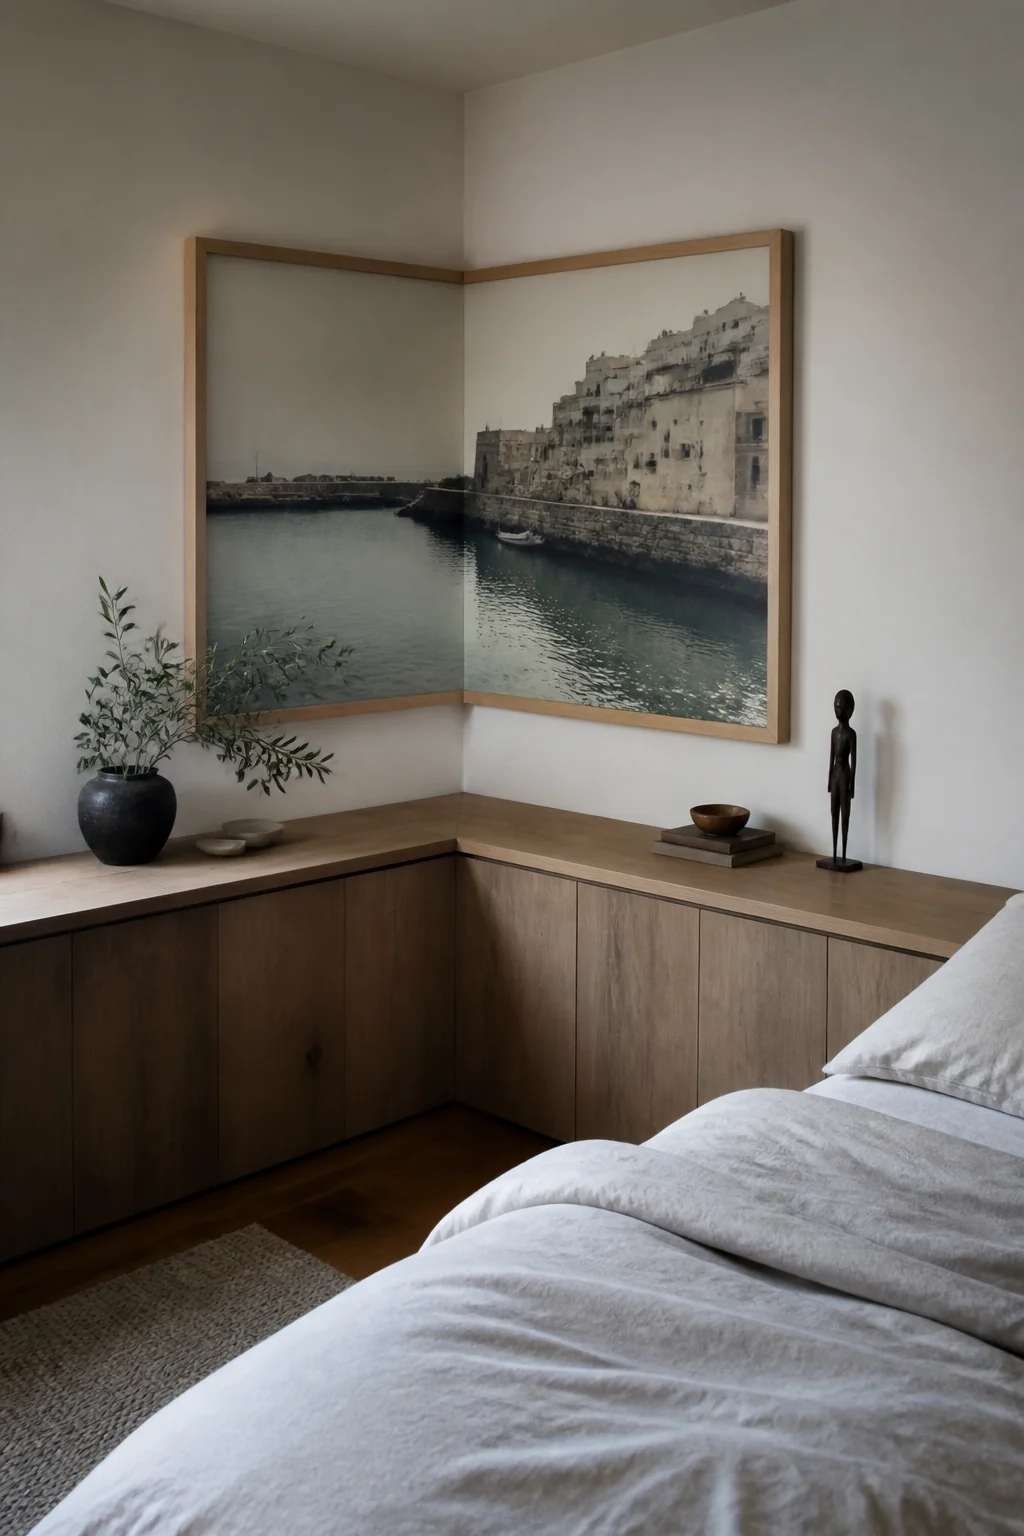 Skip the cluster entirely. One large piece, around 32x40, centered on the corner wall with quiet space around it looks deliberate and modern. Leave at least 8 to 10 inches of bare wall on either side, and if the run between the inside corner and the nearest window casing is under 48 inches, step down to a 24x36 rather than crowding the trim.
Weight matters at this size. A 32x40 behind real glass can reach 15 to 20 pounds, so it wants two hangers into a stud, or heavy-duty anchors if the studs fall in the wrong place. Swapping the glazing for acrylic sheds several pounds and is the safer choice over a bed. Ready-framed pieces that size run $150 to $300, while an unframed print at $40 to $80 in a store frame lands closer to $120 all in. The whole idea rests on the art carrying the wall alone, so a soft, low-contrast image will read as a beige rectangle from the doorway.
7. Brass or Gold Frames in a Grid
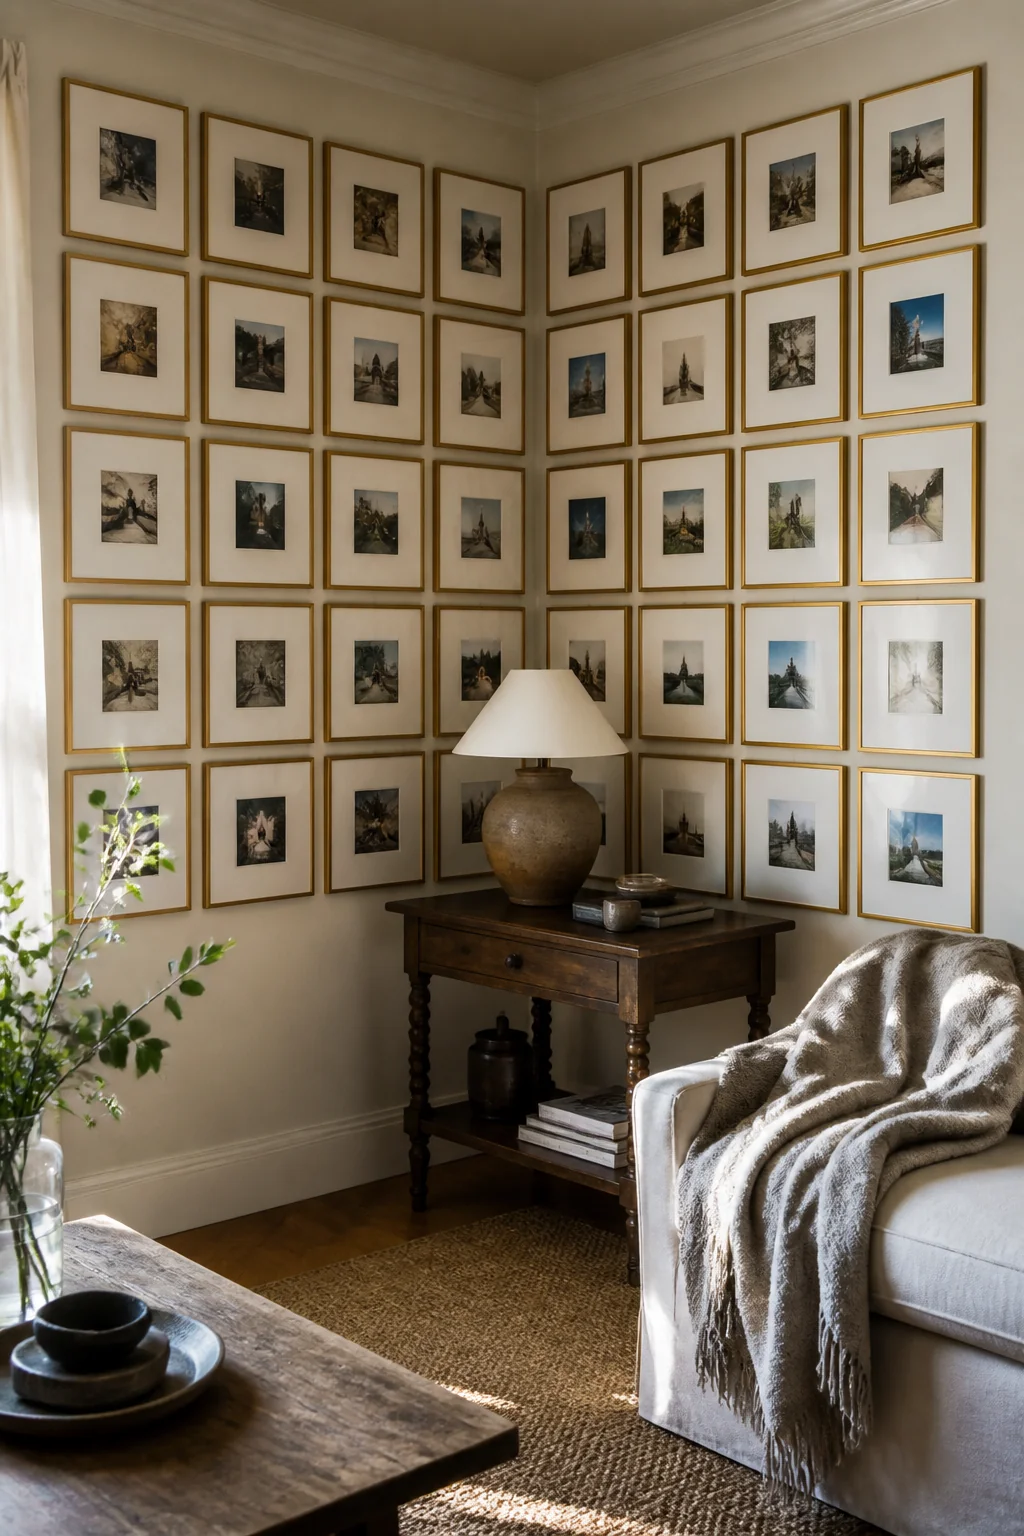 Hang six to eight 8x10 frames in a loose grid, using brass, gold, or copper finishes. Do the arithmetic before you drill: three columns of 8x10 frames with 2 inch gaps span 28 inches, and three rows come to 34 inches tall, so center that block around 57 to 60 inches and you'll know exactly where the outer edges land. This style works beautifully in bedrooms or entryways, where the metallic edges catch what little light reaches the corner.
Stick to one metal. Raw brass darkens over a few years, lacquered brass stays bright, and gold-tone aluminium is yellower than either, so a mixed set reads as an accident rather than a choice. Frames in these finishes run $8 to $20 each. A grid is unforgiving about tilt in a way a loose cluster never is, so use two hooks per frame instead of one and check each piece with a small torpedo level as you work down the wall.
8. Mixed Media Corner Display
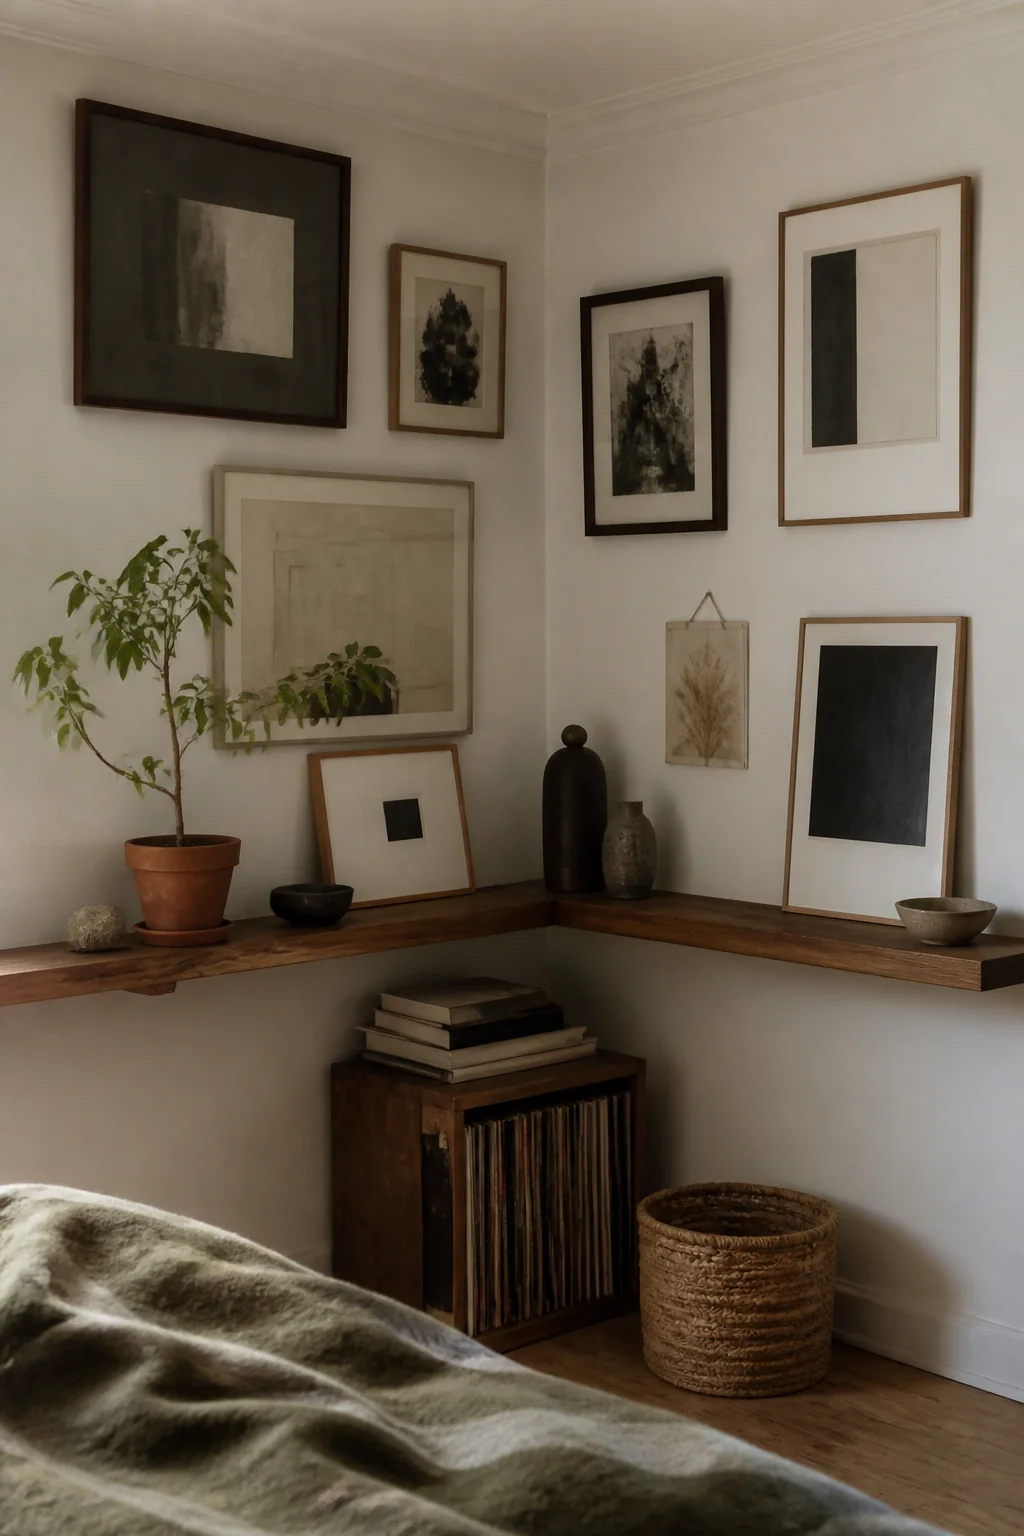 Combine framed prints with a fabric hanging around 24x36, a trailing plant, and one or two small shelves. Hanging everything flat to the wall is what wastes a corner, because two planes meeting is the only thing a corner offers that a flat wall doesn't; set the objects at three or four different distances off the surface instead and the group turns into a vignette rather than a gallery.
Hang the fabric from a 3/8 inch dowel, a $3 part at any hardware store, and steam the fold creases out before it goes up, because cotton canvas holds a packing crease for months. Woven or block-printed panels run $25 to $60. If the corner sits along a walkway, keep everything within 3 to 4 inches of the wall so nothing catches a sleeve. And carry the plant to the sink rather than watering it in place: one overflow running down the wall will stain a mat board permanently, and mat board is the one part you can't wipe clean. The mix stops working when every element has the same visual weight, so let the framed art lead and keep the objects quieter.
9. White Frames on White Wall with Colorful Art
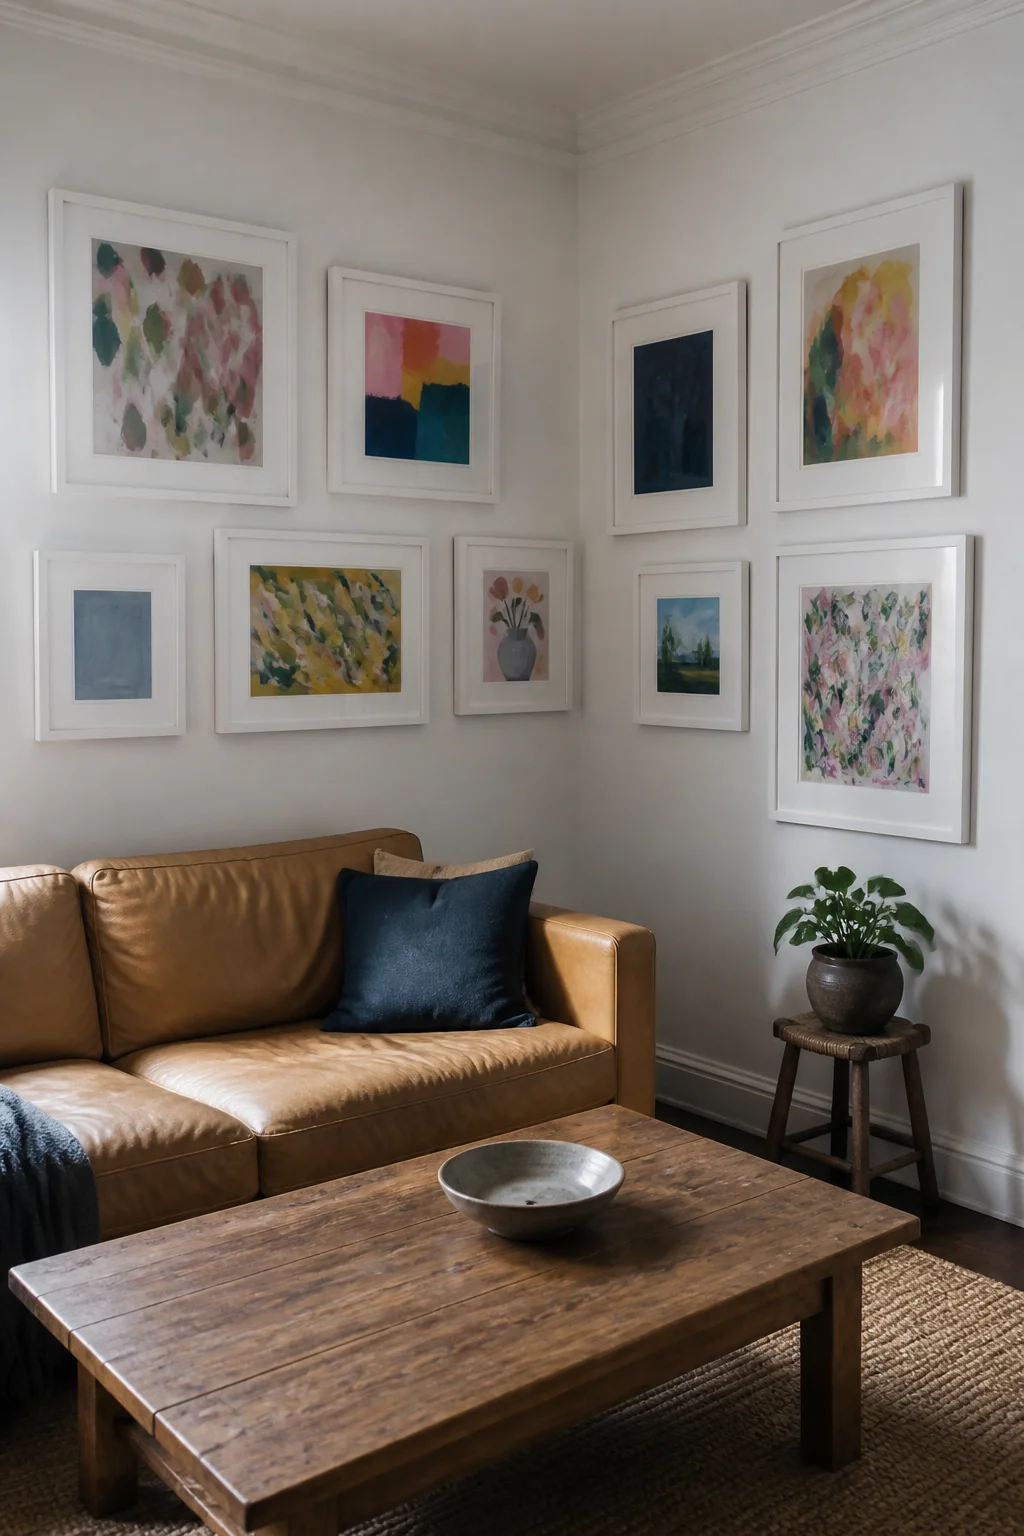 All white or cream frames on a white or light gray wall put the color inside in charge. The frames fade back, the images carry the corner, and you get a minimalist look without a bare wall. Just know that whites are not interchangeable. A bright, cool white frame against a warm white wall picks up a faint gray cast, so hold one frame against the paint in daylight before you buy five of them.
Matching the mat to the frame rather than to the wall keeps the effect clean. Painted MDF frames in this style run $6 to $18, and they're the ones that chip at the corners, which shows badly on white; a dry microfiber wipe every few weeks stops them going dingy in a dusty corner. The real weakness is light. White on white flattens out after dark, so this scheme needs a lamp nearby or a small clip-on picture light to keep any dimension at all once the sun's gone.
10. Clustered Vintage and Thrifted Frames
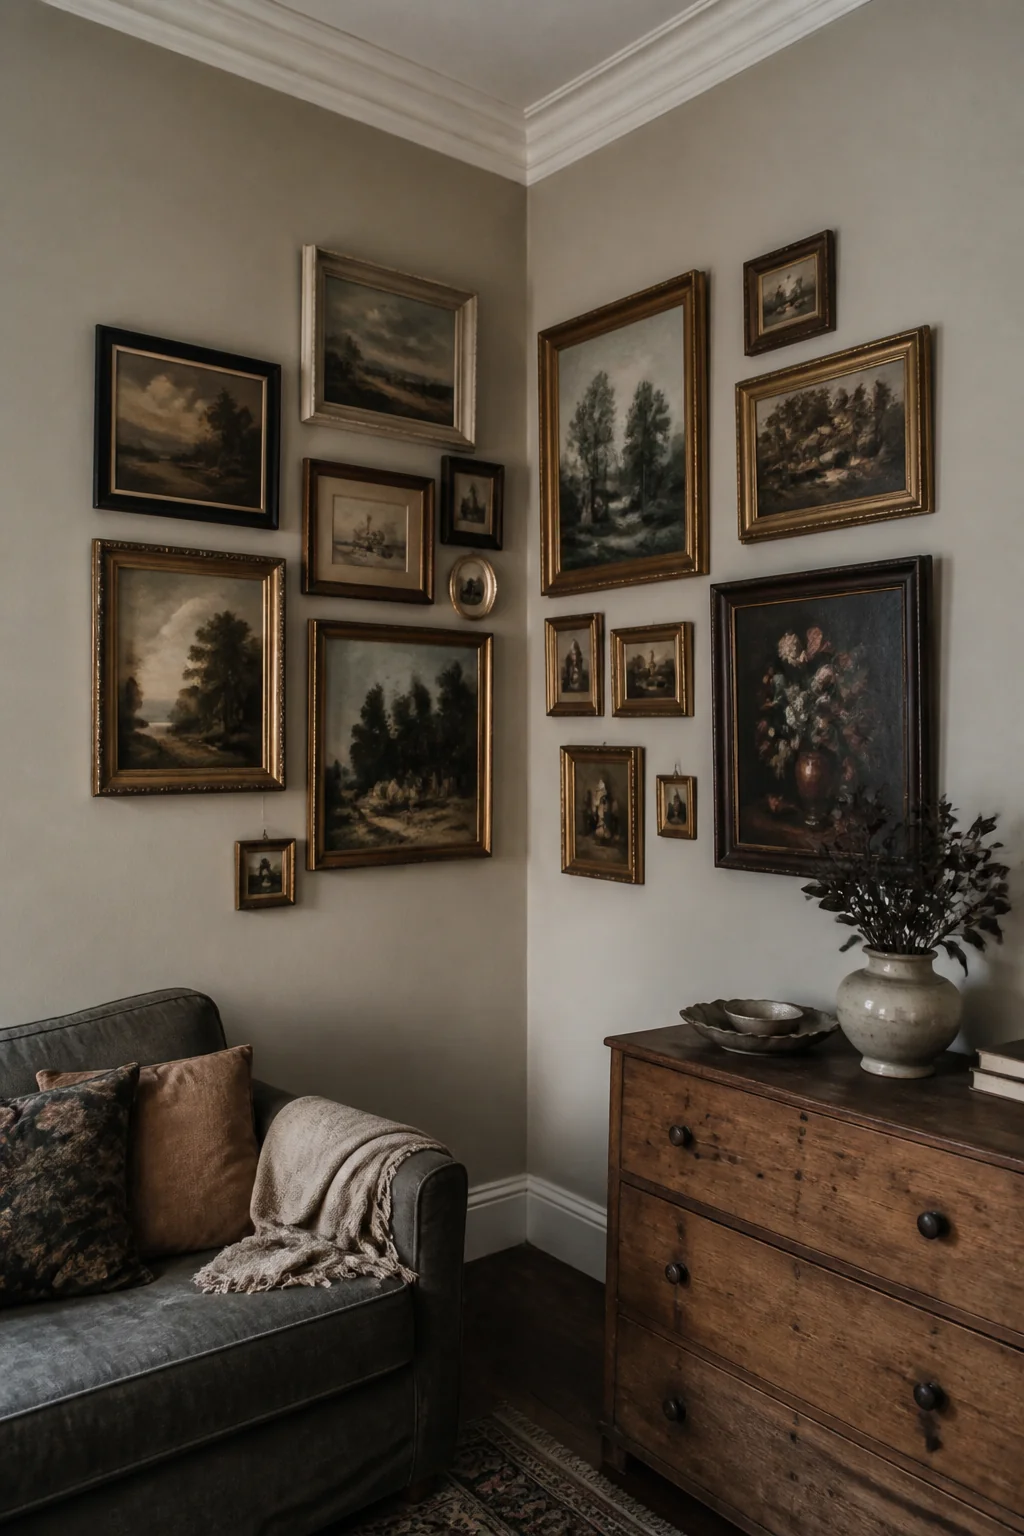 Mix vintage frames across eras, finishes, and sizes, then paint them all one color, white, gray, or matte black, so the odd shapes read as a set. The unified color is what grounds them; frame width can vary as much as you like once the color agrees. Thrift stores price frames at $1 to $6, which is most of the appeal.
The process: pull the glass and backing, scuff the old finish with 180 to 220 grit sandpaper, wipe the dust off with a damp cloth, then spray one light primer coat and two light color coats with about 15 minutes between them. Let them cure a full day before reassembling, or the backing board sticks to the paint and tears it off. A 12 ounce can costs $6 to $9 and covers roughly five small frames. Hold it 10 to 12 inches away, especially on ornate gilt frames, since heavy coats fill the carved detail and the reason you bought that frame disappears under the paint. Older frames often have odd glass sizes; a hardware store will cut 1/8 inch acrylic to fit, or you can leave the glass out.
11. Floating Corner Shelf with Leaning Art
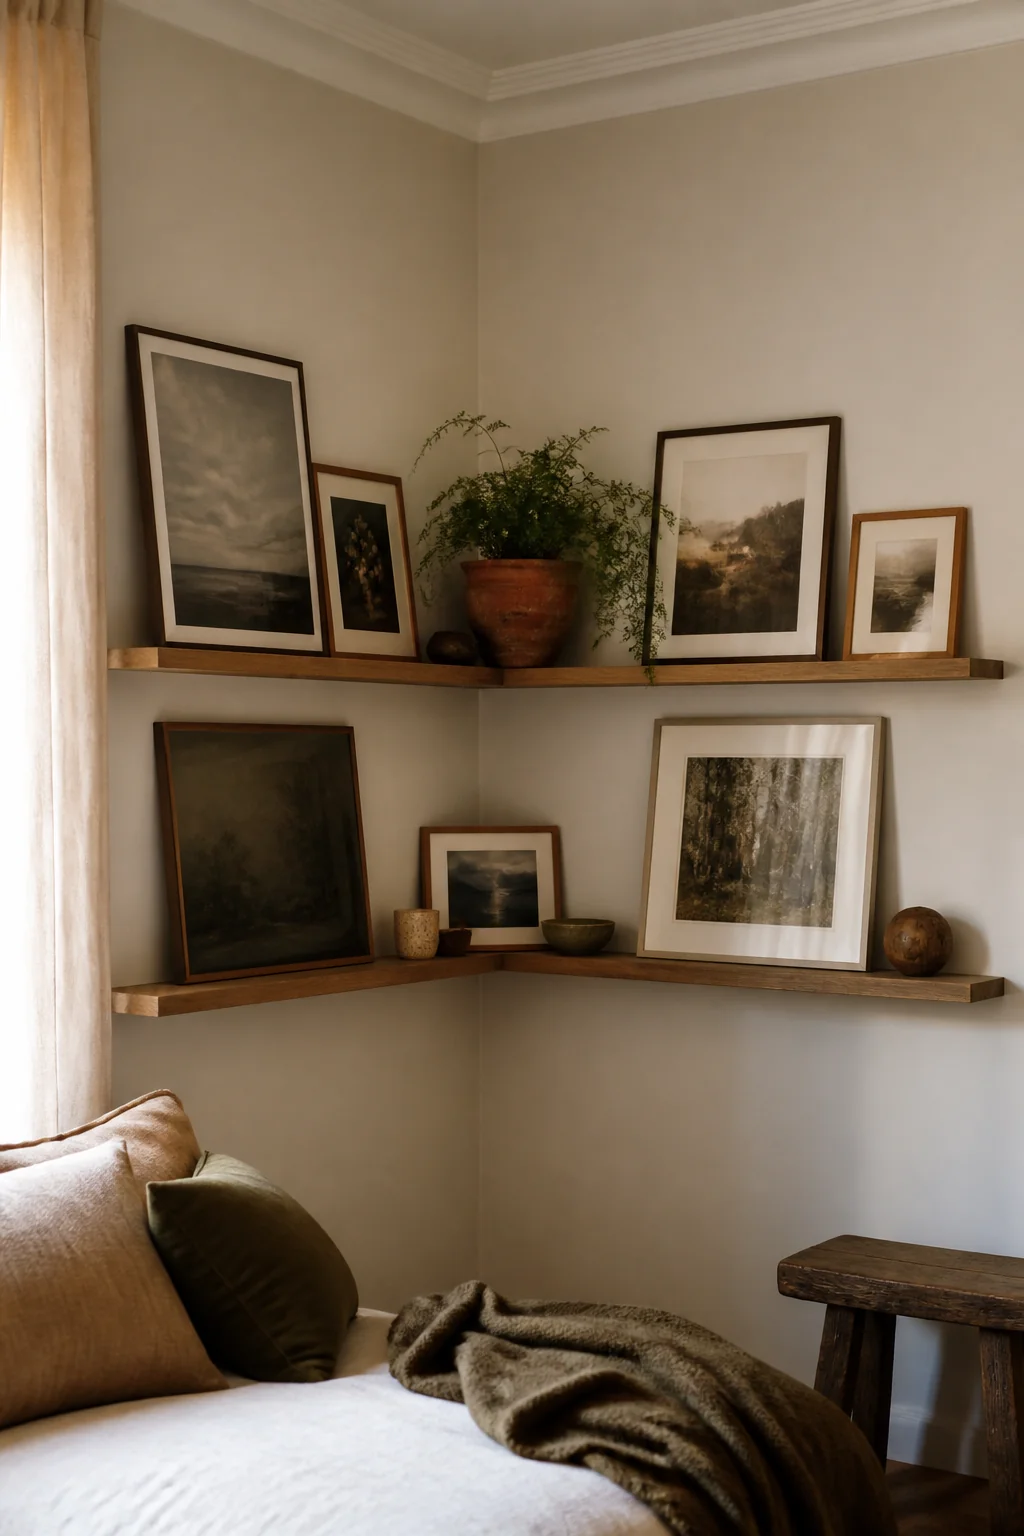 Install a single floating ledge at eye level, around 57 to 60 inches, and lean three or four unframed prints or small canvases against the wall on it. Hang one or two framed pieces off to the side so the arrangement isn't just a horizontal stripe. A picture ledge with a 3/4 inch lip and 3.5 to 4 inches of depth holds two layers comfortably: the biggest piece at the back, smaller ones stepped in front and overlapping its edges.
A 45 inch ledge runs $15 to $25. Slip a bit of museum putty or a self-adhesive rubber bumper under each leaning piece so it can't creep forward when someone bumps the wall. For renters this is the cheapest gallery going, since the whole display hangs on two anchors instead of a dozen nail holes to patch later. Avoid a ledge above a radiator or beside a door that slams, though. Heat and repeated vibration will walk leaning frames toward the lip over a few weeks.
12. Salon-Style Wall with Varying Heights
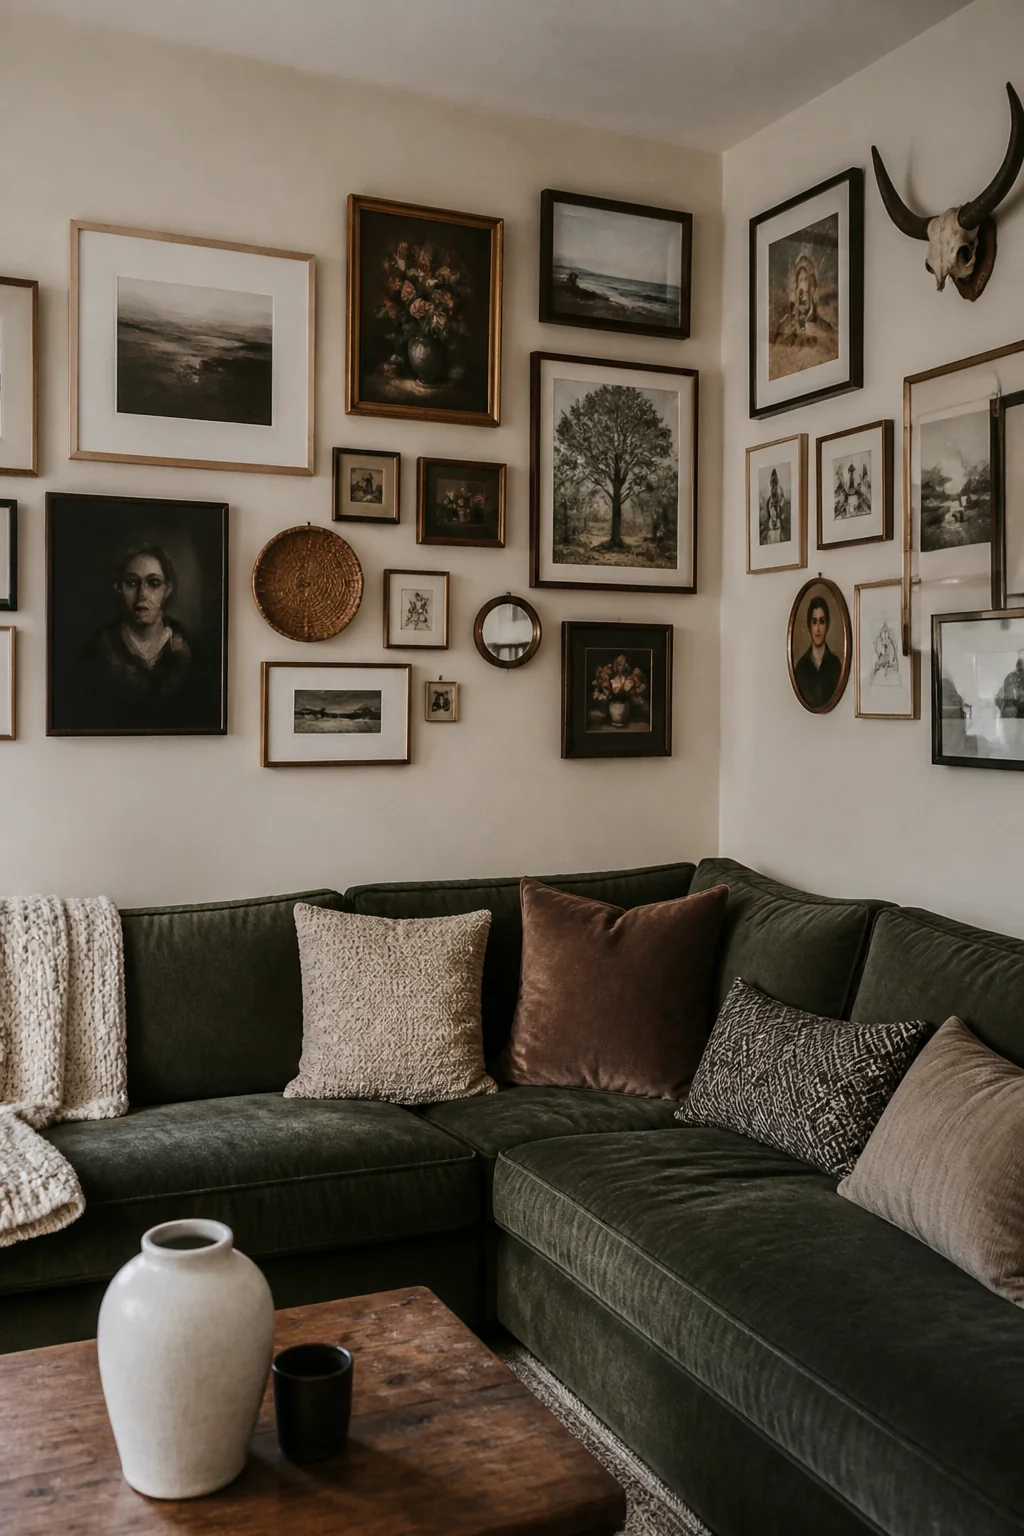 Arrange ten to twelve frames of mixed sizes across the whole corner, staggering the edges so nothing lines up in tidy rows. Wider spacing at the top and tighter spacing near the bottom gives the group movement. Begin with the largest piece a little below the visual center, then work outward, holding 2 to 3 inches between neighbors and keeping the outer silhouette to a rough rectangle. That invisible boundary is the line between salon style and clutter.
Cut kraft paper templates to each frame's size, mark the hook position on every template, tape them to the wall, then drill straight through the paper. It costs an hour and saves a wall pocked with test holes. Salon style also needs room: at least 40 inches of usable wall between the inside corner and the nearest trim, or the frames end up stacked rather than spread.
Take the guide with you
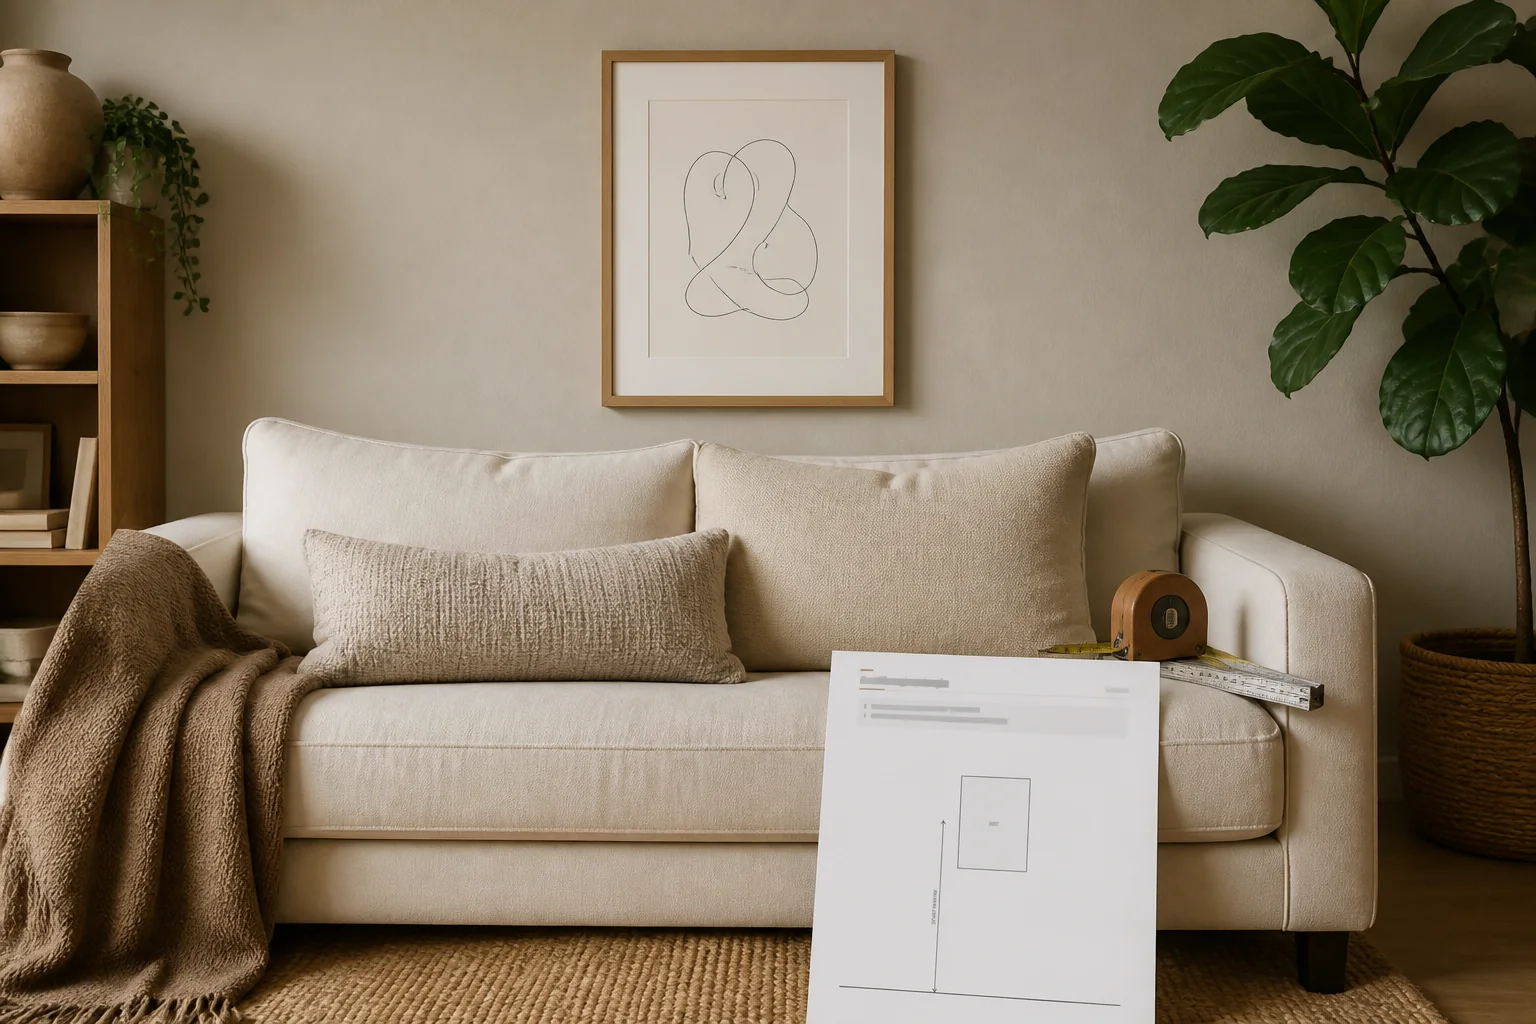
Before committing to any of these, look at how the corner actually gets used. Frames within arm's reach of a swinging door take knocks, and a corner is usually the darkest part of a room, so whatever goes up there is working with less light than the piece hanging over your sofa.
Ideas fade by Friday. A plan finishes the room.
You just read a full guide to your home. Saving ideas will not change it; a plan will. The Home Decor Collection is every planning tool we make, for every room in the house, in one download, so the after photos below stop being other people's rooms.
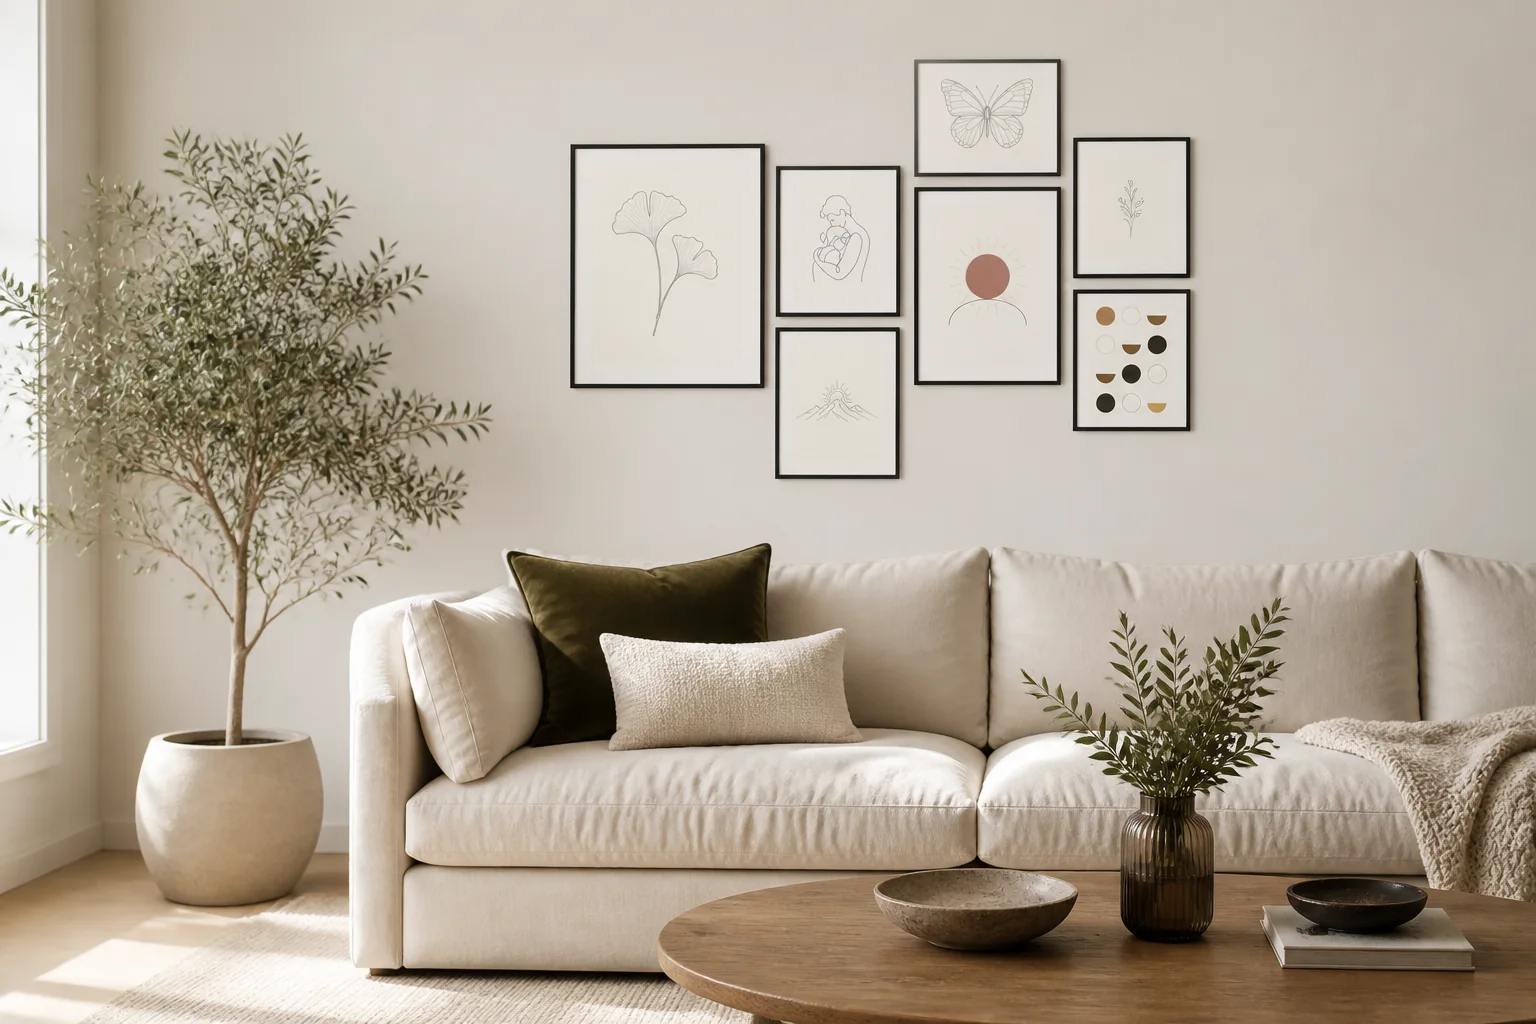
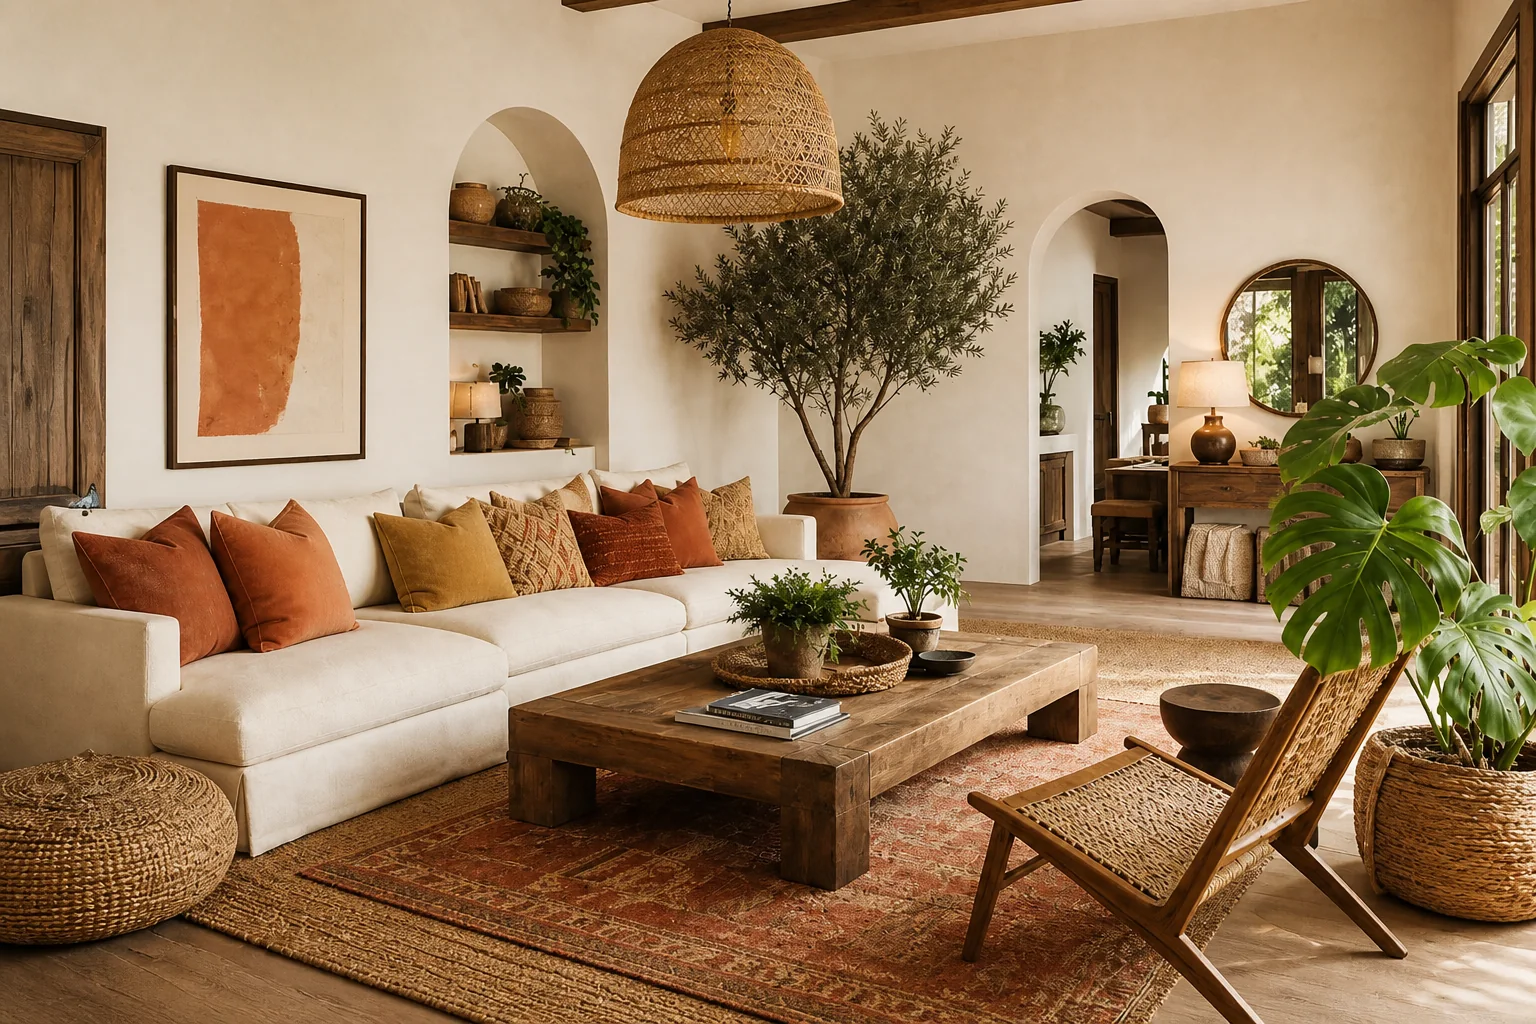
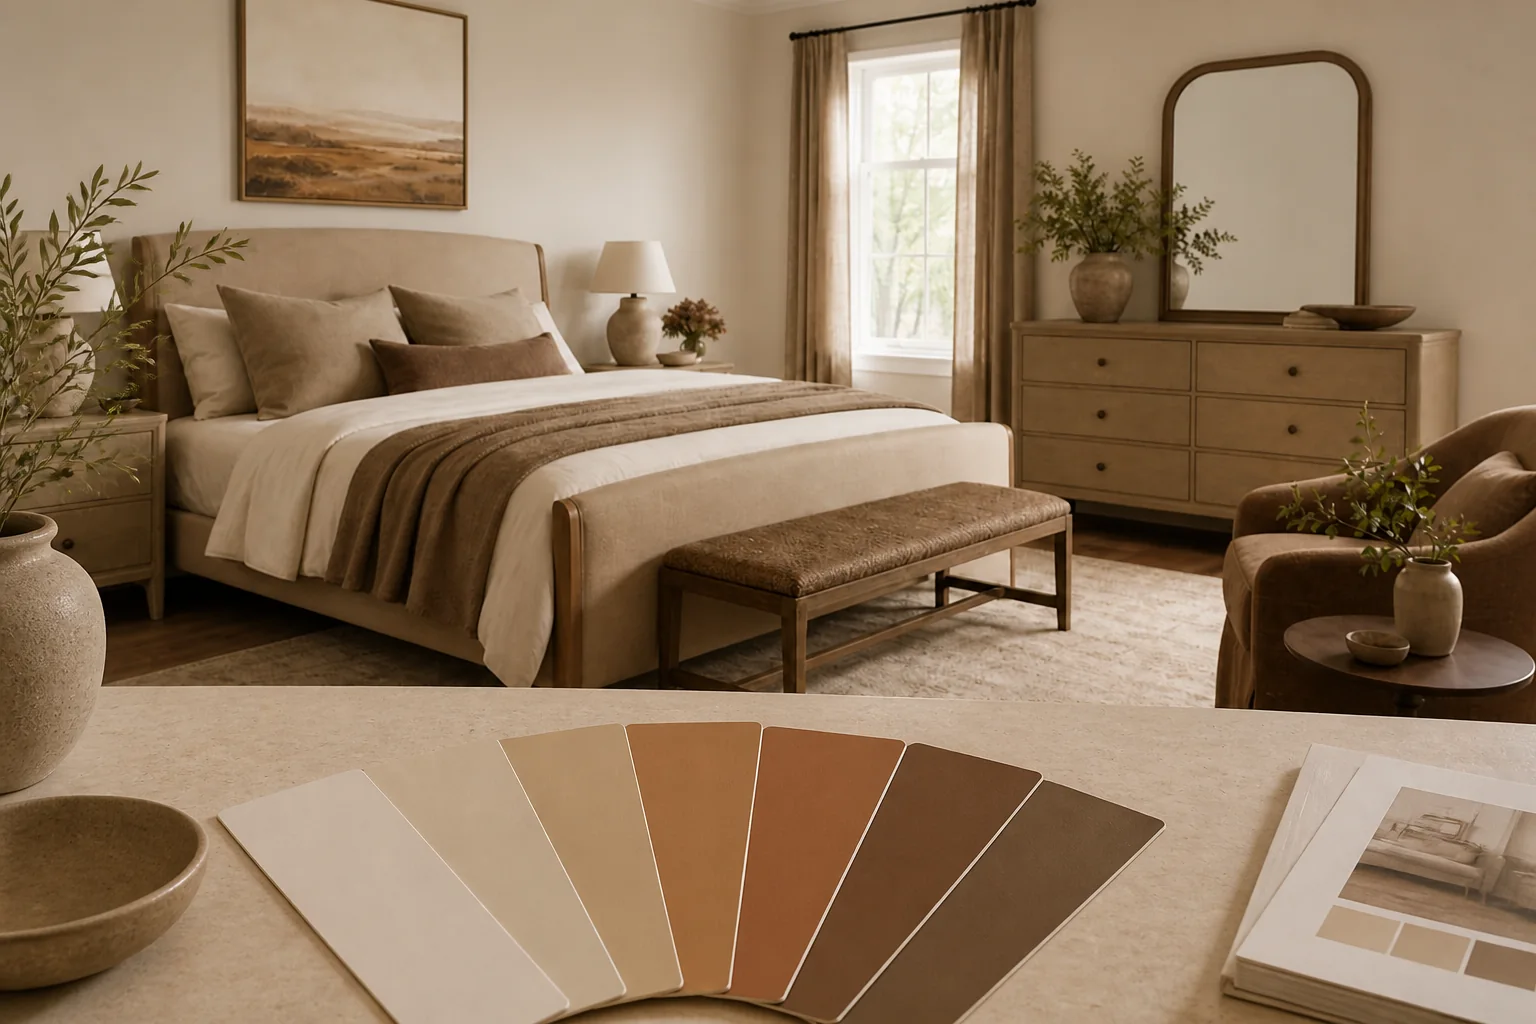
- Six room Style Kits, each with layout, palette and shopping list$114
- The Gallery Wall Studio: 200 prints + 15 measured layouts$29
- The Room Makeover System: 40 solved room layouts + workbook$29
- The Color Palette Handbook: 60 palettes shown in real rooms$19
- The Whole-Home Reset: 40 printable organizing checklists$19
- The Decorator's Cheat Sheets: the 40 measurements that matter$9
- All eleven products, bought separately
$219$97
A single hour with an interior designer costs more than the entire Collection, and this one keeps answering for every room you will ever decorate. Free updates included as the products grow. And if it is not for you, the 14 day money back promise means you simply get a refund.