Make a DIY Fall Centerpiece That Lasts Through November
Build diy fall centerpiece ideas that won't wilt by Thanksgiving. Choose materials and bases that hold up through November.
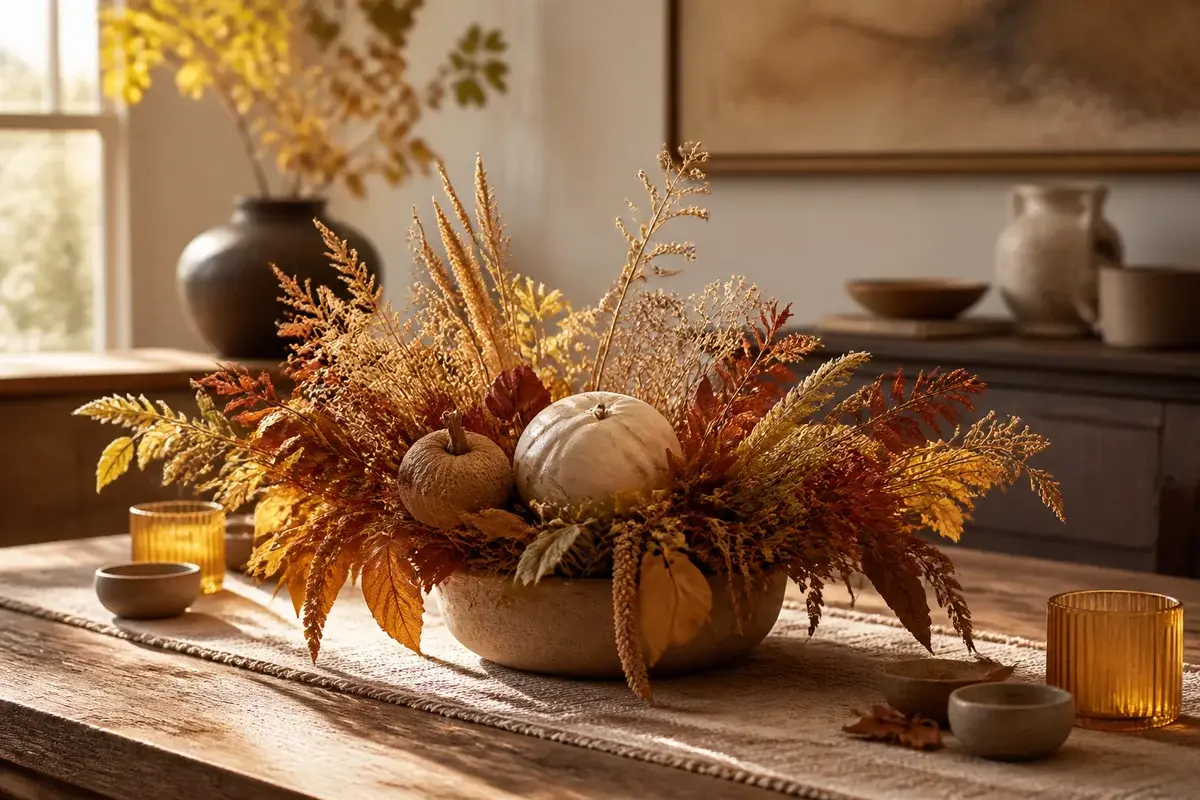
A fall centerpiece lives on your dining table or entryway console for weeks, not days. That means it has to survive being moved around, handled, dusted, and sitting in whatever light hits that spot. Most DIY centerpieces fall apart by mid-November because people build them on a foundation that can't hold weight, use flowers that drop petals after two weeks, or pick a color scheme that clashes with the room once Halloween passes. The centerpiece that actually lasts is one built on a real structure, filled with materials that degrade slowly, and styled to look intentional enough that you don't feel the need to swap it out every other weekend. These DIY fall centerpiece ideas focus on durability over novelty.
Start with a structure that can take the weight
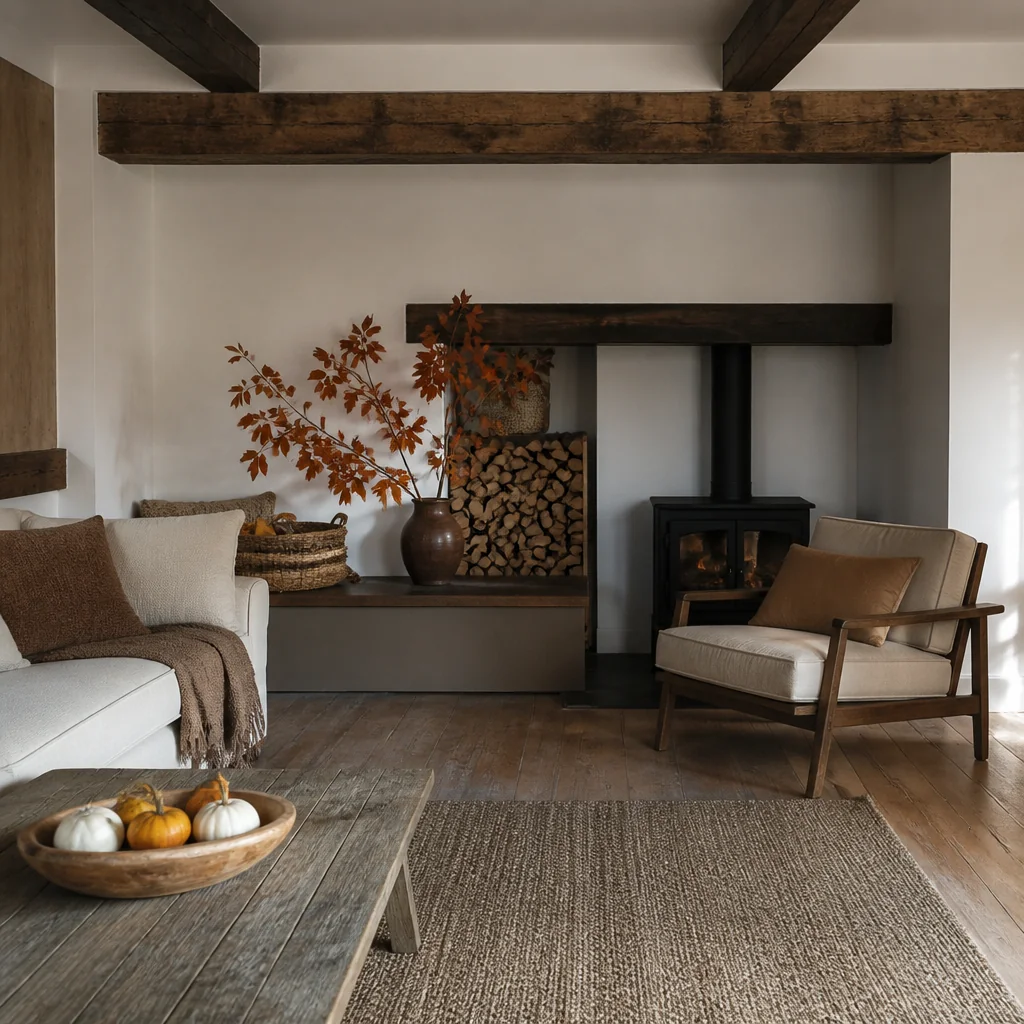
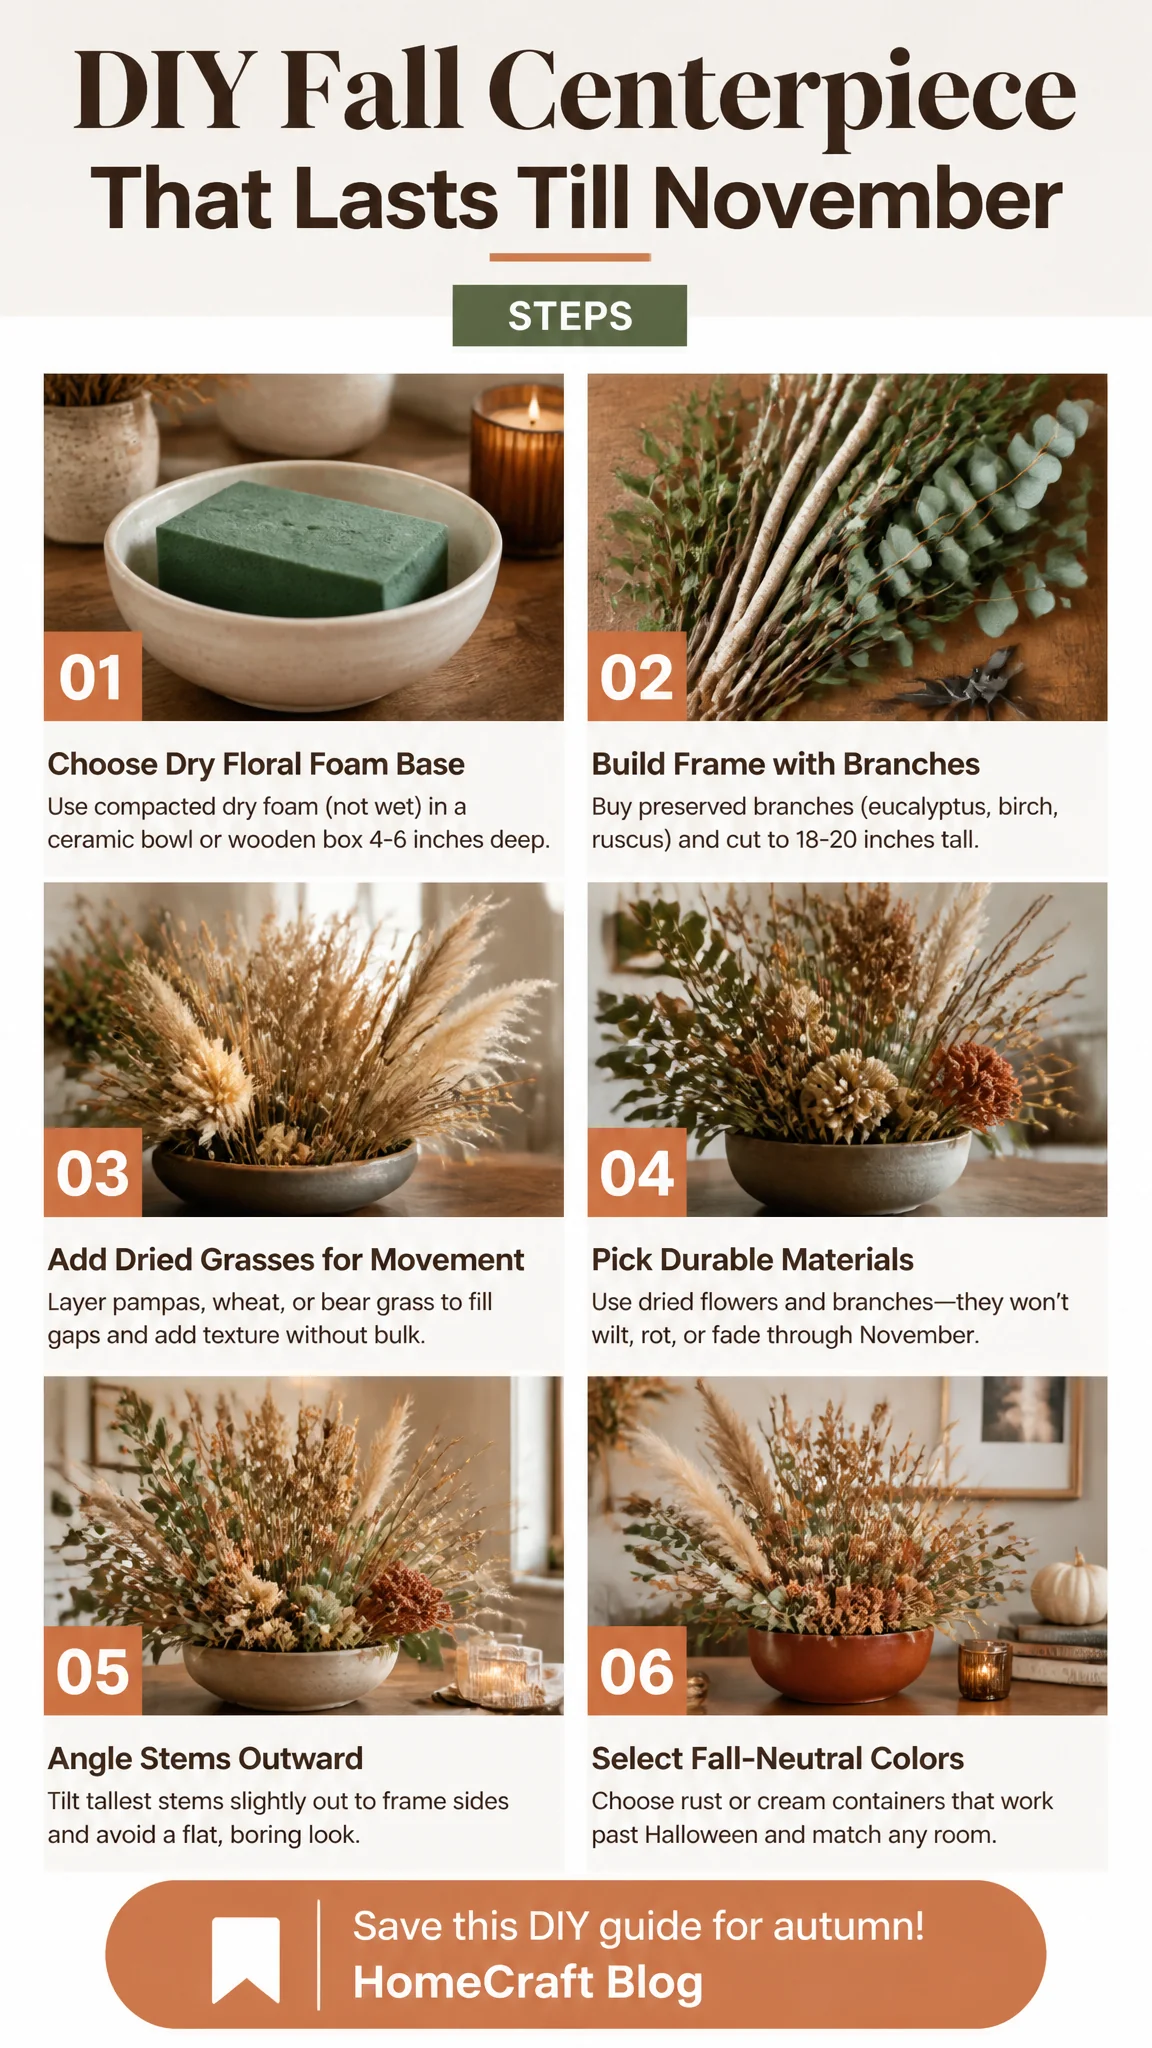
Your centerpiece needs something to build on. A compacted block of floral foam (about $6 for a 2-pack at any craft store) is standard. Dry foam holds dried materials much better than wet foam does, and once you commit to dried flowers and branches, you've solved half your longevity problem. The dried stuff doesn't wilt, won't rot, and actually looks better after a few weeks of sitting.
Push your foam into a ceramic bowl, a wooden box, or even a galvanized metal container about 4 to 6 inches deep. A container shallower than that won't hold enough stem material, and you'll spend the whole month seeing bare foam. The container matters because it's visible, so pick something that reads as fall to you without looking temporary. A cream or rust-colored ceramic bowl works in almost any room. A wooden box feels more substantial than a plastic one, even if it's just a small wooden crate turned upright (about $8 to $12 new, or free if you have one in a closet somewhere).
Build tall with branches and grasses
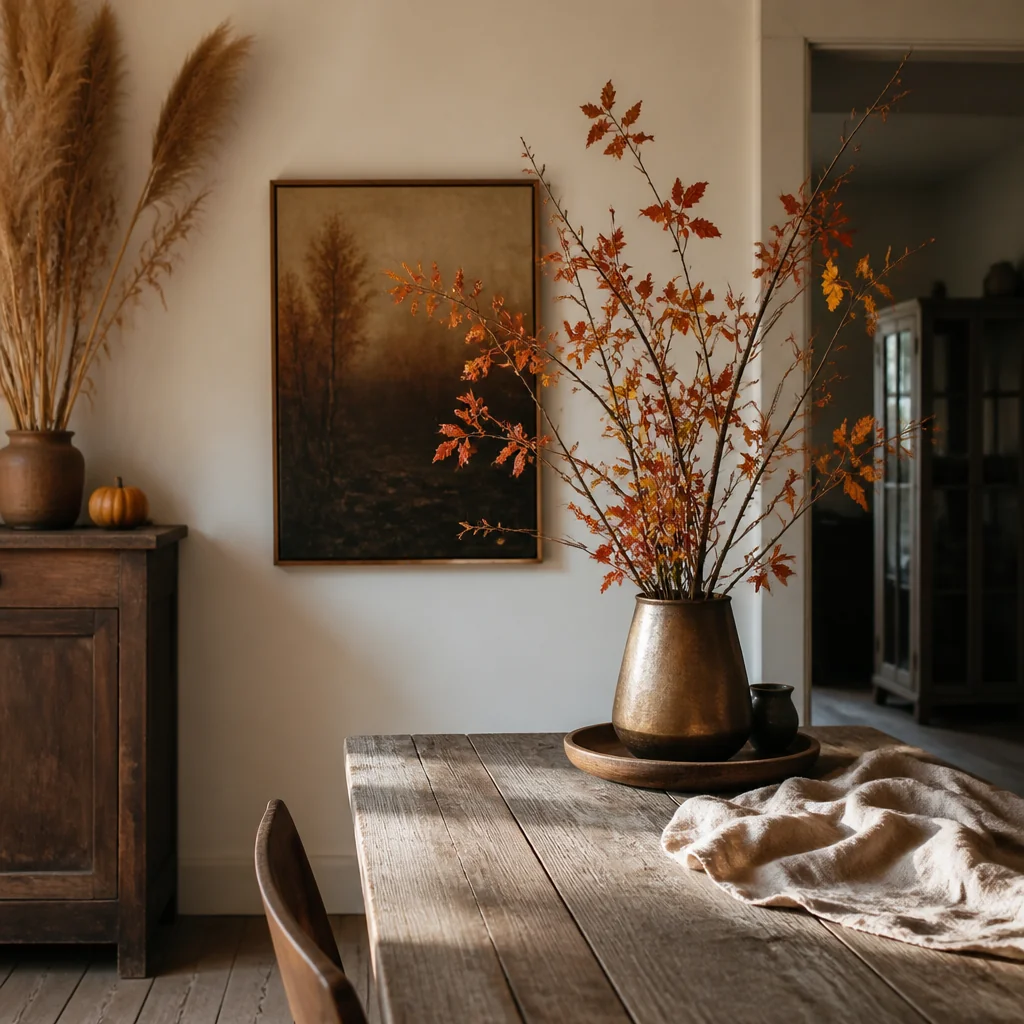
Your frame is branches. Real branches from outside are free, but they're often brown and skinny. Better to buy them: 10 to 12 branches of preserved eucalyptus, or floral-grade birch branches, or Italian ruscus run about $15 to $25 for a bundle. They're dried, they don't take up water, and they last the whole season without browning further.
Cut them to different heights so your centerpiece reads as deliberate and not like a bunch of sticks shoved in a bowl. The tallest branch should be about 18 to 20 inches from the table, even for a small table, because a centerpiece that spreads wide but stays low reads as flat. Push the tallest stems in first, angling them slightly outward so they frame the sides of your arrangement. This is the skeleton. Everything else fills in after this.
Add dried grasses next. Pampas, wheat, feathered reeds, or preserved bear grass add movement and fill gaps without looking overworked. Bunch them loosely so they don't look matted down. If you're working on a tight budget, skip buying grasses and use branches in two different tones instead: light birch and darker twigs create visual depth.
Layer in dried flowers that don't fade
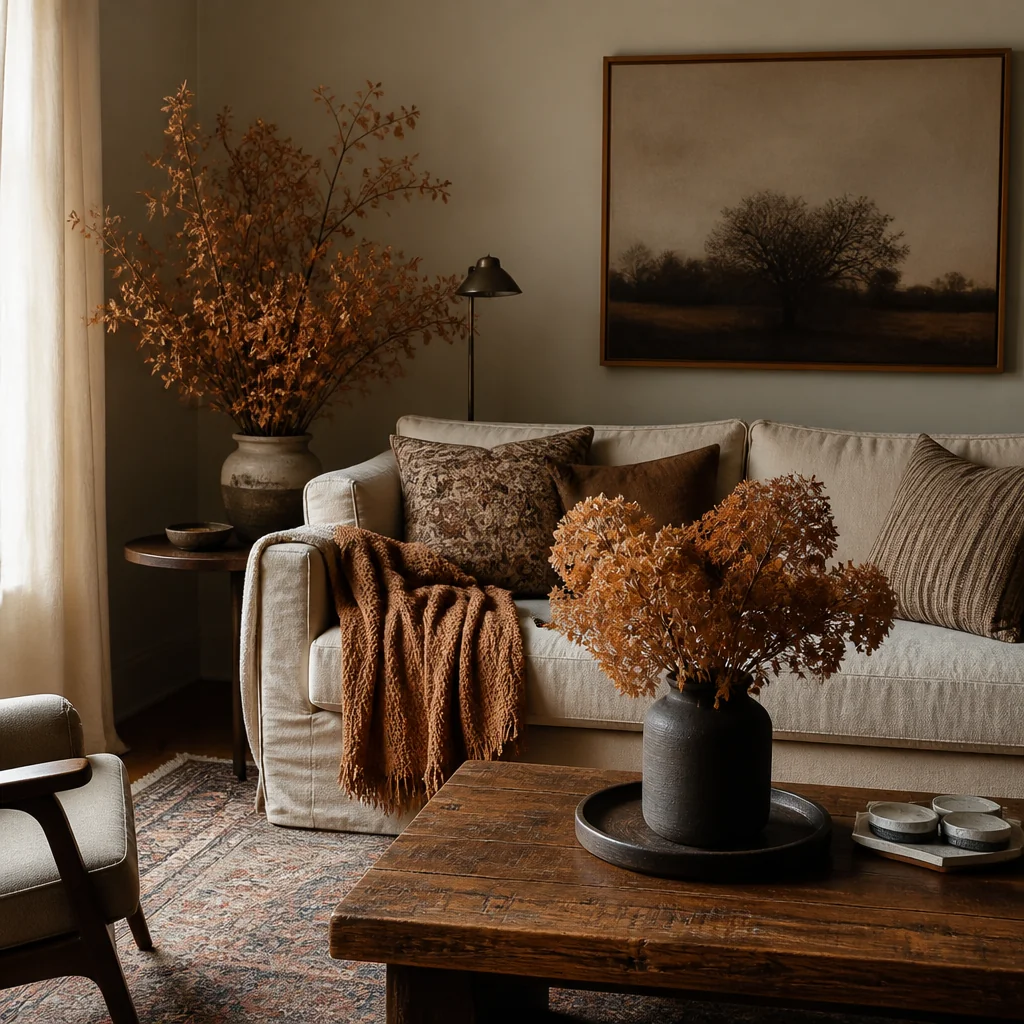
This is where a lot of DIY centerpieces go wrong: people use fresh fall flowers like dahlias or chrysanthemums because they're cheap and beautiful at the flower shop, then watch them drop petals and brown at the edges by week three. Dried flowers cost a little more upfront but they don't deteriorate.
Look for dried hydrangeas (about $6 to $8 per stem), dried celosia or cockscomb in burgundy or cream, preserved oak leaves, and dried pampas plumes. These hold their color for months. Protea is pricier (about $4 to $6 per stem depending on size) but a single preserved protea head anchors a whole arrangement and looks substantial enough that people think you worked harder than you did.
Push the bigger focal flowers in first, angling them so they sit at varying depths into the arrangement. Hydrangeas are your workhorse here. They break into smaller clusters easily, so one stem becomes three or four usable pieces. Tuck dried flowers deep into the foam so they look rooted, not like something's floating on top.
Add texture with pods, berries, and nuts
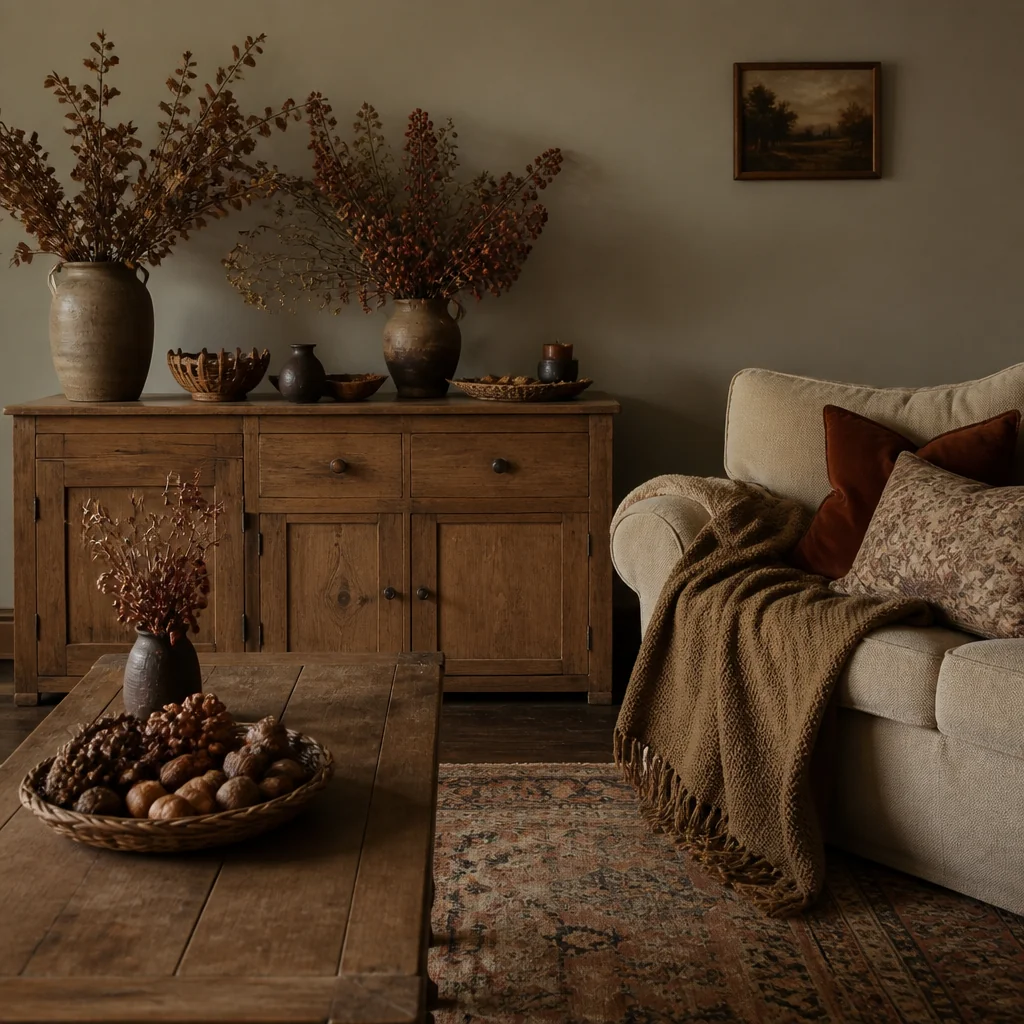
Cinnamon sticks, star anise, seed pods, and nuts give your centerpiece fall specificity and they're tactile in a way that loose stems aren't. Bundle three or four cinnamon sticks together with twine (about $1), or tuck in some dried lotus seed pods ($3 to $5 for a handful). Hypericum berries in rust or burgundy ($4 to $6 per bunch) add pop without looking fussy.
These elements are meant to be scattered through the arrangement, not clustered in one spot. Push some deep into the middle, let others sit higher or to the edges. The point is texture, not uniformity.
Keep the color story tight
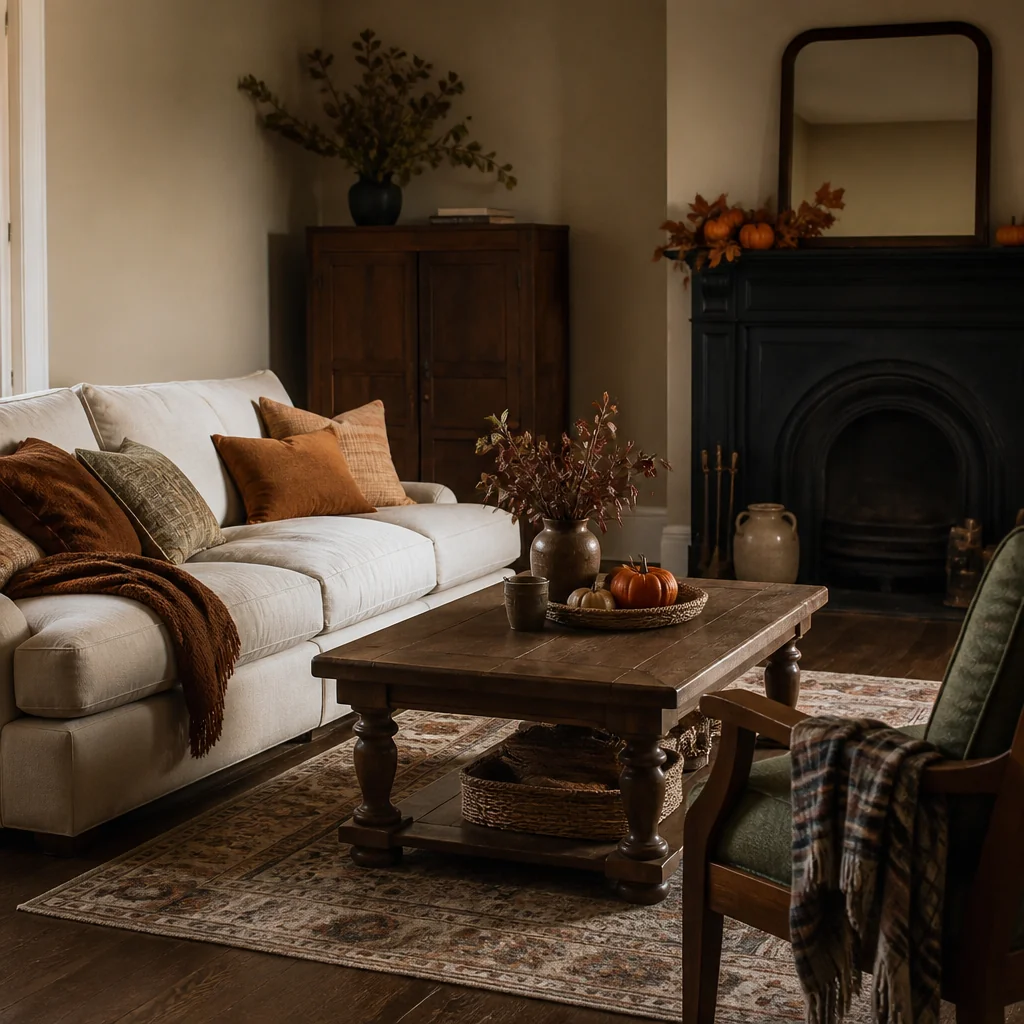
A centerpiece that reads as intentional uses two or three colors maximum, not a rainbow of every fall shade you can find. Cream and rust work well together. Cream and burgundy do too. Burgundy and gold. Warm greens and copper. Pick one combination and commit to it.
If your room already has fall colors in the walls or furniture, match your centerpiece to that rather than fighting it. A room with cream walls and navy furniture wants a cream, gold, and rust centerpiece, not one with purple hydrangeas. You'll feel compelled to change it constantly if it clashes with the space.
Use green sparingly
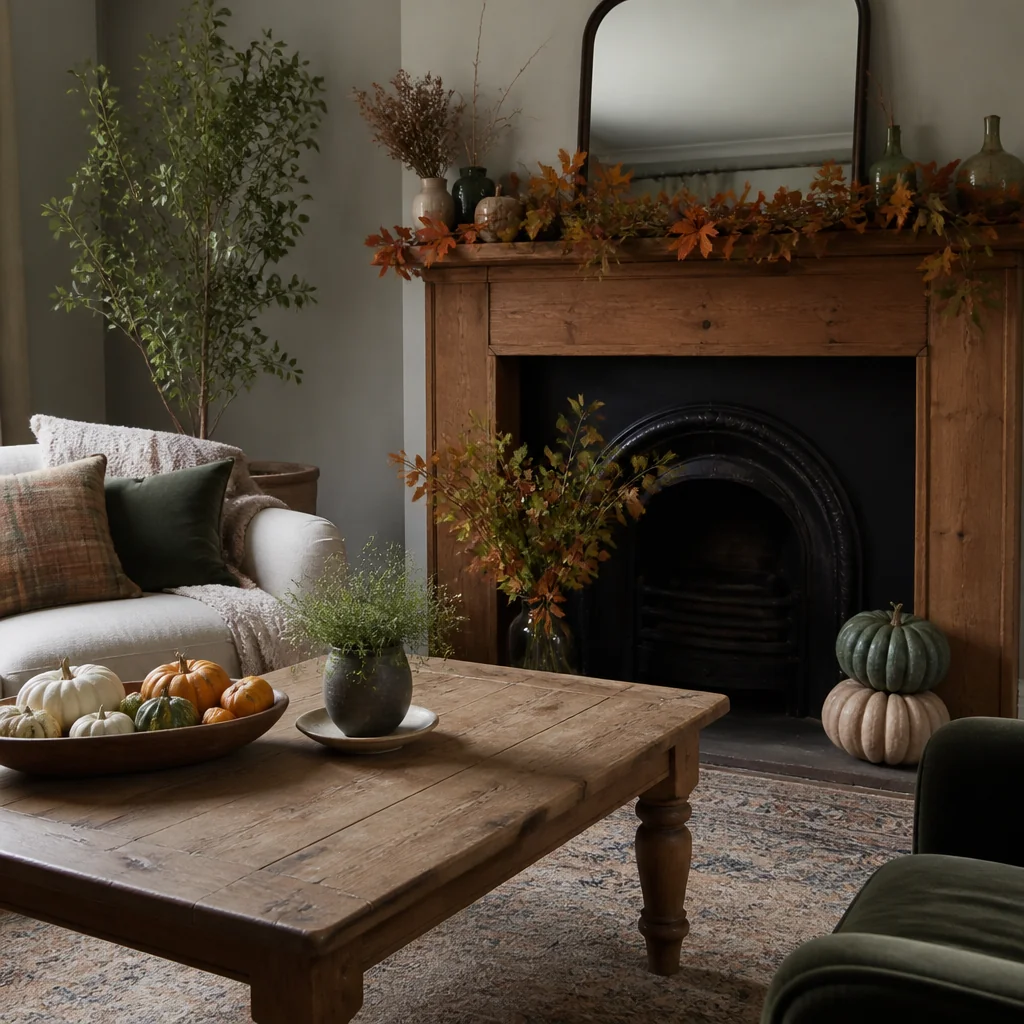
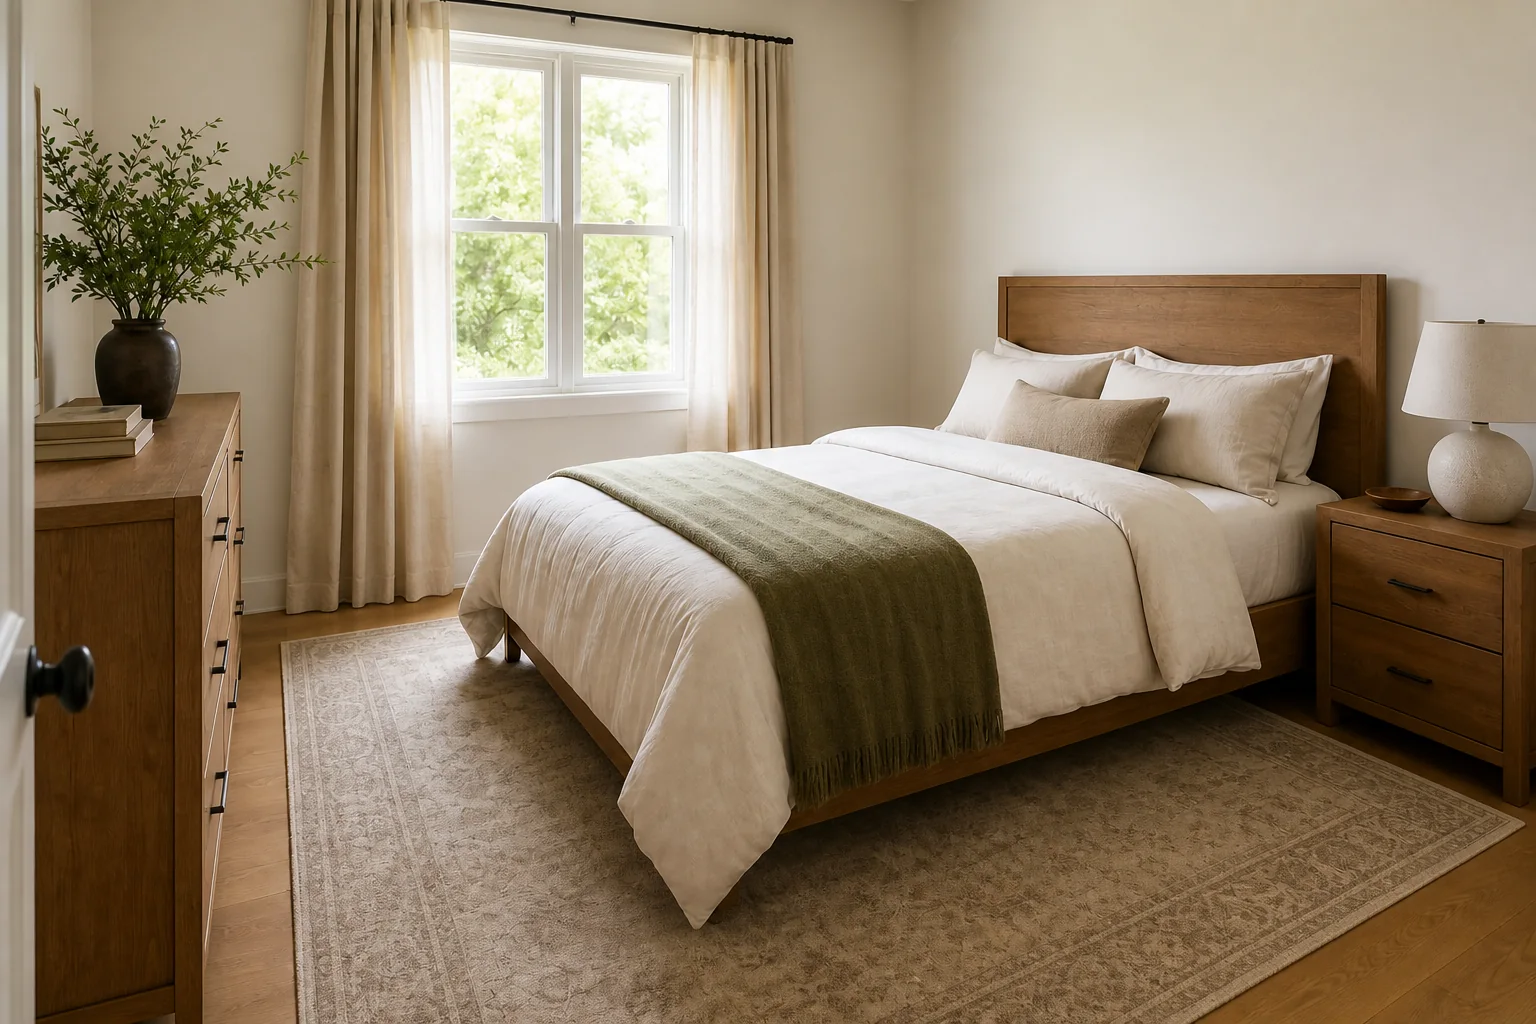
Most dried greenery is olive or sage, which can read as muddy if you use too much. One or two stems of preserved eucalyptus or a handful of dried ruscus creates just enough softness without overwhelming the arrangement. Adding more than that starts to feel like you're filling space instead of making deliberate choices. Eucalyptus especially can take over visually, so think of it as an accent rather than a base layer. The goal is to let your focal flowers and branches do the work, with greenery playing a supporting role throughout.
Size it for your table and doorway
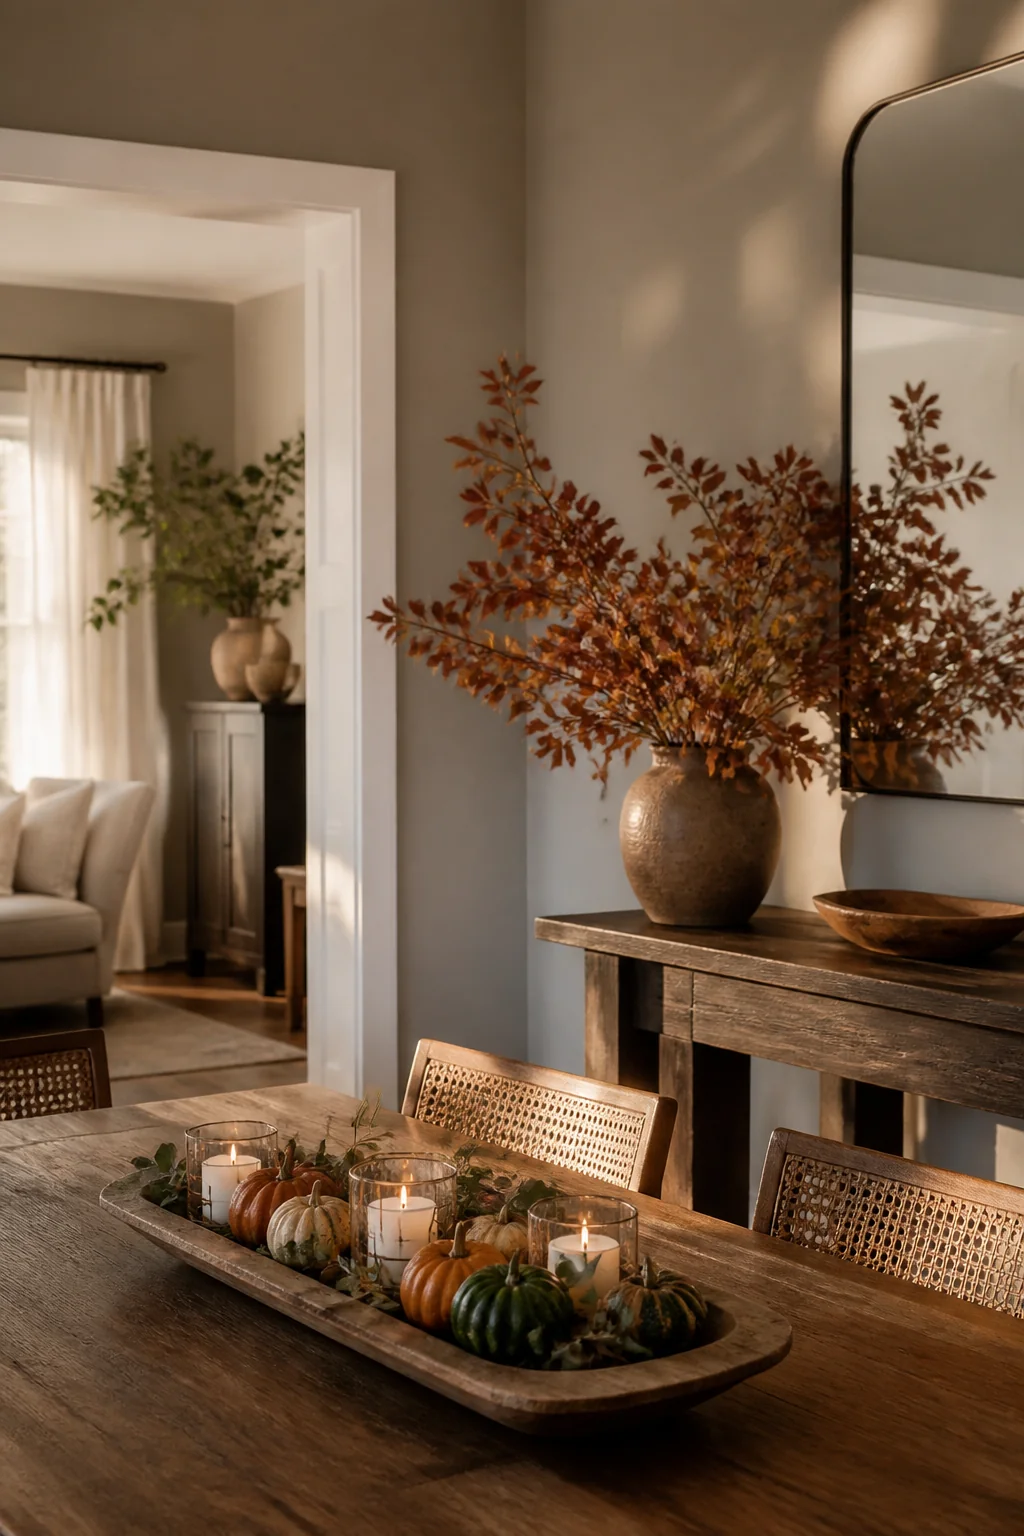
A centerpiece that's too tall blocks people across the table from seeing each other. A centerpiece that's too wide makes it impossible to pass plates. Your arrangement should be narrower than the table is long, and no taller than 18 inches if it's going on a dining table where people sit facing each other.
For an entryway console or a side table, height doesn't matter as much. You can go taller and wider because there's no practical constraint. But even then, if your doorway is narrow or your console is against a wall, keep the arrangement from spreading more than 24 inches wide or it'll feel like it owns the whole space.
Final thoughts on DIY fall centerpiece ideas
Keep this guide handy
Measure your table from edge to edge and your console or surface height before you start building. Walk around your arrangement as you work to see if it blocks sightlines or feels balanced from different angles. These DIY fall centerpiece ideas work best when they're proportional to your space and built with materials chosen for staying power rather than just visual impact.
Ideas fade by Friday. A plan finishes the room.
You just read a full guide to your home. Saving ideas will not change it; a plan will. The Home Decor Collection is every planning tool we make, for every room in the house, in one download, so the after photos below stop being other people's rooms.
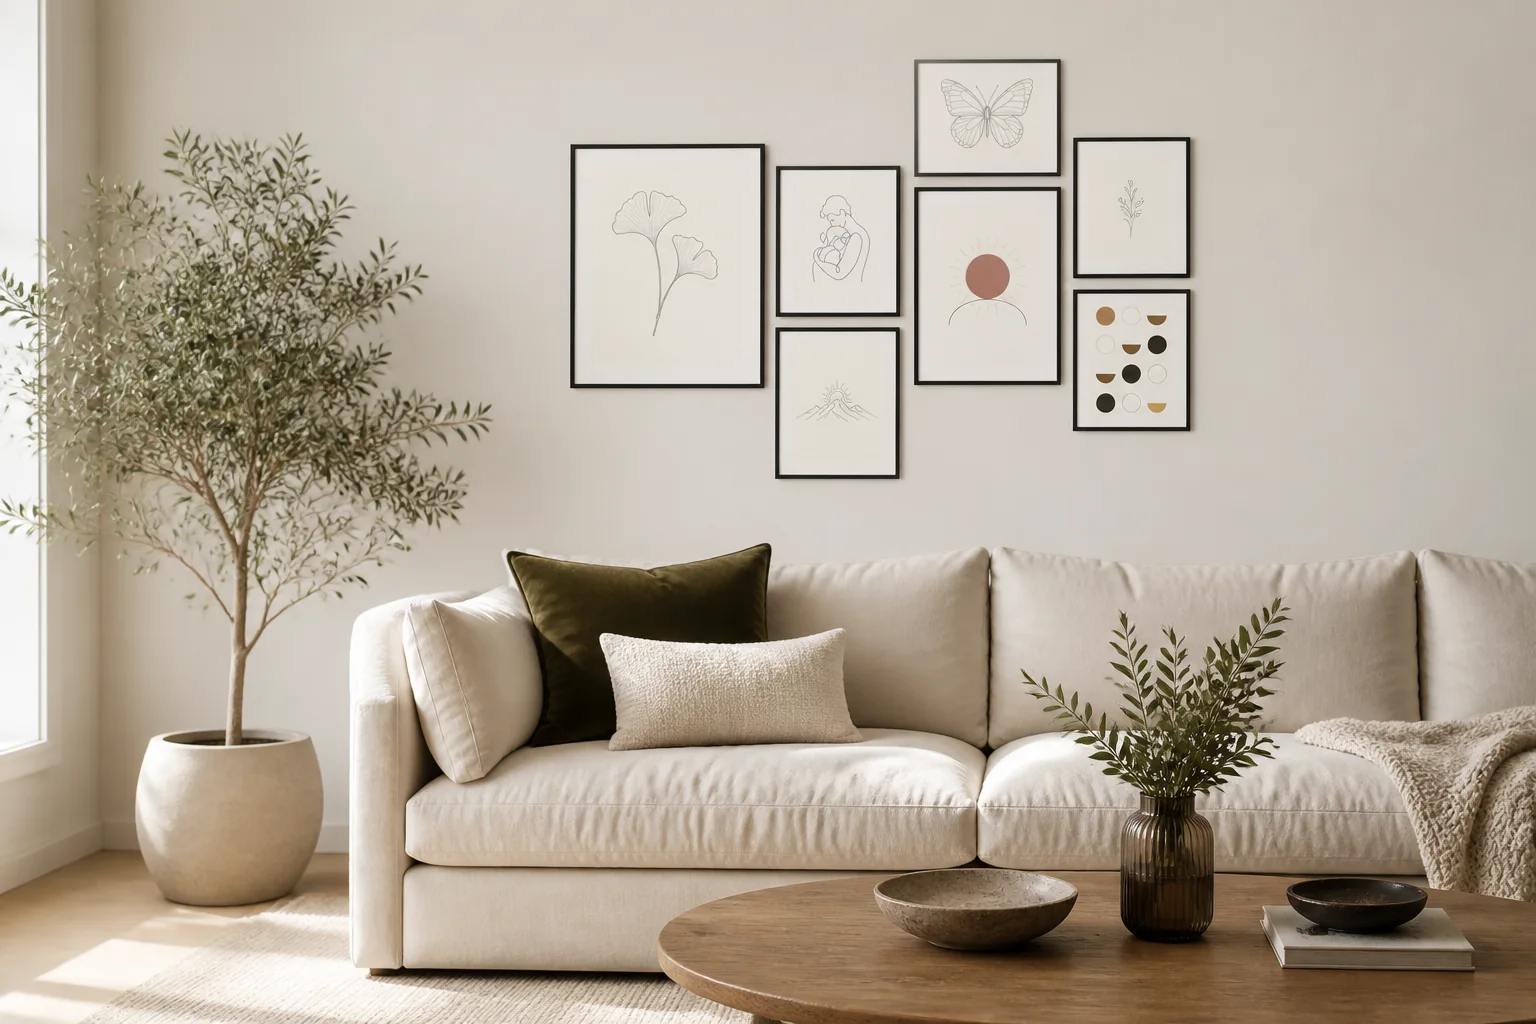
- Six room Style Kits, each with layout, palette and shopping list$114
- The Gallery Wall Studio: 200 prints + 15 measured layouts$29
- The Room Makeover System: 40 solved room layouts + workbook$29
- The Color Palette Handbook: 60 palettes shown in real rooms$19
- The Whole-Home Reset: 40 printable organizing checklists$19
- The Decorator's Cheat Sheets: the 40 measurements that matter$9
- All eleven products, bought separately
$219$97
A single hour with an interior designer costs more than the entire Collection, and this one keeps answering for every room you will ever decorate. Free updates included as the products grow. And if it is not for you, the 14 day money back promise means you simply get a refund.