How to Build a Christmas Tree From Scrap Wood Without a Workshop
Settle the shape, the base, and the spot before you cut. These diy christmas tree ideas turn leftover boards into a tree that stands straight in a corner.
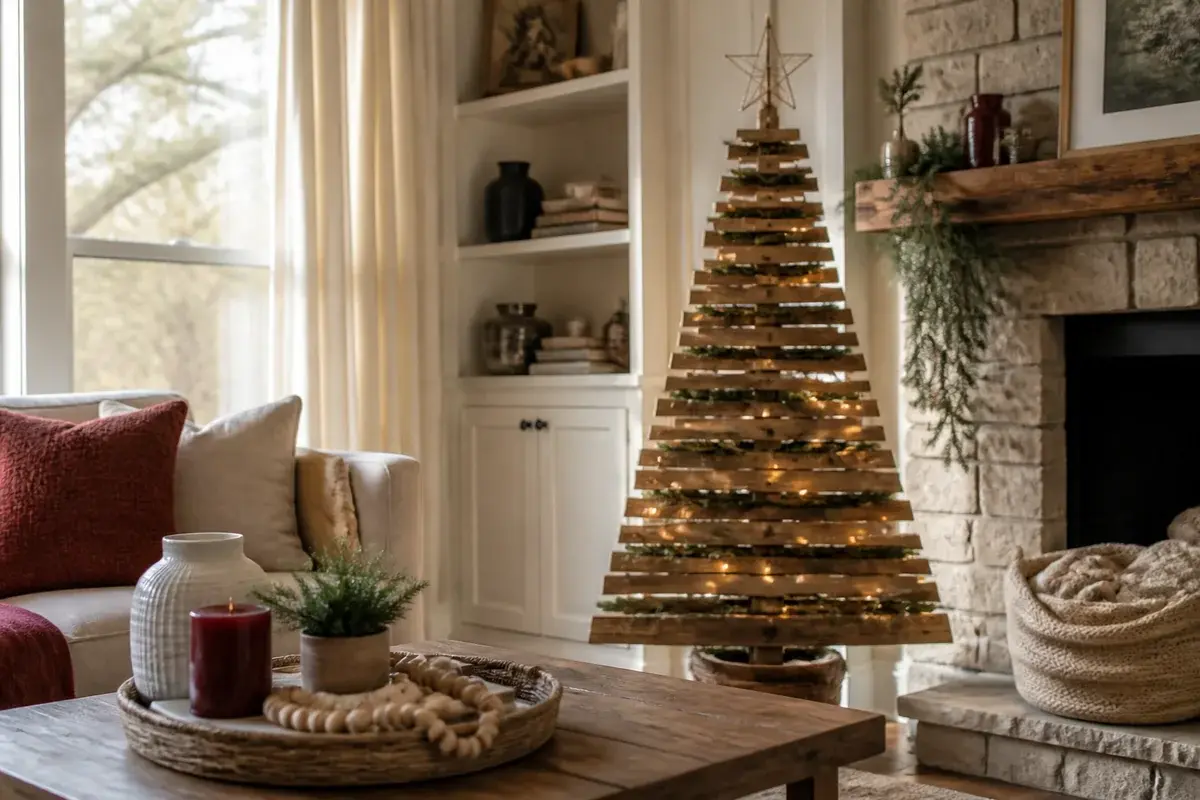
The scrap pile looks promising until you try to stand something up with it. A pine board leans, a plywood triangle sags in the middle, and the whole thing wobbles when the dog walks past. Most homemade trees end up as leftover boards propped behind the couch because nobody settled the shape, the anchor, or the spot first. Scrap wood can look deliberate and hold its own in a corner. It just needs a shape chosen before the first cut, and a plan for where the tree will stand.
 8-page guide
Free style guide
Stop buying things that don’t go together.
Print the 2-minute quiz, circle the words you love, and find your style. Then see what makes a room look like it.
- A print-and-circle quiz, 5 styles
- Each style shown as a finished room
- Palette, 4 key pieces, one rule
Free. Arrives by email in a minute or two, plus our ideas and occasional shop offers. Unsubscribe anytime. Privacy
Pick the Shape Before You Pick the Wood
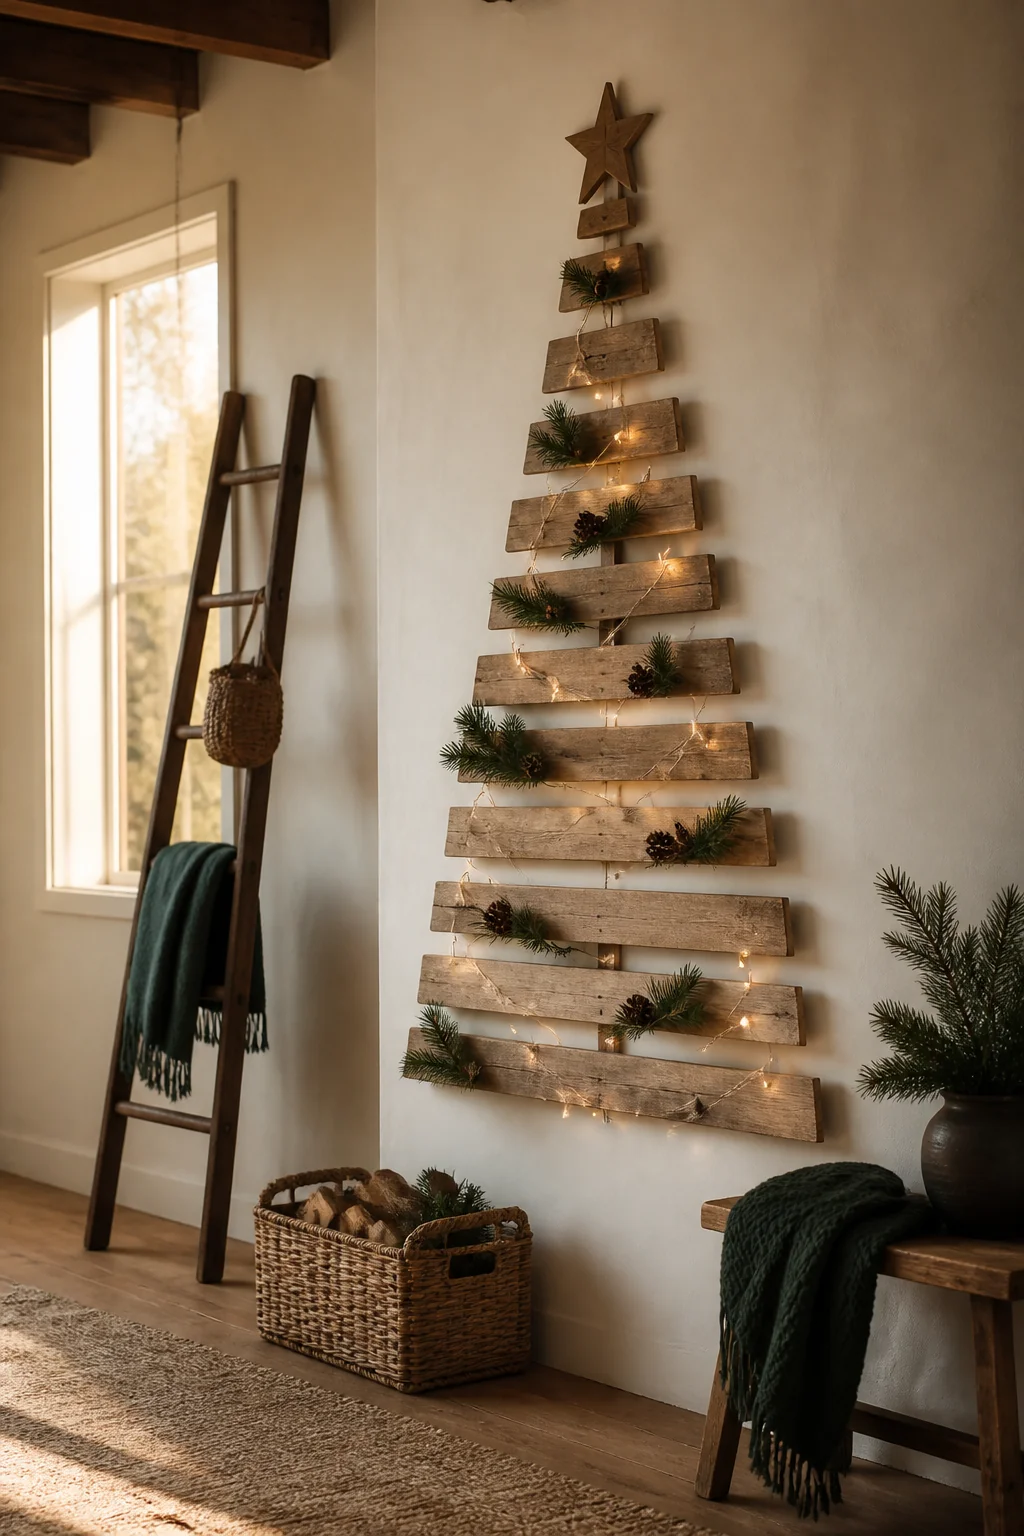
Three shapes work well with scrap, and they form the core of most DIY Christmas tree ideas that actually stand up. A wall-mounted tiered tree, a leaning ladder tree, and an open slat cone each read as a tree from across the room, but they take up very different amounts of floor.
We would skip the solid plywood cone in any room where the walkway is narrow. A full cone with a base wide enough to stand on its own needs a circle of floor about 36 to 40 inches across. That's usually the spot where people walk, and where the dog sleeps.
Decide the location first, then the shape, then the wood. The wall tree needs a stud line. The ladder tree needs a corner. The tabletop version needs a surface you're happy to see every day.
Start With Scrap You Can Actually Find
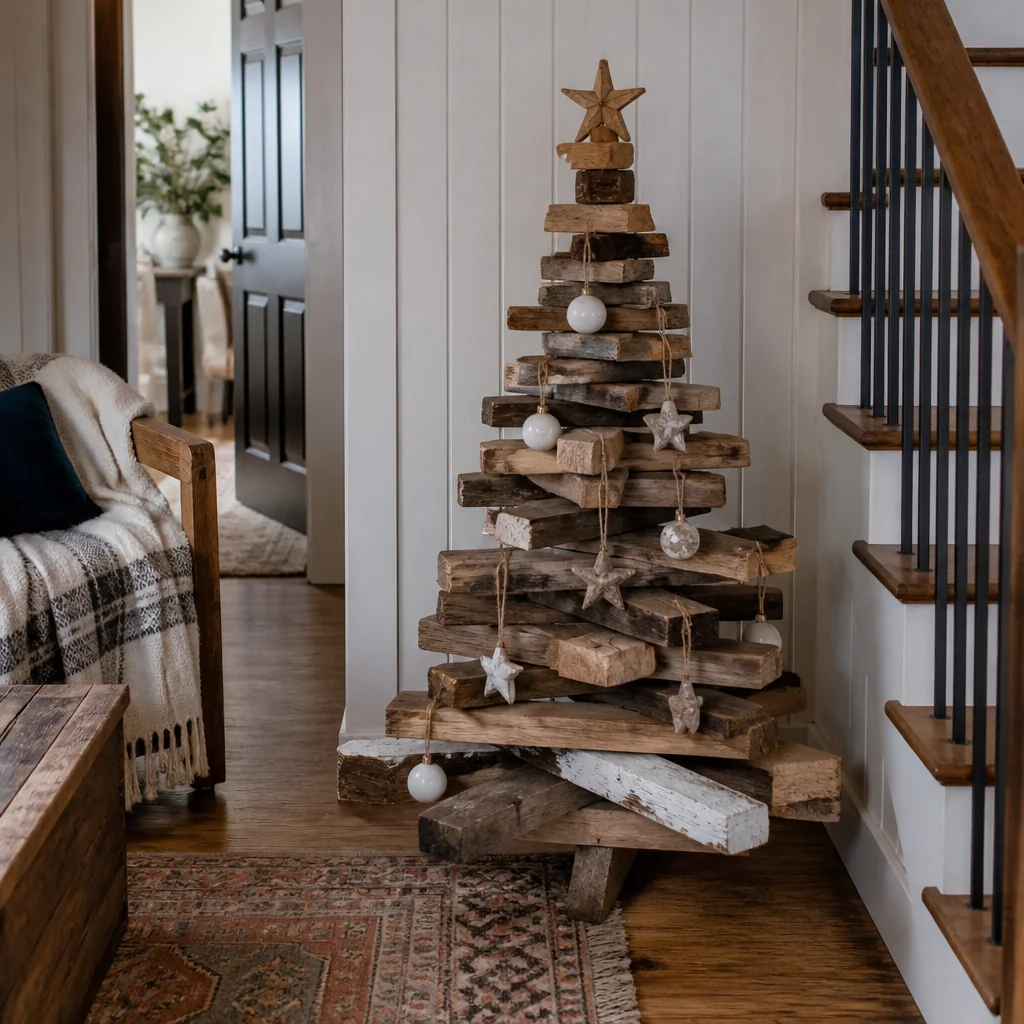
Pine 1x3 and 1x4 boards are the easiest starting point for any of the DIY Christmas tree ideas here. An 8-foot pine board usually runs a few dollars at big box stores, and it's straight enough to give you clean edges. Look for boards without large knots near the ends, since the ends carry the screws.
Check the age of the wood before you cut or sand. If the boards came from a house built before 1978, or from a thrifted painted piece, the old paint may contain lead. Test it with a lead test kit from a hardware store before you sand or scrape anything.
Mixing widths is where most scrap trees go wrong. Two 1x4 boards beside a 1x6 look like an accident. Cut every tier, rung, and rail from one width. The tree then reads as a single shape.
The Wall Tree Is the Easiest Win
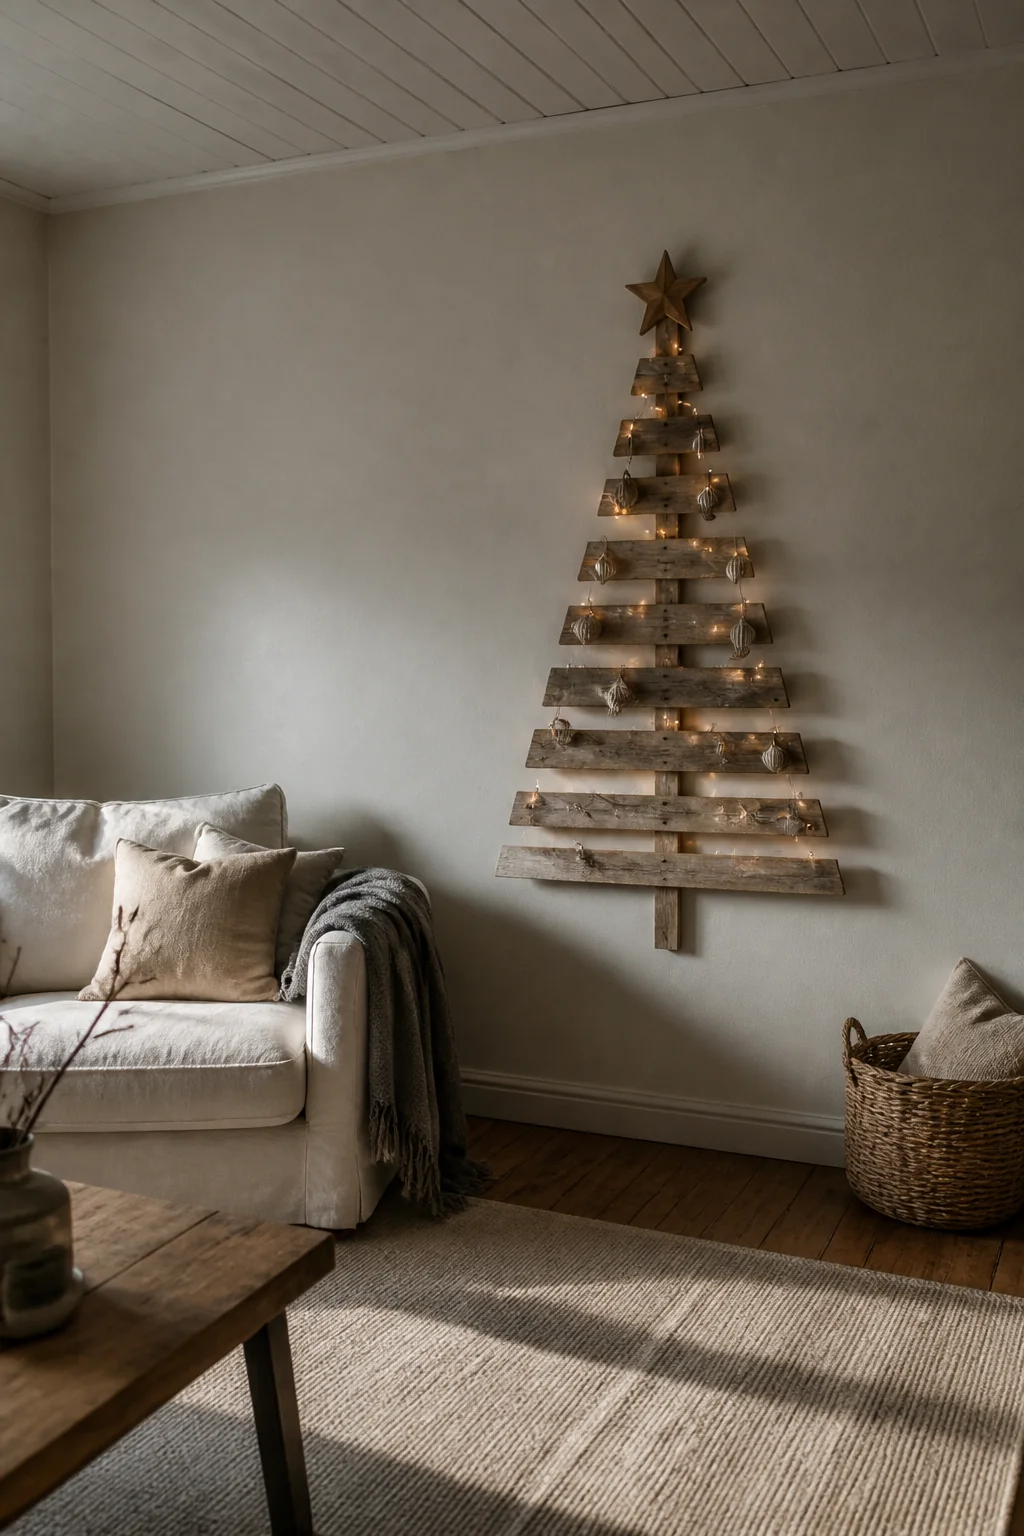
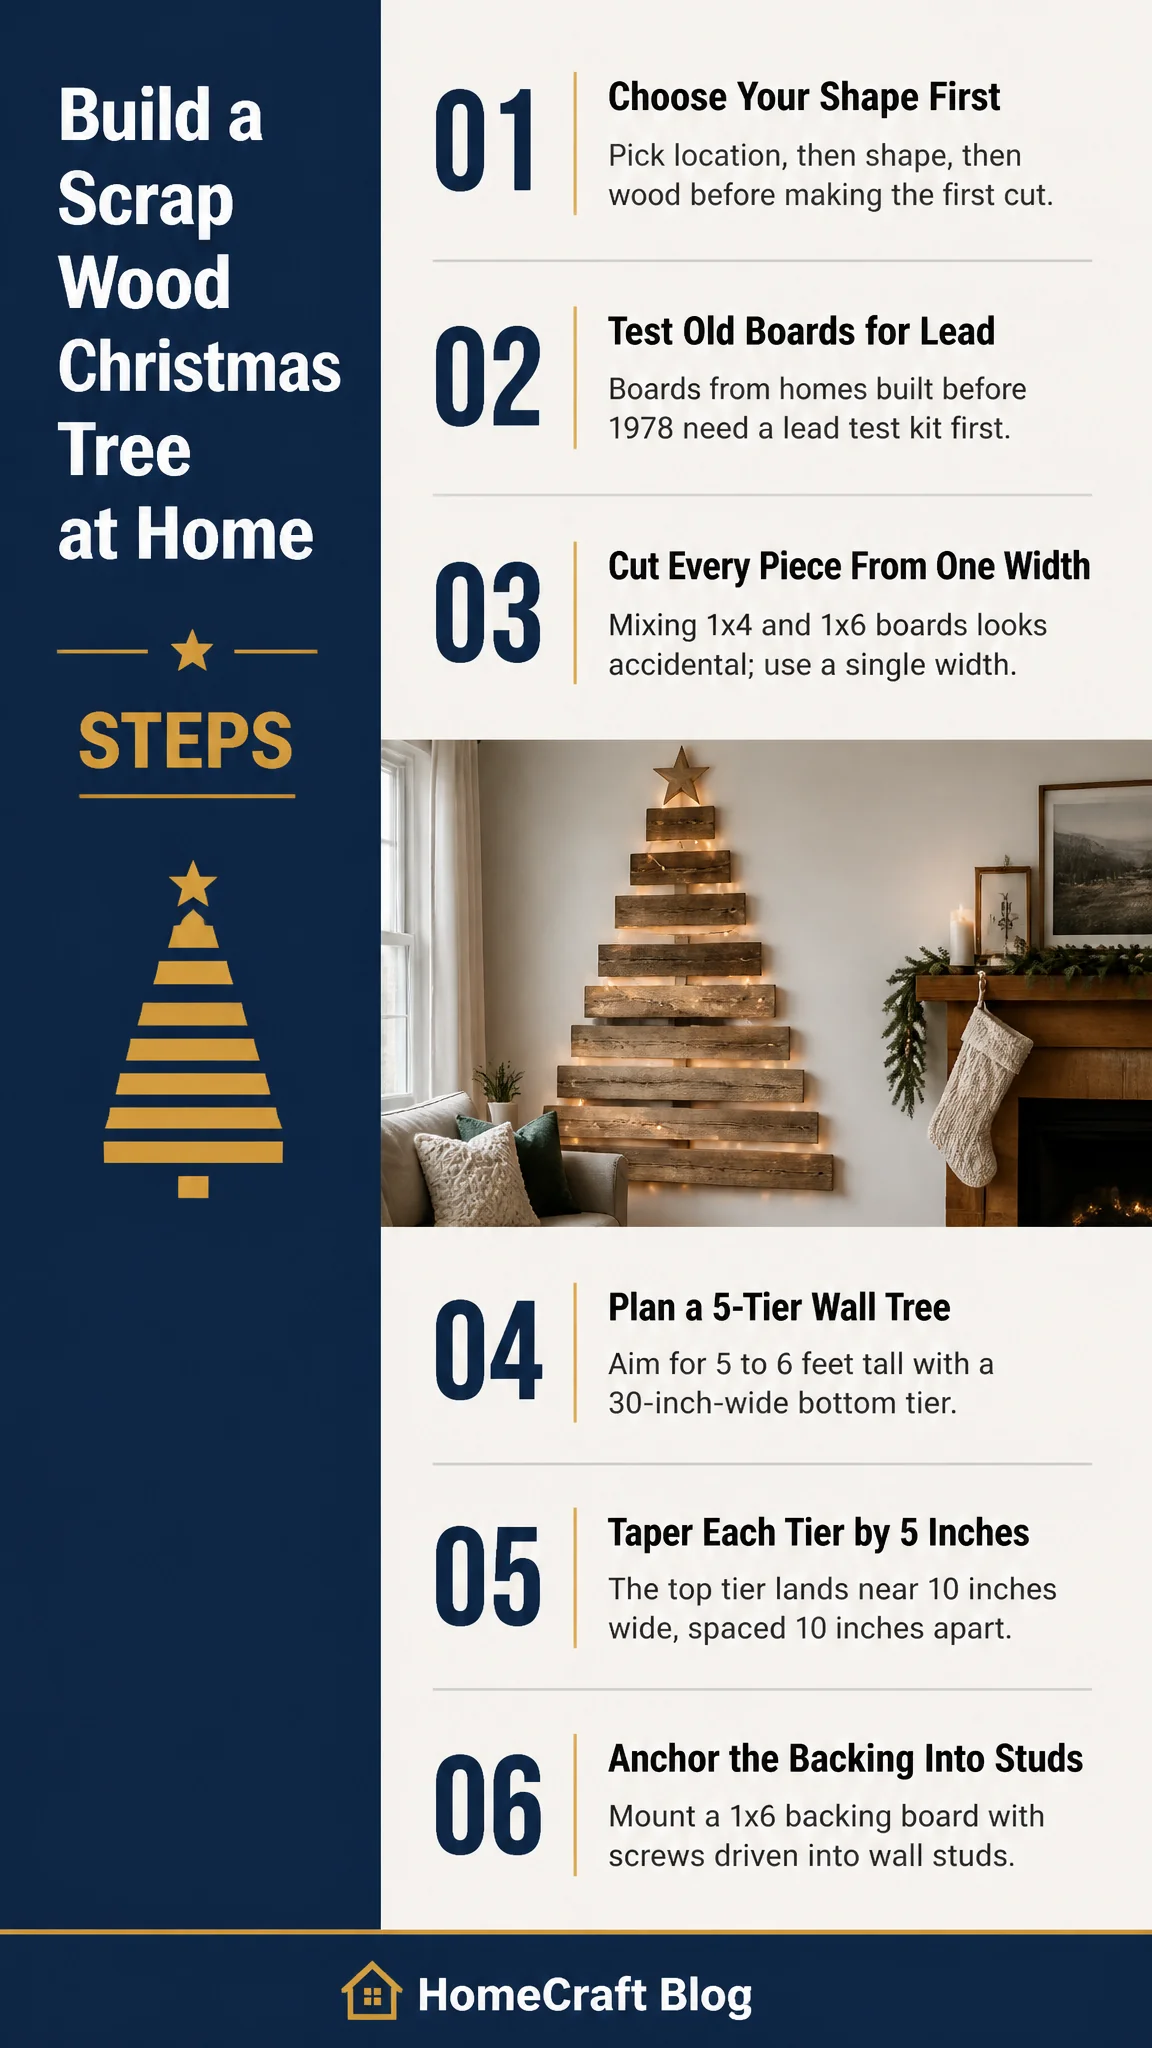
A wall tree is a stack of horizontal boards that rise like a Christmas tree from a single vertical backing. It takes almost no floor space, so it fits a hallway, a studio, or the wall beside a sofa. Plan a total height of 5 to 6 feet with five tiers.
The bottom tier should be about 30 inches wide. Each tier above it gets about 5 inches narrower, so the top tier lands near 10 inches. Space the tiers about 10 inches apart vertically, and leave the top of the backing board a few inches clear of the ceiling line.
Mount a 1x6 backing board to the wall with screws driven into studs, then attach each tier to the backing with a pair of screws at each end. Anchor the backing into wall studs, not drywall alone, because loaded tiers pull on the wall. A laser level saves more time here than any other tool on the list.
A Ladder Tree Leans Into the Corner
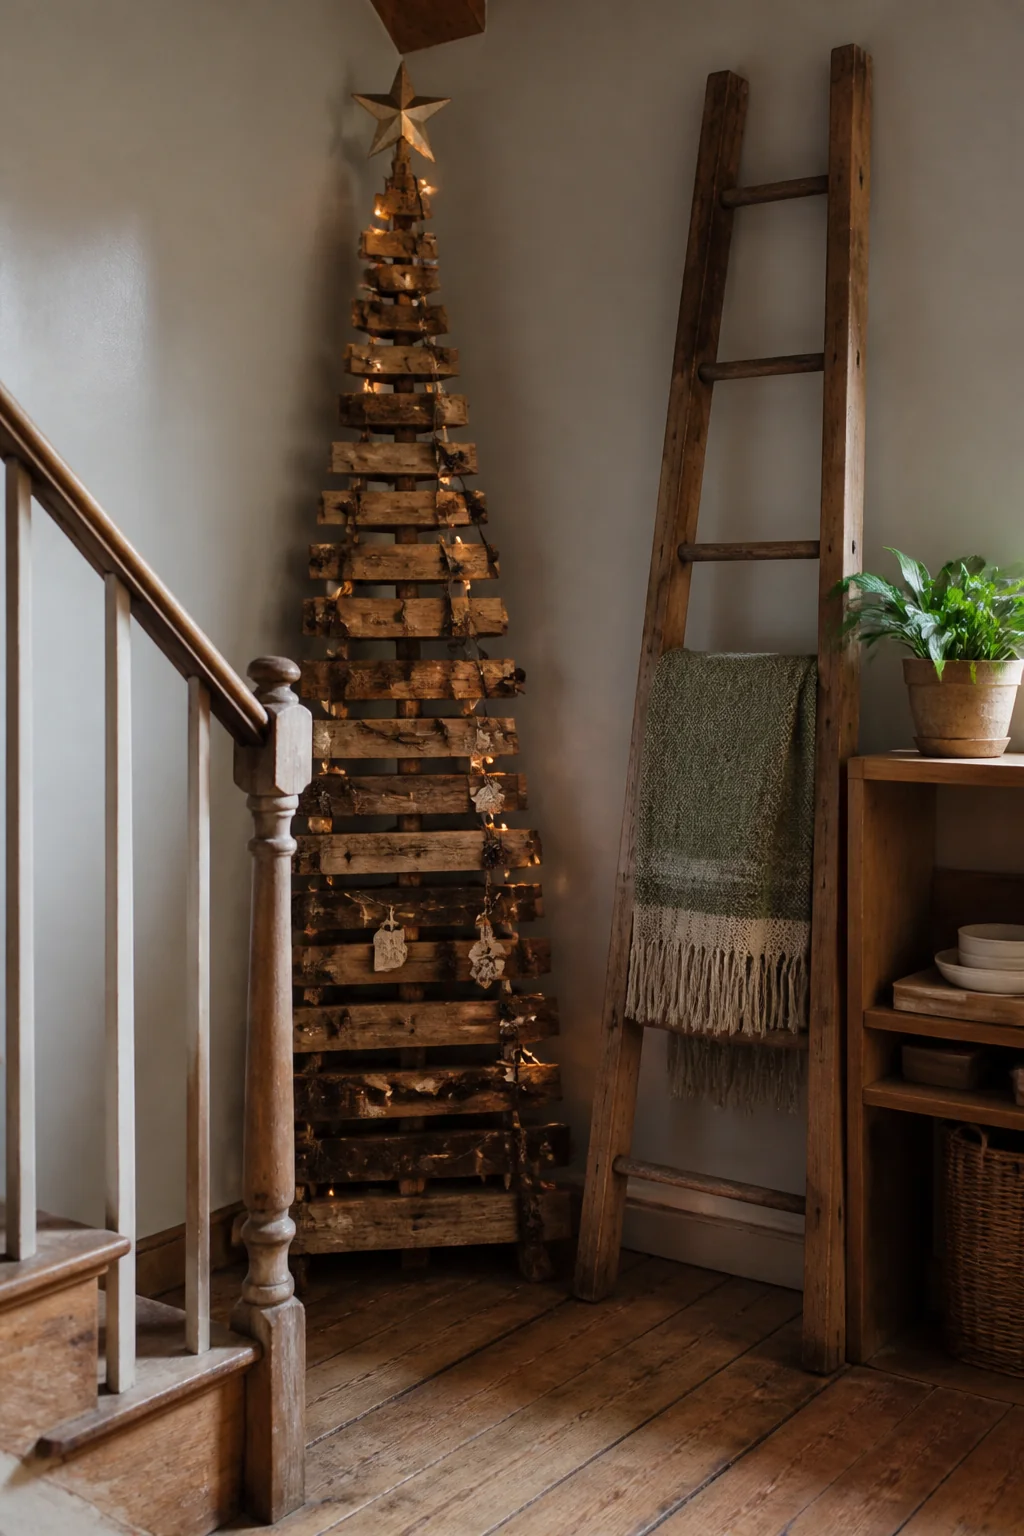
A ladder tree is two rails with rungs between them, and it's the simplest of the DIY Christmas tree ideas to lean against a wall. Use 1x3 boards for the rails, about 5 feet long, and cut six rungs from the same width. Taper the rungs from about 24 inches at the bottom to 8 inches at the top.
Lean the tree into a corner so the top rail touches the wall and the base sits about 18 inches out from it. That angle is what makes it look like a tree instead of a shelf. A tall leaning piece can tip, so screw the top rail into a wall stud, and anchor it at the base with a short cleat if the floor is slick.
(A 5-foot version clears most 8-foot ceilings with room to spare, which is the height most apartments have.)
Rungs should be spaced about 10 inches apart, measured from the center of each board. Check that the rungs sit level before you fix them, since a rung that tilts is the first thing your eye catches.
Skip the Solid Cone in Small Rooms
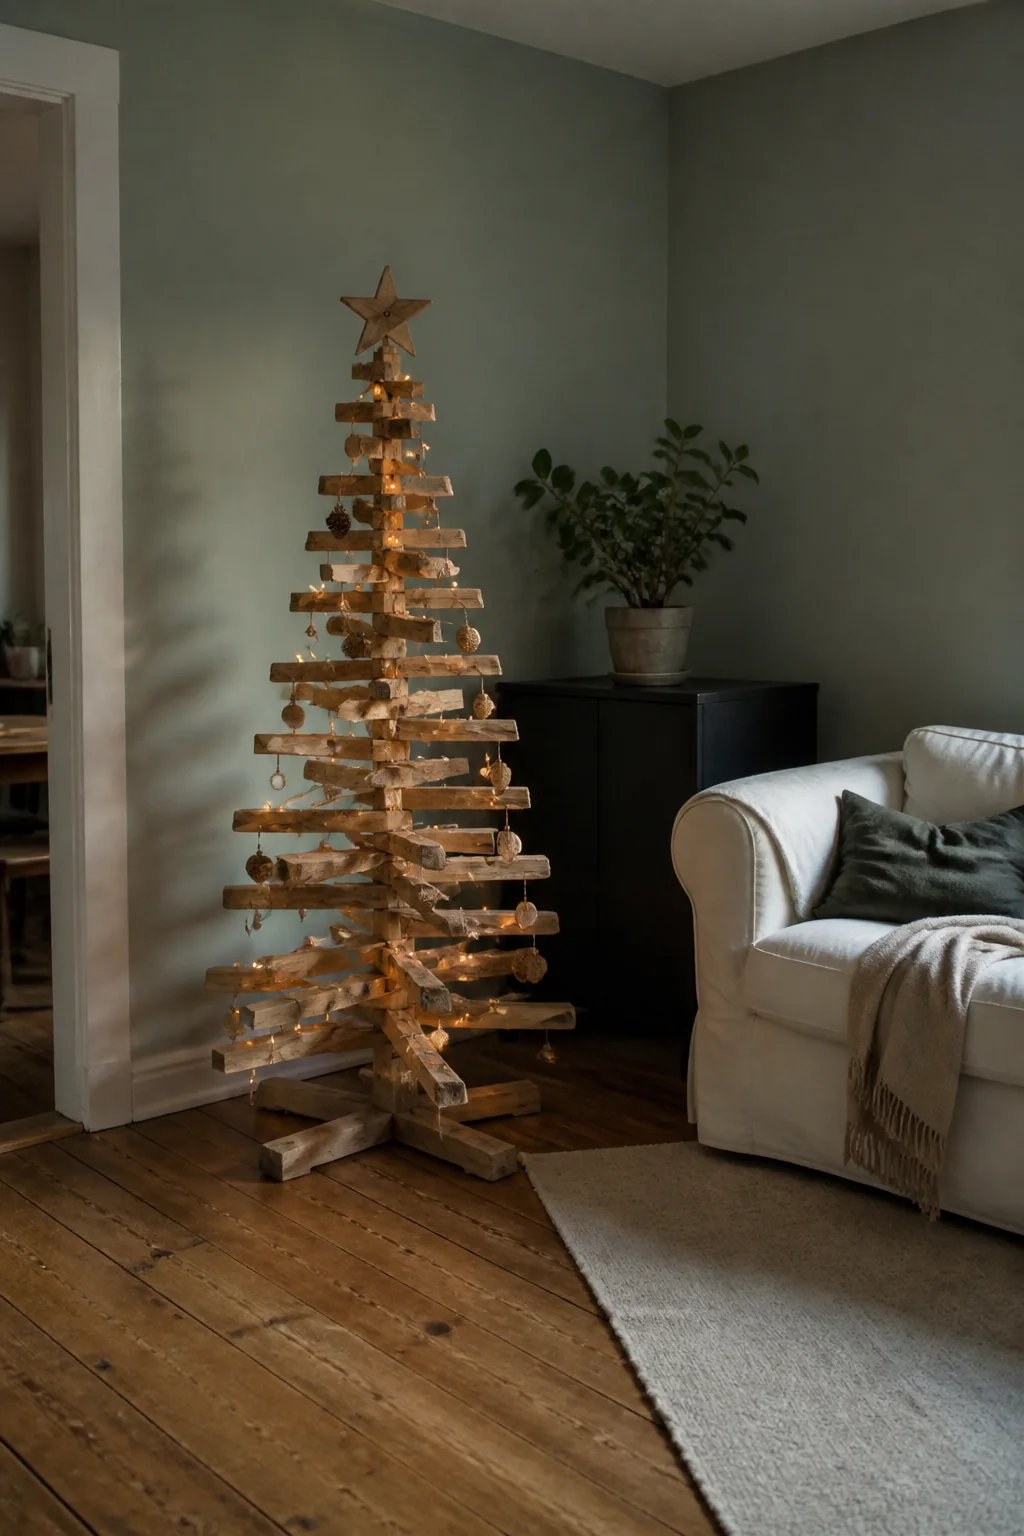
A solid plywood cone is heavy. A 5-foot cone in 3/4-inch plywood weighs enough that moving it becomes a two-person job, and it will sit on the floor blocking the spot you want to walk through.
An open slat cone solves most of that. Use 1x2 slats set at 2-inch gaps, arranged around a central post, and the shape holds with far less material. Light passes through the slats, so the string lights show in layers instead of one flat glow.
Keep at least 18 inches between the base and the sofa or a walkway. Use natural pine or white paint on the slats. A dark stain in a dim room swallows the lights, and the cone reads as a shadow.
Finish It Where the Air Moves
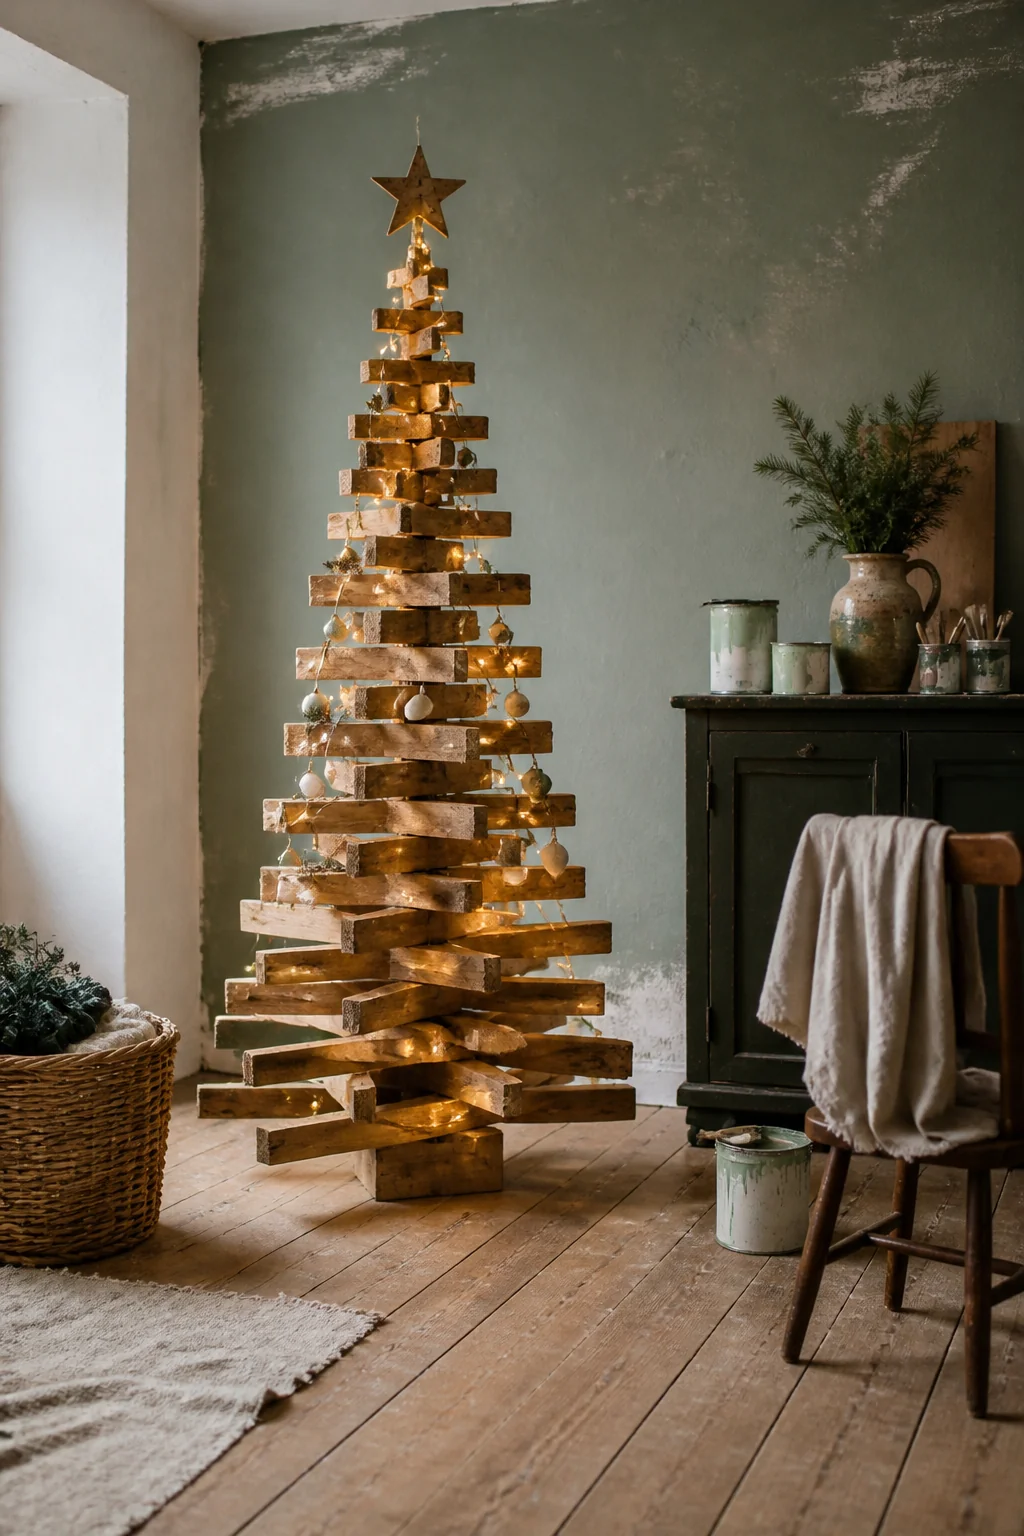
Sand the boards with 120-grit paper, then 180-grit, and wipe off the dust before you apply anything. Rough sanding leaves scratches that show through paint and stain.
Paint or stain should happen outdoors or with the windows wide open. Spray paint, solvents, and oil stains give off fumes you don't want to breathe in a closed room. Dry oily rags flat outside, because rags soaked in oil stain can heat up as they dry and catch fire if they're balled together.
Warm off-white or white paint tends to read best under string lights. A walnut stain looks rich in daylight, but at night it absorbs the glow and the tree disappears.
Lights and Ornaments Set the Scale
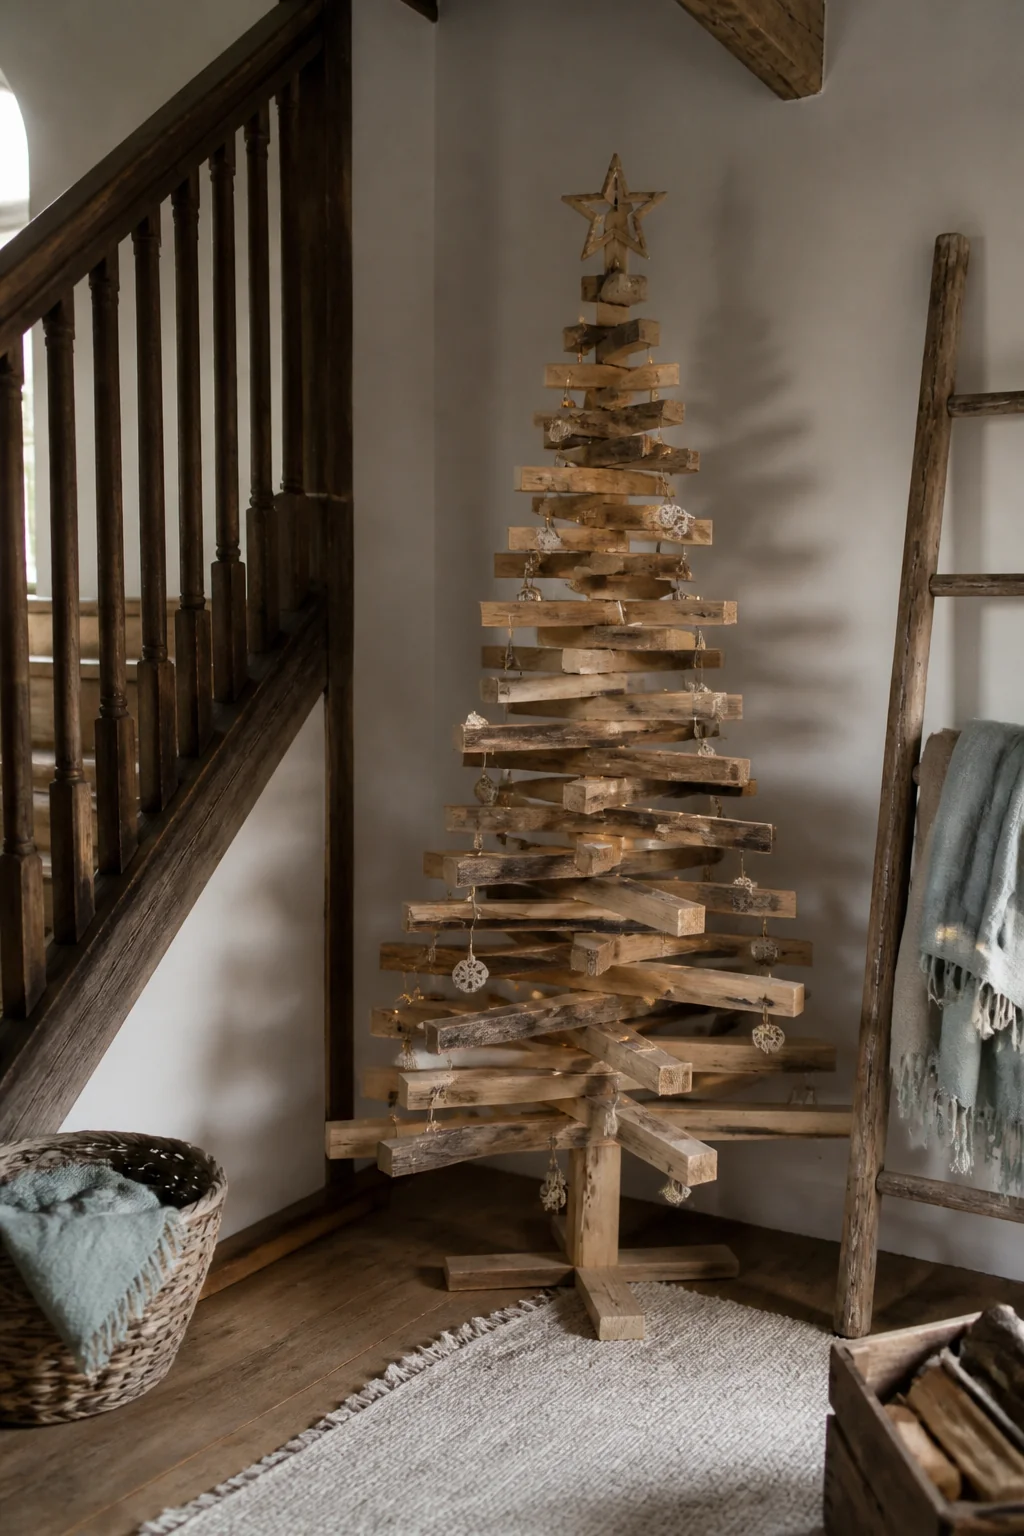
Use plug-in string lights rather than hardwired fixtures. Plug each strand straight into a wall outlet, and stop at the number of strands the label allows. Wrap the lights from the base upward, spacing them about 6 inches apart on the tiers or rungs.
Ornaments should follow the tree's size. On a 5-foot tree, 3 to 4 inch ornaments sit well on the lower tiers, and smaller ones fill the top. Hang them on the boards themselves, not on the wall behind, so the tree keeps its outline.
(In a nursery or a room with toddlers, keep cords out of reach and skip trailing strands entirely.)
Does the corner you're considering have a stud within 12 inches of where the top rail would land? If not, the ladder tree needs a different spot.
Keep this guide handy
By evening, the corner by the window holds a 5-foot tree that throws a striped shadow of rungs across the white wall. The room gets a vertical line it didn't have before, and the light pools at the base where the boards are closest together. Nobody has to walk around it, and it stays put when the dog leans against it.
The room images in this post are illustrations made with AI.