10 Easy DIY Halloween Window Decorations That Stick Without Damage
Stick DIY Halloween window decorations without damaging your rental or home. Ten damage-free ideas using no adhesive or gentle alternatives.
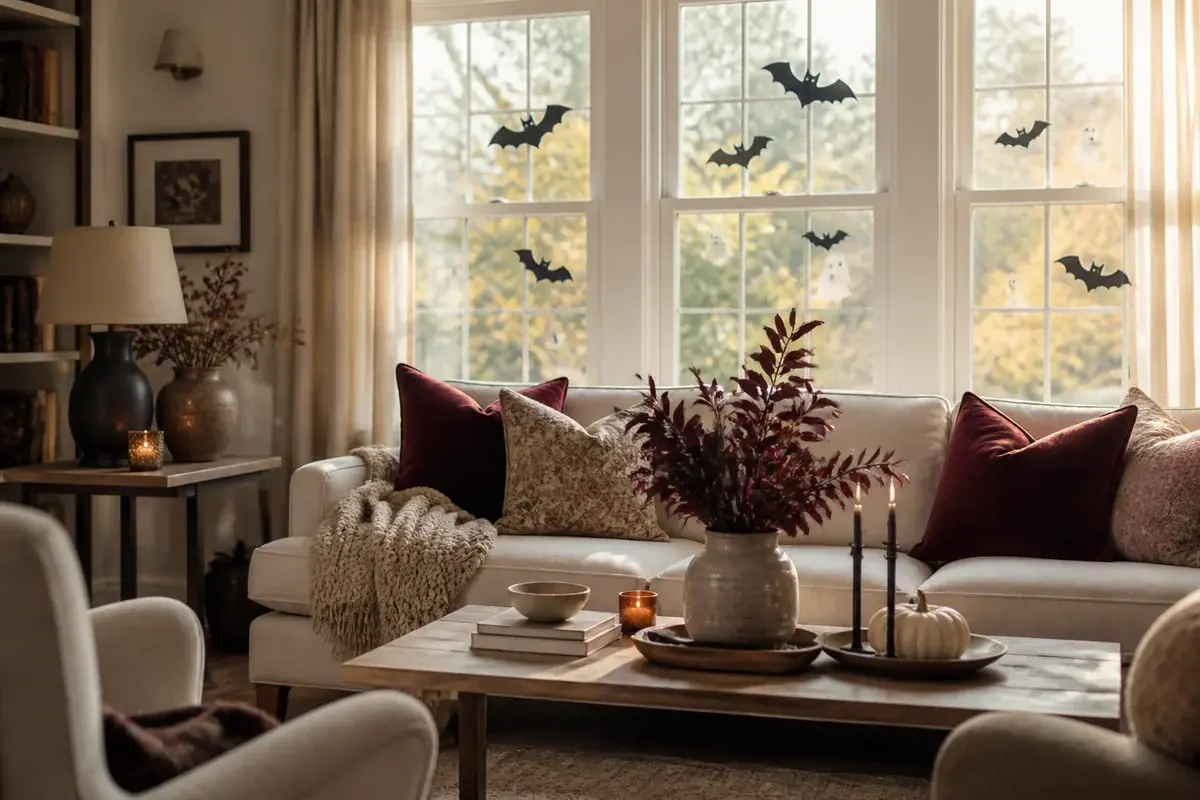
Halloween windows that actually look intentional come down to one thing: using the right adhesive or no adhesive at all. What usually stops people is the fear of peeling paint off the frame or leaving marks on rental glass. The good news is that the strongest window decorations don't rely on tape or glue at all, they use gravity, suction, magnets, or the frame itself to stay put.
1. Window clings you can reuse for years
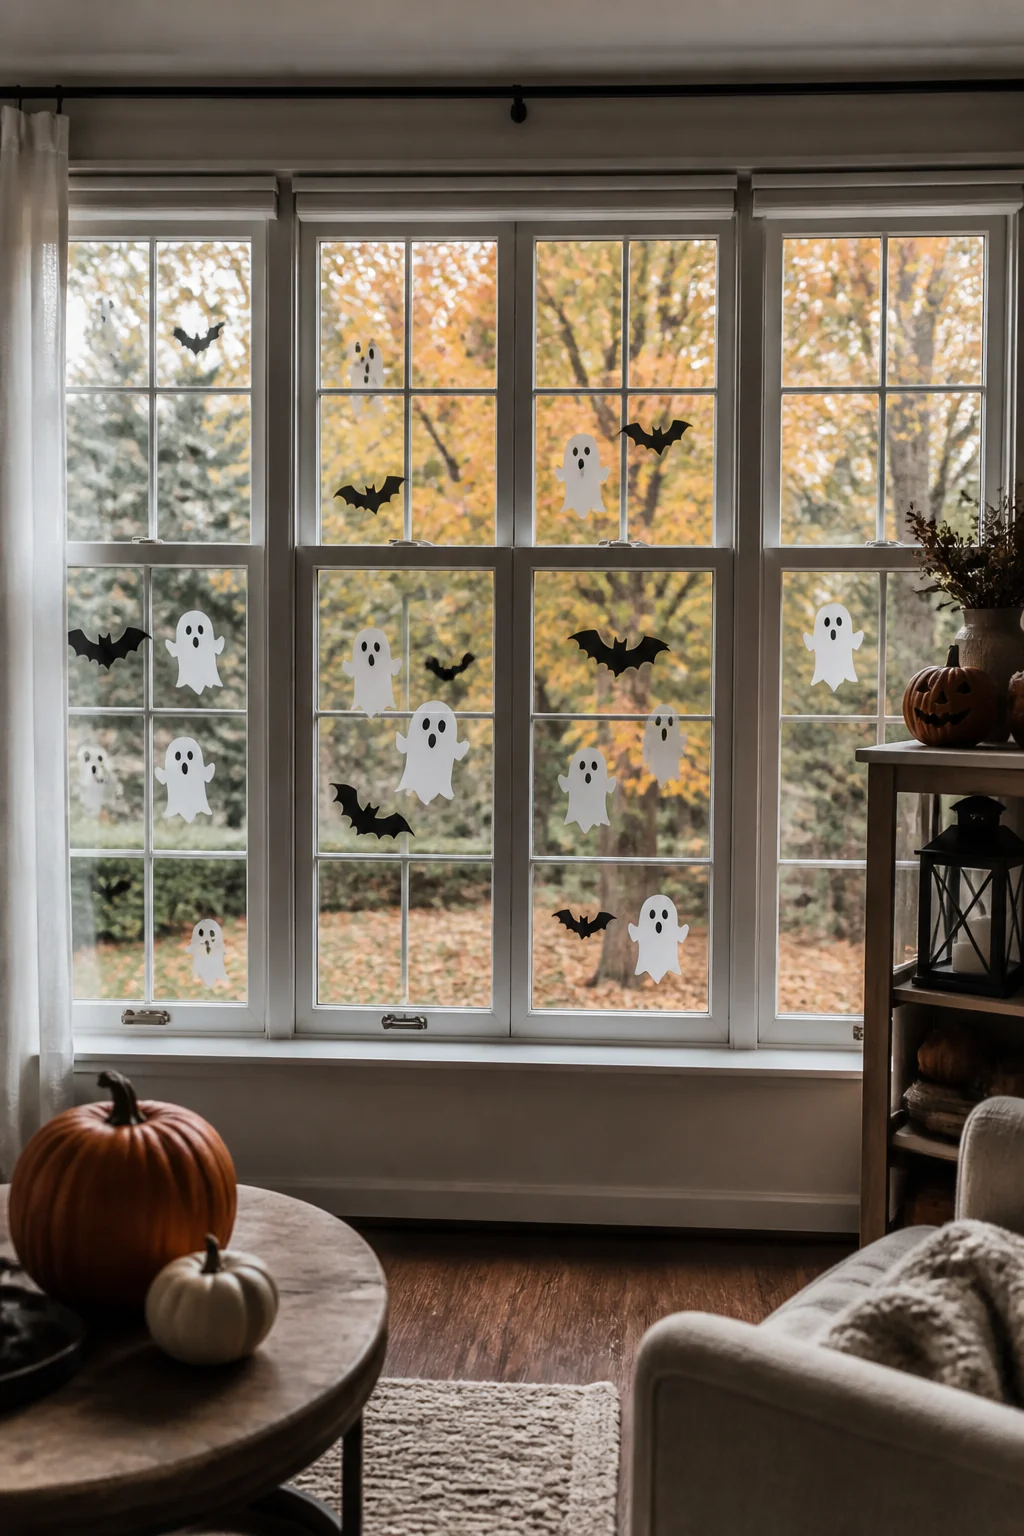
Static-cling vinyl sheets stick to glass without adhesive and peel off clean every single time. They're not the flimsy dollar-store kind, look for 0.5mm thickness vinyl from craft suppliers, which runs about $8 to $15 per sheet and stays put even on textured glass. Cut them into bats, ghosts, spiders, or your own shapes with a craft knife. The reason this works so well is that static cling uses electrostatic attraction, not glue, so there's zero residue and zero risk to your window. You can layer them to create depth. The one real limit is that they work best on smooth, clean glass; if your windows are textured or have a matte finish, the cling won't grip.
2. Suction cup hangers for lightweight props
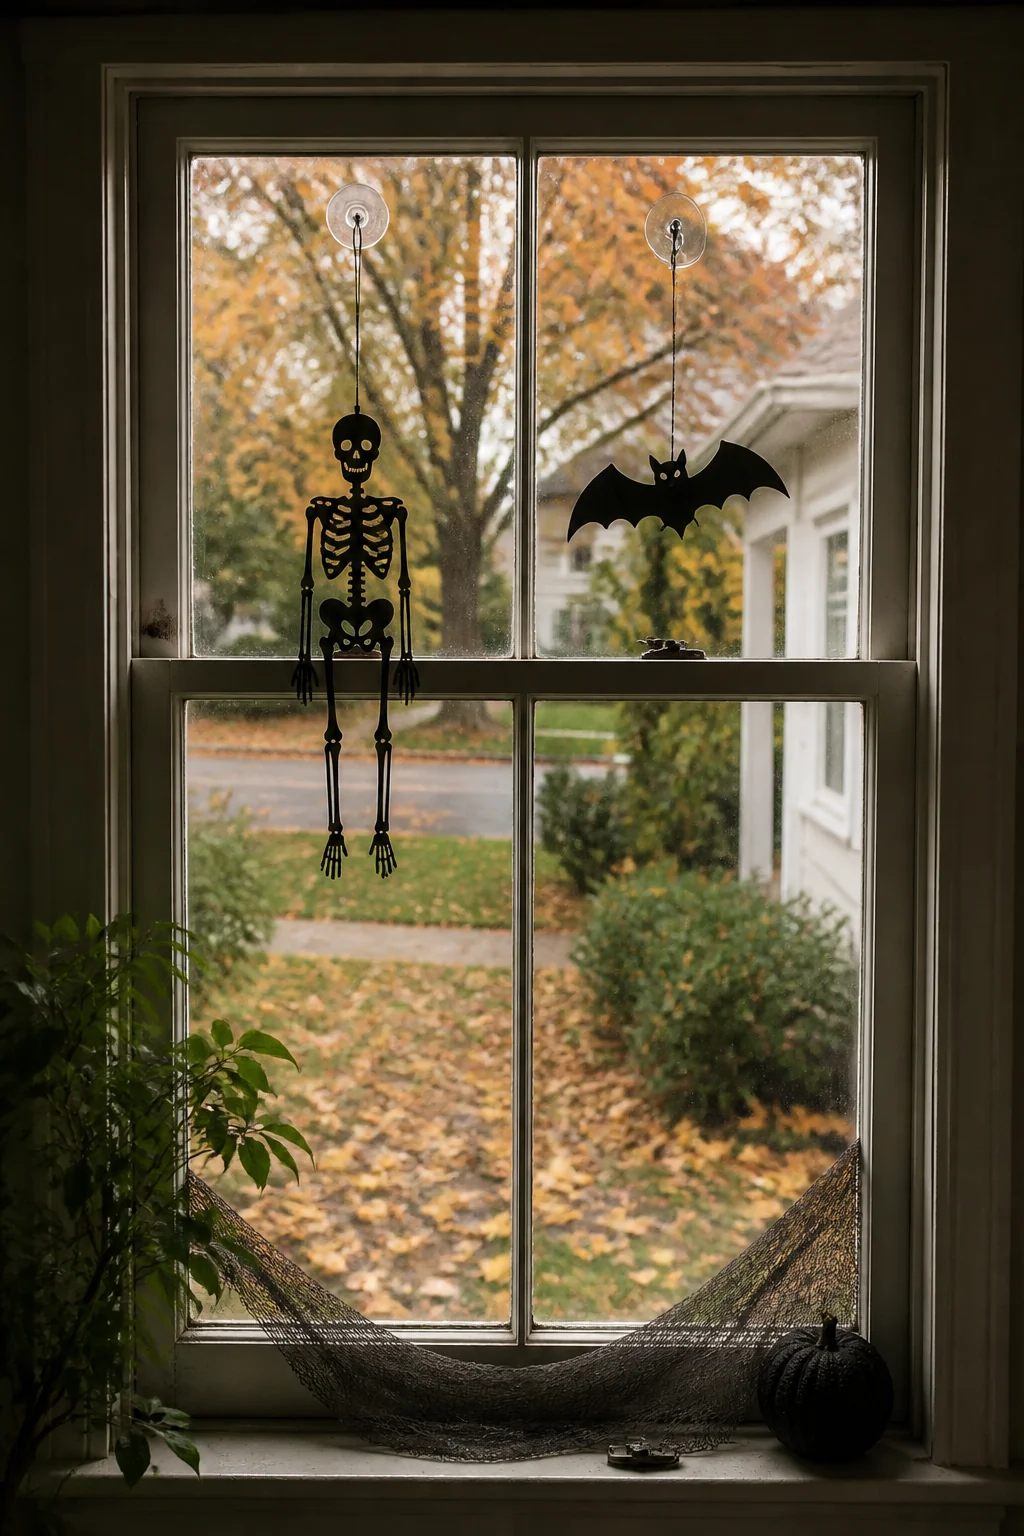
Suction cups anchor small decorations to the center of your window panes without touching the frame at all. Heavy-duty plastic suction cups (the kind with a hook on top) cost about $1 each and hold up to 2 pounds if the glass is truly clean. Hang paper bats, felt ghosts, or plastic skeletons from fishing line attached to the hook. The glass itself has to be pristine, soap film or dust means the cup won't seal. Rinse the window first, let it dry completely, and dampen the cup slightly before pressing it on. This is the safest bet for anyone renting because you're touching only the glass, never the frame or sash.
3. Magnetic window frames for metal frames only
If your window has a metal frame (aluminum or steel), stick flat magnetic sheets to the frame itself, not to glass. These aren't expensive: magnetic sheets about 12 inches by 24 inches run $5 to $10 and come in white or silver. Cut or adhere paper, felt, or plastic shapes to the magnetic side, then press the whole thing onto the frame. It peels off without marks because magnets don't use adhesive. This works only for metal frames, so if your frames are wood or vinyl, skip this one. The appeal is that you're decorating the architecture, not the glass, which means you can go bigger and bolder.
4. Tissue paper cut-outs held by static cling spray
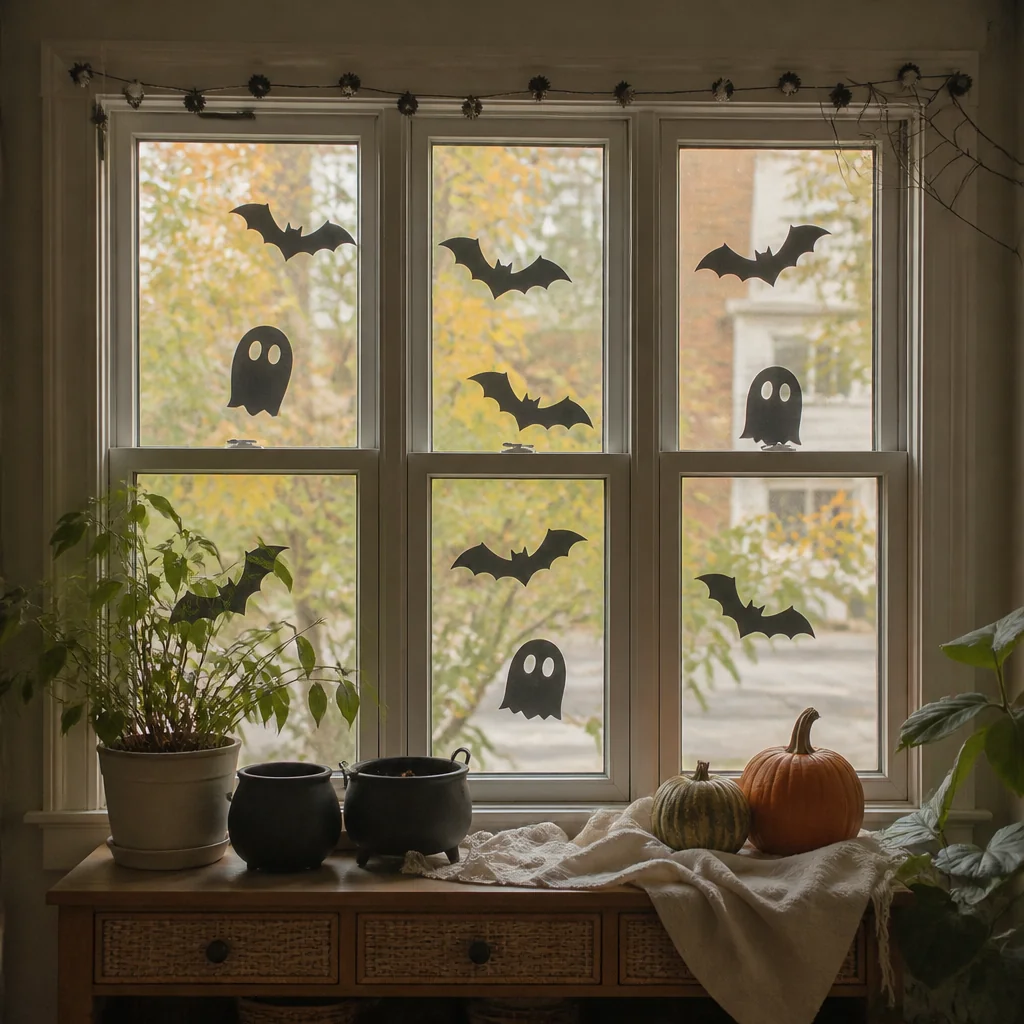
Cut tissue paper into shapes (pumpkins, leaves, ghosts), then use a light spray of static cling adhesive meant for window decals, about $6 a can, to hold them. The spray is removable and leaves no residue on glass. Tissue paper is forgiving because if a piece doesn't stick right, you can peel it off and reposition it without tearing. This method gives you color and opacity on your window while staying completely reversible. The catch is that static cling spray works best on cold, dry glass, so avoid this on humid mornings or it won't hold through the day. Apply it outdoors if you can, because the spray nozzle creates a fine mist that you don't want floating around inside.
5. Cardboard silhouettes propped in the sill
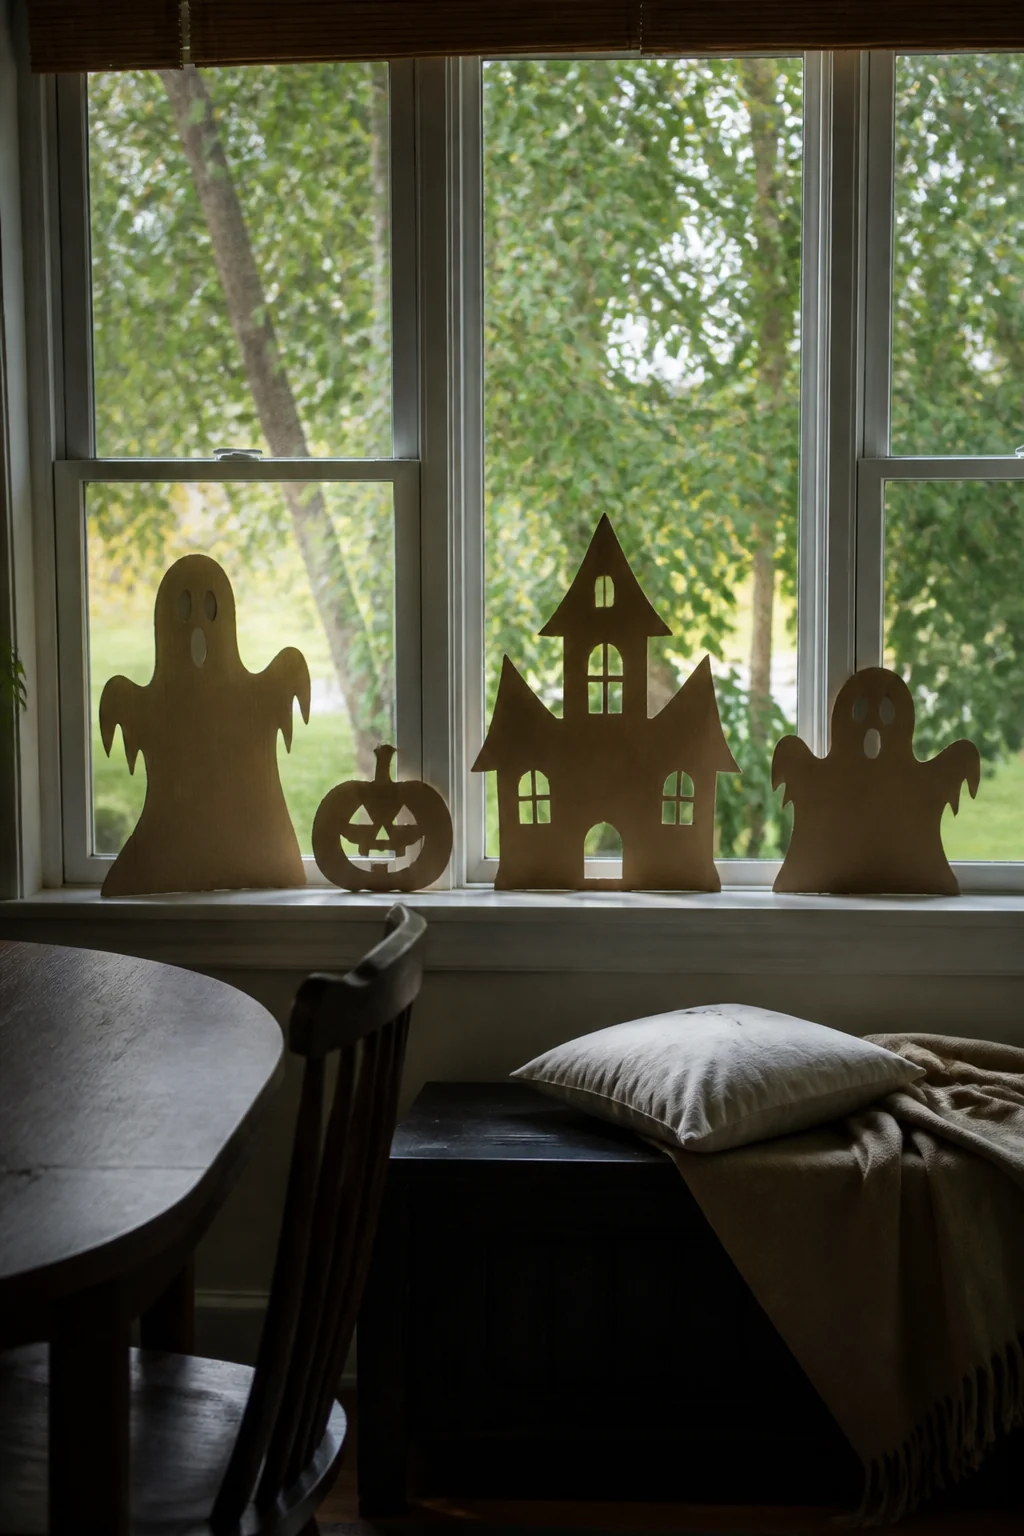
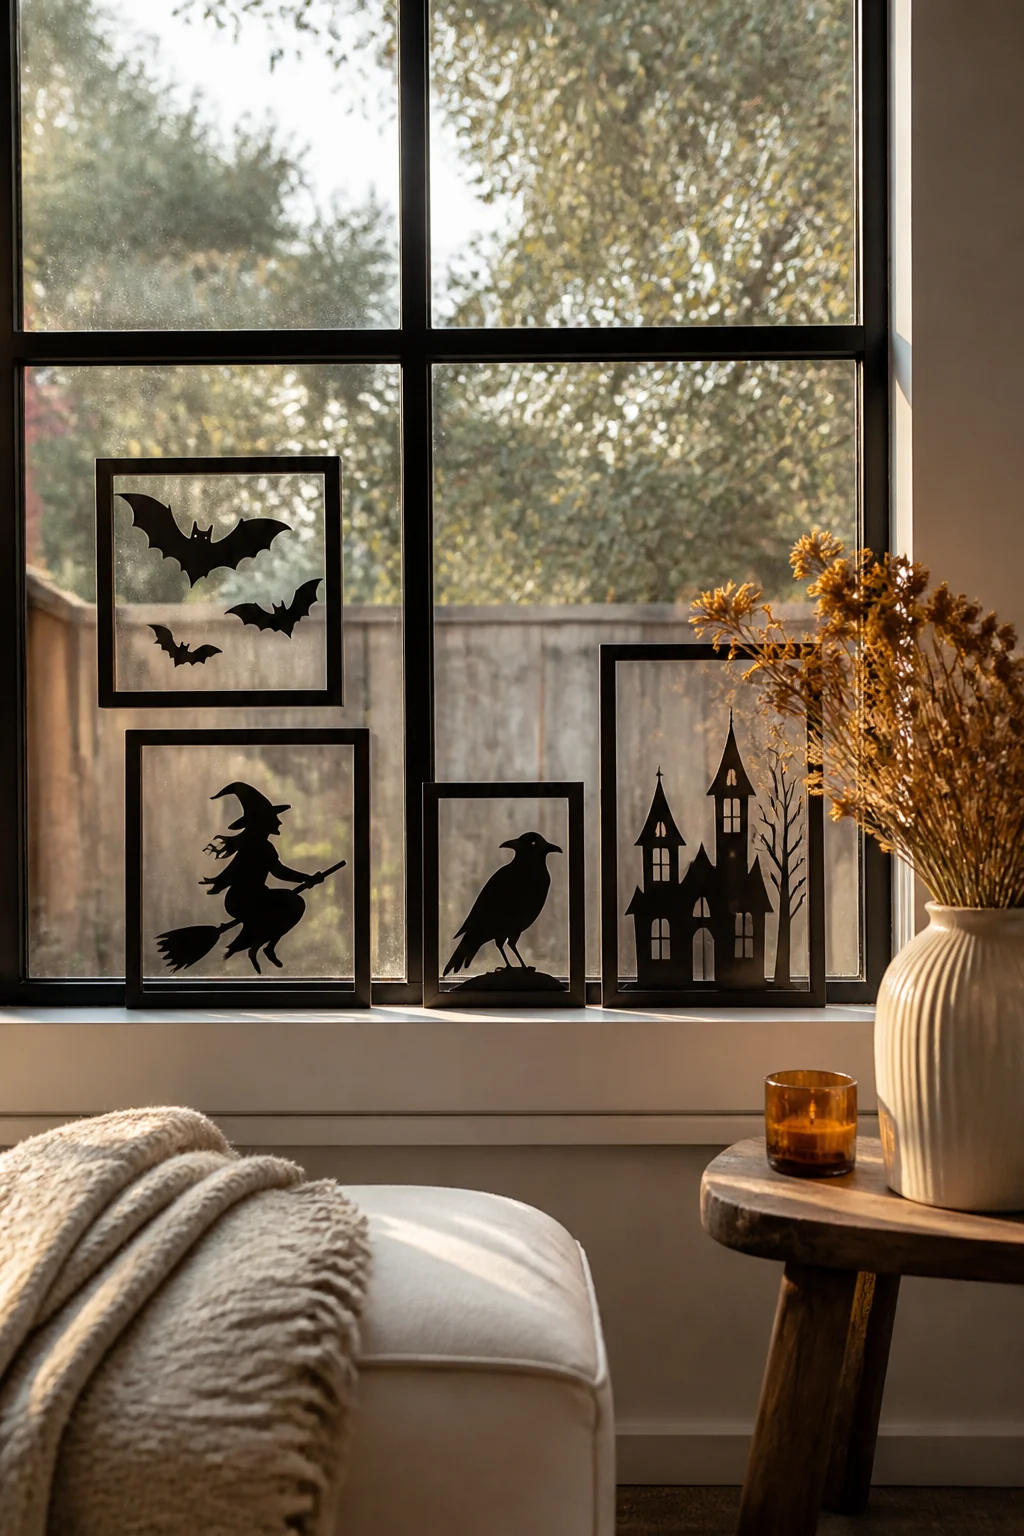
Cut cardboard shapes (bats, haunted houses, zombies) from black poster board, then stand them in your window sill or prop them against the glass from the inside. No adhesive needed, gravity does the work. A single sheet of black poster board costs about $2 and you can fit 3 or 4 large silhouettes per window. This works best on double-hung windows where you can position the shapes between the lower sash and the glass, so they're held in place by the sash itself. The look is clean and shadow-like, especially if light hits the window from outside. The main thing that kills this is wind, so it's interior-only or for windows in protected spots (like a porch alcove). Leaning or standing silhouettes also take up sill space, so if your sill is deep and clear, you're fine; if it's narrow or full of objects already, this won't work.
6. Painted glass markers for direct window art
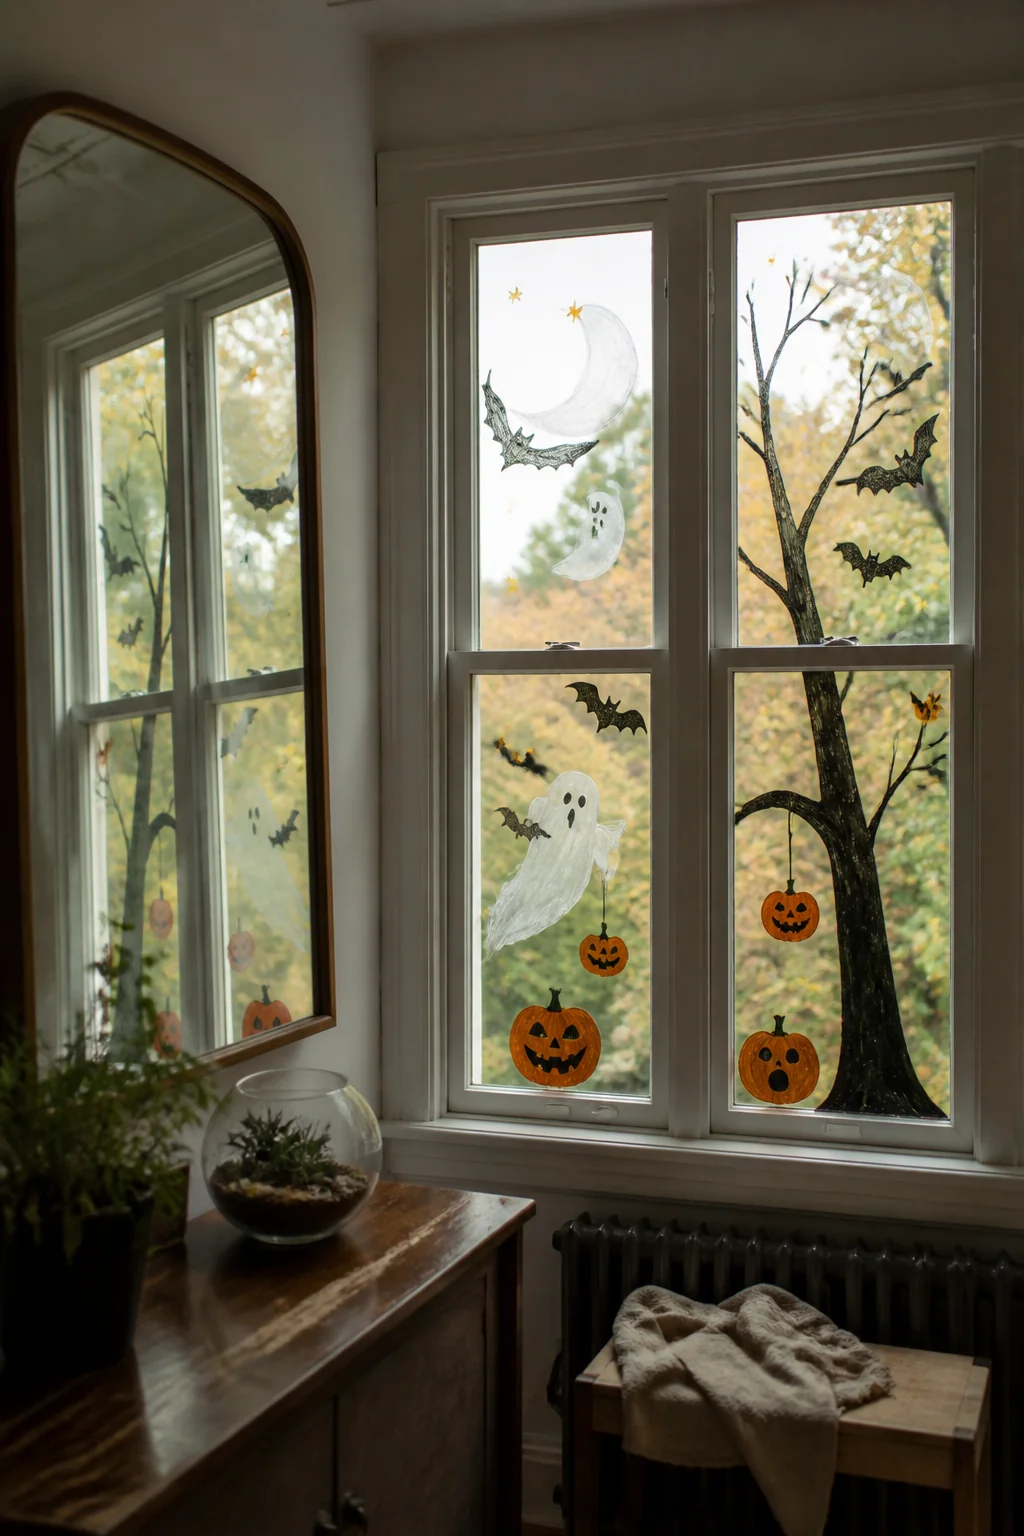
Water-based glass markers (about $8 to $12 for a 12-pack) let you draw directly on clean glass, then wipe it off with a damp cloth when Halloween ends. Draw spiderwebs, faces, dripping blood, or jack-o'-lantern designs straight onto the panes. Sketch lightly in pencil first if you're nervous, then draw over the pencil with the marker. The key is using water-based markers, not permanent ones, because permanent markers stain glass and are hard to remove. Glass markers have a tip that spreads like a highlighter, so you can fill in large areas quickly. The look is immediate and graphic. The downside is that anything you draw will be visible from both sides of the window, so if your street-facing side looks good, the inside might look like mirror-image smudges (which is often fine, but worth knowing). Avoid glass markers on windows you plan to open and close during October, because the repetitive motion can smudge the design.
7. Glow-in-the-dark string lights hung from tension rods
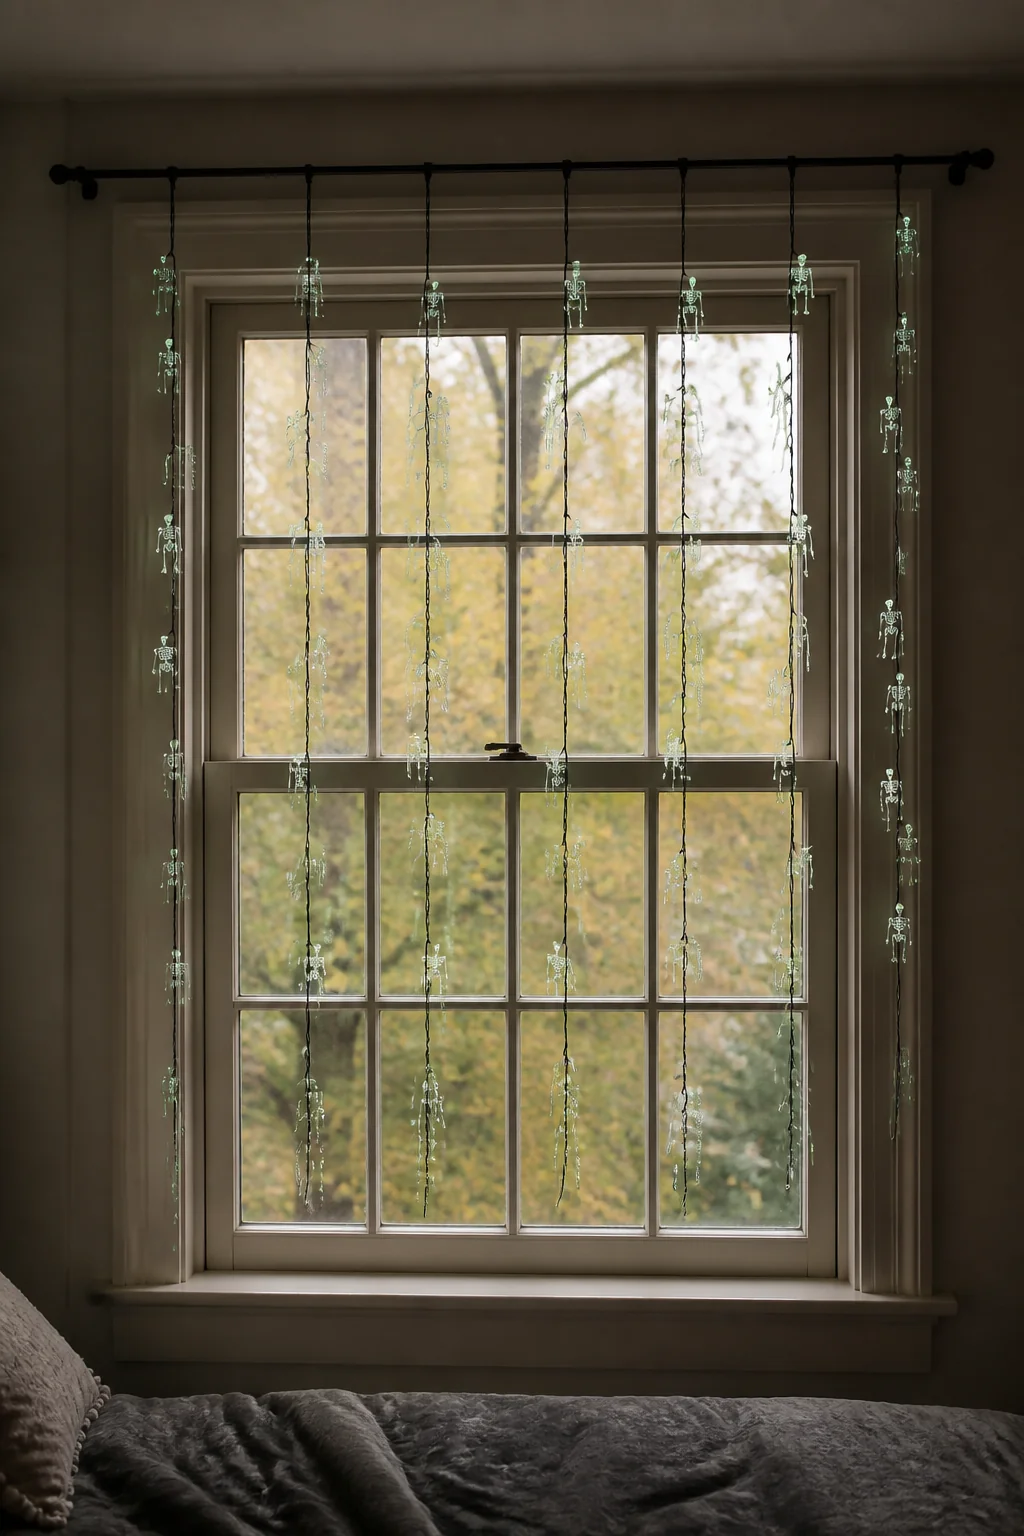
A spring-loaded tension rod wedged horizontally into your window frame costs about $12 to $20 and holds glow-in-the-dark string lights without drilling, nailing, or touching the glass. The rod presses against the inside of the frame on both sides, so it's rentable. Wrap the string lights around the rod or let them hang loose below it. Glow-in-the-dark lights charge during the day and glow at night without power cords. This transforms your window into a functional decoration that actually show. The setup takes five minutes. What limits this is window depth: if your window sill juts out more than about 4 inches, the tension rod won't fit well and will bow visibly. Also, glow-in-the-dark lights are dimmer than powered LEDs, so they're best for windows that get strong afternoon sun to charge them during the day.
8. Frosted window film for a haunted-house effect
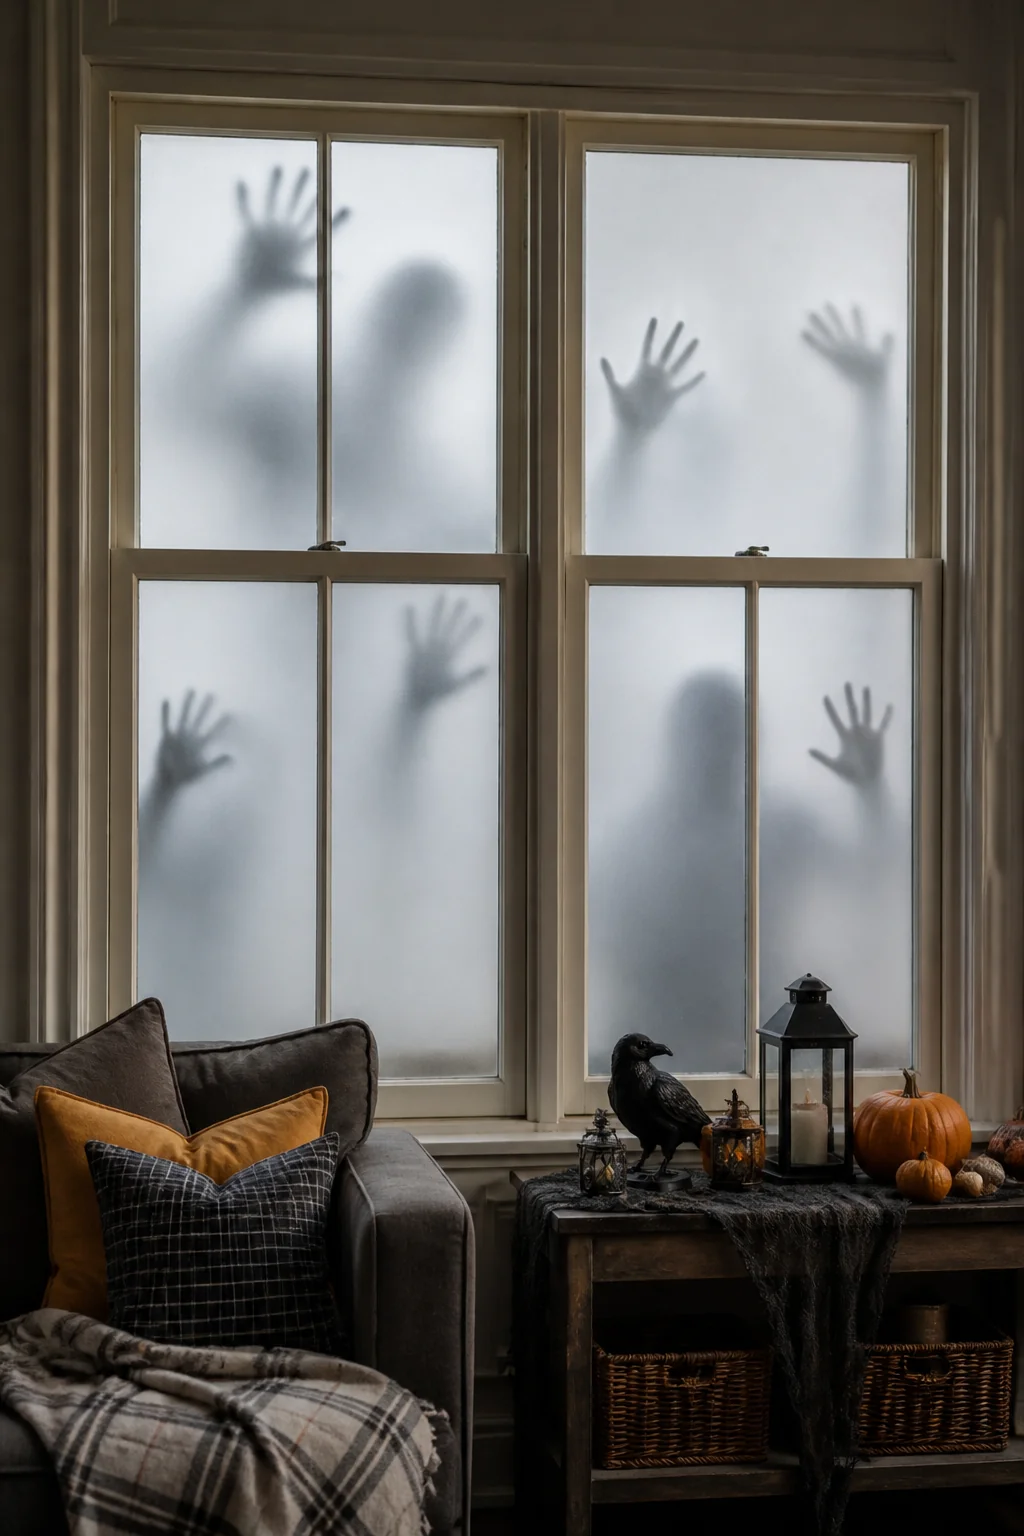
Frosted film (about $15 to $25 per roll) adheres to glass with water and can be cut into patterns or applied as a full sheet for a frosted glass look. Soak the back of the film, press it onto clean wet glass, and smooth out air bubbles with a plastic squeegee. You can cut out shapes before applying it (jack-o'-lanterns, tombstones) to create a layered frosted effect, or cut designs into the film after it's applied. The film removes cleanly with warm soapy water and a plastic scraper. This is stronger than clings because the water seal holds it through wind and temperature changes. The film also blocks visibility into your room, so if privacy matters to you on Halloween night, this does double duty. The learning curve is real, applying film without bubbles takes practice, and wrinkles are visible, so your first window won't be flawless. If you're not comfortable with the application, the investment doesn't pay off.
9. Witch hat and broomstick propped in the sill
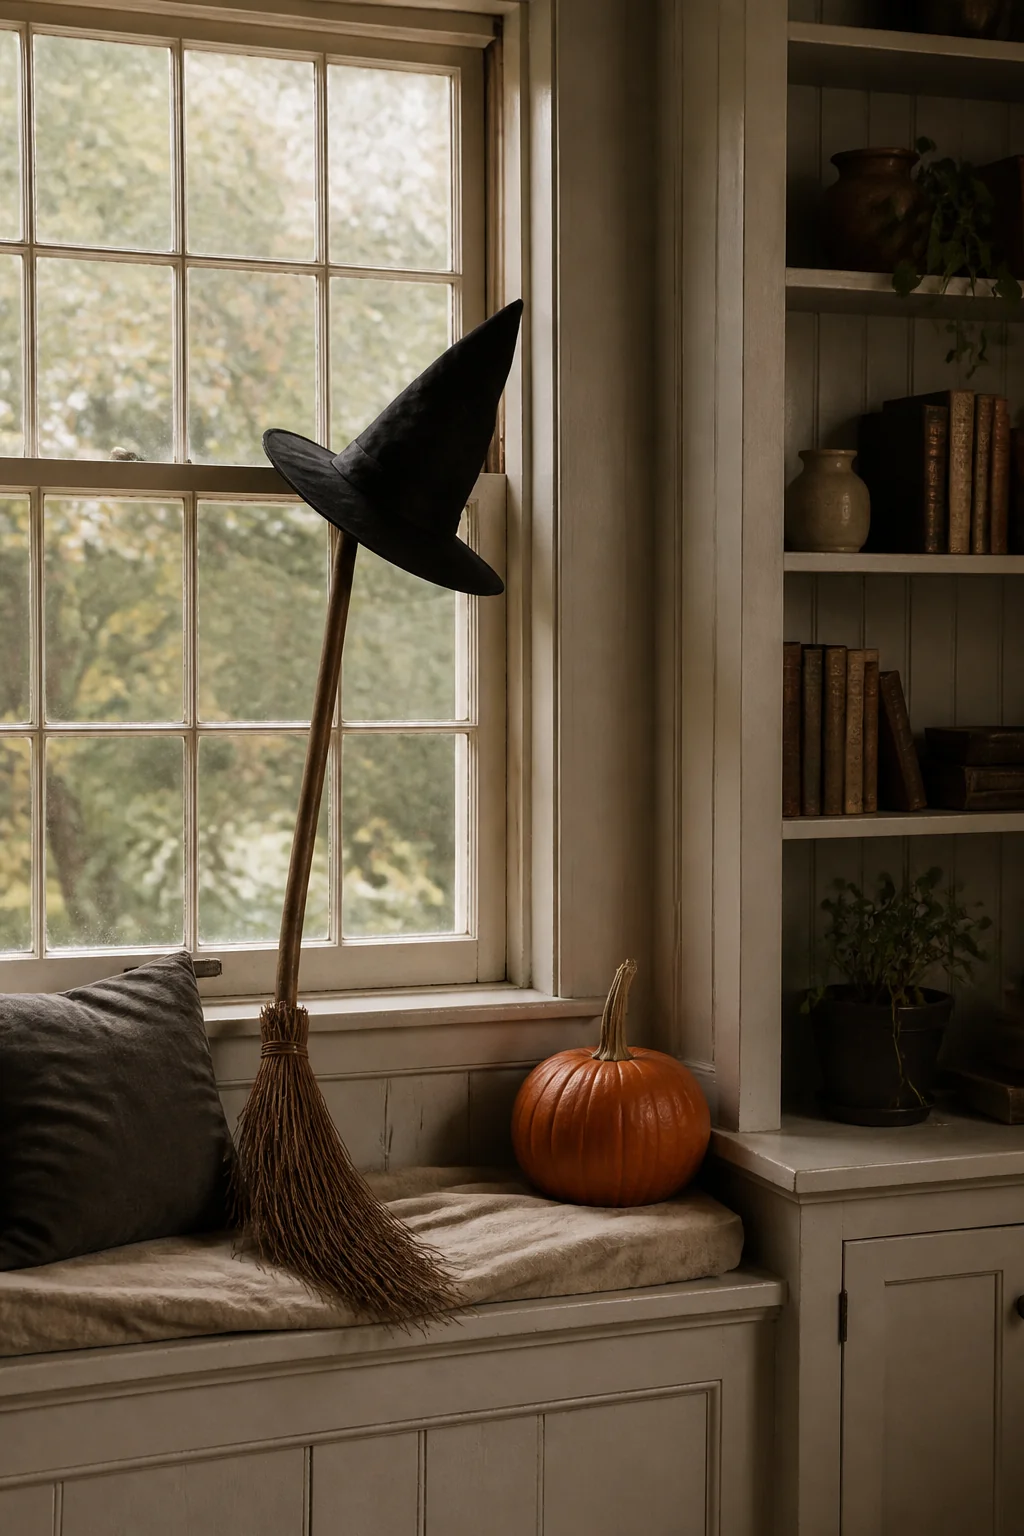
Buy or make a cardboard witch hat and a broomstick (raffia tied to a dowel, about $8 to $15 total), then arrange them in the window sill like a witch just landed there. Add a small sign, a cauldron, or a black cat figure next to them. The arrangement needs no adhesive because the objects are heavy enough to stay put and the sill contains them. This works only on windows with visible sills deep enough to hold 3-D objects (so not on casement windows or small windows). The appeal is that it reads as intentional decoration from the street and creates a moment of narrative, something is happening in this window. You're using the sill as a display shelf, which means the window becomes a small stage. The downside is that anything sitting in a sill can collect dust and rain splatter, and if the window opens outward (like a casement), you won't be able to open it during October.
10. Paper chain garland hung from curtain rods
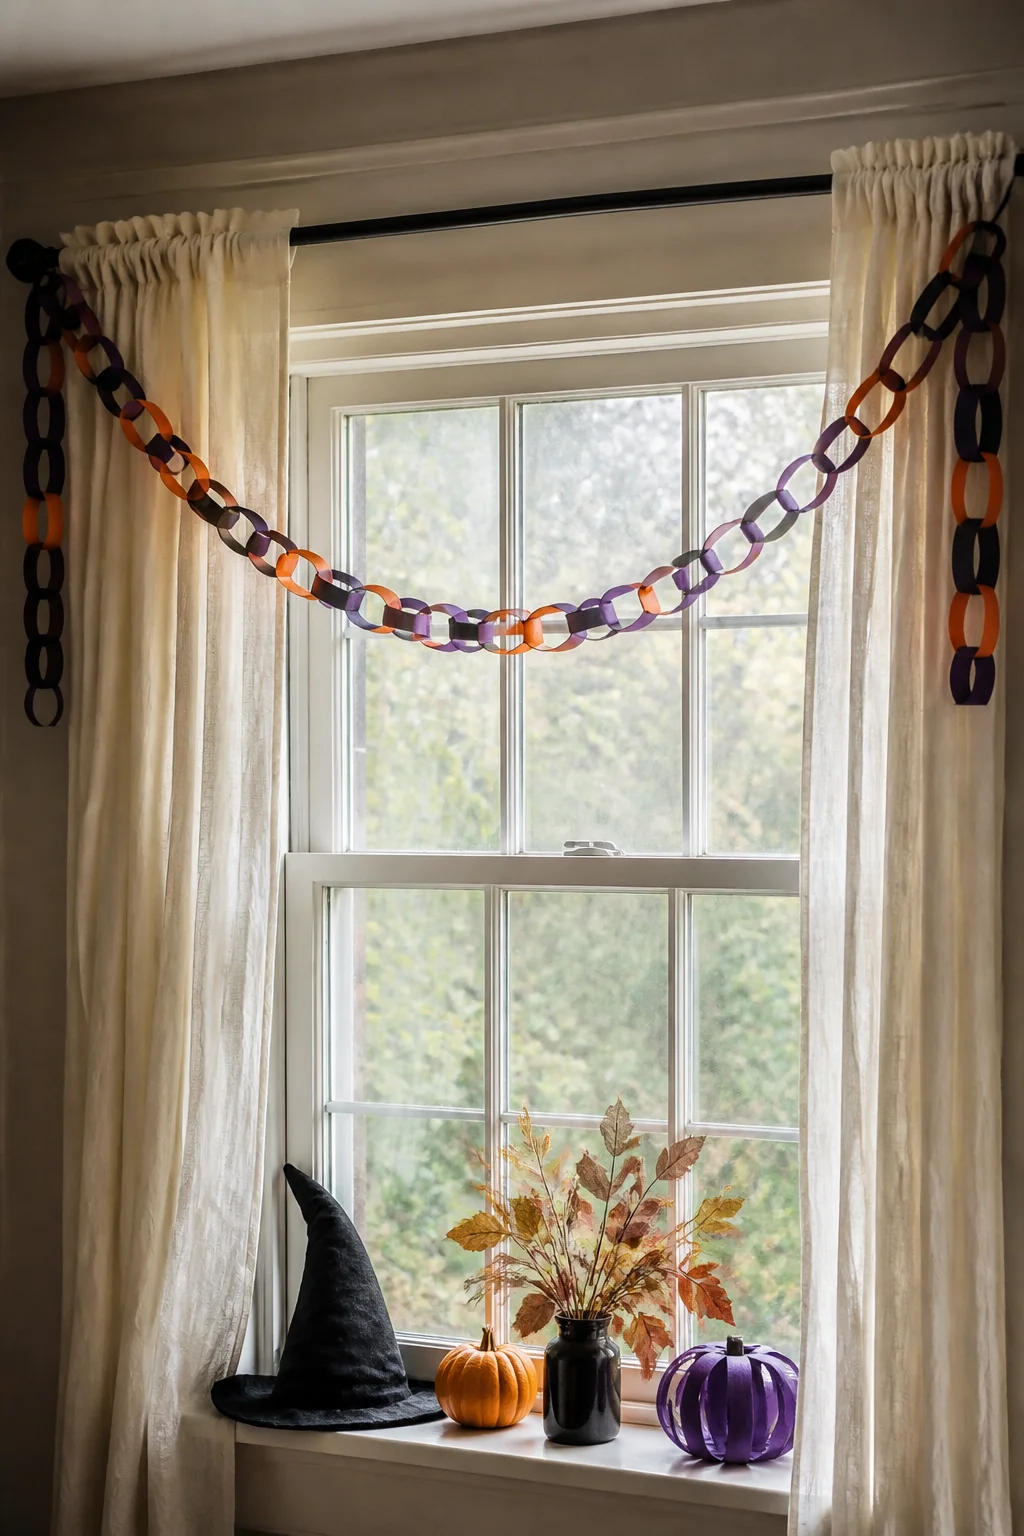
Make a paper chain garland in orange, black, and purple, then loop it over an existing curtain rod. No new hardware needed. Each link of the chain takes 30 seconds to make from construction paper strips. You can hang 20 to 30 links across a standard window for about $3 in supplies. The garland drapes loosely, creating a festive frame around the glass. Paper chains are lightweight, so they won't strain the rod, and they don't touch the glass at all. This looks especially strong in windows with wide frames where the rod is already visible. The chains will hold their shape indoors and don't need any adhesive on the window itself. The limitation is that paper chains are fragile, they tear easily if knocked or if a window is opened and closed repeatedly. Keep them away from windows you're likely to operate during the month. Also, they read as casual and cheerful rather than spooky, so if you're going for horror-movie vibes, pick a different idea.
Save the full guide
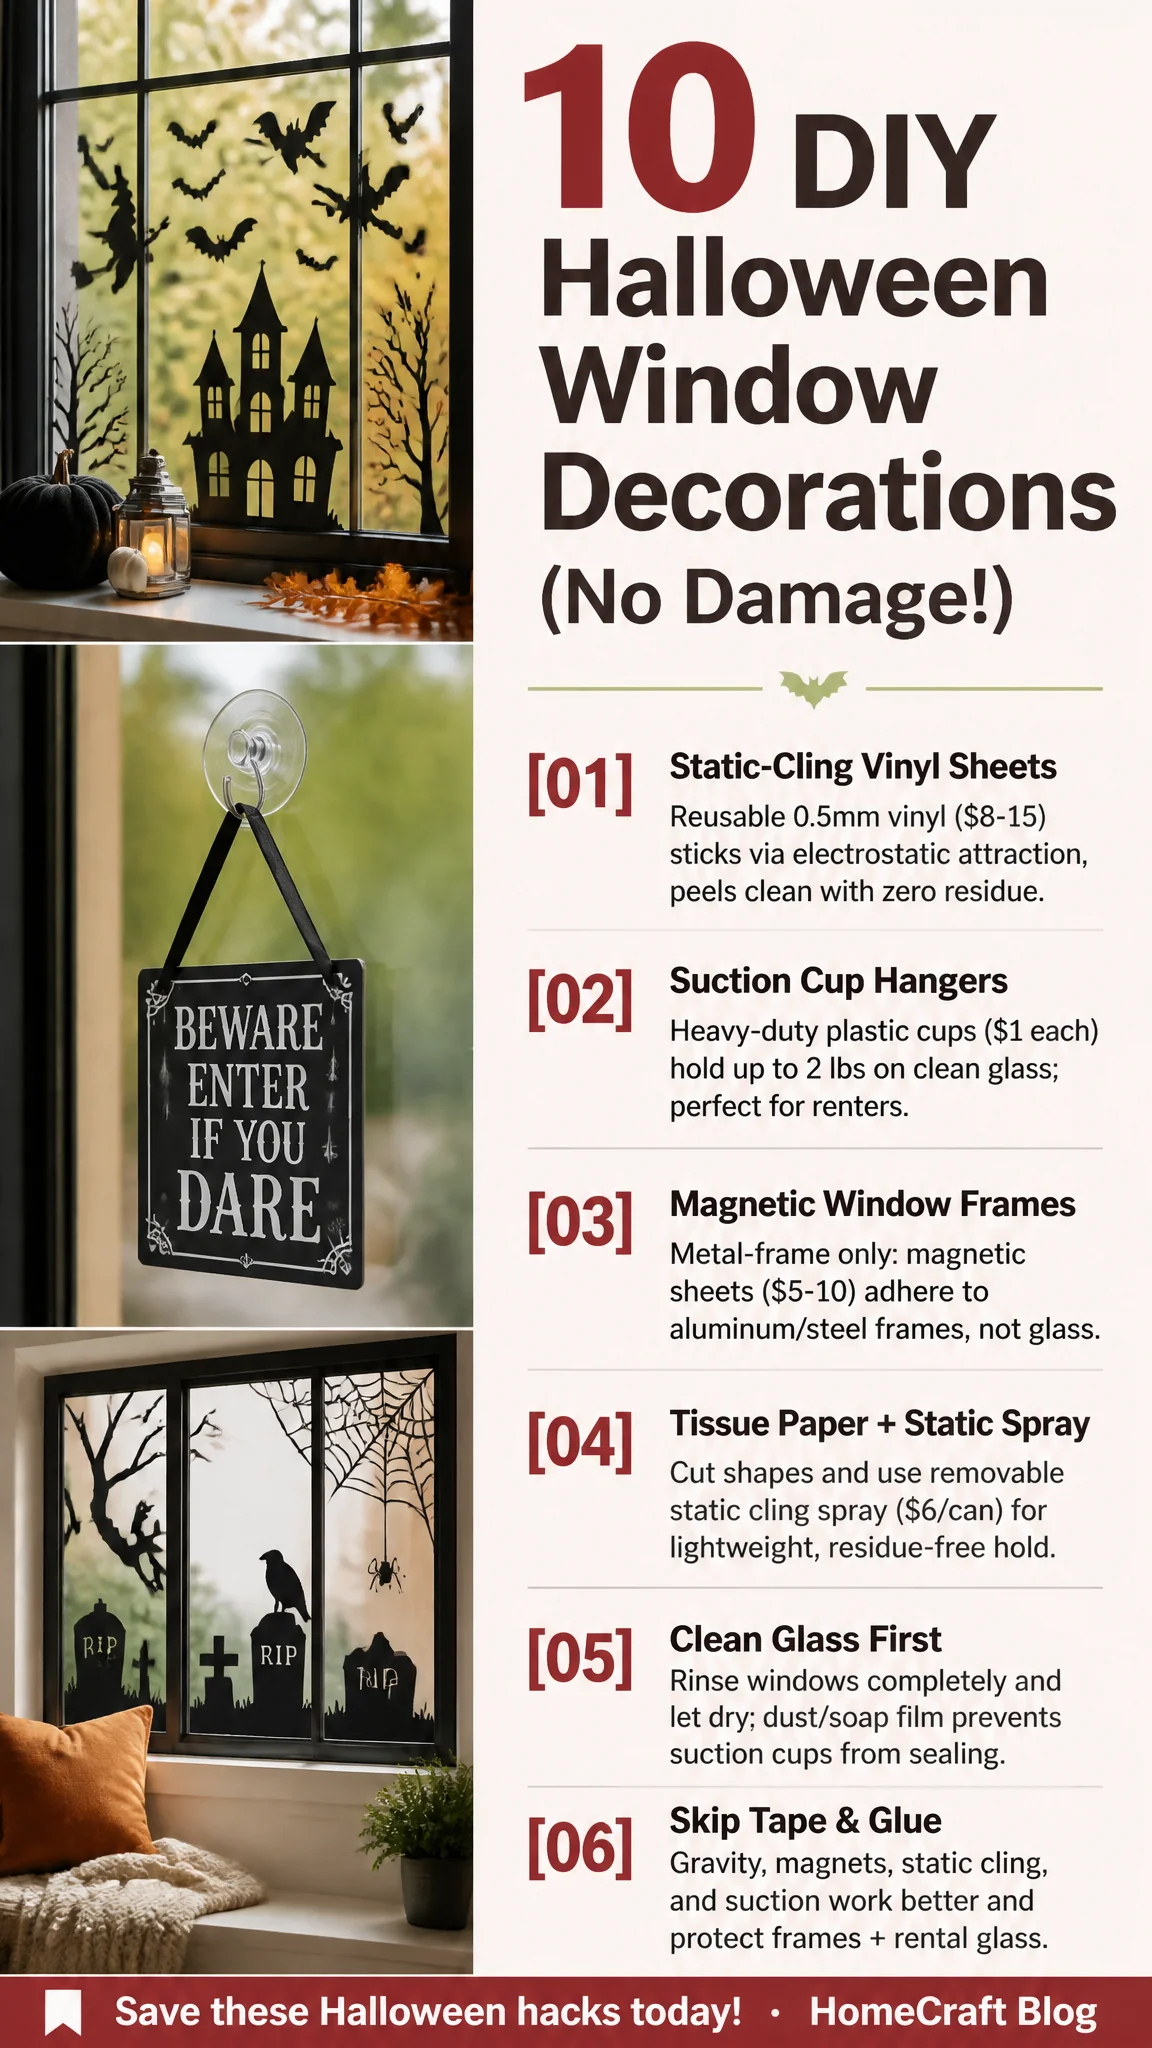
The real decision point is your window type and whether you want reversible or semi-permanent. If you're renting or changing decorations weekly, stick with static cling, suction cups, and tension rods, nothing touches the frame or leaves residue. If you own your home and want something to last the full month, frosted film and painted glass markers deliver more visual impact. We'd skip anything involving adhesive tape or glue sticks because the risk of damage outweighs the convenience, and these ten ideas already cover everything Halloween windows actually need.
Ideas fade by Friday. A plan finishes the room.
You just read a full guide to your home. Saving ideas will not change it; a plan will. The Home Decor Collection is every planning tool we make, for every room in the house, in one download, so the after photos below stop being other people's rooms.

- Six room Style Kits, each with layout, palette and shopping list$114
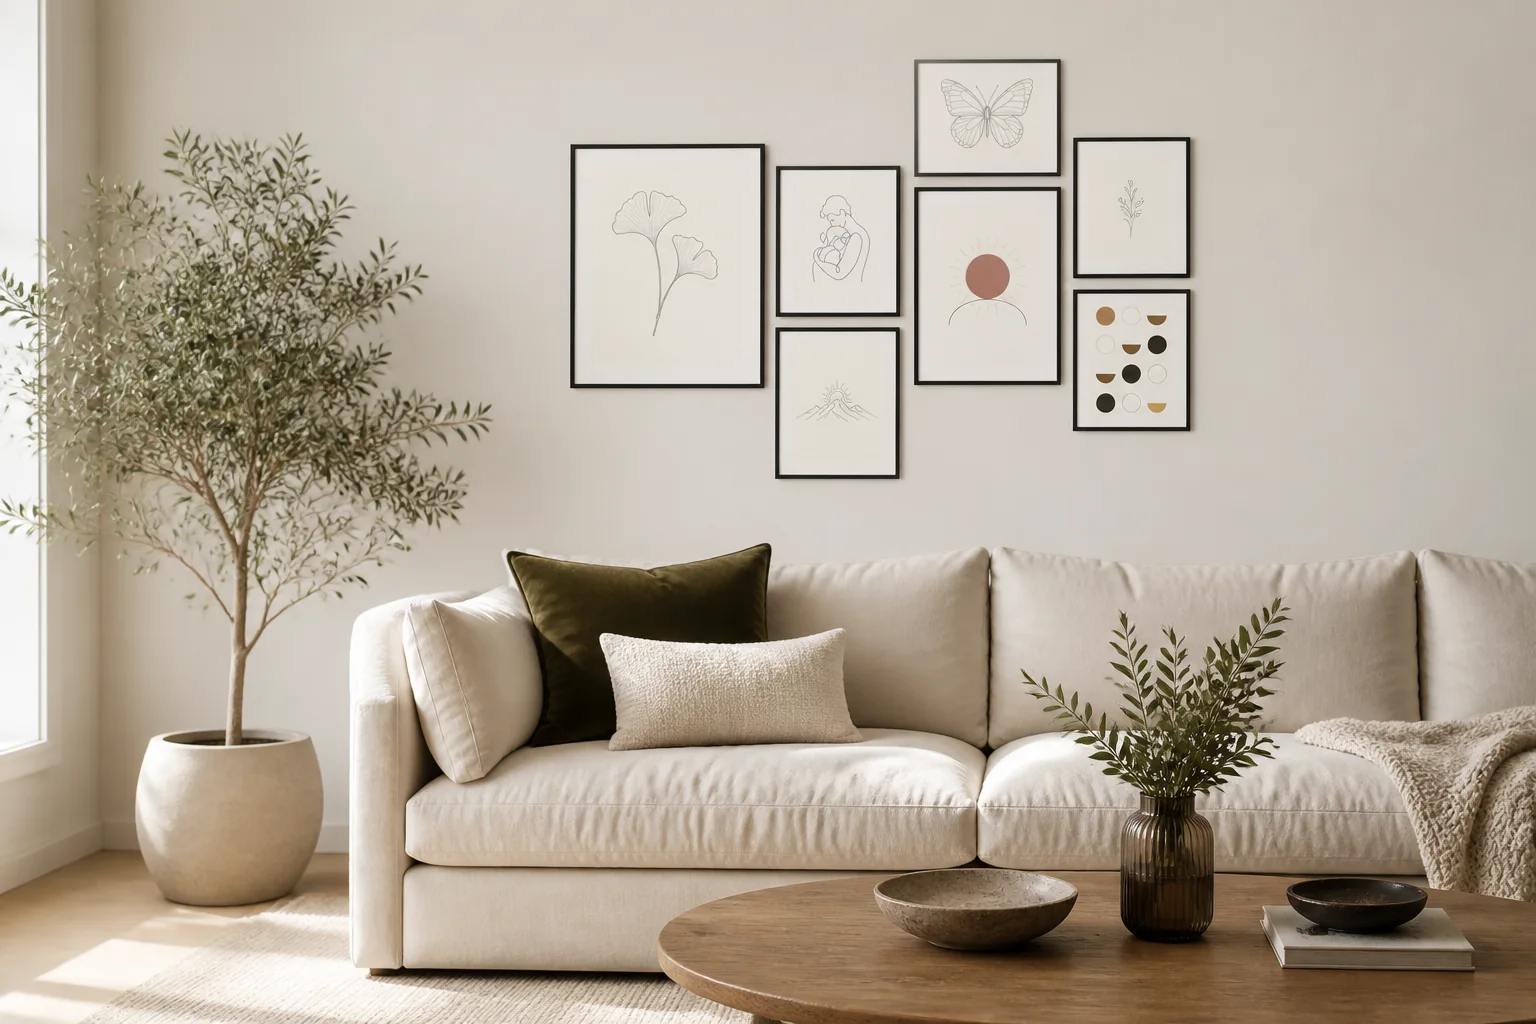
- The Gallery Wall Studio: 200 prints + 15 measured layouts$29
- The Room Makeover System: 40 solved room layouts + workbook$29
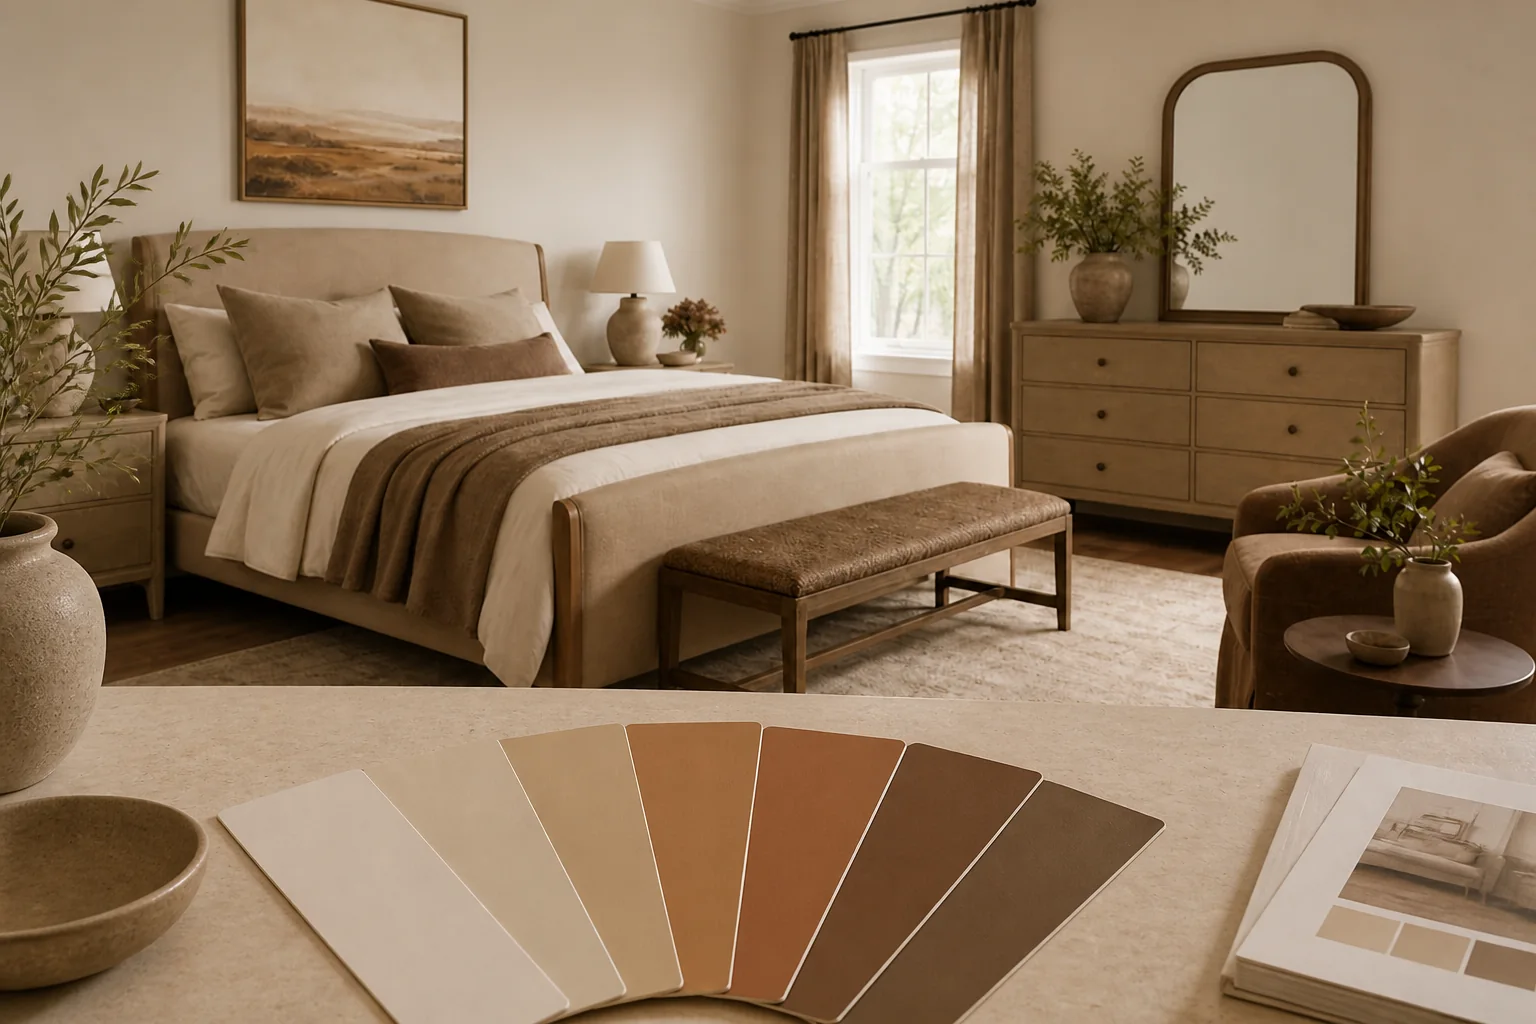
- The Color Palette Handbook: 60 palettes shown in real rooms$19
- The Whole-Home Reset: 40 printable organizing checklists$19
- The Decorator's Cheat Sheets: the 40 measurements that matter$9
- All eleven products, bought separately
$219$97
A single hour with an interior designer costs more than the entire Collection, and this one keeps answering for every room you will ever decorate. Free updates included as the products grow. And if it is not for you, the 14 day money back promise means you simply get a refund.