25 Charming Modern Farmhouse Kitchen Island Ideas on a Budget
Explore 25 modern farmhouse kitchen island ideas that look high-end but won't drain your wallet. Real costs, DIY swaps included.
This post contains affiliate links. As an Amazon Associate I earn from qualifying purchases. If you buy through our links, we may earn a commission at no extra cost to you.
Modern farmhouse islands keep winning because the recipe is short: warm wood, a little black metal, and clean lines that don't fight the rest of the room. The good news is that none of it depends on an $8,000 custom build. Most of what reads as expensive on an island is a wood top, a painted base, and hardware that isn't builder-grade chrome.
Before you shop, though, measure the floor. You want at least 36 inches of clear walkway around an island, and 42 to 48 inches on the side where the dishwasher, oven and fridge doors swing open. A finished counter sits at 36 inches, a raised bar at 42, and a table-height prep zone at 30. Those four numbers decide more about whether an island works than any finish does. Here are 25 modern farmhouse kitchen island ideas with the costs and clearances attached.
1. Reclaimed Wood Top with Budget Base Cabinets
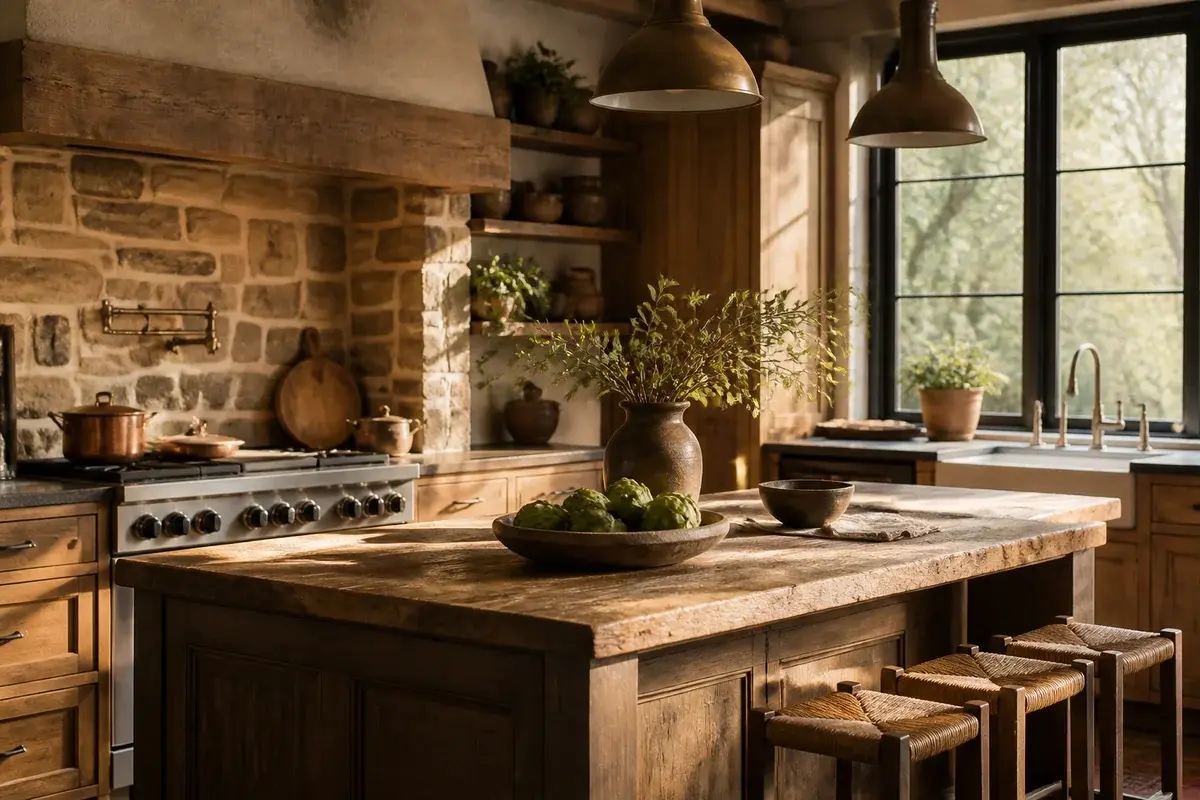
Pair a $300 to $400 reclaimed wood slab from a salvage yard with plain stock cabinets underneath. The top does all the visual heavy lifting, so the base can be birch or pine in whatever finish the home center keeps on the shelf. Two 36-inch base cabinets set back to back give you a footprint around 48 by 48 inches, which is enough for prep on one face and drawers on the other.
Ask the yard to plane and joint the slab before delivery. Unplaned barn wood cups as it dries, and a cupped top rocks every cutting board you set on it. Budget another $40 for a food-safe hard wax oil and seal the underside as well as the top. Finishing only the visible face is the most common way this goes wrong: the slab then absorbs moisture unevenly from below and warps inside a season. Let it acclimate flat in the room for a week before you fasten it down.
2. Butcher Block Counter and Open Shelving
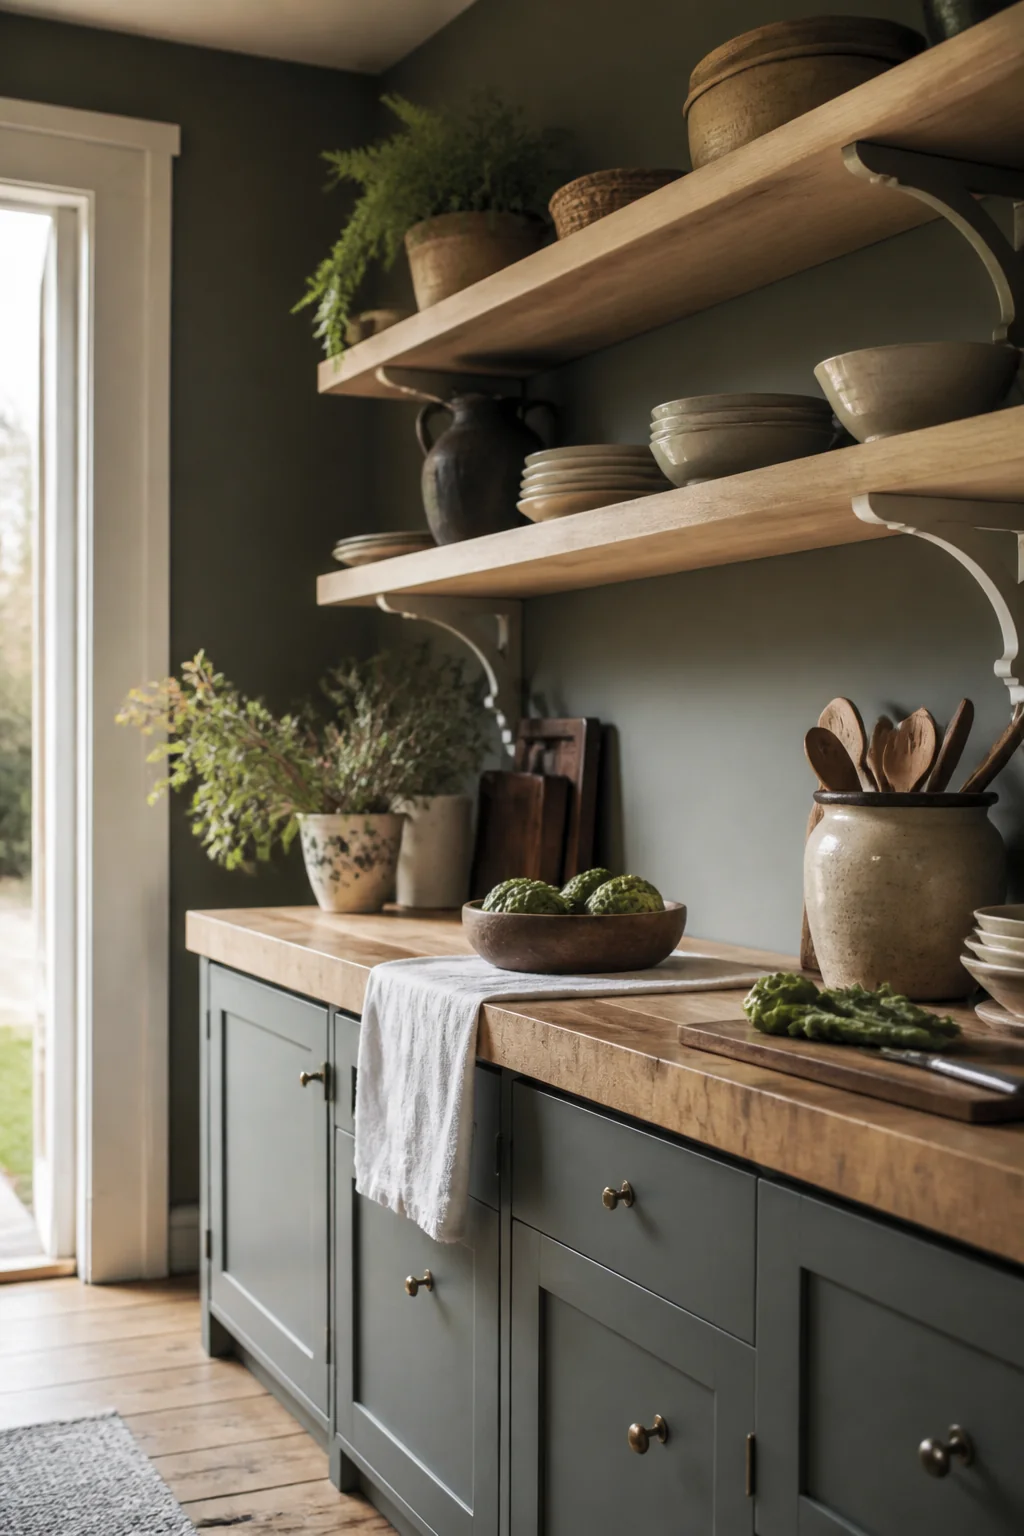
Butcher block runs $150 to $250 installed for a standard island top, roughly a third of what quartz costs over the same square footage. Birch and beech sit at the cheap end; walnut jumps past $60 per square foot and stops being a budget move. Add three open shelves on one side at 6 to 8 inches deep, spaced about 12 inches apart, and cookbooks stand upright without the top shelf cutting into your sight line.
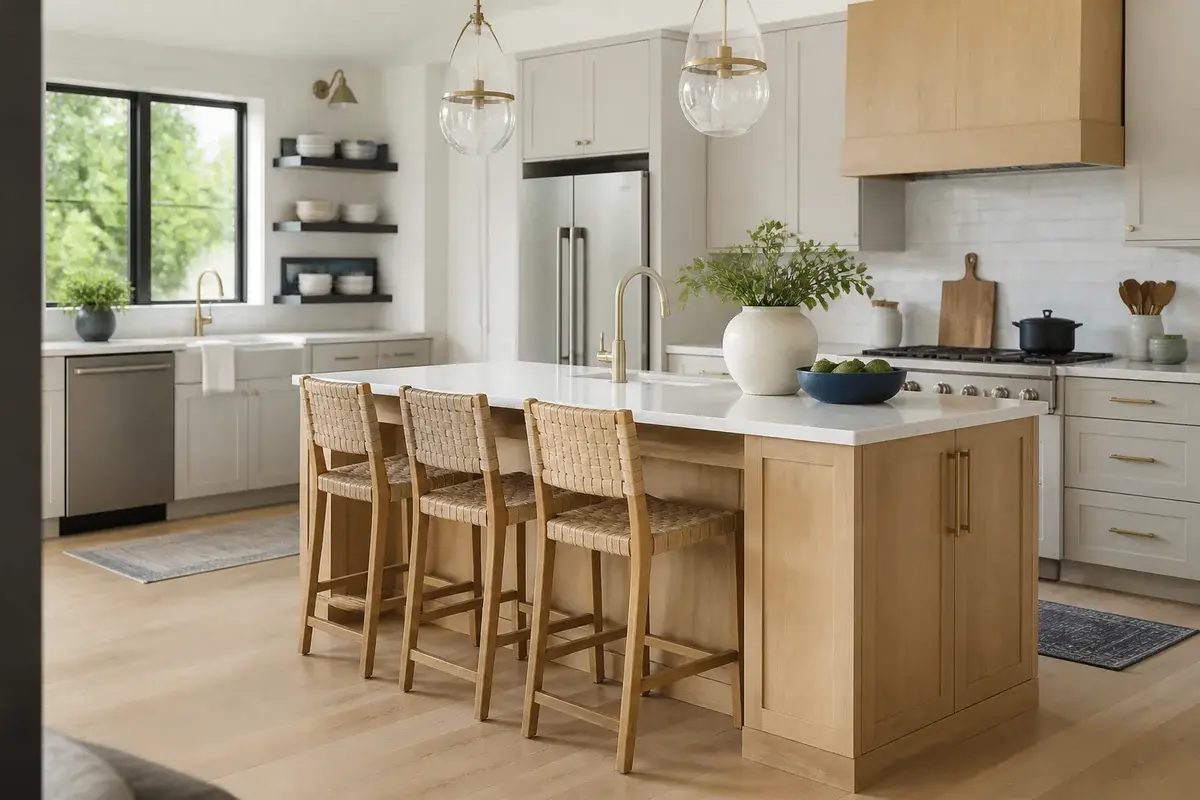
The trade-off is upkeep. Butcher block wants mineral oil monthly for the first six months and quarterly after that, and it will collect knife marks and water rings if you skip it. Paint the shelves white to match the base, or leave them raw so the wood tones stack. If you cook with turmeric, beets or red wine, use a hard wax finish rather than oil alone, because unsealed oiled wood stains permanently in about ten minutes.
3. Two-Tier Island with Bar Seating Height Difference
Run the work surface at the standard 36 inches and step the eating side up to 42. The raised bar hides prep mess from anyone sitting at it, which is the practical reason this layout keeps showing up in farmhouse kitchens. Frame the 6-inch riser in 2x4s and cap it in the same counter material so the level change reads as structure rather than an add-on.
At 42 inches you need 30-inch bar stools and only 12 inches of overhang for knees, which is less cantilever than a counter-height setup demands. Expect the two-tier version to cost $150 to $250 more than a flat top once you add framing and the extra run of counter. Skip it in a kitchen narrower than about 12 feet: the raised wall closes off the sight line across the room, and that open view is a large part of what an island is for.
4. Corbels and Brackets Under the Overhang
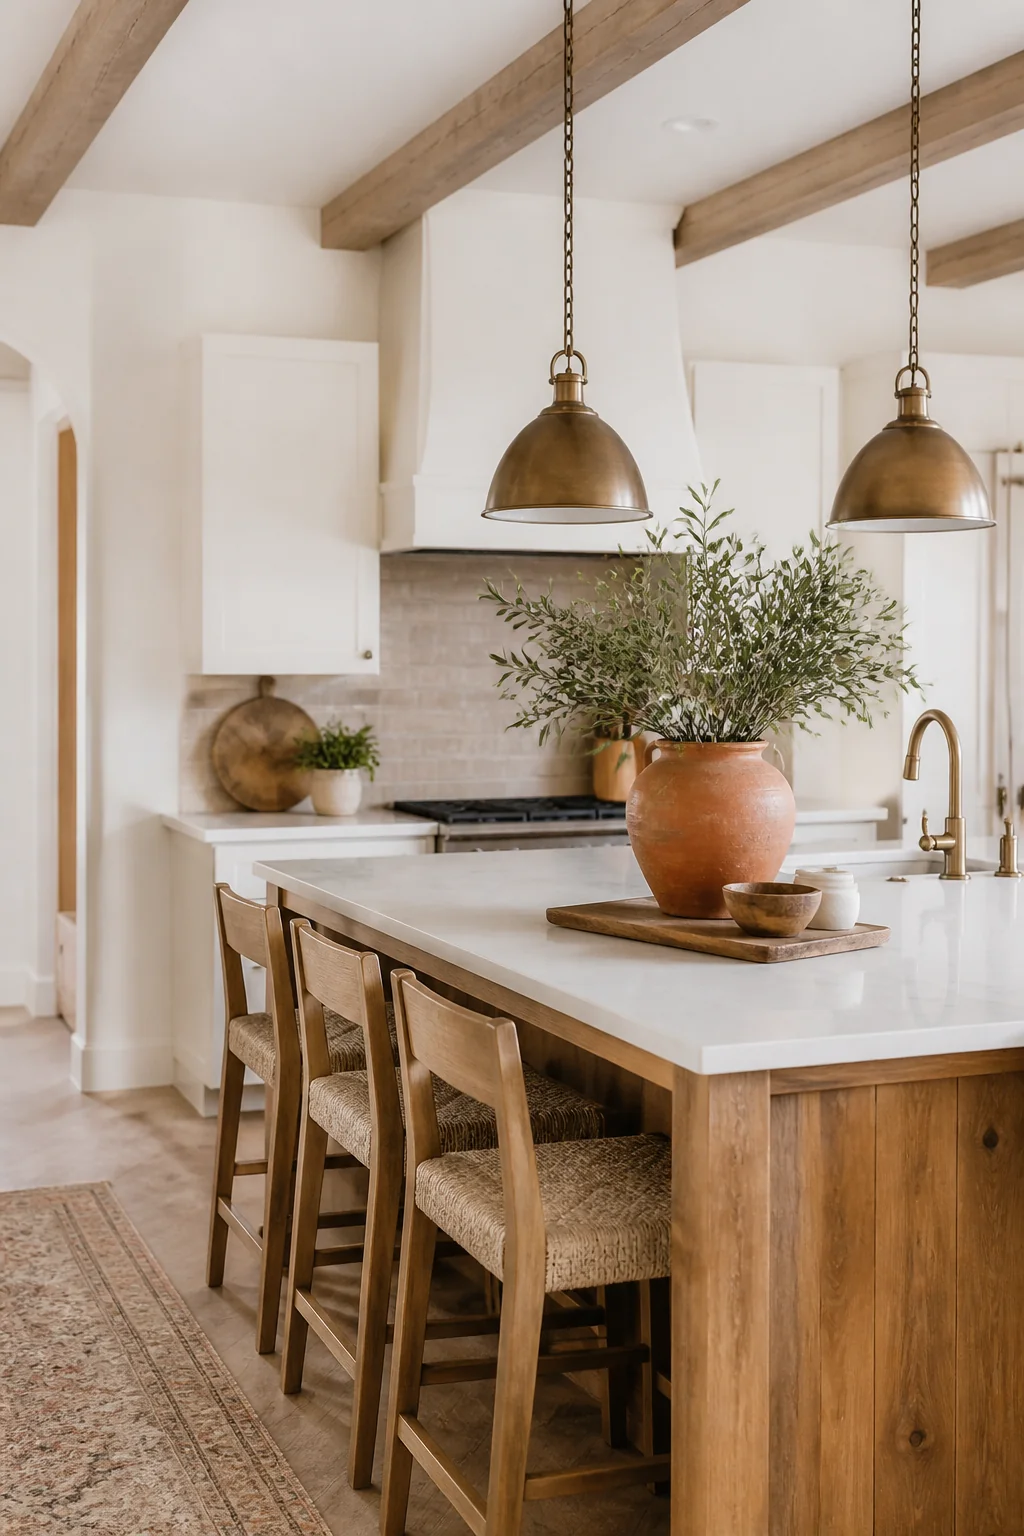
Wooden corbels from a big-box store cost $15 to $30 each and do real structural work, not just decoration. Any wood or laminate overhang past 12 inches needs support, and stone needs it past about 10, so if you want the 15 inches of knee space that counter-height stools call for, corbels or steel brackets stop being optional.
Space them 24 to 36 inches apart and drive the screws into the cabinet stiles rather than the plywood side panel alone. Three across a 6-foot island is the usual rhythm. Paint them the same white as the base if you want them quiet, or stain them a shade darker than the top so they register as a deliberate detail. One caution before you order: corbels live in knee space. Sit down and check, because a chunky 7-inch-deep corbel landing between two stools turns a three-seat island into a two-seat one.
5. White Painted Base with Stained Wood Top
Paint the cabinet base a soft white like Benjamin Moore White Dove and stain the top a warm medium brown. A quart of cabinet enamel is about $35 and covers a typical island in two coats. Order of operations matters more than the color: degrease with a TSP substitute, scuff sand with 220 grit, roll on a bonding primer, then lay down two thin coats of waterborne alkyd. Skipping that primer on factory-finished cabinets is why painted islands chip along the door edges within the first year.
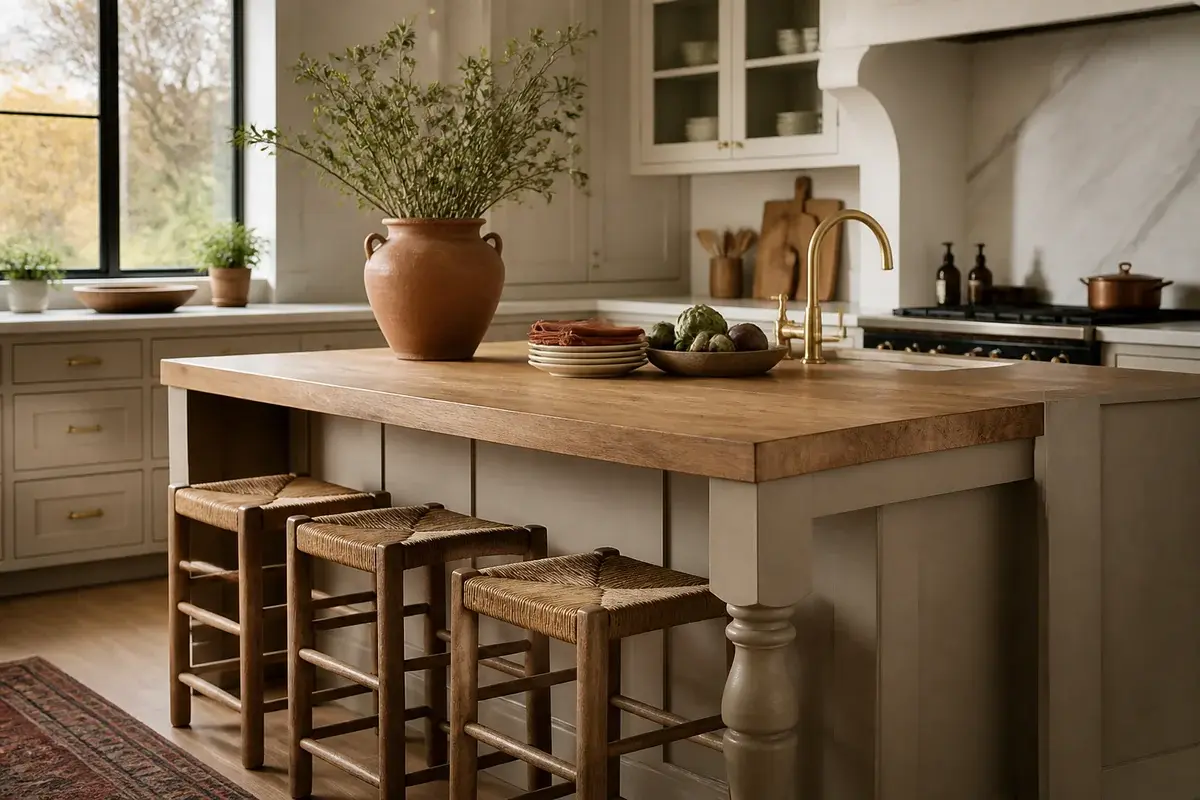
For the top, a gel stain over a pre-stain conditioner keeps pine from going blotchy. The contrast works because the white base recedes visually and the wood reads as furniture. Total materials land near $70. Give the enamel two weeks to cure before you set anything heavy on it, since dry to the touch and fully hardened are weeks apart.
6. Open Shelving on One Side, Closed Cabinets on the Other
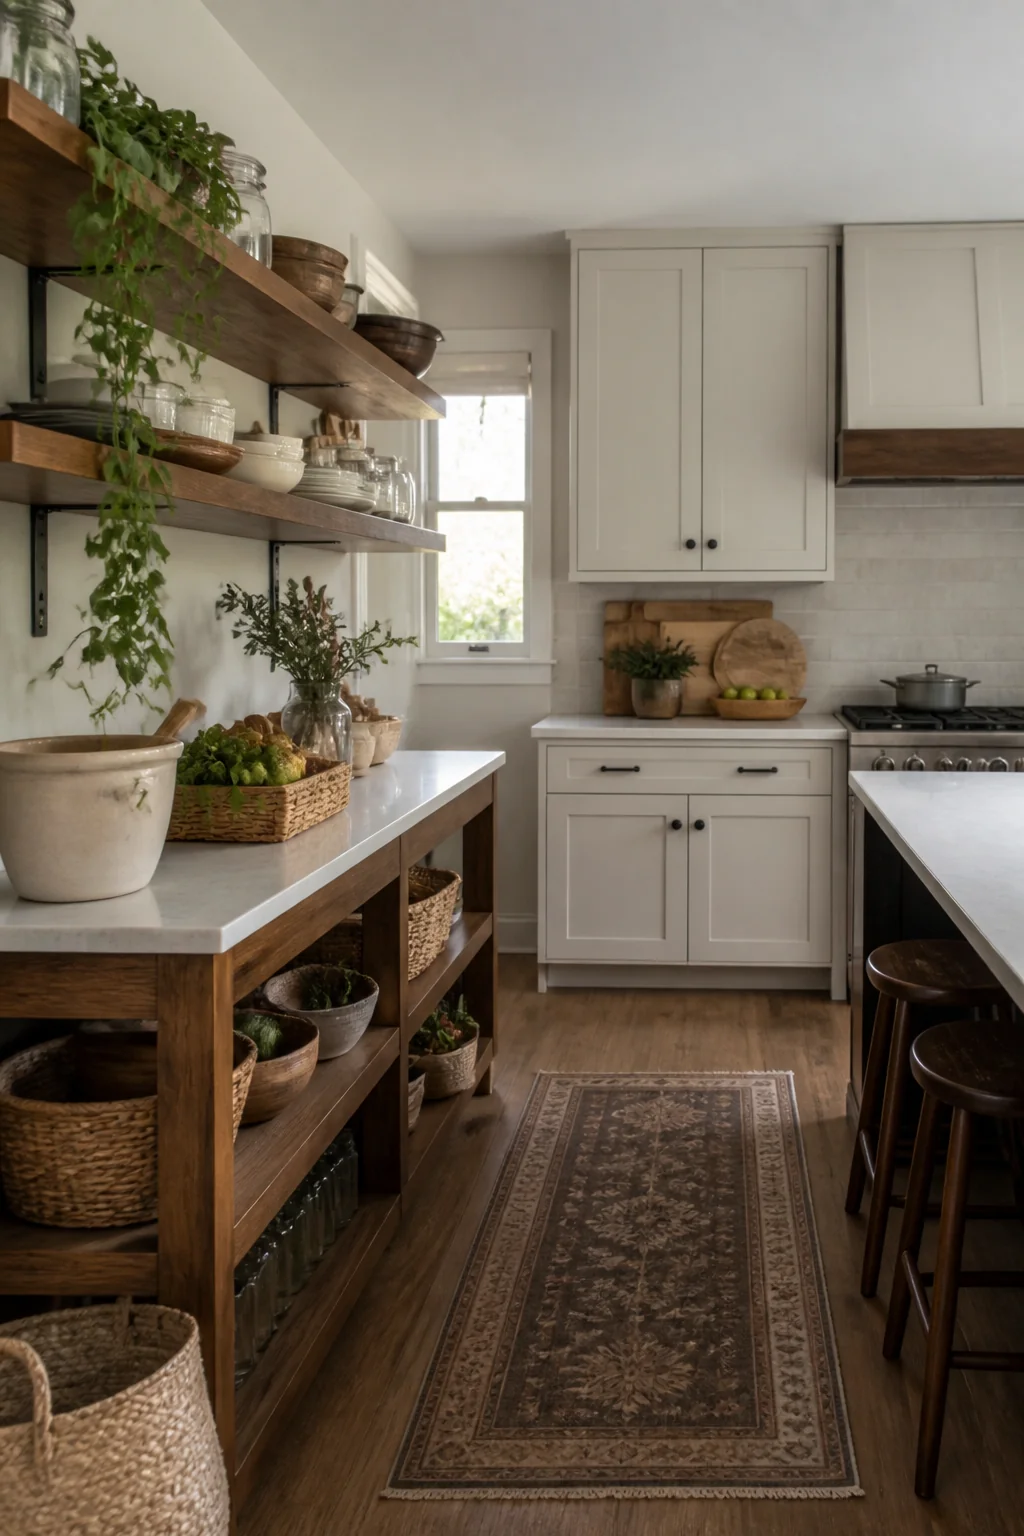
Put the open display on the side the living room sees and the closed storage on the side you work from. Shelves at 10 to 12 inches deep hold dinner plates and mixing bowls; anything deeper becomes the place small appliances go to be forgotten. On the working face, drawers beat doors on an island, because you can pull the whole contents into the light instead of crouching and groping into a dark box. A three-drawer stack in a 24-inch stock cabinet runs $200 to $350.
The honest trade-off is grease. Open shelves within a few feet of a cooktop pick up an oily film that needs wiping every couple of weeks, so keep the display side away from the range where the layout allows. Store the things you reach for daily out in the open, since constant use keeps them clean without any effort from you.
7. Metal Apron Sink Built Into the Island
A farmhouse apron sink costs $150 to $300 at the stainless or basic fireclay end. What the listing never mentions is the cabinet work. An apron front needs a 36-inch sink base with the front rail cut away and a support ledger built underneath, because a fireclay or cast iron bowl can weigh over 100 pounds empty. Stainless in 16 gauge weighs a fraction of that and is far kinder to a retrofit.
Moving a sink into the island also means running supply lines, a drain and a vent through the floor, and that is where the budget really goes: figure $600 to $1,500 for a plumber, more on a slab than over a basement. If the rough-in isn't already there, this is the one idea here that stops being a weekend project. An oil-rubbed bronze or matte black faucet suits the apron shape better than chrome does.
8. Shiplap Sides with Wood Top
Tongue-and-groove pine costs $100 to $150 for enough material to wrap a standard island. Run the boards horizontally on the two long faces and the exposed end, and leave the working side plain since nobody sees it. Fix them over the existing cabinet panel with construction adhesive plus 18-gauge brad nails, fill the holes, then caulk the top edge where the boards meet the counter.
Prime the boards before they go up, not after. Primer never reaches into a tongue joint once the boards are locked together, and raw pine in there wicks moisture off a mopped floor. Cap the bottom with a 4-inch baseboard so the run dies into trim instead of hovering. True shiplap has a rabbeted edge that leaves a consistent quarter-inch reveal; the cheaper V-groove sheets give you a shadow line for about half the price and go up in panels rather than board by board.
9. Rolling Cart Island Base with a Wood Top
A sturdy rolling cart or a repurposed dresser base runs $50 to $150 secondhand, and a custom-cut wood slab on top turns it into an island you can push aside when you need the floor. The measurement that decides the whole project is total height. Dressers usually stand 32 to 34 inches tall, so once you add 3-inch locking casters and a 1.5-inch top you land near 38 inches, which is too high to chop at comfortably. Measure the base, subtract from 36, and let that remainder pick your caster size. Lock the casters before you work at it, and keep the heavy pots in the bottom drawer so the tall base stays planted when a drawer is open.
Buy casters rated for at least 200 pounds each; the decorative ones sold alongside furniture legs will splay under a loaded island. Check the drawer boxes too, because old dressers were built for sweaters, and a drawer bottom of eighth-inch hardboard will bow the first time you stack cast iron in it.
10. Mismatched Bar Stools in Complementary Colors
Three or four stools that share a silhouette but differ in finish (cream, black, natural wood) read as collected rather than catalog-ordered. The trick is holding one variable steady and letting the others move: same seat height and same leg style, different color. A matched set isn't wrong, it's just quiet, and the mixed version carries a farmhouse room the way a mixed set of chairs carries a dining table. The same logic runs through farmhouse entryway pieces, where the bench and the hook rail rarely match on purpose.
Get the height right before the color: seats of 24 to 26 inches for a 36-inch counter, 28 to 30 inches for a 42-inch bar, leaving 10 to 12 inches between the seat top and the counter underside. Allow 24 inches of counter width per stool, or 26 to 28 if they have arms, or elbows collide at dinner.
11. Butcher Block with White Subway Tile Backsplash
Peel-and-stick white subway tile costs $40 to $80 for the wall behind an island and goes up in an afternoon with nothing sharper than a utility knife. Degrease the wall and let it dry completely first, because the adhesive on these sheets will not bond through cooking film, and a sheet that lifts at one corner peels the rest of the way within a week.
Snap a plumb line down the center and start there rather than working off the counter. Floors and counters are rarely level, and a running bond pattern advertises the drift by the third row. Against a butcher block top the tile handles the cool, crisp half of the modern farmhouse equation while the wood handles the warm half. Where it fails is directly behind a range: vinyl film softens under sustained heat, so use real ceramic in the splash zone and save the peel-and-stick for the rest.
12. Decorative Baskets Under Open Shelving
Woven baskets at $20 to $50 each cost less than drawer inserts and forgive far more, since a basket never has to fit an opening to the eighth of an inch. Measure the shelf opening and take an inch off in each direction before you buy, then check the depth: a 14-inch basket on a 12-inch shelf pokes into the walkway and catches hips all day.
Material decides how long they last. Seagrass and water hyacinth hold their shape under weight, while loose rattan sags once it's carrying potatoes and onions. Line the produce baskets with a cotton napkin so the weave doesn't bruise fruit, and pull them out to shake the crumbs every month or two. Keep baskets off the lowest level unless they hold linens, because anything at ankle height in a kitchen gets kicked, and a kicked basket unravels at the rim first.
13. Industrial Metal Frame with Wood Shelves
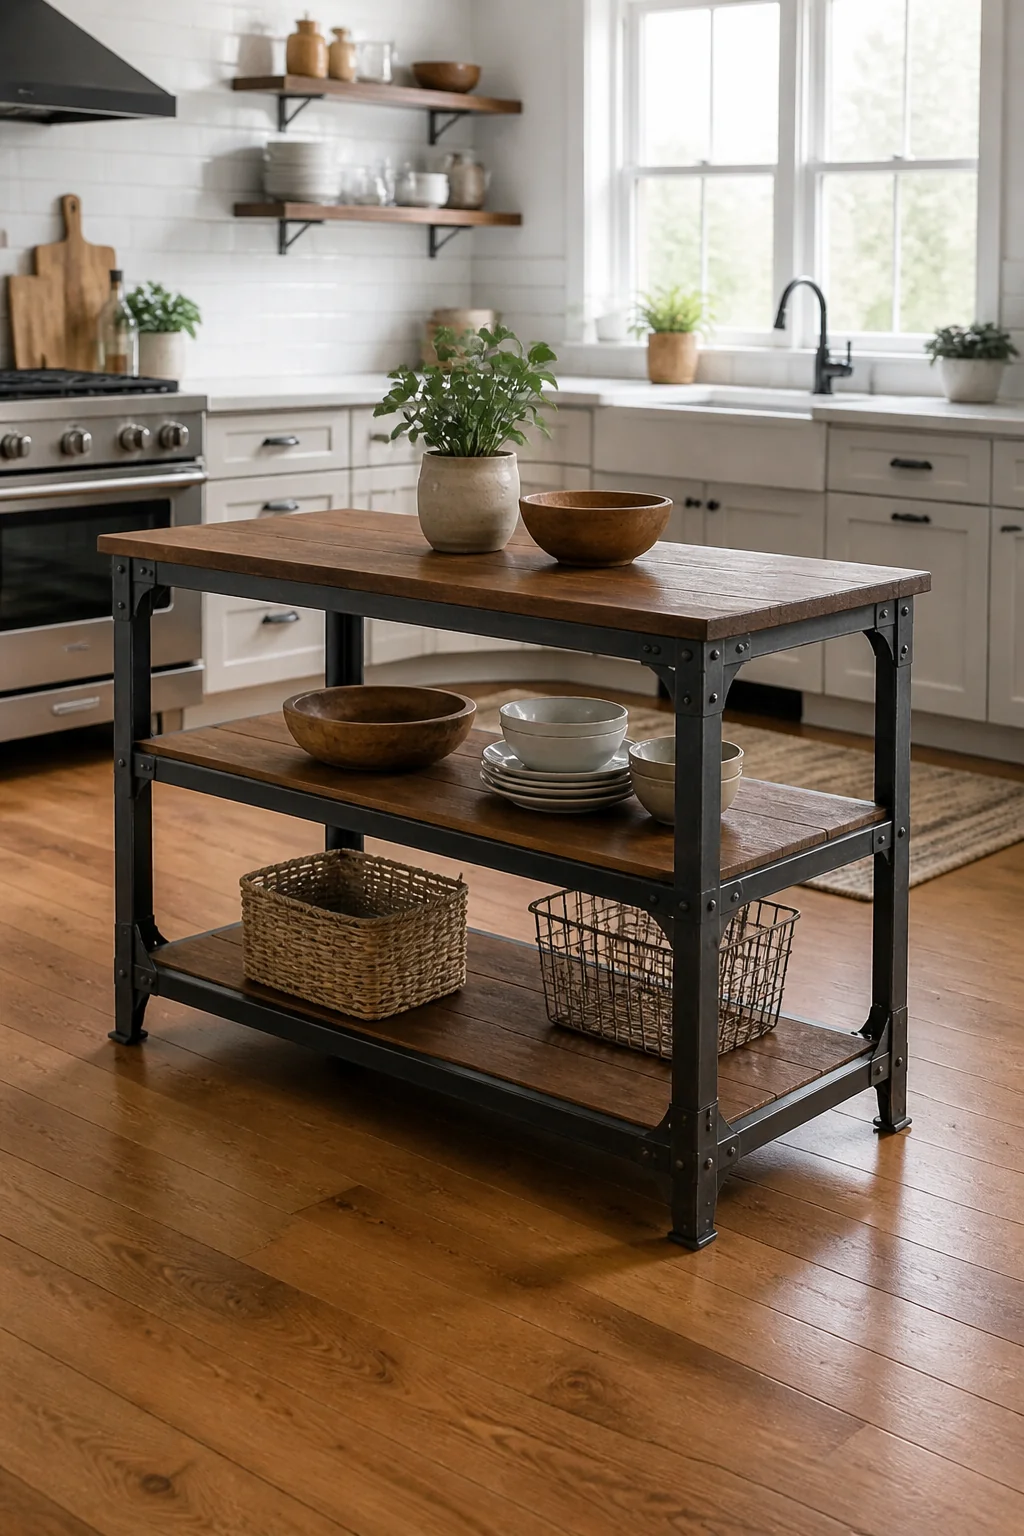
Black iron pipe in three-quarter-inch diameter costs $100 to $150 in fittings and lengths for a frame roughly 4 feet long and 36 inches tall. Home centers will cut and thread pipe to your dimensions for free or a couple of dollars a cut, so you can order exact lengths instead of eyeballing elbows. Wipe every piece with mineral spirits before assembly, because new pipe ships under an oily anti-rust coating that transfers to everything it touches, then hit it with a matte clear coat to keep surface rust off. Do the wiping outdoors or by an open window, and leave the used rags spread flat outside to dry, since solvent and stain rags can heat up in a pile (NFPA on oily rags).
Figure $30 per 2x10 or 2x12 for the shelves. The real limitation is racking: a pipe frame with no diagonal brace or back panel sways when you lean on it. Bolt the base flanges through to the floor or add a plywood back, and cap the feet with rubber inserts so the flanges don't score your floor.
14. Butcher Block Top with Painted Beadboard Sides
Beadboard panels cost $25 to $40 per 4x8 sheet, so $50 to $100 covers the sides of a normal island. The quarter-inch panel version cuts with a circular saw and a fine-tooth blade, scored on the finish face first so the thin veneer doesn't tear out along the line. Glue it on with panel adhesive plus brads, then hide the raw vertical edges under a 1x2 corner trim.
A soft color reads better here than bright white: sage, warm greige or a muted blue keeps those vertical grooves from looking like bathroom wainscot. Whatever shade you pick, use satin or semi-gloss, since flat paint down in the grooves holds grease and can't be scrubbed without burnishing. Top it with butcher block or a wood-grain laminate. Beadboard dents easily, so run a taller baseboard on whichever end takes foot traffic.
15. Two-Level Work and Bar Zone
This is the inverse of the raised bar: one section drops to 30 inches, which is standard table height, while the rest holds at 36. A 30-inch surface puts your shoulders well above the work, which is why rolling pastry and kneading dough is genuinely easier down there. It's also the height a dining chair pulls up to, so the low zone doubles as a homework spot without buying stools at all.
Budget $200 to $400 for the dropped run, most of it in cabinet modification and the seam where the two counter heights meet. Overhang at 30 inches wants a full 18 inches for knees, deeper than either counter or bar height, so allow for it in the footprint. The catch is storage: you lose the drawer bank under the lowered section and gain a low corner that quietly collects mail.
16. Brass or Gold Hardware on White Cabinets
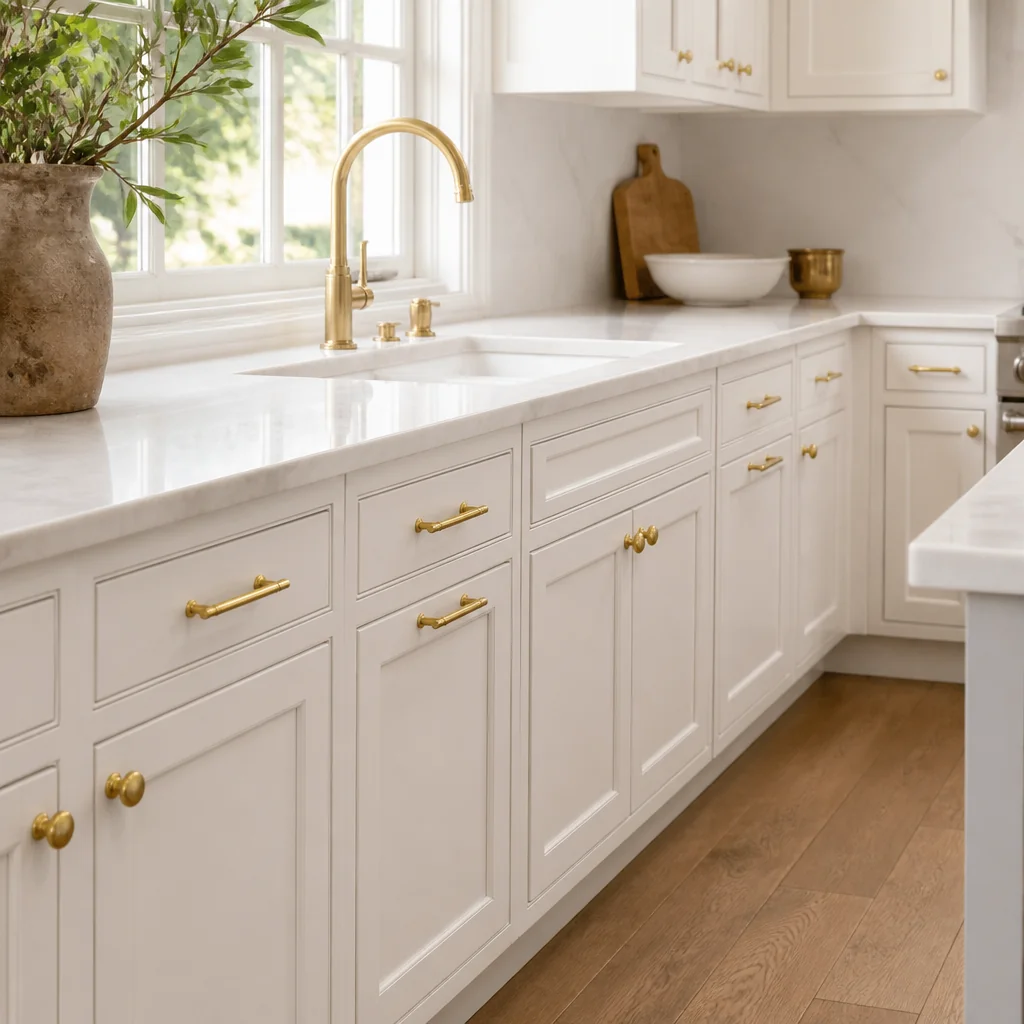
Swapping knobs and pulls is the cheapest visible upgrade on this list. Brushed brass runs $10 to $20 a piece, so an island with six or eight of them lands around $80 and takes about thirty minutes with a screwdriver. Measure center to center on the existing pulls before you order: 3 inches and 96 millimeters are both common sizes and they are not interchangeable, and a 3-millimeter gap means drilling new holes.
If you do change sizes, fill the old holes with wood filler, sand flush and touch up the paint before the new hardware goes on. Choose unlacquered brass only if you want it to darken with handling; lacquered and PVD finishes stay bright for years. For more than four pulls, a $12 hardware jig pays for itself the first time it saves you a crooked one. Keep the faucet and pendants in the same metal family.
17. Stainless Steel Legs and Wood Top
A commercial-style stainless base ordered online costs $200 to $300 and arrives flat-packed with adjustable feet, which matters more than it sounds. Kitchen floors are rarely level, and a threaded foot lets you take out half an inch of slope without cutting anything. Top it with a slab at least 1.75 inches thick so the proportions hold up against the metal, and let the top overhang the frame by an inch or two on every side so the base doesn't look bolted to the underside.
Fasten the slab with figure-eight fasteners or Z-clips rather than screwing straight through. Wood expands and contracts across its width with the seasons, and a rigidly screwed top eventually splits. Brushed 304 stainless hides fingerprints far better than mirror polish. This one leans more industrial than soft farmhouse, so keep the wood as the warmest thing in the room and stay away from a second metal finish.
18. Open Shelving on Both Sides, Bar Top in the Middle
Instead of a solid cabinet box, build a spine down the center of the island and hang open shelves off both faces. The bar top sitting on that spine wants at least 15 inches of depth to hold a plate and a glass, and the island overall still needs 24 inches minimum to work as a prep surface. Shelves at 10 inches deep on each side leave a 4-inch structural core, which is enough for a 2x4 spine sheathed in half-inch plywood.
What you gain is sight lines and reach from either side, and room for two people to work at once without shuffling around each other. What you lose is every square inch of closed storage. That makes this a good fit for a kitchen with a pantry and a poor one for a kitchen without, since the dishes on those shelves are the dishes everyone sees.
19. Reclaimed Barn Doors as Cabinet Fronts
Narrow sliding barn-style doors cost $50 to $100 each and ride on a face-mounted track instead of swinging out, which is worth real money on an island where a swinging door would block a 36-inch walkway. The compromise is access: two doors sharing one track means you can only reach half the cabinet at a time, so put the things you grab rarely behind them. Platters, the stand mixer, the roasting pan.
Cabinet-scale sliding hardware adds $40 to $70 per track kit, and the track has to bolt into a solid rail, never into a quarter-inch back panel. Check the math on thickness before ordering: a 1.5-inch door plus a 1-inch track needs the counter to project at least 2.5 inches, or the door face sits proud of the counter edge. Reclaimed doors also arrive out of square, so buy them first and frame the opening to fit.
20. Tongue and Groove Wood Trim Around the Base
Trim stock at $1 to $2 per linear foot means wrapping a 6-foot island costs $20 to $40 in material. This is base trim rather than full paneling: a single band around the bottom perimeter that gives the island a visual foot instead of letting the cabinet box just stop at the floor. Miter the outside corners at 45 degrees; a straight run needs no coping at all, which makes this one of the few trim jobs you can do with a hand miter box.
Hold the trim an eighth of an inch above a tile floor so mop water doesn't wick into end grain. Paint it the same white or gray as the base and the island reads as one built piece; go a shade darker and you get a grounded plinth. Caulk the top edge, leave the bottom open so trapped moisture can dry.
21. Decorative Legs Instead of a Solid Base
Pre-made turned legs cost $30 to $60 each and take the place of a solid side panel. Seeing floor continue underneath makes a small kitchen breathe, because the island stops reading as a block dropped in the middle of the room. Island legs come in 34.5 and 35.25-inch heights so the finished counter lands at 36; which one you need depends on how thick your top is, so settle the countertop before you order legs.
Legs carry real weight, so use 3.5-inch square stock at minimum on a corner and attach through a mounting block screwed into the cabinet frame, not into the face frame edge. Maple and birch take paint cleanly; poplar costs less and dents sooner. The trade-off is housekeeping. An open base means the floor under the island is now floor you can see, and crumbs gather where a toe kick used to hide them.
22. Concrete Countertop Look for Less
Peel-and-stick concrete-look film costs $20 to $30 a roll and goes straight over an existing counter or a plain particle board top. Clean and de-gloss the surface, then work from the center outward with a felt-edged squeegee, using a hair dryer on low to soften the film around edges and corner returns. Trim with a fresh blade at every edge, because a dull one drags and leaves a fuzzy line you'll see forever.
Set your expectations honestly. This is vinyl, so it won't take a hot pan, it scratches under a knife, and the seams around a sink cutout are where it starts to lift. Treat it as a three to five year finish, which is reasonable when replacing it costs another $30. Poured concrete, by contrast, runs $65 to $100 per square foot installed and adds weight the cabinets have to be built to carry.
23. Black Metal Frame with Marble-Look Top
Marble-look laminate at $100 to $150 for an island top has come a long way from the glossy printed sheets of twenty years ago. Ask for a matte or textured finish rather than a high gloss, since gloss is the thing that reads as fake from across the room, and look for a pattern where the veining runs at different scales instead of repeating every 18 inches. Pair it with a black powder-coated steel base for the contrast.
Laminate's weak point is always the edge, so either specify a profile that hides the dark seam line or band it in wood and let the island lean farmhouse. It won't take a hot pan and can't take an undermount sink without a specialty seal, so plan a drop-in. Real marble at $60 to $100 per square foot also etches from lemon juice in seconds.
24. Open Shelving for Cookbooks and Display
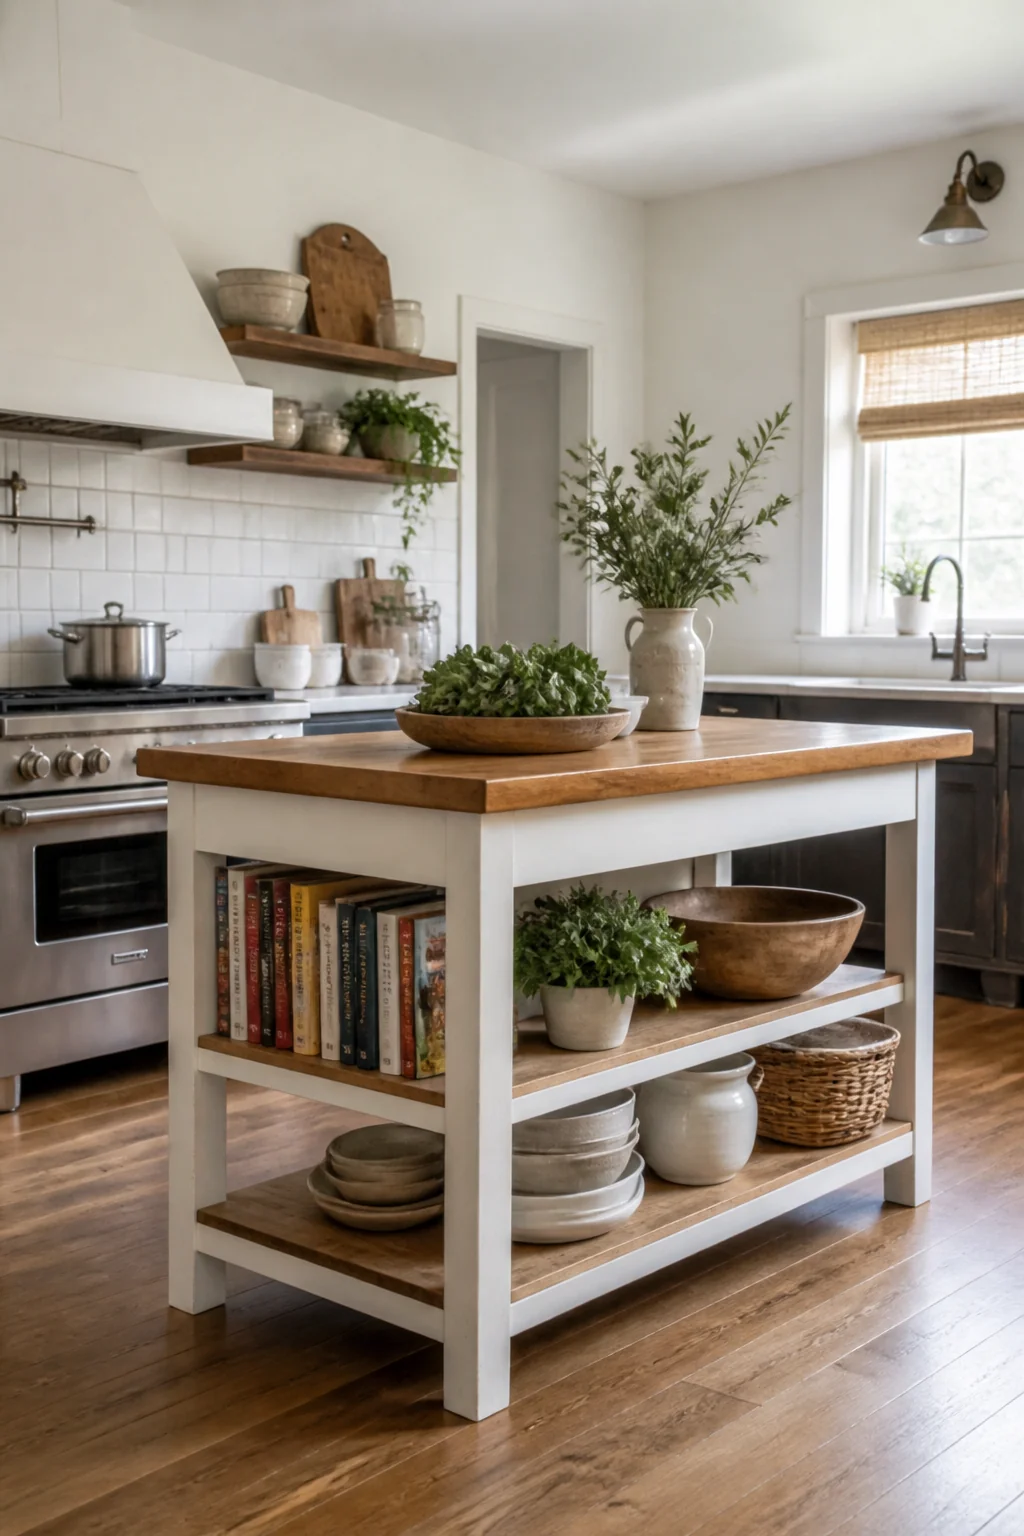
Shelves 6 to 8 inches deep are the sweet spot on an island end: deep enough for most cookbooks standing upright, shallow enough that they don't eat into the walkway. Leave 12 to 13 inches of clear height between shelves for standard hardcovers, more if you own the oversized cookbooks that never fit anywhere. Use a three-quarter-inch board and support it every 30 inches, because paper is heavier than people expect and a 30-inch run of cookbooks weighs 30 to 40 pounds. Screw the cleats into the cabinet frame, not the side panel.
Figure $15 to $30 per shelf in pine plus brackets. Keep the styling loose. A shelf where every object sits at a considered angle reads like a showroom, and the reason this detail works in a farmhouse kitchen is that it looks like the books get pulled down and put back.
25. Waterfall Edge Detail on the Counter Overhang
A waterfall edge runs the counter material down the side of the island to the floor instead of stopping at the countertop edge. In wood or laminate that's $30 to $50 of extra material. In stone it becomes a fabricated mitered joint and the price jumps past $300, because the fabricator has to cut a 45-degree miter along both pieces and line the veining up so it appears to turn the corner. That grain match is the entire trick, and a waterfall with mismatched veining at the corner looks like an accident, so ask to see the slab layout before anything is cut.
The panel also needs backing: a plywood substrate glued and clamped behind it, or the first knock from a stool leg cracks it at the miter. One side is usually plenty. Wrapping both ends of a short island turns it into a solid block of material rather than furniture.
Take the guide with you
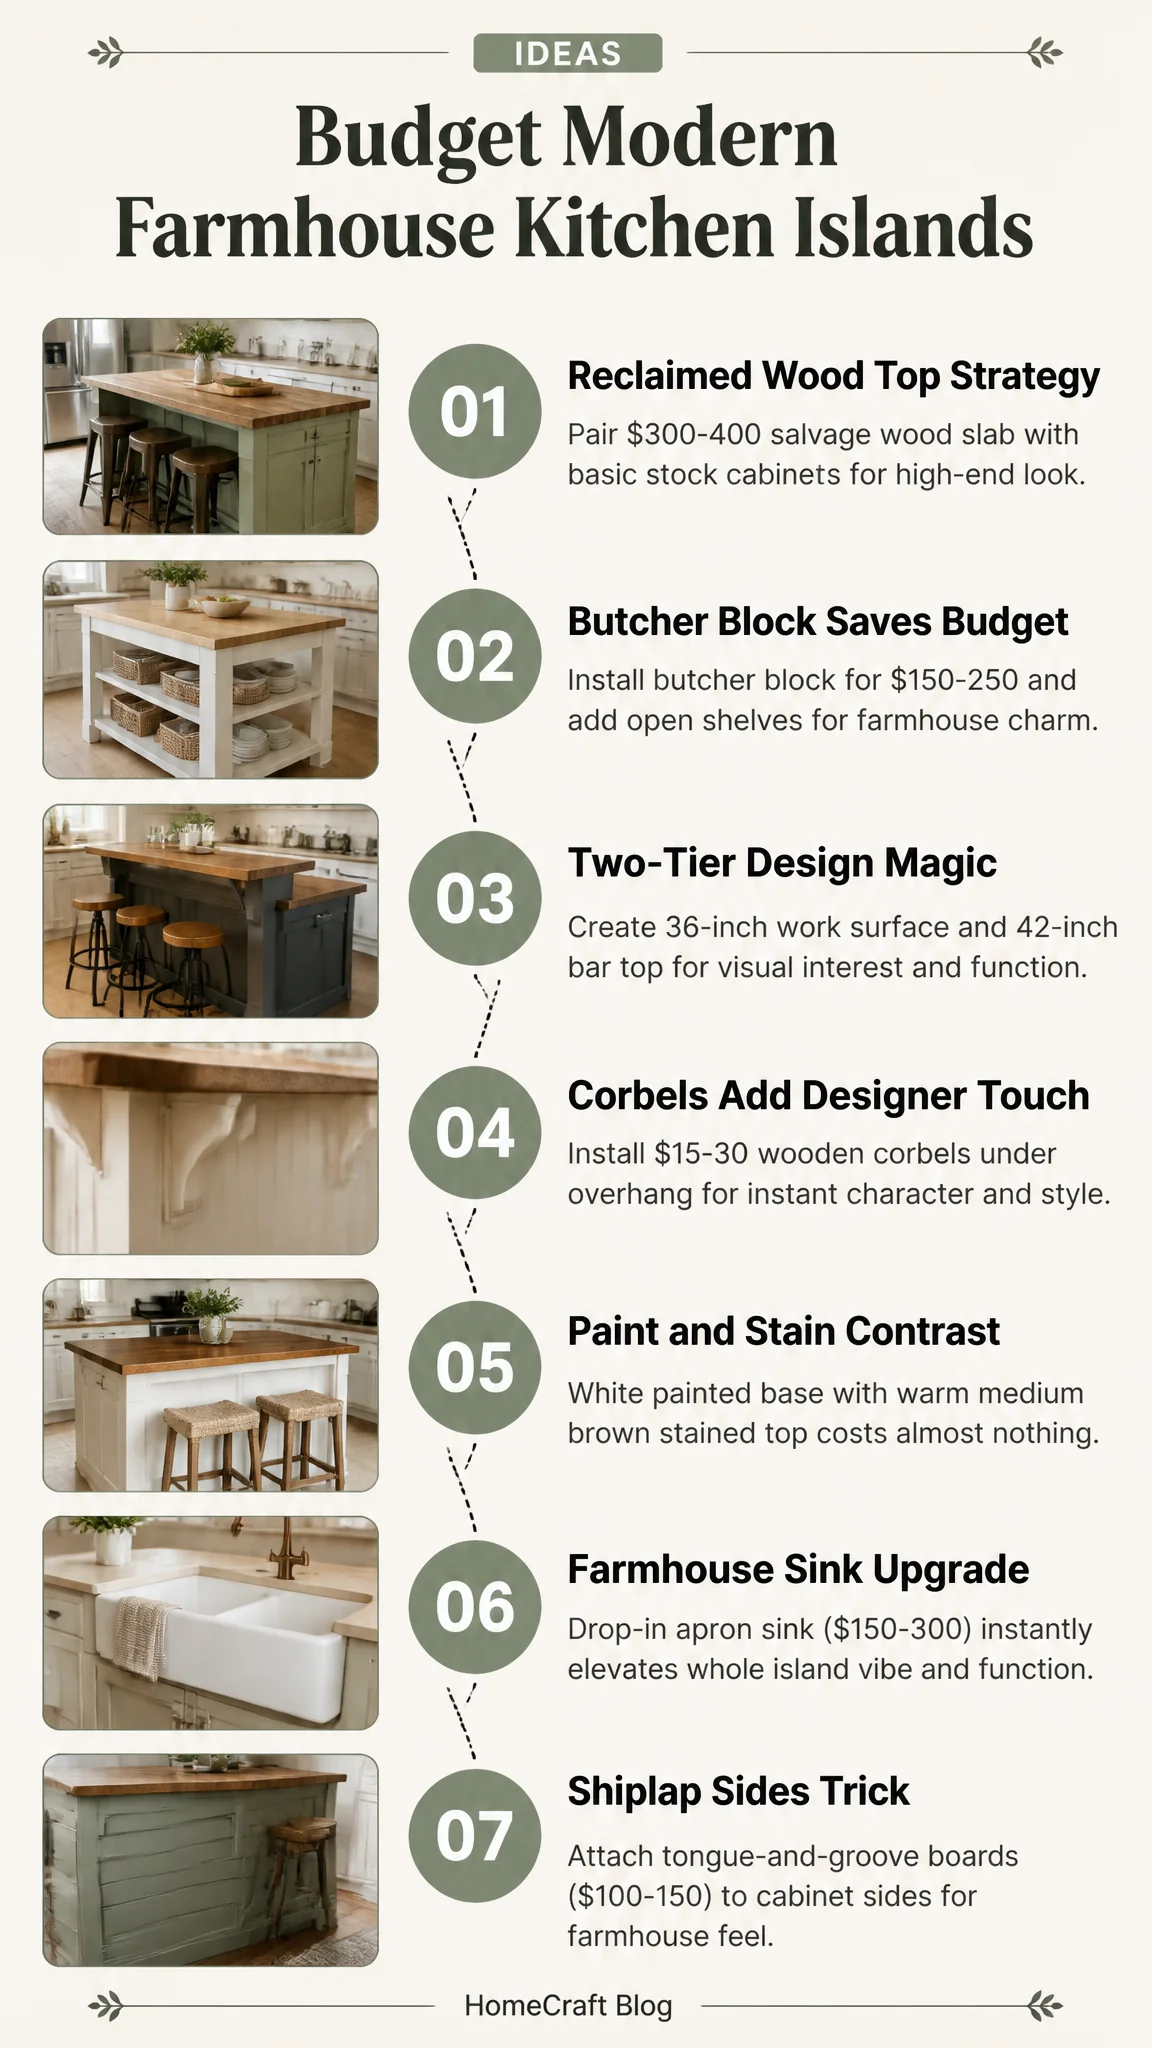
If you fix only one thing here, make it the clearance. An island that photographs beautifully and leaves you 30 inches of aisle will irritate you every single evening, while a plain painted box with 42 inches around it disappears into the rhythm of cooking, which is exactly what you want it to do.